Looking to install RHEL 10 on VirtualBox? Red Hat Enterprise Linux 10 (RHEL 10), codenamed “Coughlan,” is the latest major release from Red Hat, officially launched on May 13, 2025. Whether you’re a Linux enthusiast, developer, or IT professional, setting up RHEL 10 in a VirtualBox environment is a great way to explore its new features — from enhanced security and system performance to cutting-edge kernel and toolchain updates — all without modifying your primary system. In this guide, I’ll walk you through the step-by-step process of installing RHEL 10 on VirtualBox for a smooth and risk-free experience.
Table of Contents
How to Install RHEL 10 on VirtualBox
What’s the Deal with RHEL 10?
Red Hat Enterprise Linux 10 officially launched on May 13, 2025, and it’s far more than a routine OS update – it’s a bold leap towards the future of enterprise computing. This release introduces significant innovations tailored for AI/ML workloads, hybrid cloud automation, and image-based system management, making it a foundational OS for modern IT environments.
Under the hood, RHEL 10 ships with the Linux 6.12 kernel, updated toolchains like GCC 14, glibc 2.39, and Python 3.12, and a redesigned image-based deployment model that makes provisioning, rollback, and lifecycle management more predictable and consistent especially in immutable infrastructure or edge environments.
A major architectural shift is the move to the x86-64-v3 CPU baseline, which drops legacy hardware in favor of enhanced performance for data-intensive tasks like AI/ML training and inference. This makes RHEL 10 ideal for environments leveraging PCIe Gen5 GPUs, AI accelerators, and modern matrix operations (like Intel AMX).
On the AI/ML front, RHEL 10 brings:
- Optimized containers for PyTorch, TensorFlow, and ONNX Runtime
- GPU support for NVIDIA CUDA and AMD ROCm
- Math libraries (e.g., oneDNN, OpenBLAS) built for vectorized performance
- Seamless integration with OpenShift AI and Red Hat Insights for full-stack MLOps, model drift detection, and usage telemetry
Plus, with the debut of RHEL Lightspeed, an AI-powered assistant embedded into the CLI, Red Hat is bringing generative AI to daily sysadmin workflows, helping users automate, troubleshoot, and configure faster than ever.
In short? RHEL 10 is secure, scalable, AI-tuned, and cloud-native by design. It’s built for the next generation of infrastructure and it’s ready now.
Why VirtualBox?
I’ve always been a fan of VirtualBox for testing new operating systems. It’s free, easy to use, and lets you experiment without risking your main machine. Whether you’re a developer debugging code, a student learning Linux, or just curious about the AI driven innovation on RHEL 10, this setup’s a no-brainer. Let’s dive in!
What You’ll Need to Install RHEL 10 on VirtualBox
Before we get started, here’s what I used:
- VirtualBox: I’m running 7.1.10. We have extensive guides on how to install VirtualBox. Check them out.
- RHEL 10 ISO: Download RHEL 10 ISO from Red Hat page at no cost. We are using DVD ISO file.
- Virtual Machine Specs: I’d recommend at least 8GB of RAM (4GB minimum) and 30GB of free disk space, and at least 2 CPU cores.
Step-by-Step: Installing RHEL 10 on VirtualBox
1. Create a New Virtual Machine
Open VirtualBox and hit Machine > New or simply press CTRL+N on VirtualBox manager. This launches Virtial machine creation wizard.
- Enter the name of the VM. I named mine “rhel-10” to keep it simple.
- Set the installation directory. I used the default VirtualBox path.
- Select the ISO image form the where you downloaded it to.
- Set the:
- type to Linux
- subtype e.g Red Hat
- the version to Red Hat (64-bit).
- You can choose to go with unattended installation as explained below.
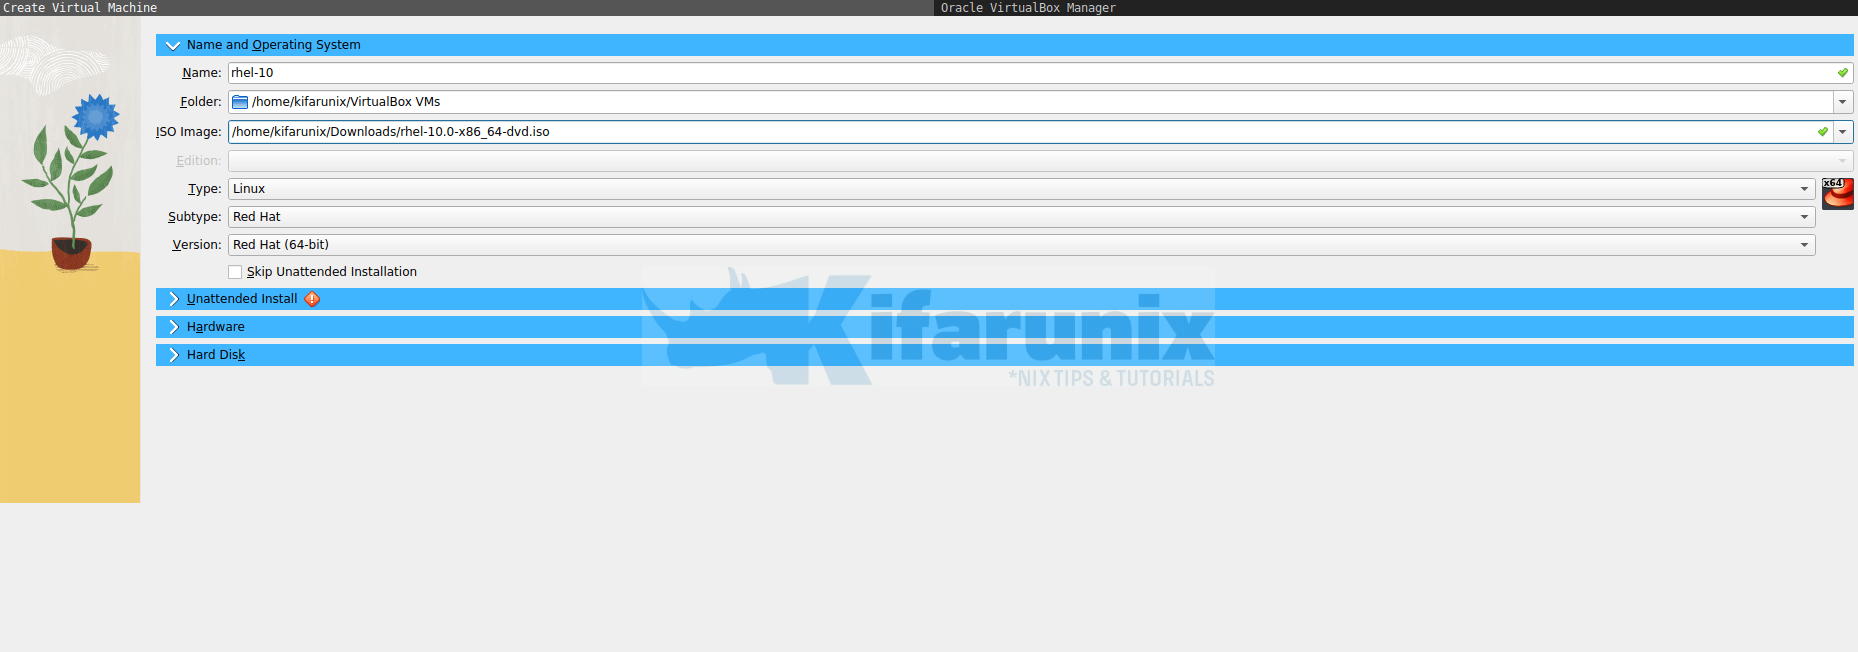
2. Unattended RHEL 10 Install on VirtualBox
VirtualBox has really tried to ensure that installation of Virtual Machines that support auto-installation is hustle free. Therefore, if you want the auto-installer to take care of this, then leave the Skip Unattended Installation check box un-checked.
Such settings below are only active when you choose to go the unattended installation way. However, if you skip it by checking the box, they will be greyed out!
As such, under Unattended Install settings, provide:
- username and password for your OS account.
- the hostname and domain name.

Similarly, you can enable Guest Additions installation for enhanced virtual machine functionality. This gets you clipboard sharing and full-screen mode, which I can’t live without, whenever am installing a desktop version.
If you want to install the Guest Additions on RHEL 10 later, then once the OS is up, open the virtual machine interface and on the top left menu;
- Click Devices
- Insert Guest Additions CD Image. We assume that you already have the iso installed on your host OS.
- Once inserted, the ISO will be mounted on RHEL 10 under /run/media/<username>VBox_GAs_7.x.x where 7.x.x is you current minor/patch version of VirtualBox.
- Before you can install the Guest Additions, you have to install kernel-headers-$(uname -r) and kernel-devel-$(uname -r) packages.
- You need to have a valid subscription account to access repos or simply, attach the installation media DVD and create local repos from it.
- The execute the script to install the Guest Additions on RHEL 10.
/run/media/VBox_GAs_7.x.x/VBoxLinuxAdditions.run - You should then be now able to use shared clipboard, fullscreen mode…
3. VM Hardware Setup
Assign the VM a base memory and define the number of processors to assign. I gave my RHEL 10 a RAM of 4 GB and 2 cores.
If you want to use UEFI firmware to control the boot-up process of your VM, then proceed to enable it. I skipped it in this guide.

4. Create VM Hard Disk
Next, create a vm hard disk defining:
- hard disk file location and size
- hard disk type and variant. I went with VDI format.

5. Boot It Up
Hit “Finish,” and watch the magic happen. The RHEL installer should load now.
If you selected unattended installation, the installer will start preparing RHEL 10 for installation and launch the installation when done to install your RHEL 10 on VirtualBox.
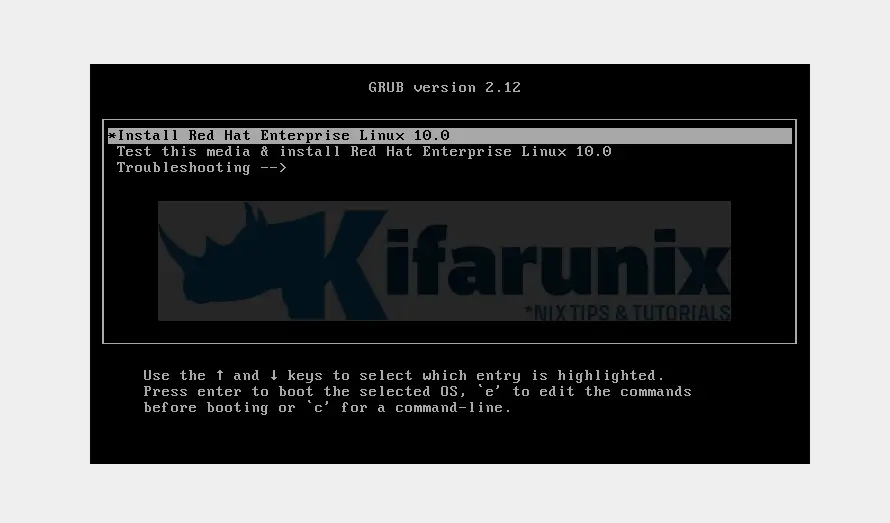
If you opted to manually prepare RHEL 10 for installation on VirtualBox, then after you have finished initial setup, start the VM from the VirtualBox Manager and run through the installer. When the VM boots, select the first entry in the grub, “Install Red Hat Enterprise Linux 10.0” to kick things off.
In the next steps:
- Choose the installation language.
- On the installation summary page, you can make a few changes for example:
- Under SYSTEM, select the installation destination which is basically the local drive that you attached to the VM. Similarly, I will also with automatic partitioning. In case you need to control your vm drive partitioning, select custom storage configuration and proceed to create your partitions. Click Done when done setting up partitions
- Under USER SETTINGS, set the root account password and add a non root user account to your vm.
- Similarly, you can choose if you want to install VM with Desktop/GUI or just a headless server under SOFTWARE > Software Selection.
- Update any other settings as you see fit.
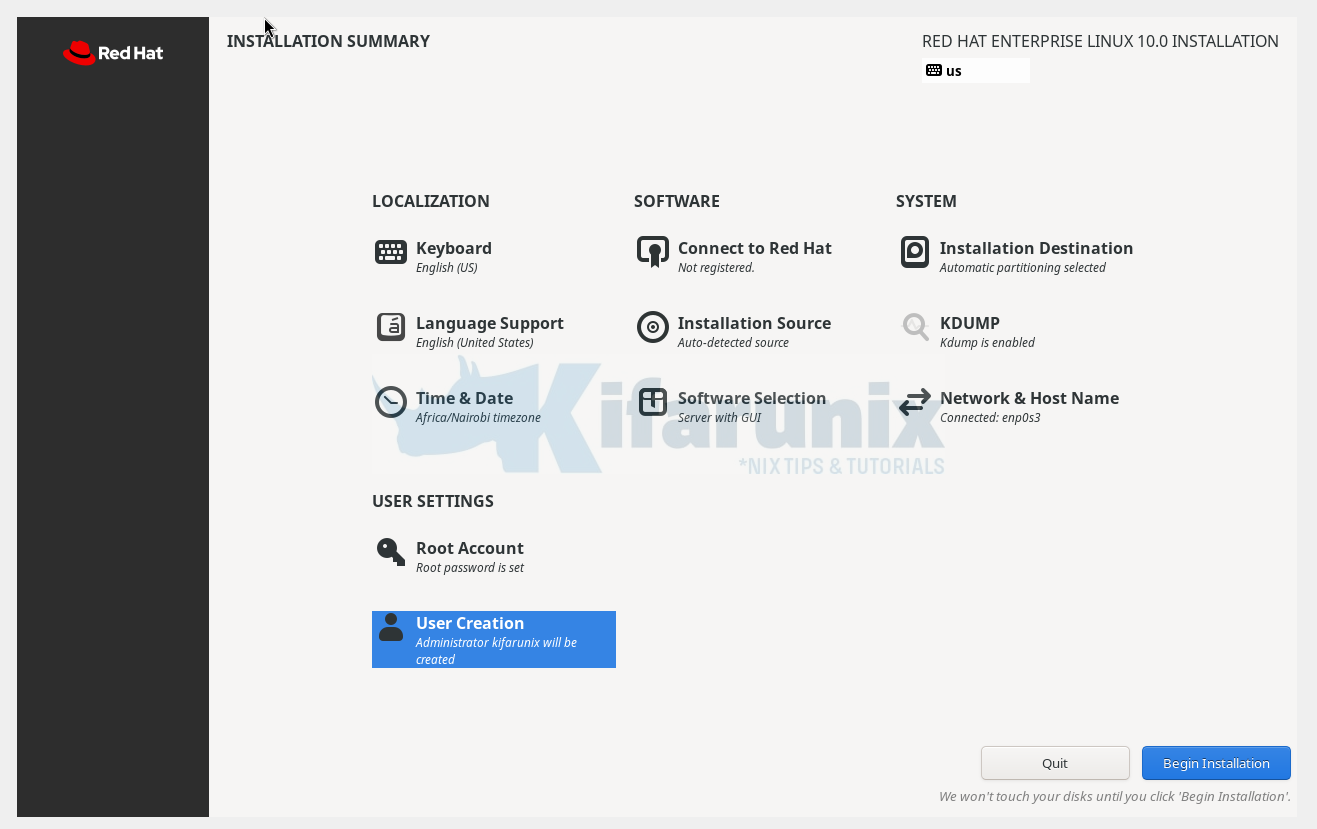
Review the installation options and click Begin installation if all is okay. Otherwise, make changes and proceed.
Installation process will take just a while.
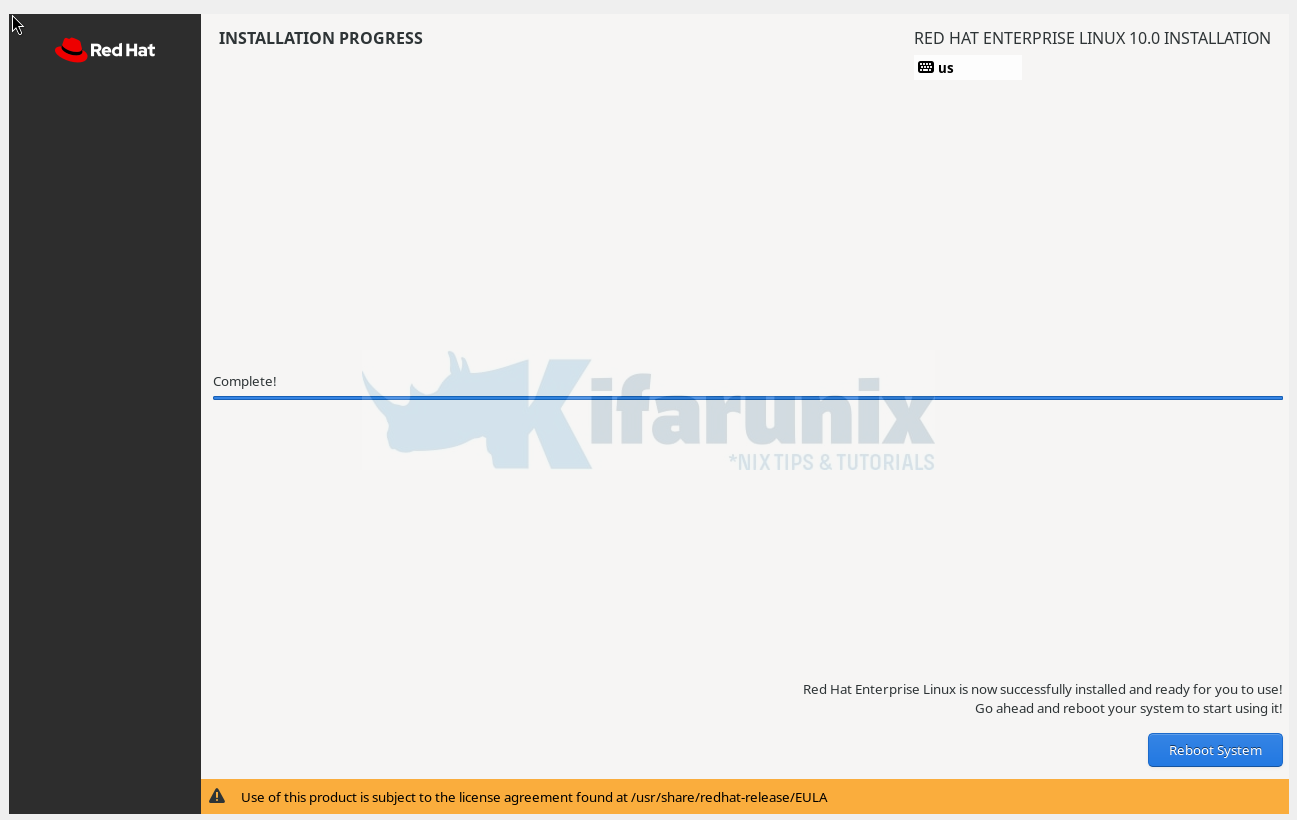
6. Reboot the system
Once the installation is complete, restart the system. Click Reboot System.
7. First Boot
Once the system reboots, you land on the login interface.
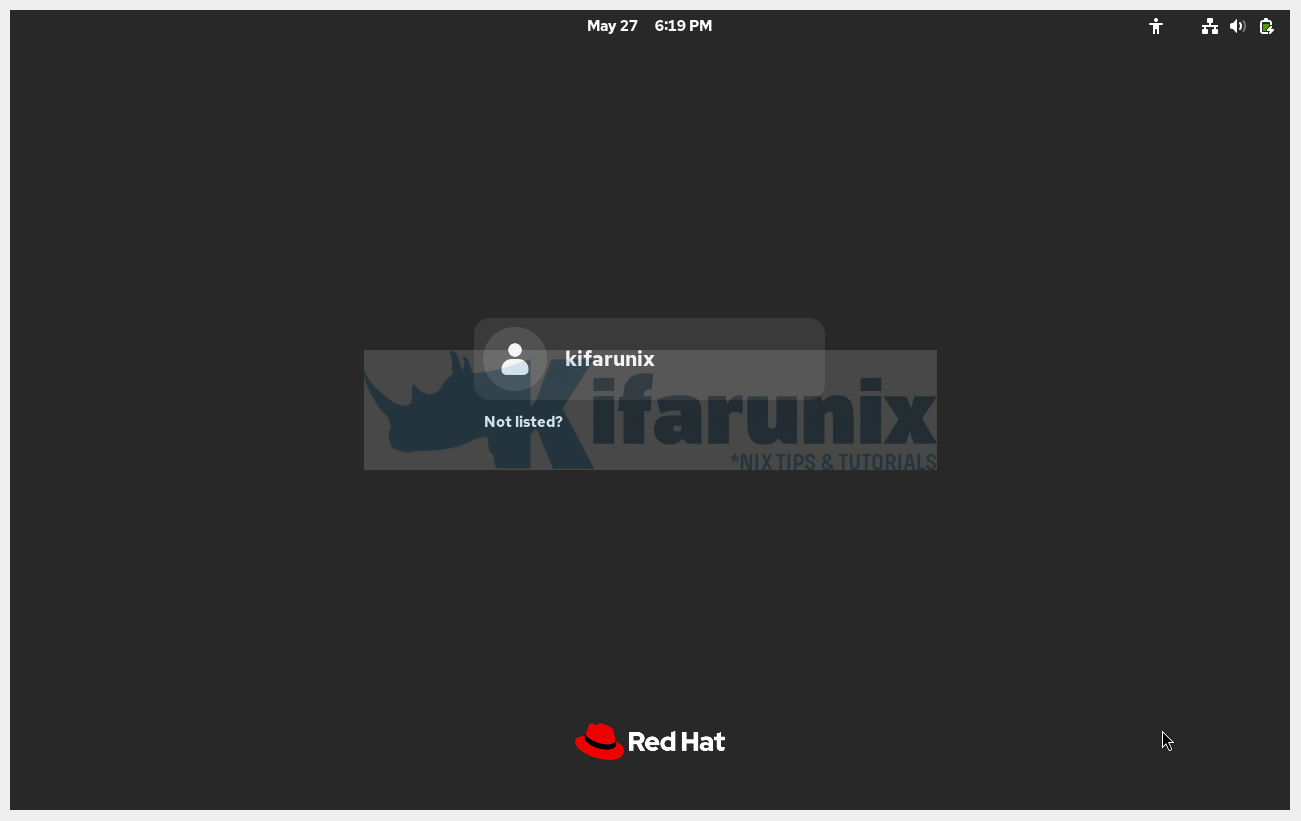
Login using the password you created for the user.
and boom—you’re in RHEL 10 running on VirtualBox!
You can choose to take a tour over your new OS or skip the tour and navigate on your own.
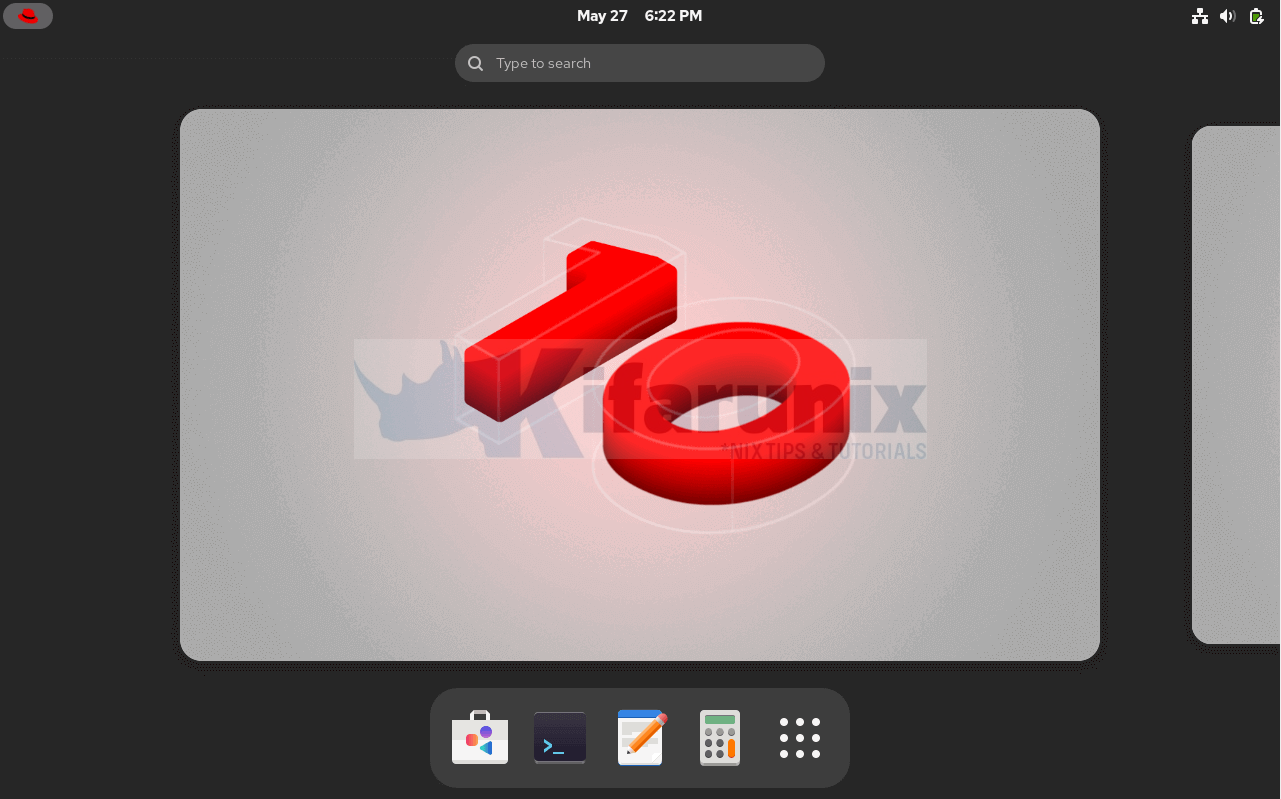
And there you go!
Confirm a few things, like the Kernel:
uname -rSample output;
6.12.0-55.9.1.el10_0.x86_64
Check the default display server. RHEL 10 ditches Xorg for Wayland!
echo $XDG_SESSION_TYPESample output;
wayland
Want to see how Lightspeed AI can help with system administrative tasks on RHEL 10?
How to Use RHEL 10 Lightspeed AI to Simplify Linux Administration Tasks
Wrap-Up
Installing RHEL 10 on VirtualBox is a breeze, and it’s the perfect way to test-drive “Coughlan“. I’ve walked you through my process, from downloading the RHEL 10 ISO to tweaking the VM, so you can hit the ground running!
For more VirtualBox tutorials, read more on our page.


Is virtual box 7.1.18 is released
haha, time travelling my friend!