Welcome to our tutorial on how to install and Setup Guacamole on Debian 9.8. We covered a similar setup on Ubuntu 18.04 in our previous article which you can check using the link below;
- How to Setup Guacamole Web-based Remote Desktop Access Tool on Ubuntu 18.04
- How to Install and Configure Guacamole on Fedora 29
You may as well would like to learn how to setup NoMachine on Ubuntu 18.04;
How to Install and Setup Guacamole on Debian 9.8
Prerequisites
As a pre-requisite to install and setup Guacamole on Debian 9.8, install the following required dependencies.
apt install -y  gcc-6 g++-6 libcairo2-dev libjpeg62-turbo-dev libpng-dev \
libossp-uuid-dev libavcodec-dev libavutil-dev libswscale-dev libfreerdp-dev \
libpango1.0-dev libssh2-1-dev libvncserver-dev libssl-dev libvorbis-dev libwebp-dev
Install Tomcat application server
Once the installation of the dependencies above is done, proceed to install Tomcat servelet container for serving guacamole client contents to users connecting to the Guacamole server via web.
apt install tomcat8 tomcat8-admin tomcat8-common tomcat8-user
Installing Guacamole server on Debian 9
As much as Guacamole server is available on the default Debian repositories, it may not be upto-date. Hence, building it from the source code is a sure bet to get the latest version installed. In that case, navigate to Guacamole Source code download page and grab the latest version.
Once you obtain the download link, you can use wget to pull the source code to your server.
wget https://sourceforge.net/projects/guacamole/files/current/source/guacamole-server-0.9.14.tar.gz
Extract the tarball and proceed to install Guacamole Server on Debian 9.
tar xzf guacamole-server-0.9.14.tar.gz
Navigate to the Guacamole source code directory and initialize the installation process by running the configure script as shown below;
cd guacamole-server-0.9.14/
./configure --with-init-dir=/etc/init.d
This generates a Makefile that adapts Guacamole to the Debian system. After that, proceed to compile Guacamole by running the make command as shown below;
make
Once the compilation is done, you can install Guacamole server by running the make install command.
make install
Run ldconfig command to create the necessary links and cache to the shared Guacamole libraries.
Start and enable Guacamole server to run on system boot.
systemctl enable guacd
systemctl start guacd
Install Guacamole Client
Guacamole client is an HTML5 web application that provides a client to be served by the Tomcat servelet container. Guacamole client is available as binary and can be downloaded from the Guacamole source page. The Guacamole client should be placed under the Guacamole configuration directory, /etc/guacamole, which is not available by default and hence can be created as shown below;
mkdir /etc/guacamole
wget https://sourceforge.net/projects/guacamole/files/current/binary/guacamole-0.9.14.war -O /etc/guacamole/guacamole.war
Next, create a symbolic link of the guacamole client to Tomcat webapps libraries.
ln -s /etc/guacamole/guacamole.war /var/lib/tomcat8/webapps/
Once that is done, restart Tomcat to deploy the Guacamole client web application. Restart Guacamole daemon after that.
systemctl restart tomcat8
systemctl restart guacd
Configuring Guacamole
The major configuration files for Guacamole server resides under /etc/guacamole. You therefore need to create the extensions and libraries configuration directories.
mkdir /etc/guacamole/{extensions,lib}
Guacamole references /etc/guacamole as its home directory and hence, you need to create the environment variable for this under the tomcat configuration file.
echo "GUACAMOLE_HOME=/etc/guacamole" | sudo tee -a /etc/default/tomcat8
Guacamole Web application used the guacamole.properties as its main configuration file. Therefore, we are going to define the authentication providers for Guacamole in this file.
In this guide, we are going to use MySQL database for authentications. Hence, install MariaDB server as shown below;
apt install mariadb-server -y
Run the initial MySQL security script to remove default test databases, anonymous users and set the root user password.
mysql_secure_installation
Next, login to the MySQL as root user and create Guacamole database and the database user for accessing and manipulating data. You can use whatever database and user names.
mysql -u root -p
create database guacamole;
grant SELECT,INSERT,UPDATE,DELETE ON guacamole.* to guadmin@localhost identified by 'P@ssWord';
flush privileges;
quit
Install the Java database (JDBC) driver for MySQL or MariaDB
apt install libmysql-java
Create a symlink of MySQL JDBC driver to Guacamole libraries.
ln -s /usr/share/java/mysql-connector-java.jar /etc/guacamole/lib/
Next, you need to download the Guacamole java driver authentication component from Guacamole extensions page.
wget https://sourceforge.net/projects/guacamole/files/current/extensions/guacamole-auth-jdbc-0.9.14.tar.gz
Extract the archive and copy MySQL authentication extension to the Guacamole extensions directory.
tar xzf guacamole-auth-jdbc-0.9.14.tar.gz
cp guacamole-auth-jdbc-0.9.14/mysql/guacamole-auth-jdbc-mysql-0.9.14.jar /etc/guacamole/extensions/
Import the MySQL JDBC driver schemas to Guacamole database you created above.
cat guacamole-auth-jdbc-0.9.14/mysql/schema/*.sql | mysql -u root -p guacamole
The database is now ready for authentication purposes. Next, edit guacamole.properties and define the how clients will connect to Guacamole server.
vim /etc/guacamole/guacamole.properties
# Hostname and Guacamole server port
guacd-hostname: localhost
guacd-port: 4822

# MySQL Connection Details
mysql-hostname: localhost
mysql-port: 3306
mysql-database: guacamole
mysql-username: guadmin
mysql-password: P@ssWord
Save the configuration file and create a symlink of the Guacamole configurations to Tomcat servlet .
ln -s /etc/guacamole /usr/share/tomcat8/.guacamole
Restart both Tomcat and guacd to effect the changes.
systemctl restart tomcat8
systemctl restart guacd
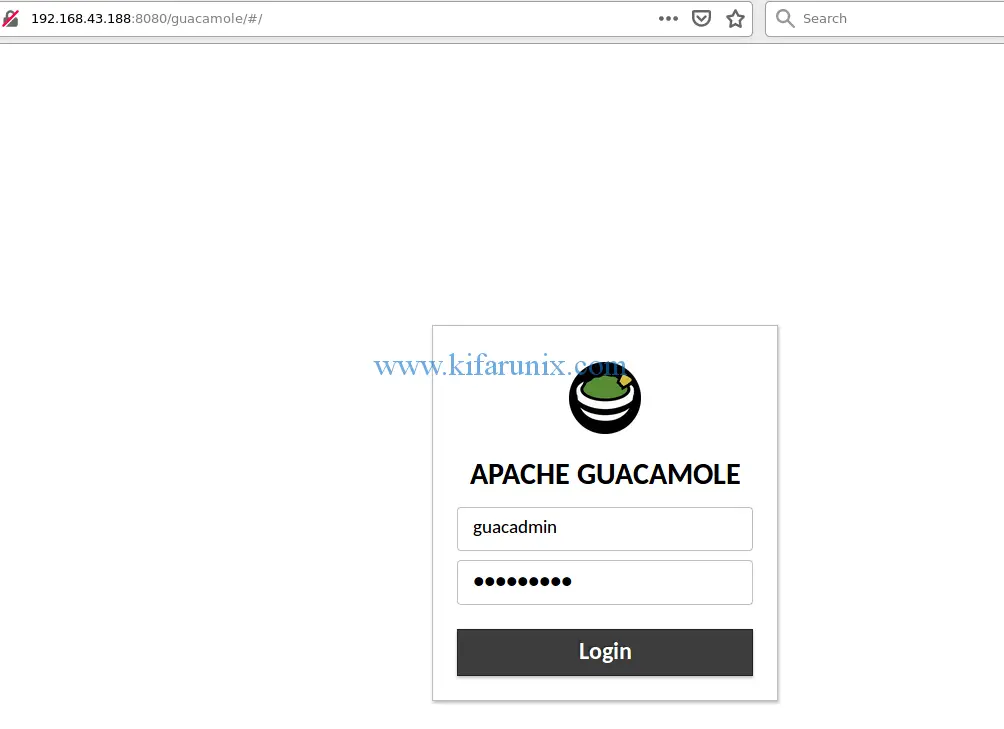
Next, login to Guacamole Web interface by navigating to http://server-IP:8080/guacamole. The default login credentials are: guacadmin for both password and username.
If you need to reset the guacadmin user password, Navigate to user profile icon and click on the dropdown, Settings and Preferences.
If you need to create other users, click on the New User button.
To create a new connection, click on the Connections tab and set the connection details. There you go. That is all about how to Install and Setup Guacamole on Debian 9.8. We hope you enjoyed this.
You can also learn about file transfer over Guacamole by following the link below;
To learn more about Guacamole, check their Documentation Manual.


Thank you very much !
Most welcome. Enjoy