In this tutorial, you will learn how to deploy OpenStack using DevStack on Ubuntu 22.04/Ubuntu 20.04. There are different methods/tools that you can use to deploy OpenStack. Such include Ansible-kolla, openstack-ansible e.t.c. We will use DevStack to deploy a single node OpenStack on Ubuntu 22.04/Ubuntu 20.04. DevStack is a set of scripts and utilities to quickly deploy an OpenStack cloud from git source trees.
Deploy OpenStack using DevStack on Ubuntu
In order to deploy OpenStack using DevStack, below are our system resources assigned to the vms. Of course if you have the capability to use more, please do!
| Item | Specifics |
| Linux System | Minimal Ubuntu 22.04/20.04 VM running on VirtualBox |
| Processors | 4 vCPUs |
| RAM | 8 GB |
| Disk | 50 GB |
| Internet Access | Yes |
Install Minimal Linux System
You need deploy a minimal version of the Linux system you want to deploy OpenStack on since DevStack will install all the required packages. In this tutorial, we are using Ubuntu 22.04/20.04 servers running on VirtualBox.
Run System Update/Upgrade
Once the system is up, you can update the system package repos;
sudo apt update -ysudo apt upgrade -y && sudo systemctl reboot -iCreate an Optional Deployment User
To deploy OpenStack using DevStack, you need to optionally have a standard user account, with passwordless sudo rights on your system.
To create a user account, run the command below;
sudo useradd -m -s /bin/bash cloud-adminGive the user passwordless sudo rights;
sudo visudo -f /etc/sudoers.d/cloud-adminEnter the line below
cloud-admin ALL = NOPASSWD: ALLSave and exit the file.
Clone DevStack Github Repository
Switch to deployment user created above and clone the DevStack Github repository which contains a script that installs OpenStack and templates for configuration files;
sudo -u cloud-admin -igit clone https://opendev.org/openstack/devstackls -1 devstackclean.sh
CONTRIBUTING.rst
data
doc
extras.d
files
functions
functions-common
FUTURE.rst
gate
HACKING.rst
inc
lib
LICENSE
Makefile
openrc
playbooks
README.rst
roles
run_tests.sh
samples
stackrc
stack.sh
tests
tools
tox.ini
unstack.sh
Configure DevStack for OpenStack Deployment
To begin with, you need to create to define/create passwords for some OpenStack services such Horizon, database, RabbitMQ and services password. These passwords need to be defined on the local.conf file under the root directory of the DevStack repository. If you do not define these passwords, you will be prompted by the installer to enter them during the installation of OpenStack.
Thus, navigate to the devstack Github repository directory;
cd devstackvim local.confEnter the settings below, and update the value of each variable to your preferred password;
[[local|localrc]]
ADMIN_PASSWORD=YourPasswordHere
DATABASE_PASSWORD=$ADMIN_PASSWORD
RABBIT_PASSWORD=$ADMIN_PASSWORD
SERVICE_PASSWORD=$ADMIN_PASSWORD
Note that we used same password for all those services in this example setup.
Similarly, define the OpenStack Host IP address;
HOST_IP=192.168.56.124Change that to your system IP that will allow you to access OpenStack.
Save and exit the file.
In its simplest setup, the above configurations are enough to get you started with the deployment of single node OpenStack for a proof of concept on Ubuntu 22.04 or Ubuntu 20.04.
You can check the sample local.conf configuration file under the devstack/samples/ directory.
Deploy OpenStack using DevStack
All you need to do to deploy OpenStack using DevStack is to execute the DevStack script, stack.sh and let it perform its magics!
./stack.shIn the meantime, it is time for you to get up and make coffee!!
When the script completes successfully, you will see such an installation summary output;
=========================
DevStack Component Timing
 (times are in seconds)
=========================
wait_for_service       9
async_wait           142
osc                  414
apt-get                9
test_with_retry        4
dbsync                 5
pip_install          111
apt-get-update         2
run_process           37
-------------------------
Unaccounted time     -33
=========================
Total runtime        700

=================
Async summary
=================
Time spent in the background minus waits: 554 sec
Elapsed time: 700 sec
Time if we did everything serially: 1254 sec
Speedup:  1.79143


Post-stack database query stats:
------------+-----------+-------+
| db         | op        | count |
+------------+-----------+-------+
| keystone   | SELECT    | 89394 |
| keystone   | INSERT    |    97 |
| glance     | SELECT    |   999 |
| glance     | CREATE    |    65 |
| glance     | INSERT    |   257 |
| glance     | SHOW      |     8 |
| glance     | UPDATE    |    13 |
| glance     | ALTER     |    10 |
| glance     | DROP      |     3 |
| neutron    | SELECT    |  4247 |
| neutron    | CREATE    |   319 |
| neutron    | SHOW      |    39 |
| cinder     | SELECT    |   178 |
| cinder     | SHOW      |     1 |
| cinder     | CREATE    |    74 |
| cinder     | SET       |     1 |
| cinder     | ALTER     |    18 |
| neutron    | INSERT    |  1128 |
| neutron    | UPDATE    |   236 |
| neutron    | ALTER     |   150 |
| neutron    | DROP      |    52 |
| neutron    | DELETE    |    31 |
| nova_cell0 | SELECT    |   204 |
| nova_cell0 | SHOW      |    60 |
| nova_cell0 | CREATE    |   210 |
| nova_cell1 | SELECT    |   217 |
| nova_cell1 | SHOW      |    60 |
| nova_cell1 | CREATE    |   210 |
| nova_cell0 | ALTER     |     2 |
| nova_cell1 | ALTER     |     2 |
| placement  | SELECT    |    46 |
| placement  | INSERT    |    57 |
| placement  | SET       |     2 |
| nova_api   | SELECT    |   116 |
| nova_cell0 | INSERT    |     5 |
| placement  | UPDATE    |     3 |
| nova_cell0 | UPDATE    |    49 |
| cinder     | INSERT    |     5 |
| nova_cell1 | UPDATE    |    45 |
| nova_cell1 | INSERT    |     4 |
| cinder     | UPDATE    |    19 |
| nova_api   | INSERT    |    20 |
| nova_api   | SAVEPOINT |    10 |
| nova_api   | RELEASE   |    10 |
| cinder     | DELETE    |     1 |
| keystone   | DELETE    |    10 |
+------------+-----------+-------+


This is your host IP address: 192.168.56.124
This is your host IPv6 address: ::1
Horizon is now available at http://192.168.56.124/dashboard
Keystone is serving at http://192.168.56.124/identity/
The default users are: admin and demo
The password: YourPasswordHere

Services are running under systemd unit files.
For more information see:
https://docs.openstack.org/devstack/latest/systemd.html

DevStack Version: 2023.1
Change: f0ad3e5f3f99dc3cbec94bcced3c6e96fbfdab8b Merge "Update user guide for Octavia" 2022-10-05 18:45:57 +0000
OS Version: Ubuntu 22.04 jammy

2022-10-09 05:38:12.719 | stack.sh completed in 700 seconds.
And that is how you can simply deploy OpenStack using DevStack on Ubuntu 22.04/Ubuntu 20.04.
Accessing OpenStack Horizon
From the installation summary, you will see such information as;
This is your host IP address: 192.168.56.124
This is your host IPv6 address: ::1
Horizon is now available at http://192.168.56.124/dashboard
Keystone is serving at http://192.168.56.124/identity/
The default users are: admin and demo
The password: YourPasswordHere
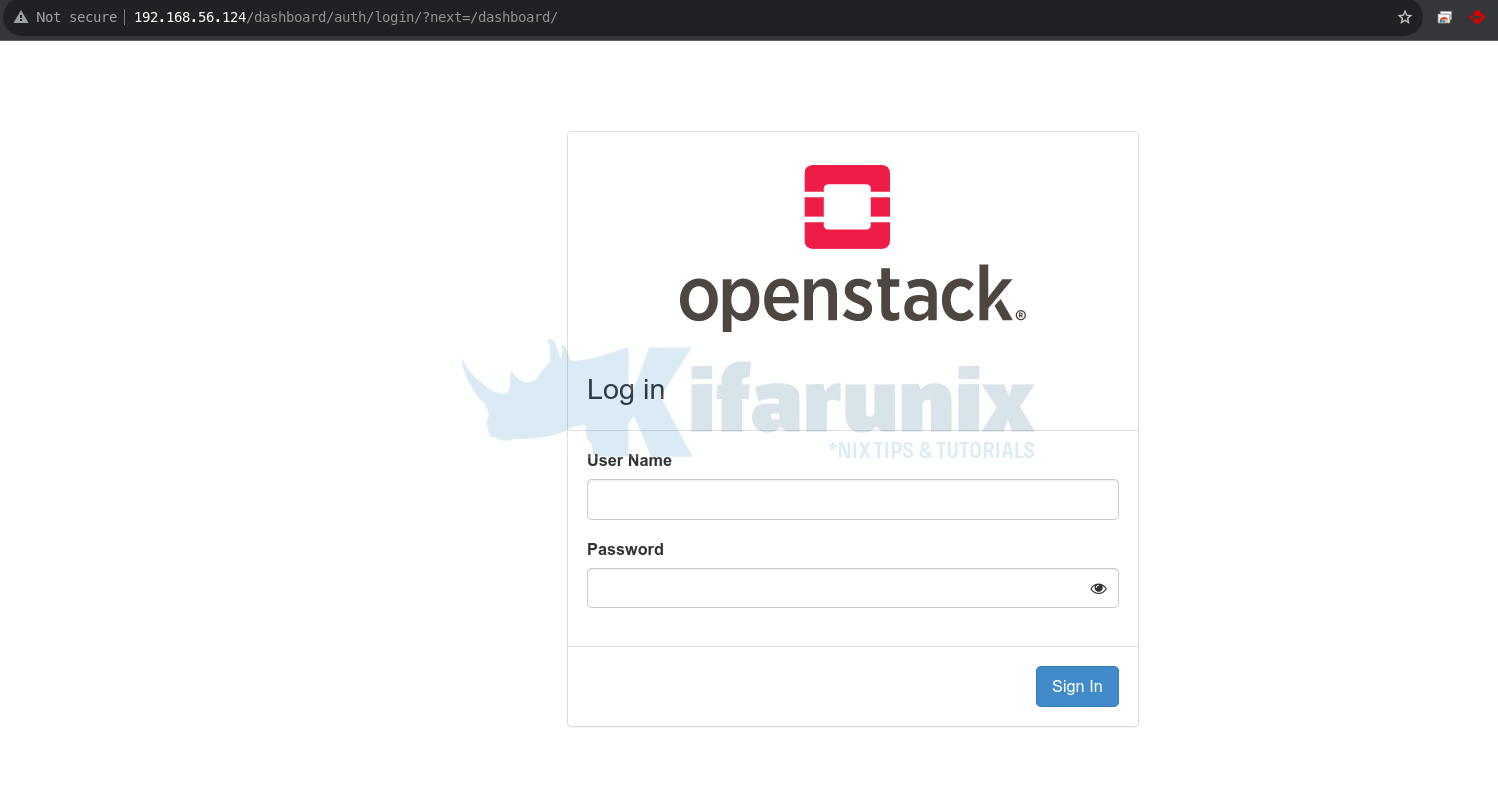
The OpenStack dashboard should be available on http://server-IP/dashboard.
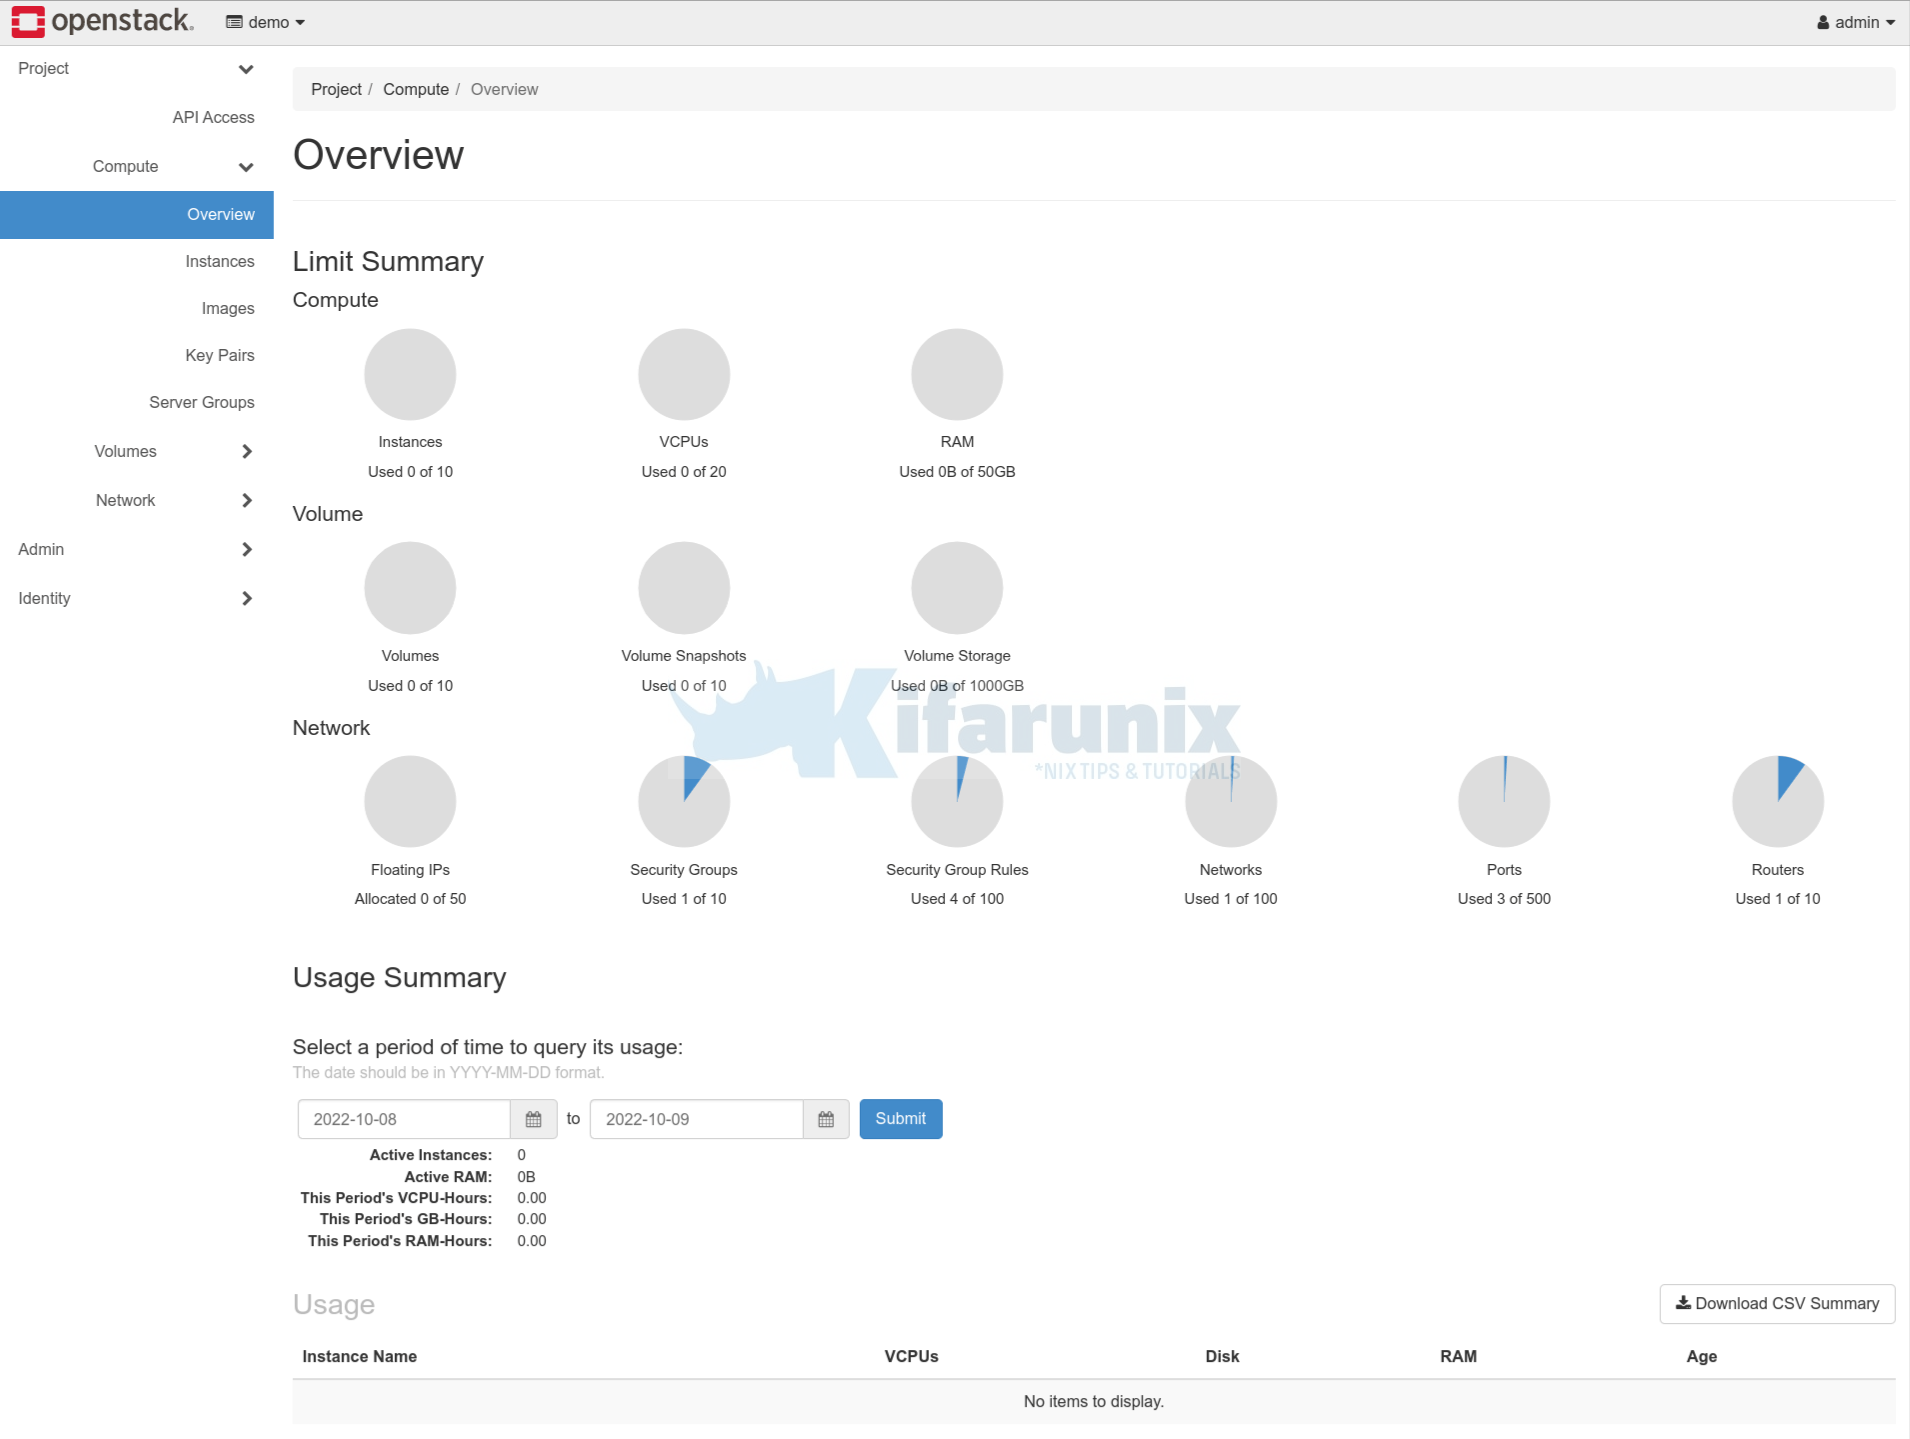
You can login using the default user accounts created above.
You can now go through the OpenStack menu options to explore it further.
We will bring to you more tutorial around OpenStack in our next tutorials. Until then, read more on how to administer OpenStack.
Other Tutorials
Deploy All-In-One OpenStack with Kolla-Ansible on Ubuntu 18.04


How do I add tls certs to Horizon? I need https