With the release of VirtualBox 6.1 and its new major features, you should be planning to upgrade your VirtualBox 6.0. Well, in this guide, we are going to learn how to upgrade VirtualBox 6.0 to 6.1 on Ubuntu Systems.
VirtualBox 6.1 New Features
- Implemented support for importing a virtual machine from Oracle Cloud Infrastructure
- Extended support for exporting a virtual machine to Oracle Cloud Infrastructure, allowing the creation of multiple virtual machines without re-uploading. Also added option to export a VM to the cloud using the more efficient variant “paravirtualized”, and to specify free-form tags for cloud images
- Virtualization core: Support for nested hardware-virtualization on Intel CPUs (starting with 5th generation Core i, codename Broadwell), so far tested only with guest running VirtualBox
- Graphics: New style 3D support (with VBoxSVGA and VMSVGA) remains, old style 3D support (with VBoxVGA) has been completely removed
- Shared Clipboard: Implemented experimental support for file transfers (Windows hosts/guests only at the moment). Needs to be enabled via VBoxManage (disabled by default). In addition, the following items were fixed and/or added:
- Virtualization core: Drop recompiler, i.e. running VMs now needs a CPU supporting hardware virtualization
- Runtime: Works now on hosts with many CPUs (limit now 1024)
- Appliance and Cloud Import: Add field for defining firmware type (not part of OVF spec and thus manual in the Appliance case, for OCI it is automatically taken from the instance information)
- GUI: Improved the VISO creation and file manager dialogs
The list is quite comprehensive. Read more on the Changelog.
Upgrading VirtualBox 6.0 to 6.1 on Ubuntu Systems
For the purposes of this demo, we are using Ubuntu 16.04 as our host system. Hence, follow through to learn how to upgrade VirtualBox to the latest release version.
Remove Old Versions of VirtualBox
To begin with, kill any VirtualBox process that is running;
ps aux | grep -i virtualbox | grep -v grep | awk '{print$2}' | xargs -I {} sudo kill -9 {}Next, remove any package related to the VirtualBox 6.0 on your system along with packages that are no longer required.
Note: When you remove VirtualBox, you existing VMs will remain intact under the installation directory, in my case, it is $HOME/VirtualBox VMs directory.
sudo apt remove --purge --auto-remove virtualboxReboot your system to reload the kernel modules.
systemctl rebootInstall VirtualBox 6.1 on your Ubuntu System
Run System Update
Update your system package cache;
apt update -yVirtualBox 6.1 can be installed using the DEB binary package or from the APT repos.
Install VirtualBox 6.1 using DEB Binary Package
To install VirtualBox using the .DEB binary package, simply download the LATEST binary from VirtualBox downloads page.
wget https://download.virtualbox.org/virtualbox/6.1.0/virtualbox-6.1_6.1.0-135406~Ubuntu~bionic_amd64.debUse either the dpkg tool or apt package manager to install VirtualBox
dpkg -i virtualbox-6.1_6.1.0-135406~Ubuntu~bionic_amd64.deb
apt install -f
or
apt install ./virtualbox-6.1_6.1.0-135406~Ubuntu~bionic_amd64.debInstall VirtualBox on Ubuntu from APT Repos
To install VirtualBox from APT repos, simply install the VirtualBox APT sources list.
echo "deb [arch=amd64] https://download.virtualbox.org/virtualbox/debian $(lsb_release -sc) contrib" | sudo tee /etc/apt/sources.list.d/virtualbox.listInstall the repository signing keys.
wget -q https://www.virtualbox.org/download/oracle_vbox_2016.asc -O- | sudo apt-key add -wget -q https://www.virtualbox.org/download/oracle_vbox.asc -O- | sudo apt-key add -Update system packages and install VirtualBox
sudo apt updatesudo apt install virtualbox-6.1Install VirtualBox 6.1 Extension Pack
Remove the old version of VirtualBox extension pack.
sudo VBoxManage extpack uninstall "Oracle VM VirtualBox Extension Pack"Download the latest VirtualBox 6.1 extension pack.
wget -P /tmp https://download.virtualbox.org/virtualbox/6.1.0/Oracle_VM_VirtualBox_Extension_Pack-6.1.0.vbox-extpackInstall VirtualBox 6.1 Extension Pack
sudo VBoxManage extpack install /tmp/Oracle_VM_VirtualBox_Extension_Pack-6.1.0.vbox-extpackAccept the VirtualBox Extension Pack Personal Use and Evaluation License (PUEL) and proceed with installation.
Running VirtualBox 6.1
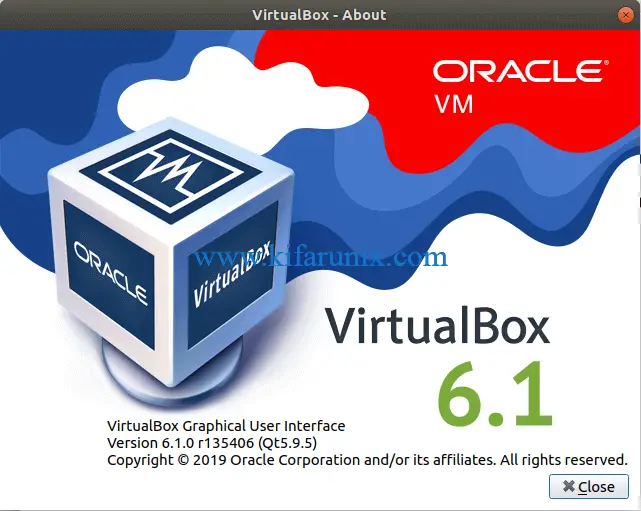
You can run your VirtualBox as you always would. To check confirm the installed version, on the VirtualBox menu bar, click Help > About VirtualBox.

There you go. You have successfully upgraded your VirtualBox 6.0 to VirtualBox 6.1 on your Ubuntu System.
Related Tutorials
How to Upgrade VirtualBox 5.2 to VirtualBox 6.0 on Ubuntu 16.04
Install VirtualBox Guest Additions on Ubuntu 20.04


Help… I’m using Ubuntu 16.4 so I followed all the steps on your site regarding upgrading VMBox 6.0 to 6.1 but when I got to this step I received this response…
“toscano@toscano-Inspiron-660s:~$ sudo VBoxManage extpack install /tmp/Oracle_VM_VirtualBox_Extension_Pack-6.1.0.vbox-extpack
WARNING: The vboxdrv kernel module is not loaded. Either there is no module
available for the current kernel (4.15.0-107-generic) or it failed to
load. Please recompile the kernel module and install it by
sudo /sbin/vboxconfig
You will not be able to start VMs until this problem is fixed.
/usr/lib/virtualbox/VBoxManage: error while loading shared libraries: libssl.so.1.1: cannot open shared object file: No such file or directory”
After applying the command “sudo /sbin/vboxconfig” I received this reply… “$ sudo /sbin/vboxconfig
sudo: /sbin/vboxconfig: command not found”
Being a complete newbie, now what do I do? Help please.
Hi Elvio.
You can try to update your system package cache,
sudo apt updateand then install kernel headers.sudo apt install dkms build-essential linux-headers-`uname -r`Regards,