Welcome again to our yet another guide on how to install Zabbix 4.x from sources on Debian 10 Buster. In our previous guide, we learnt how to install Zabbix from APT repos.
Installing Zabbix 4.x from Source Code on Debian
Prerequisites
To begin with, update and upgrade your system packages.
apt update
apt upgrade
Setup LA(E)MP Stack
Zabbix requires LAMP/LEMP stack in order to operate. In this guide, we are going to use LAMP stack with MariaDB 10 and PHP 7.3. Therefore, follow the command below to install LAMP Stack on Debian 10 Buster.
Install LAMP Stack with MariaDB 10 on Debian 10 Buster
Install Additional Packages
Once the installation of LAMP Stack is done, proceed to install additional PHP extensions and other required dependencies for the successful build of Zabbix
apt install build-essential libmariadb-dev libxml2-dev snmp libsnmp-dev libcurl4-openssl-dev php-gd php-xml php-bcmath php-mbstring libevent-dev libpcre3-dev libxml2-dev libmariadb-devCreate Zabbix Database
Login to MariaDB server and create a database and a database user for Zabbix. The database user should have all the privileges on the zabbix database.
mysql -u root -pcreate database zabbixdb character set utf8 collate utf8_bin;grant all on zabbixdb.* to zabbixadmin@localhost identified by 'P@SSw0RD';flush privileges;
quitCreate Zabbix User System Account
A Zabbix system account is required for running Zabbix daemons. Hence you can create it by running the command below;
sudo useradd -r -d /var/lib/zabbix -s /sbin/nologin -M zabbixDownload Zabbix Source Code
Navigate to Zabbix download page and download the latest and stable Zabbix source archive. You can simply get the download link and use wget command download it.
wget https://sourceforge.net/projects/zabbix/files/ZABBIX%20Latest%20Stable/4.2.5/zabbix-4.2.5.tar.gz -P /tmpExtract Zabbix Source Code
Navigate to the directory in which you downloaded Zabbix source code and extract it.
cd /tmp
tar xzf zabbix-4.2.5.tar.gz
Configure Zabbix Sources
Navigate to extracted Zabbix source directory and run the configure script to adapt Zabbix to the system. This step may fail if one of the required dependencies is not installed. In this guide, we are going to configure Zabbix server and agent and enable support for MariaDB database backend.
cd zabbix-4.2.5/
./configure --enable-server --enable-agent --with-mysql --enable-ipv6 --with-net-snmp --with-libcurl --with-libxml2
If the configure script completes successfully, you should see a summary of configuration.
...
Configuration:

  Detected OS:           linux-gnu
  Install path:          /usr/local
  Compilation arch:      linux

  Compiler:              cc
  Compiler flags:         -g -O2

  Library-specific flags:
    database:               -I/usr/include/mariadb -I/usr/include/mariadb/mysql
    libXML2:               -I/usr/include/libxml2
    Net-SNMP:               -I/usr/local/include -I/usr/lib/x86_64-linux-gnu/perl/5.28/CORE -I/usr/include/mariadb -I/usr/include/mariadb/mysql -I. -I/usr/include

  Enable server:         yes
  Server details:
    With database:         MySQL
    WEB Monitoring:        cURL
      SSL certificates:      /usr/local/share/zabbix/ssl/certs
      SSL keys:              /usr/local/share/zabbix/ssl/keys
    Native Jabber:         no
    SNMP:                  yes
    IPMI:                  no
    SSH:                   no
    TLS:                   no
    ODBC:                  no
    Linker flags:             -L/usr/lib/x86_64-linux-gnu/        -L/usr/lib/x86_64-linux-gnu         -rdynamic
    Libraries:               -lmariadb  -lz -ldl -lm -lpthread -lgnutls     -lxml2    -lnetsnmp   -lz -lpthread -levent    -lcurl -lm -ldl  -lresolv -lpcre
    Configuration file:    /usr/local/etc/zabbix_server.conf
    External scripts:      /usr/local/share/zabbix/externalscripts
    Alert scripts:         /usr/local/share/zabbix/alertscripts
    Modules:               /usr/local/lib/modules

  Enable proxy:          no

  Enable agent:          yes
  Agent details:
    TLS:                   no
    Linker flags:                -rdynamic
    Libraries:              -lz -lpthread    -lcurl -lm -ldl  -lresolv -lpcre
    Configuration file:    /usr/local/etc/zabbix_agentd.conf
    Modules:               /usr/local/lib/modules

  Enable Java gateway:   no

  LDAP support:          no
  IPv6 support:          yes

***********************************************************
*            Now run 'make install'                       *
*                                                         *
*            Thank you for using Zabbix!                  *
*              <http://www.zabbix.com>                    *
***********************************************************
Compile and Install Zabbix 4.x from Source Code
Next, run the command below to compile and install Zabbix
sudo make installZabbix configuration files will be installed on /usr/local/etc directory.
Configuring Zabbix
To begin with, configure Zabbix database connection details. Open the configuration file and replace the values for DBName, DBUser, DBPassword with what you set while creating database.
vim /usr/local/etc/zabbix_server.conf
...
DBHost=localhost
...
DBName=zabbixdb
...
DBUser=zabbixadmin
...
DBPassword=P@SSw0RD
...
If firewall is running, open TCP port 10051 for remote connection.
ufw allow 10051/tcpChange Zabbix Server Log Directory
By default, Zabbix writes its log file to /tmp directory. Change it on the configuration file such that it writes it to /var/log.
LogFile=/var/log/zabbix_server.logNow, create this log file and set the ownership to Zabbix user.
touch /var/log/zabbix_server.log
chown zabbix:zabbix /var/log/zabbix_server.log
Import Zabbix Default Database and Initial Data
The Zabbix default MySQL database and initial data for each kind of database backend is located under the database subdirectory on the Zabbix source directory,
cd /tmp/zabbix-4.2.5/database/mysql
ls *.sql
data.sql  images.sql  schema.sql
Begin by importing the database schema, Images.sql and then data.sql.
mysql -u zabbixadmin -p zabbixdb < schema.sql
mysql -u zabbixadmin -p zabbixdb < images.sql
mysql -u zabbixadmin -p zabbixdb < data.sql
Running Zabbix Server and Agent
Create a systemd service for Zabbix server.
vim /etc/systemd/system/zabbix-server.service
[Unit]
Description=Zabbix Server
After=syslog.target network.target mariadb.service

[Service]
Type=oneshot
User=zabbix
ExecStart=/usr/local/sbin/zabbix_server
ExecReload=/usr/local/sbin/zabbix_server -R config_cache_reload
RemainAfterExit=yes
PIDFile=/var/run/zabbix/zabbix_server.pid

[Install]
WantedBy=multi-user.target
Create a systemd service for Zabbix agent
vim /etc/systemd/system/zabbix-agent.service
[Unit]
Description=Zabbix Agent
After=syslog.target network.target

[Service]
Type=oneshot
User=zabbix
ExecStart=/usr/local/sbin/zabbix_agentd
RemainAfterExit=yes
PIDFile=/var/run/zabbix/zabbix_agent.pid

[Install]
WantedBy=multi-user.target
Reload systemd configuration
systemctl daemon-reloadStart and enable Zabbix server,agent deamon to run on system start.
systemctl start zabbix-server
systemctl start zabbix-agent
systemctl enable zabbix-server
systemctl enable zabbix-agentInstalling Zabbix Frontend
To install Zabbix Frontend, copy Zabbix PHP configuration files under frontends/php/ subdirectory on the source code directory to Zabbix web server root directory.
Create Zabbix Web root directory.
mkdir /var/www/html/zabbixNext, copy Zabbix PHP files.
cp -a /tmp/zabbix-4.2.5/frontends/php/* /var/www/html/zabbix/Set the user and group ownership of the Zabbix directory to www-data.
chown -R www-data:www-data /var/www/html/zabbix/Configure Zabbix Frontend
There are some known compatibility issues between Zabbix 4.x and PHP 7.3 Opcache. Hence, disable Opcache by running the command below.
echo "opcache.enable=0" >> /etc/php/7.3/mods-available/opcache.iniNext, open the PHP configuration file and make the following changes;
vim /etc/php/7.3/apache2/php.ini- Set the minimum size of PHP post data to 16M
post_max_size = 16M- Set PHP max_execution_time to 300s
max_execution_time = 300- Set PHP max_input_time to 300s
max_input_time = 300- Configure PHP timezone
date.timezone = Africa/NairobiRestart Apache and Proceed to finalize Zabbix Frontend configuration.
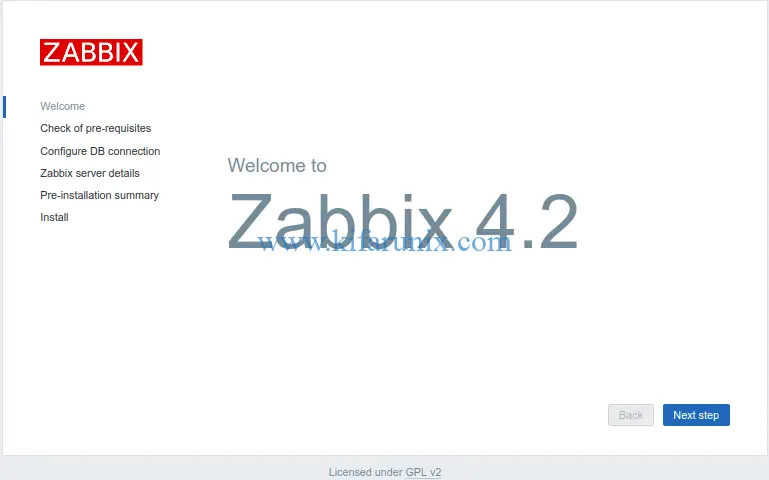
systemctl restart apache2Access Zabbix on your browser to finalize the frontend configuration using the address, http://<server-IP/zabbix
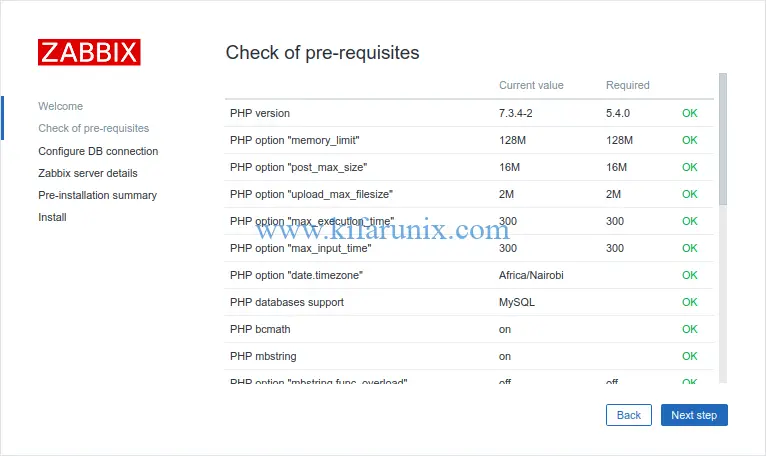
Click Next Step to verify if all the Zabbix requirements have been met.
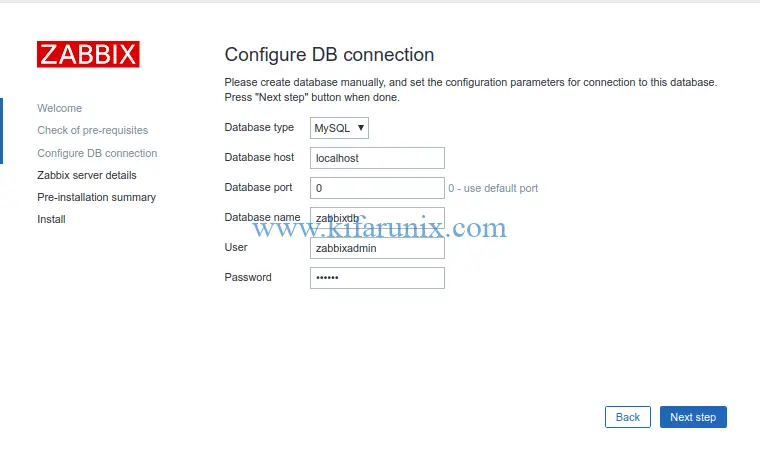
Configure Zabbix database connection using the connection details set above.
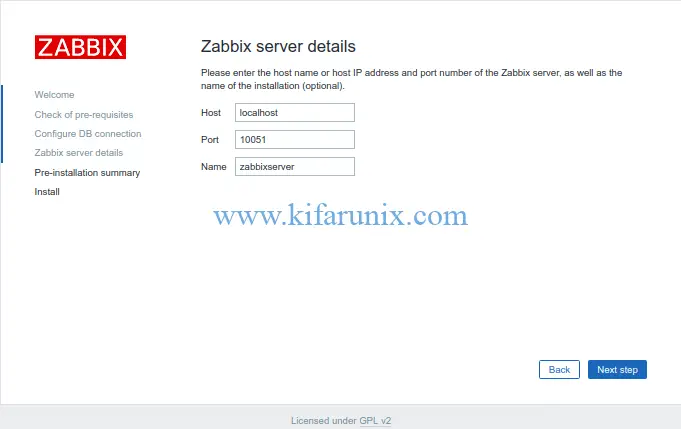
Setup the Zabbix server details. You can leave the default settings.
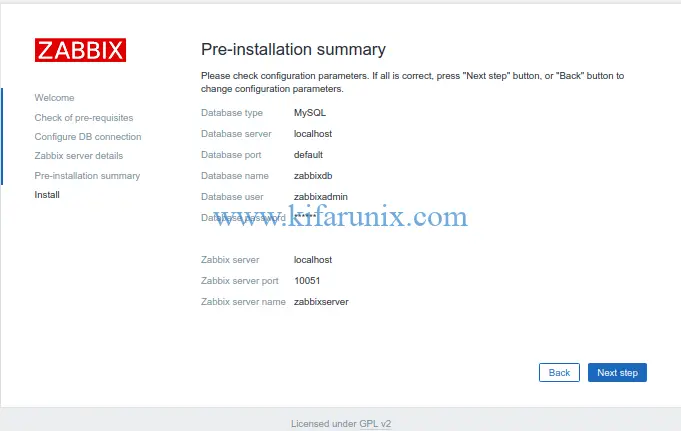
On the Pre-installation summary, verify if all the configurations are fine.
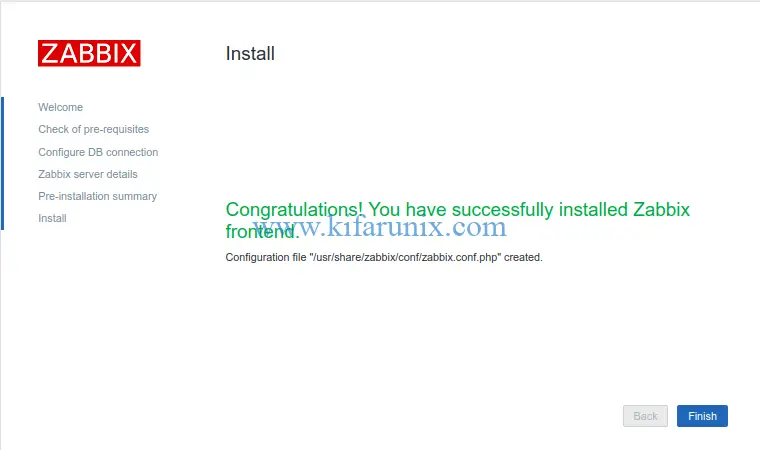
Click Next step to finish the installation.
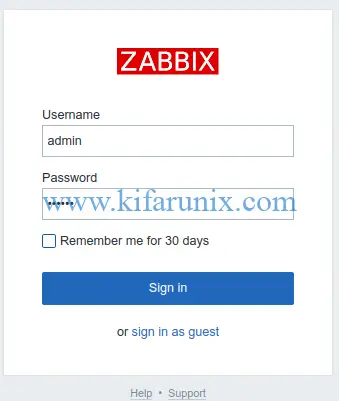
Login to Zabbix.
Click Finish to get to Zabbix Login screen. The default login credentials are admin as the username and zabbix as the password.
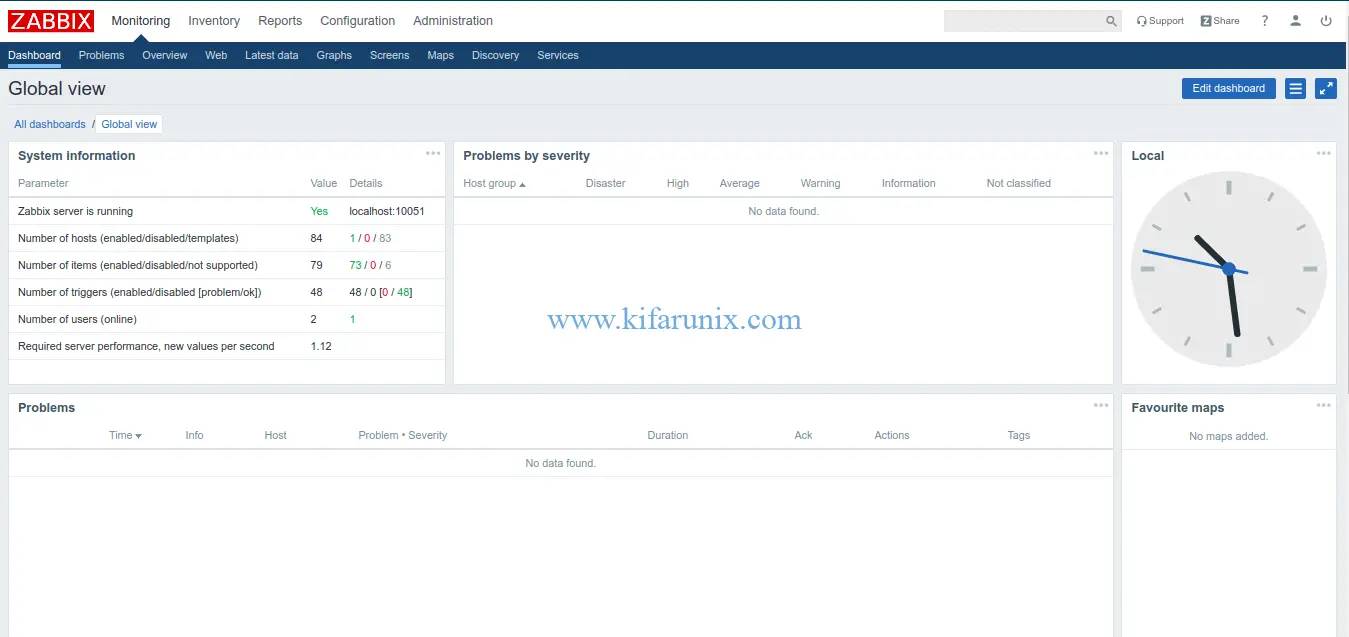
Zabbix Default Dashboard.
You have successfully installed Zabbix server on Debian 10 Buster from sources. In our next guide, we will how to monitor remote hosts using Zabbix server.
Related Guides
Install Zabbix Server on Debian 10 Buster
How to Install and Configure Zabbix 4.0 from Source on Fedora 29/Fedora 28/CentOS 7
Install Nagios Core on Debian 10 Buster
Install and Configure SNMP on Debian 10 Buster
How to install and configure AlienVault OSSIM 5.5 on VirtualBox

