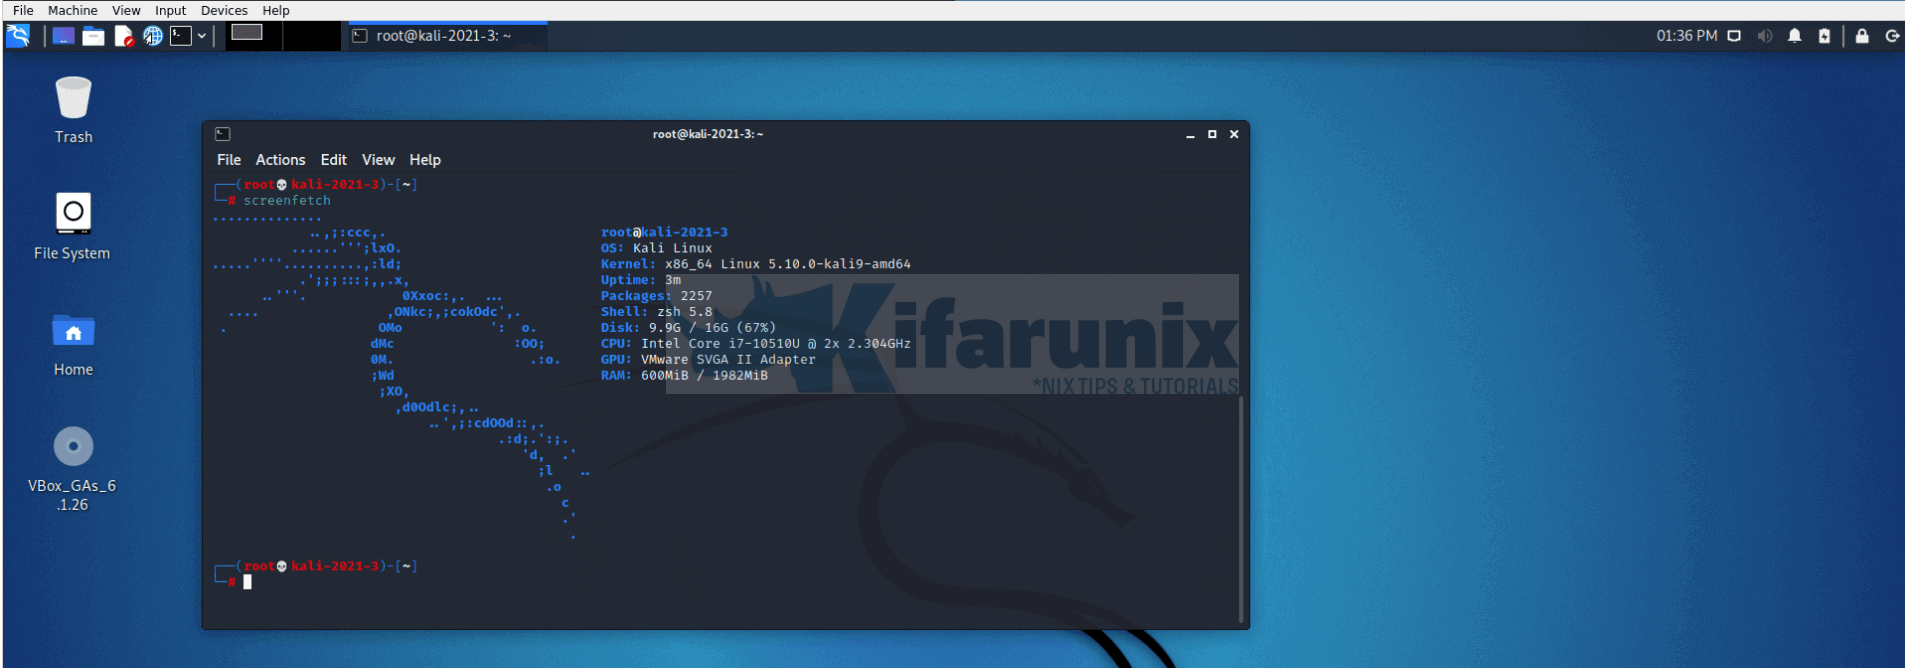
In this tutorial, you will learn how to install VirtualBox guest additions on Kali Linux 2021.3.
Guest additions offers many other features;
- Run VM in fullscreen mode
- Mouse pointer integration
- Shared folders for easy sharing of files between the host and the guest
- Ensures better and accelerated video performance.
- Seamless windows integration
- Generic host/guest communication channels that enables you to control and manage guest execution.
- Provides Host-Guest time synchronization.
- Shared clipboard between host and guest vm.
- Automated logins.
Installing VirtualBox Guest Additions on Kali Linux
There are two ways in which you can install VirtualBox guest additions;
Install VirtualBox Guest Additions via x11 Guest Utilities package
The virtualbox-guest-x11 package X11 Guest Utilities.
To install this package, you need to have the Kali Linux repositories installed.
Check if you Kali Linux repos installed;
grep -v '#' /etc/apt/sources.list | sort -udeb http://http.kali.org/kali kali-rolling main non-free contrib
deb-src http://http.kali.org/kali kali-rolling main non-free contribIf the command output is empty, run the command below to install Kali Linux rolling release repositories.
cat > /etc/apt/sources.list << 'EOL'
deb http://http.kali.org/kali kali-rolling main non-free contrib
deb-src http://http.kali.org/kali kali-rolling main non-free contrib
EOLRun system package cache update once the repos are installed.
apt updateInstall VirtualBox x11 guest utilities.
apt install virtualbox-guest-x11Once the installation is done, reboot the system;
systemctl reboot -iYour Kali Linux 2021.3 is now running in fullscreen on VirtualBox.
If the screen doesn’t automatically resize to fullscreen on reboot, you can toggle the screen auto-resize by navigating to VirtualBox VM menu View > Auto-resize Guest display.

Install VirtualBox Guest Additions via Guest Additions ISO
To install VirtualBox Guest Additions via Guest additions ISO file, you need to insert the guest additions iso/image file into your Kali Linux 2021.3 virtual machine.
Install Linux Headers, DKMS and Build Tools
To verify if these build requirements have already been installed, run the command below;
sudo dpkg -l | grep -E "dkms|linux-headers-$(uname -r)|build-essential"ii build-essential 12.9 amd64 Informational list of build-essential packagesThe ii means that the the build-essential tools is installed.
Install the missing packages;
cat > /etc/apt/sources.list << 'EOL'
deb http://http.kali.org/kali kali-rolling main non-free contrib
deb-src http://http.kali.org/kali kali-rolling main non-free contrib
EOLsudo apt update -ysudo apt install dkms linux-headers-$(uname -r) build-essentialInsert the Guest Additions Image into the Kali Linux 2021.3 virtual machine
Guest additions image can be inserted into a VirtualBox virtual machine manually via the VM menu or by installing the virtualbox-guest-additions-iso package.
Insert Guest Additions Image manually
Guest additions image can be manually inserted into a vm via the VM virtualbox menu.
Before the image can be inserted into the vm, ensure that you have unallocated (empty) controller IDE from virtual machine storage settings to insert the image.
Once the installation is done, insert the Guest Additions ISO into the vm from the menu bar > Devices > Insert Guest Additions CD Image...
Once you insert the image, a dialog box which prompts you to run or cancel the Guest Additions installer is launched.
If no dialog is launch upon Guest addition image insertion, simply double click the image icon the desktop to mount it.
The virtualbox guest additions image can be mounted on either, /media/{cdrom,cdrom0,cdrom1}.
You can find the mount point using df -h command.
df -hTFilesystem Type Size Used Avail Use% Mounted on
udev devtmpfs 957M 0 957M 0% /dev
tmpfs tmpfs 199M 1000K 198M 1% /run
/dev/sda1 ext4 15G 9.7G 4.4G 70% /
...
...
/dev/sr1 iso9660 59M 59M 0 100% /media/cdrom1Insert Guest additions Image by installing it
You can as well install the VirtualBox Guest additions iso/image file from Kali Linux repositories;
sudo apt install virtualbox-guest-additions-isoWhen installed, the VirtualBox Guest Additions ISO is now available as /usr/share/virtualbox/VBoxGuestAdditions.iso.
To install the Guest Additions ISO, you need to mount it.
sudo mount -o loop /usr/share/virtualbox/VBoxGuestAdditions.iso /media/cdromInstalling VirtualBox Guest Additions
Next, run the Guest additions installer for Linux on Kali Linux 2021.3 VirtualBox vm.
Replace the path to the Guest additions installer appropriately.
bash /media/cdrom/VBoxLinuxAdditions.runOnce the installation is done, restart the system to reload the kernel modules and apply the changes.
systemctl reboot -iKali Linux 2021.3 FullScreen on VirtualBox
Your Kali Linux 2021.3 should now be running in fullscreen. If upon system reboot the screen doesn’t auto-resize automatically, be sure to toggle (off/on, so to say) View -> Auto-resize Guest Display on the VM menu bar to set right VM resolution.

That concludes our guide.
Related Tutorials
Easily Install Kali Linux 2021.3 on VirtualBox
Upgrade VirtualBox 6.0 to 6.1 on Ubuntu Systems

