In our previous guide, we learnt how to Install CentOS 8 on VirtualBox. However, it doesn’t display in full-screen view by default. This guide will take you through how to install VirtualBox guest additions on CentOS 8 to enable you have a full-screen view.
Installing VirtualBox Guest Additions on CentOS 8
The Guest Additions offer the following features:
- Mouse pointer integration
- Shared folders for easy sharing of files between the host and the guest
- Ensures better and accelerated video performance.
- Seamless windows integration
- Generic host/guest communication channels that enables you to control and manage guest execution.
- Provides Host-Guest time synchronization.
- Shared clipboard between host and guest vm.
- Automated logins.
Read more on VirtualBox Guest addition features on the VirtualBox User Manual.
Install Kernel Headers and Required Build Tools
After mounting ISO file, be sure to install the kernel headers and required build tools. Some of the required tools are available on the EPEL repos, hence begin by installing the EPEL repos on CentOS 8
dnf install epel-releaseNext, install the kernel headers and build tools by executing the command below;
dnf install dkms kernel-devel kernel-headers gcc make bzip2 perl elfutils-libelf-develBefore you can proceed, ensure that the version of kernel-devel installed does match the version of your running kernel. You can verify by running the commands below.
rpm -q kernel-develuname -rIf they do not match, update your kernel by running;
dnf update kernel-*Next, reboot the system and verify the kernel versions again.
Install Guest Additions
Now, proceed to install guest additions on CentOS 8.
VirtualBox guest additions can be installed via the command line or via GUI
Install Guest Additions via the Terminal
To install VirtualBox guest additions via the terminal, you need to mount the guest additions image file by executing the command;
sudo mount /dev/cdrom /run/media/This will mount the guest addition installers under the /run/media/ directory.
Hence, navigate to the mount directory and execute the Linux guest addition installer
cd /run/media/./VBoxLinuxAdditions.runOnce the installation completes, reboot the system to effect the changes.
Install Guest Additions via the GUI
Click Devices > Insert Guest Additions CD image on the Menu bar to mount the VirtualBox guest addition iso file on a CentOS 8 VM.
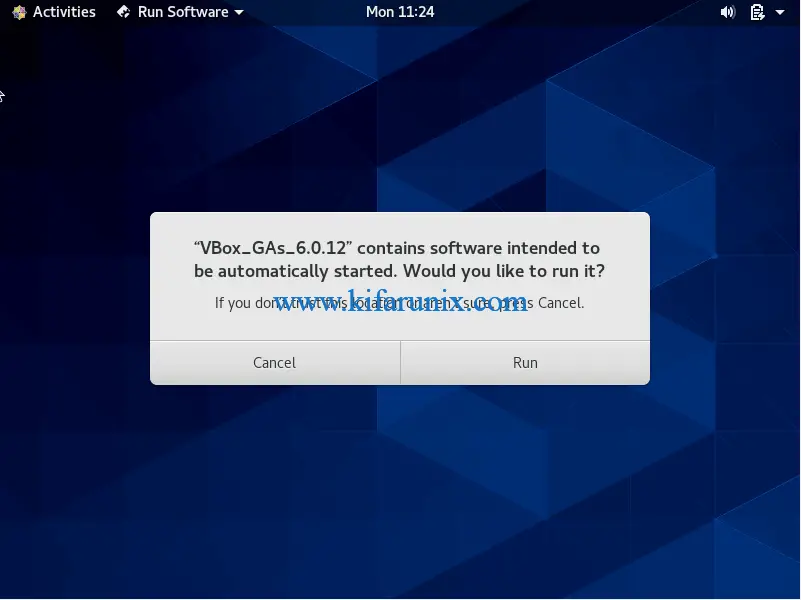
While mounting the guest additions image, you are prompted whether to automatically run the installation.

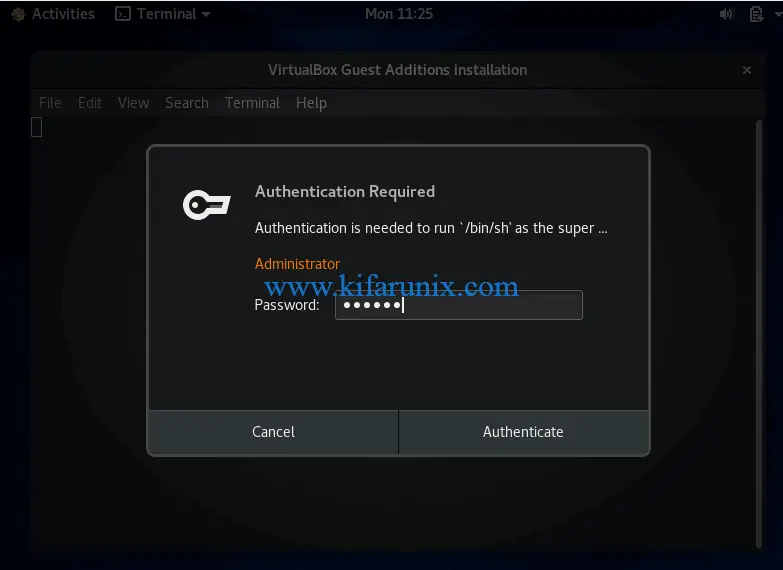
Click run and authenticate so as to run the installer with administrative privileges (If you are logged in as non-root user).

Once the installation completes, reboot the system to effect the changes.
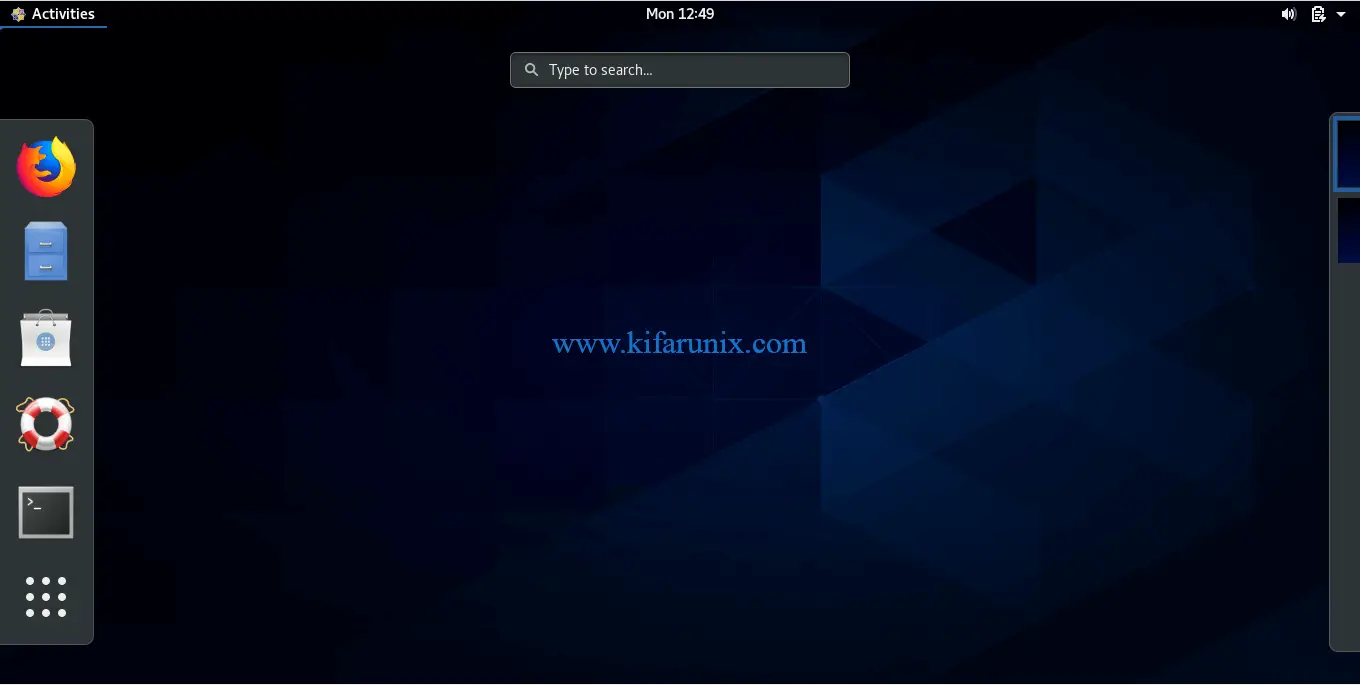
When the system boots, you should be on full-screen view.

Congratulations. You have successfully set the CentOS 8 full-screen display on VirtualBox.
Related Tutorials
AutoStart VirtualBox VMs on System Boot on Linux
Install VirtualBox Guest Additions on Debian 10 Buster
Install and Configure Endian Firewall on VirtualBox


koromicha: above solution worked.
Happy to hear that. Thanks Jay
Still small-screen with minimal installation, TOT
Great instructions. Worked just fine. Thanks!
hi @koromicha. i tried the instructions above upto the isntallation via CLI. all worked. (except shared clipboard{wont copy-pate from guest to host[vice versa]}already enable bi-directional) on centos8.
can you advise? thanks
Hello @Jace.
Did you try a reboot?
Great stuff, thanks it worked!