You might have installed Debian 11 Bullseye on VirtualBox, and realized that it is not in full-screen view by default. If you need to set it to full-screen view, follow through this guide to learn how to install VirtualBox Guest Additions on Debian 11 Bullseye.
There are so many feature that VirtualBox Guest additions can offer. This include;
- Mouse pointer integration
- Shared folders for easy sharing of files between the host and the guest
- Ensures better and accelerated video performance.
- Seamless windows integration
- Generic host/guest communication channels that enables you to control and manage guest execution.
- Provides Host-Guest time synchronization.
- Shared clipboard between host and guest vm.
- Automated logins.
To read more on VirtualBox Guest addition features on the VirtualBox User Manual.
Install Debian 11 Bullseye on VirtualBox by following the link below;
Install Debian 11 on VirtualBox
Installing VirtualBox Guest Additions on Debian 11
Mount the guest additions ISO file
To mount the guest additions ISO file using VirtualBox manager, open the virtual machine and click Devices > Insert Guest Additions CD image on the Menu bar.
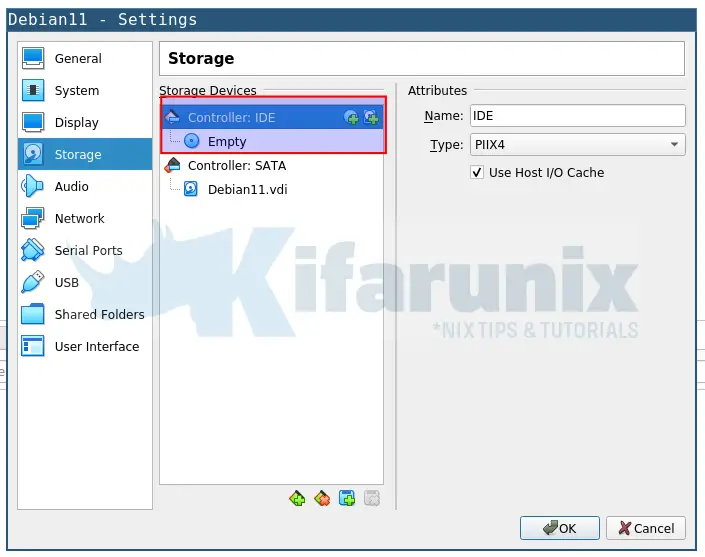
Before that, ensure you have an empty IDE controller, on storage settings.

When VirtualBox guest addition ISO file is inserted, you may or may not be prompted on how to open it. If prompted, select Open with File Manager.
The ISO file is mounted as a removable device. To mount it, open a terminal and run the command below;
sudo mount /dev/cdrom /mntListing the contents of the mount point:
ls -1 /mntAUTORUN.INF
autorun.sh
cert
NT3x
OS2
runasroot.sh
TRANS.TBL
VBoxDarwinAdditions.pkg
VBoxDarwinAdditionsUninstall.tool
VBoxLinuxAdditions.run
VBoxSolarisAdditions.pkg
VBoxWindowsAdditions-amd64.exe
VBoxWindowsAdditions.exe
VBoxWindowsAdditions-x86.exe
Install Required Packages
Now, to install VirtualBox guest additions, you need to have the kernel headers, DKMS framework, and build tools installed.
sudo apt update -y && sudo apt upgrade
sudo apt install dkms linux-headers-$(uname -r) build-essentialInstall VirtualBox Guest Additions
Once the installation is done, you can now install VirtualBox guest additions by executing the command below;
sudo sh /mnt/VBoxLinuxAdditions.runSample command output;
Verifying archive integrity... All good.
Uncompressing VirtualBox 6.1.26 Guest Additions for Linux........
VirtualBox Guest Additions installer
Copying additional installer modules ...
Installing additional modules ...
VirtualBox Guest Additions: Starting.
VirtualBox Guest Additions: Building the VirtualBox Guest Additions kernel
modules.  This may take a while.
VirtualBox Guest Additions: To build modules for other installed kernels, run
VirtualBox Guest Additions:   /sbin/rcvboxadd quicksetup <version>
VirtualBox Guest Additions: or
VirtualBox Guest Additions:   /sbin/rcvboxadd quicksetup all
VirtualBox Guest Additions: Building the modules for kernel 5.10.0-8-amd64.
update-initramfs: Generating /boot/initrd.img-5.10.0-8-amd64
VirtualBox Guest Additions: Running kernel modules will not be replaced until
the system is restarted
Once the installation is done, restart your virtual machine in order to reload the kernel modules.
systemctl reboot -iOnce the system reboots, it should boot to full-screen mode.
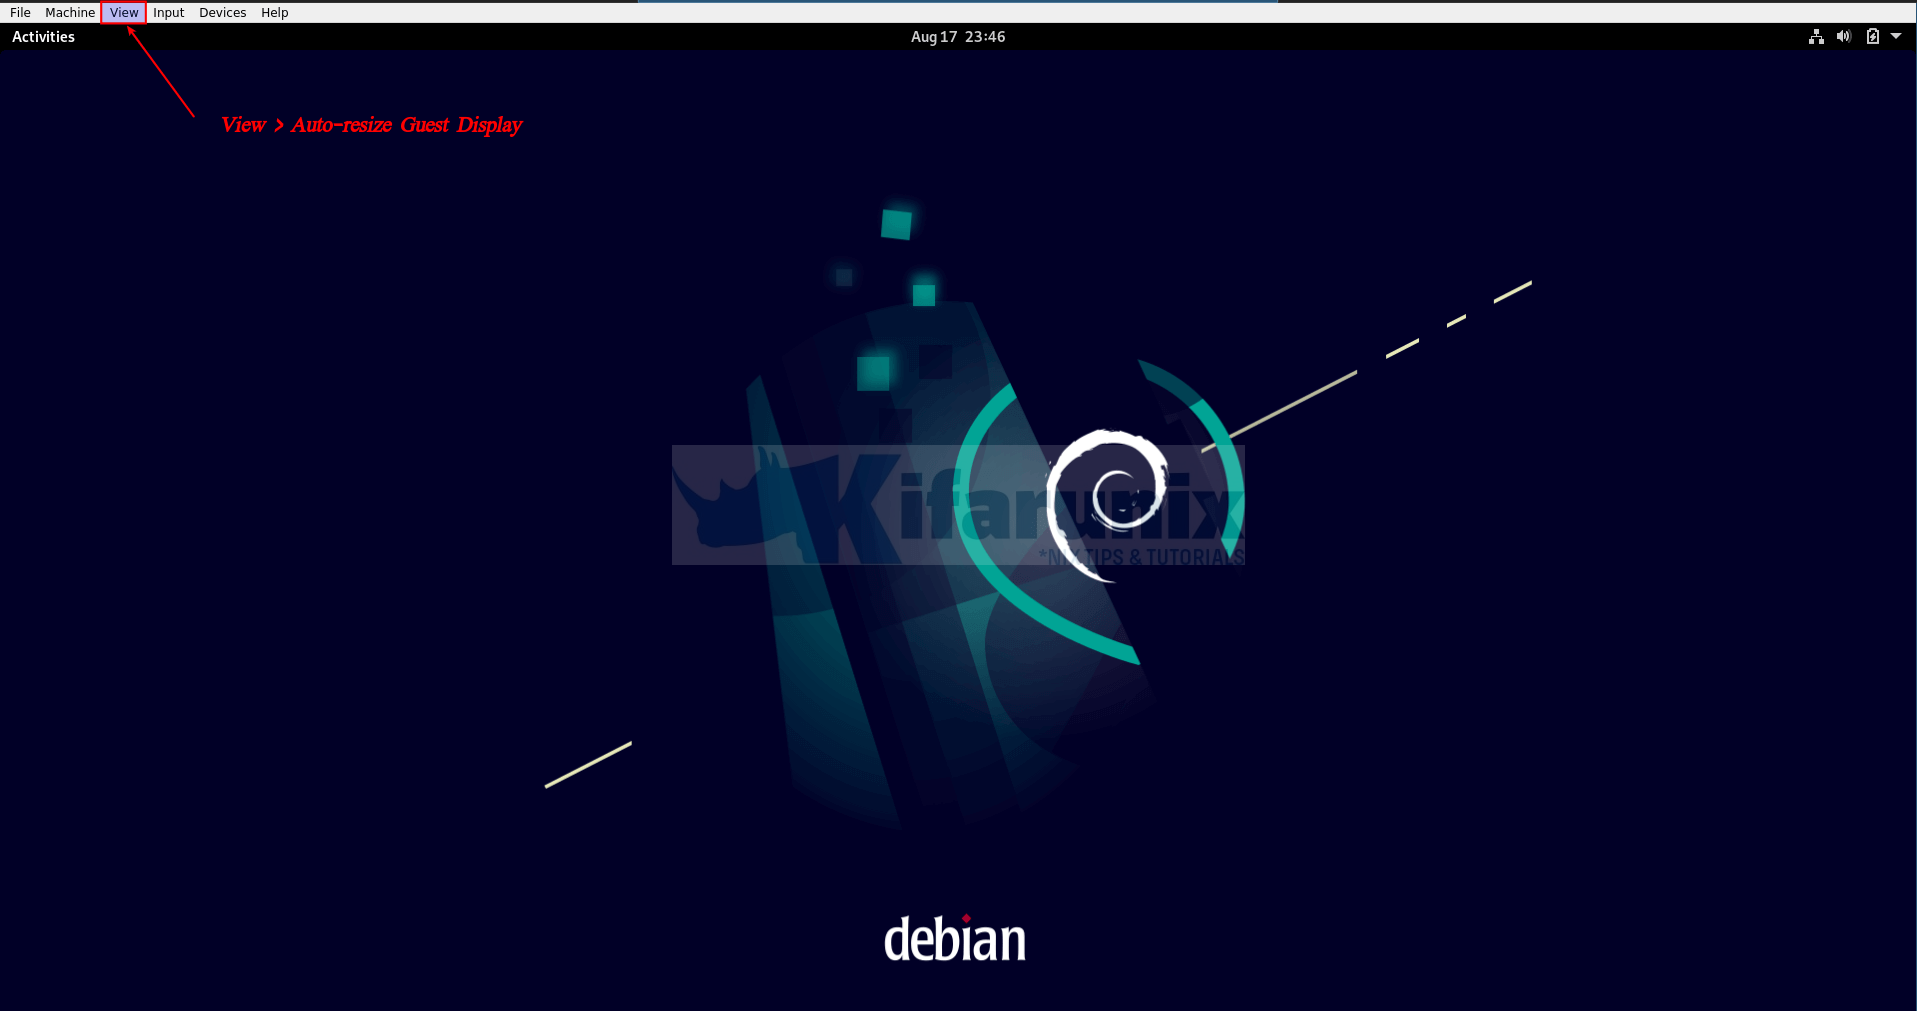
If the screen dont automatically switch to full screen upon boot or login, toggle the View option > Auto-resize Guest Display.

Uninstall, for some reasons, you can always uninstall Guest Additions using the command below;
sudo sh /mnt/VBoxLinuxAdditions.run uninstallWell, that is all on how to install VirtualBox Guest Additions.
Related Tutorials;
Install VirtualBox Guest Additions on Rocky Linux 8


Thank you!
Bless your soul!