Wondering how to install Ubuntu 25.04 on VirtualBox? Ubuntu 25.04, codenamed “Plucky Puffin,” is the latest iteration of Canonical’s renowned Linux distribution. As of this writing, the beta version is available for testing, with the final official release slated for April 17, 2025. Whether you’re a Linux enthusiast, developer, or IT professional, installing Ubuntu 25.04 on VirtualBox lets you explore its features risk-free. In this guide, I’ll share my experience walking you through the process.
Table of Contents
How to Install Ubuntu 25.04 on VirtualBox
What’s the Deal with Ubuntu 25.04 Beta?
The Ubuntu team recently rolled out the beta for Ubuntu 25.04 Desktop, Server, and Cloud editions, along with flavors like Kubuntu, Lubuntu, Ubuntu Budgie, UbuntuKylin, Ubuntu MATE, Ubuntu Studio, Ubuntu Unity
and Xubuntu flavours. This beta’s got some cool stuff under the hood—like a shiny new 6.14 kernel and updated core packages—plus the Subiquity server installer that’s a game-changer for server folks. According to the official release notes, it’s pretty stable for a beta, with daily cloud images (serial 20250327 or higher) getting tweaks leading up to the April 17 launch. It’s not perfect yet—expect a few rough edges—but it’s a solid preview of what’s coming.
Why VirtualBox?
I’ve always been a fan of VirtualBox for testing new operating systems. It’s free, easy to use, and lets you experiment without risking your main machine. Whether you’re a developer debugging code, a student learning Linux, or just curious about “Plucky Puffin,” this setup’s a no-brainer. Let’s dive in!
What You’ll Need
Before we get started, here’s what I used:
- VirtualBox: I’m running 7.0.14. We have extensive guides on how to install VirtualBox. Check them out.
- Ubuntu 25.04 ISO: Download the beta ISO from releases.ubuntu.com/25.04/ for Desktop or Server (x86). Other flavors are at cdimage.ubuntu.com. We are installing the desktop version.
- Your Machine: I’d recommend at least 8GB of RAM (4GB minimum) and 30GB of free disk space. A decent CPU helps too—I’m using a octa-core, and it’s plenty.
Step-by-Step: Installing Ubuntu 25.04 on VirtualBox
1. Fire Up a New Virtual Machine
Open VirtualBox and hit Machine > New or simply press CTRL+N on VirtualBox manager. This launches Virtial machine creation wizard.
- Enter the name of the VM. I named mine “ubuntu-25.04-beta” to keep it simple.
- Set the installtion directory. I used the default VirtualBox path.
- Select the ISO image form the where you downloaded it to.
- Set the:
- type to Linux
- subtype e.g Ubuntu
- the version to Ubuntu (64-bit).
- You can choose to go with unattended installation as explained below.

2. Unattended Ubuntu 25.04 Install on VirtualBox
VirtualBox has really tried to ensure that installation of Virtual Machines that support auto-installation is hustle free. Therefore, if you want the auto-installer to take care of this, then leave the Skip Unattended Installation check box un-checked.
Such settings below are only active when you choose to go the unattended installation way. However, if you skip it by checking the box, they will be greyed out!
As such, provide:
- username and password for your OS account.
- the hostname and domain name.

Similarly, you can enable Guest Additions installation for enhanced virtual machine functionality. This gets you clipboard sharing and full-screen mode, which I can’t live without.
However, it didn’t go well in my testing. It led to the installer failing. So probably try and if it fails, restart the installation and uncheck the Guest Additions button. You can always install it later.
3. VM Hardware Setup
Assign the VM a base memory and define the number of processors to assign. I gave my Ubuntu 25.04 a RAM of 8 GB and 4 cores.
If you want to use UEFI firmware to control the boot-up process of your VM, then proceed to enable it. I skipped it in this guide.

4. Create VM Hard Disk
Next, create a vm hard disk defining:
- hard disk file location and size
- hard disk type and variant. I went with VDI format.

5. Boot It Up
Hit “Finish,” and watch the magic happen. The Ubuntu installer should load—I always get a little excited seeing that purple screen!
If you selected unattended installation, the installer will start preparing Ubuntu for installation and launch the installation when done to install your Ubuntu 25.04 on VirtualBox.
If you opted to manually prepare Ubuntu 25.04 for installation on VirtualBox, then after you have finished initial setup, start the VM from the VirtualBox Manager and run through the installer. When the VM boots, click “Try or Install Ubuntu” to kick things off.
In the next steps:
- Choose the installation language.
- Define your accessibility settings. They are also reconfigurable after the system is set up.
- Choose the keyboard layout.
- Connect to the internet if you want.
- If there is an update for the installer, you can choose to update or skip it. I chose to skip it for now.
- What do you want to do with Ubuntu? Of course, install Ubuntu!
- How would you like to install Ubuntu? I go with interactive installation.
- What apps would you like to install to start with? Let’s go with Default for now to get essential utilities.
- Install recommended proprietary software? No, I skipped this as well.
- How do you want to install Ubuntu? Let’s erase the drive and install Ubuntu on it.
- Encryption and Filesystem? No encryption for now, but it’s up to you to decide. You can also click “Show Advanced Settings” for more disk manipulation options.
- Create your account:
- Username
- Machine hostname
- Password
- Require a password to login or choose to auto-login by unchecking the box.
- Use Active Directory? Of course, by all means. If you want to use an LDAP account, proceed (I haven’t tested this anyway).
- Click Next and proceed to choose your time zone. Usually, it is auto-detected, but you can also choose as you wish.
- Review the installation options and proceed if all is okay. Otherwise, make changes and proceed.
- Click Install to proceed with the installation.
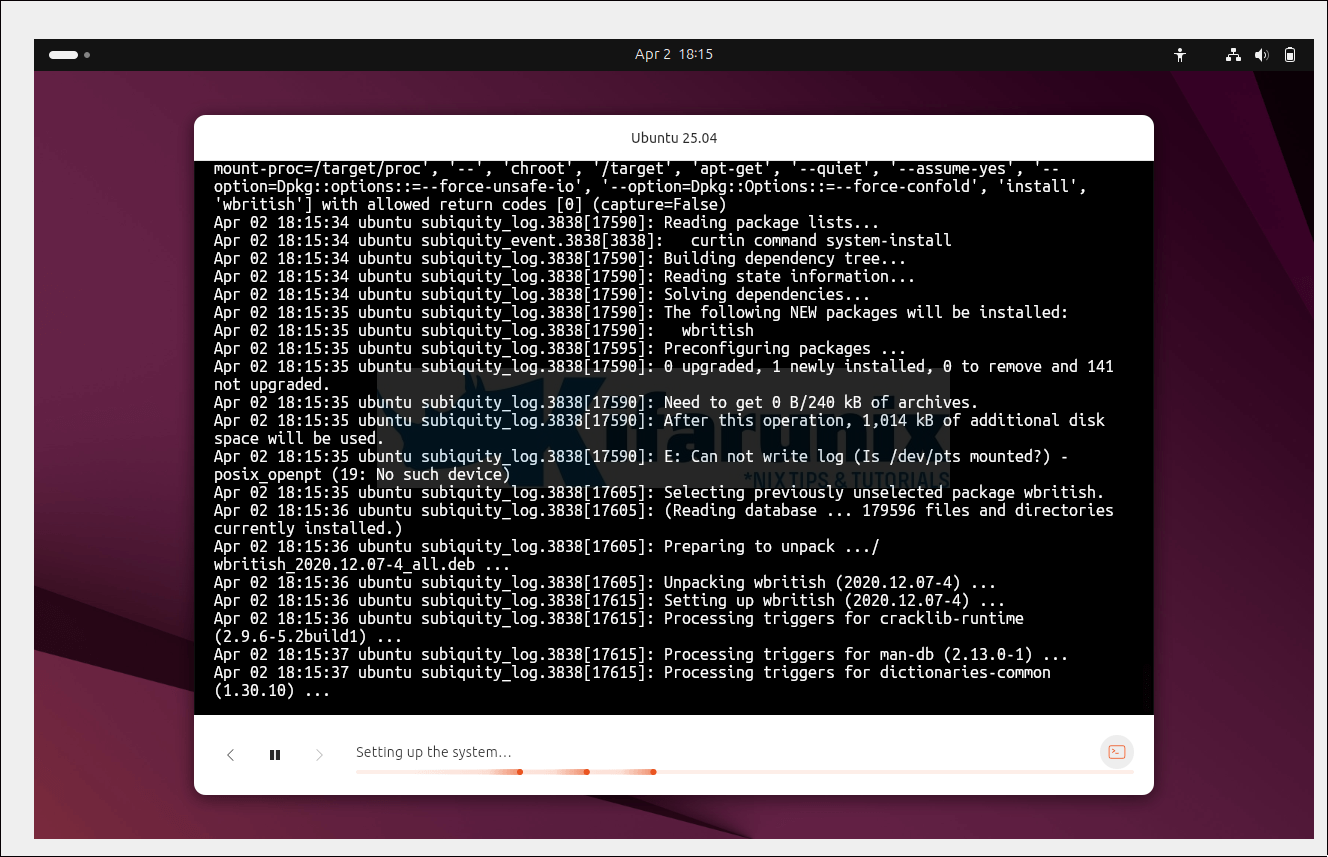
During the installation process, you can view what is actually happening under the hood by clicking on the terminal icon on the installer dashboard.
6. Reboot the system
Once the installation is complete, restart the system. Click Restart now.
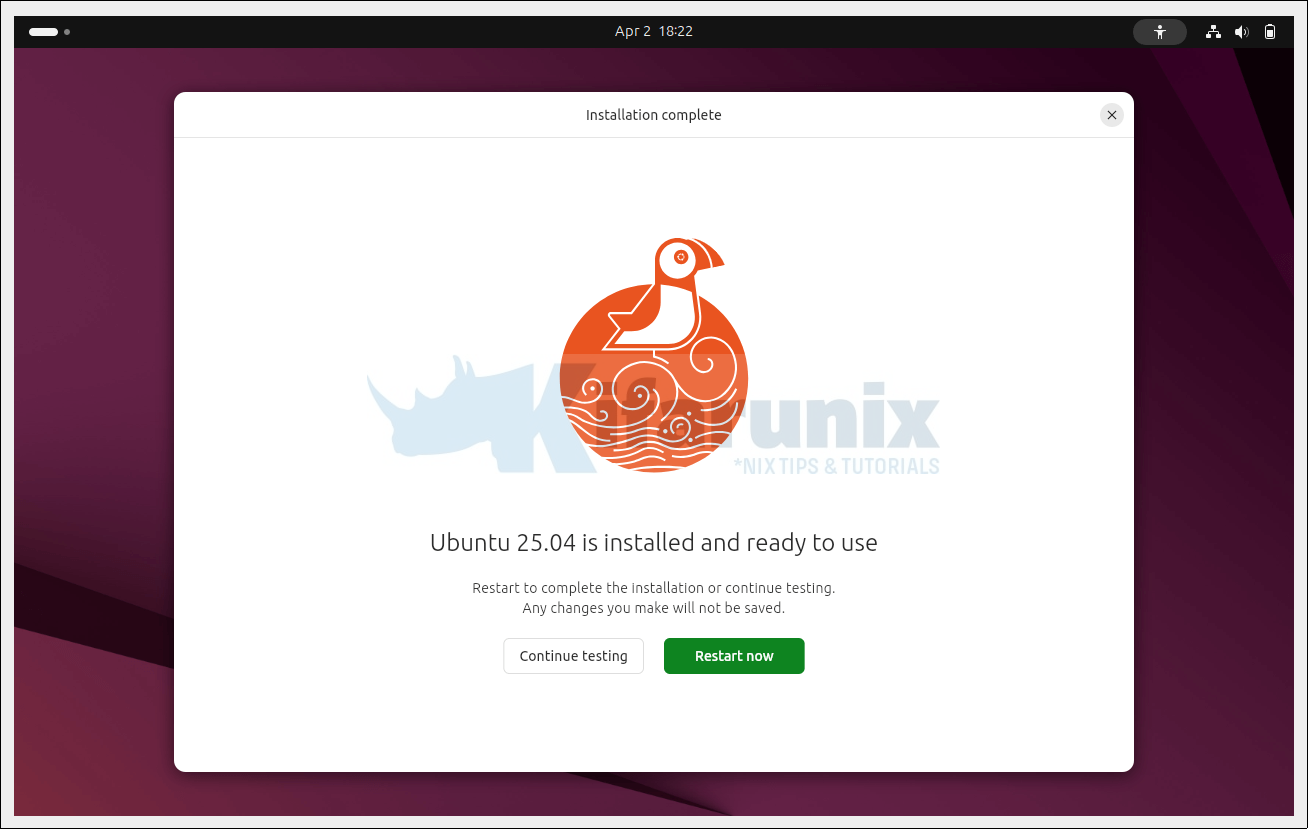
When prompted, press ENTER to remove the installation medium file so when the vm reboots, it boots into the OS and not restart the installation process.
7. First Boot
Once the system reboots, you can login.
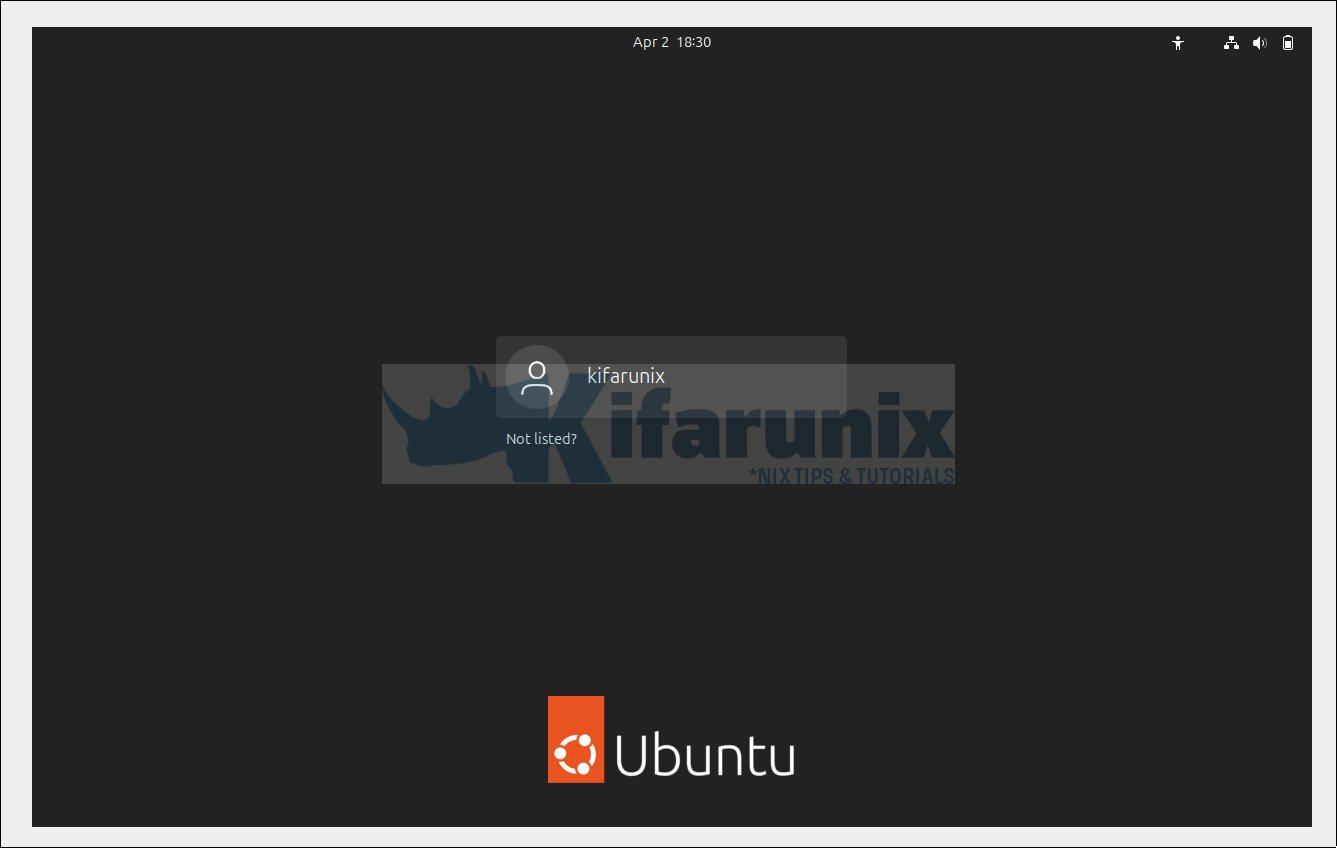
and boom—you’re in Ubuntu 25.04 beta running on VirtualBox!
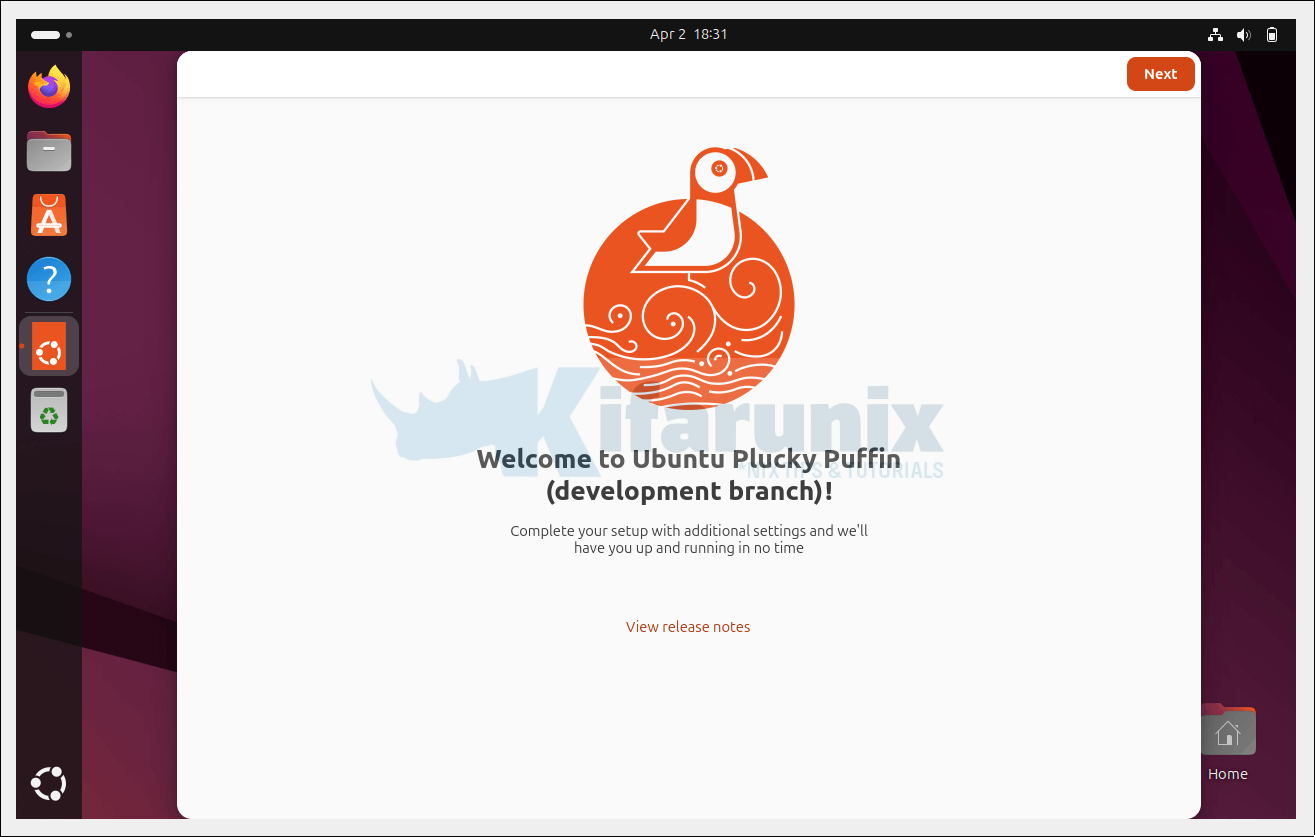
Complete the initial setup and proceed to use your Ubuntu 25.04 beta!
Wrap-Up
Installing Ubuntu 25.04 on VirtualBox is a breeze, and it’s the perfect way to test-drive “Plucky Puffin” before its big debut. I’ve walked you through my process, from downloading the beta ISO to tweaking the VM, so you can hit the ground running. Got questions or want to share how it went for you? Drop a comment below—I’d love to chat about it!
For other VirtualBox tutorials, read more on our page.

