In this tutorial, you will learn how to install ownCloud server on Ubuntu 22.04. ownCloud is a collaboration tool that allows you to easily and securely share files and folders with others.
Table of Contents
Install ownCloud Server on Ubuntu 22.04
ownCloud is available in different additions as highlighted on their pricing pages.
In this tutorial, we will learn how to install open source version of ownCloud on Ubuntu 22.04.
You can install ownCloud using the Helper Script or from the ownCloud Ubuntu repositories. We will use the later in this setup.
Install and Setup LAMP/LEMP Stack on Ubuntu 22.04
ownCloud is a web application that requires either LAMP/LEMP stack to run. In this setup, we will use LAMP stack.
As of this writing, In an officially recommended environment, an ownCloud system should have the following tools for best performance, stability, support and full functionality;
| Operating System | Ubuntu 20.04 LTS |
| Database | MariaDB 10.5 |
| Web server | Apache 2.4 with prefork and mod_php |
| PHP Runtime | 7.4 |
To begin with, run the commands below to install Apache and MariaDB.
apt install apache2 mariadb-server -yInstall PHP 7.4 and Other Required PHP 7.4 Modules;
Please note that Ubuntu 22.04 ships with PHP 8.x in its default repositories. Thus, check this post on how you can enable PHP 7.4 repositories;
Install PHP 7.1/7.2/7.3/7.4 on Ubuntu 22.04
Once done, install required ownCloud PHP and its modules;
apt install php7.4 libapache2-mod-php7.4 php7.4-{mysql,intl,curl,json,gd,xml,mbstring,zip} -yInstall ownCloud Server on Ubuntu
Install ownCloud repository
Owncloud is not included by default on Ubuntu 22.04 repositories. However, there is repo for each Linux distribution maintained by ownCloud itself.
There are available different ownCloud repos for various Debian release versions.
At the moment, the repos for Ubuntu 22.04 are not yet released. Hence, we will use the repos for Ubuntu 20.04.
apt install curl gnupg2 -yecho 'deb http://download.opensuse.org/repositories/isv:/ownCloud:/server:/10/Ubuntu_20.04/ /' > /etc/apt/sources.list.d/isv:ownCloud:server:10.listcurl -fsSL https://download.opensuse.org/repositories/isv:ownCloud:server:10/Ubuntu_20.04/Release.key | gpg --dearmor > /etc/apt/trusted.gpg.d/isv_ownCloud_server_10.gpgNext, once again, resynchronize system packages to their latest versions.
apt updateOnce the update is done, install owncloud.
apt install owncloud-complete-files -y
Reading package lists... Done
Building dependency tree... Done
Reading state information... Done
Suggested packages:
  owncloud-deps
The following NEW packages will be installed:
  owncloud-complete-files
0 upgraded, 1 newly installed, 0 to remove and 867 not upgraded.
Need to get 65.9 MB of archives.
After this operation, 285 MB of additional disk space will be used.
Get:1 http://download.opensuse.org/repositories/isv:/ownCloud:/server:/10/Ubuntu_20.04  owncloud-complete-files 10.9.1-1+6.1 [65.9 MB]
Fetched 65.9 MB in 50s (1,318 kB/s)
Selecting previously unselected package owncloud-complete-files.
(Reading database ... 203631 files and directories currently installed.)
Preparing to unpack .../owncloud-complete-files_10.9.1-1+6.1_all.deb ...
Unpacking owncloud-complete-files (10.9.1-1+6.1) ...
Setting up owncloud-complete-files (10.9.1-1+6.1) ...
Create ownCloud Apache Site Configuration
When ownCloud is installed, it places its web files under the /var/www/owncloud directory.
In order to configure Apache to server the ownCloud content, you need to create ownCloud Apache site configuration file where you can define the ownCloud directory as your root directory.
Copy and paste the command below to create owncloud.conf configuration file.
cat > /etc/apache2/sites-available/owncloud.conf << 'EOL'
Alias / "/var/www/owncloud/"

<Directory /var/www/owncloud/>
  Options +FollowSymlinks
  AllowOverride All

 <IfModule mod_dav.c>
  Dav off
 </IfModule>

 SetEnv HOME /var/www/owncloud
 SetEnv HTTP_HOME /var/www/owncloud

</Directory>
EOL
Enable ownCloud site.
a2ensite owncloud.confDisable default Apache site;
a2dissite 000-default.confEnable additional recommended Apache modules.
a2enmod rewrite mime unique_idVerify Apache configuration syntax.
apachectl -tRestart Apache if the configuration is fine.
systemctl restart apache2Create ownCloud Database and User
Run the mysql_secure_installation script to remove test databases, disable remote root login e.t.c.
mysql_secure_installationLogin to MariaDB database server and create ownCloud database and database user.
mysqlIf you already enabled password authentication, then login via;
mysql -u root -pNext, execute the commands below to create ownCloud database and database user.
create database ownclouddb;grant all on ownclouddb.* to ocadmin@localhost identified by "StrongP@ss";flush privileges;
quitFinalize ownCloud Configuration
There are two way in which you can finalize ownCloud configuration;
Finalize configuration using the Command Line
To complete ownCloud installation and configuration using command line;
- navigate to ownCloud web root directory
cd /var/www/owncloud- run the command below within the ownCloud directory. Be sure to set the correct database credentials and provide your administrator password.
sudo -u www-data php occ maintenance:install \
   --database "mysql" \
   --database-name "ownclouddb" \
   --database-user "ocadmin"\
   --database-pass "StrongP@ss" \
   --admin-user "kifarunixadmin" \
   --admin-pass "password"
The command above setups ownCloud database and create and admin user.
When all is done, you will see such a message.
ownCloud was successfully installedUpdate Trusted ownCloud Trusted Domains
All URLs used to access your ownCloud server must be white-listed in your config.php file, under the trusted_domains setting. Users are allowed to log into ownCloud only when they point their browsers to a URL that is listed in the trusted_domains setting.
With command line install completion method, you can edit the /var/www/owncloud/config/config.php configuration file and update the list of trusted domains.
vim /var/www/owncloud/config/config.phpBy default, only localhost is whitelisted as shown;
  'trusted_domains' =>
  array (
    0 => 'localhost',
  ),
You can add more addresses, for example;
  'trusted_domains' =>
  array (
    0 => 'localhost',
    1 => 'oc.kifarunix-demo.com',
    2 => '192.168.57.43',
  ),
You can now access your ownCloud using either the server’s IP or the server’s domain, http://<server-ip-or-domain>.
Finalize configuration using Web browser
To complete ownCloud installation and configuration via browser, you need to access it via the browser using the address http://<server-IP>.
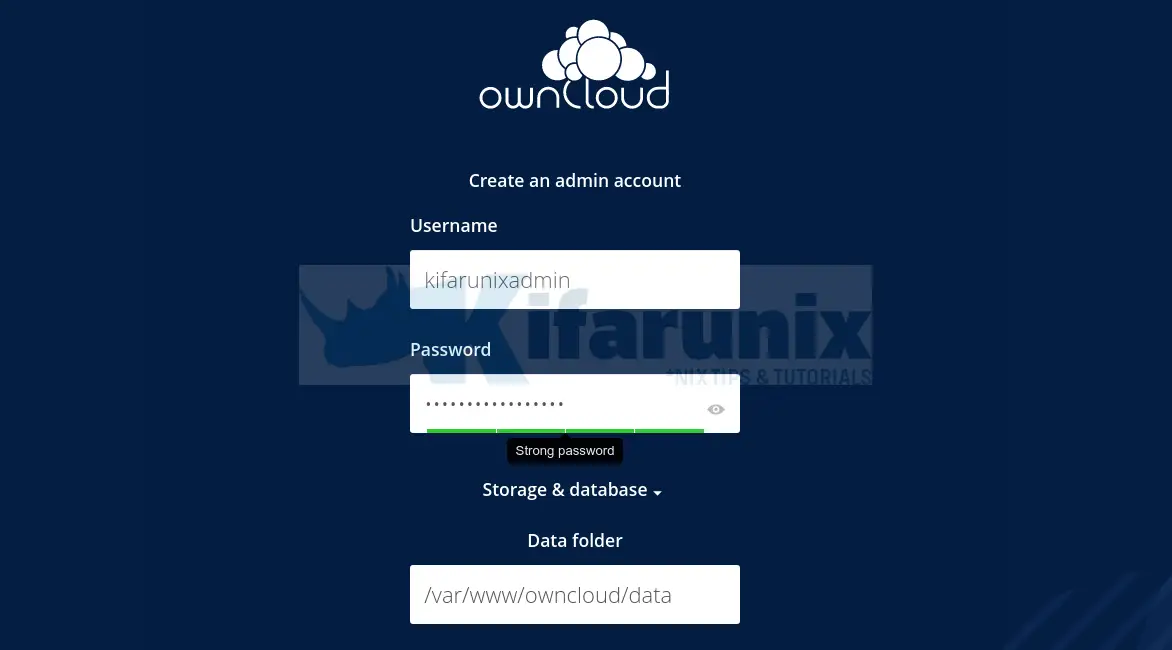
When you access the ownCloud server address, you are welcomed by the ownCloud configuration interface.
- Set the ownCloud admin user and password and define the ownCloud data directory (/var/www/owncloud/data is the default).
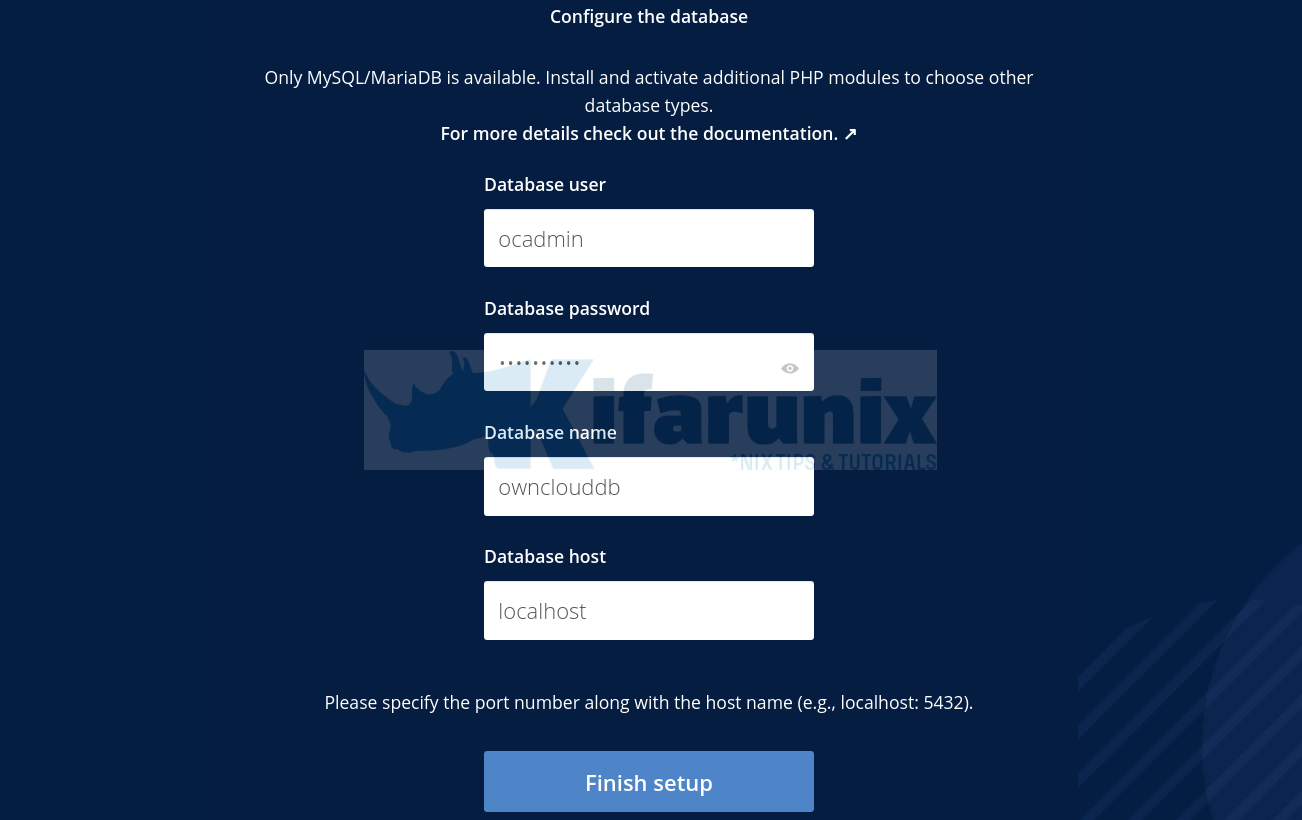
- Set the database connection details as created above.
Once you done with configuration, click Finish setup to finalize ownCloud configuration on Ubuntu 22.04.
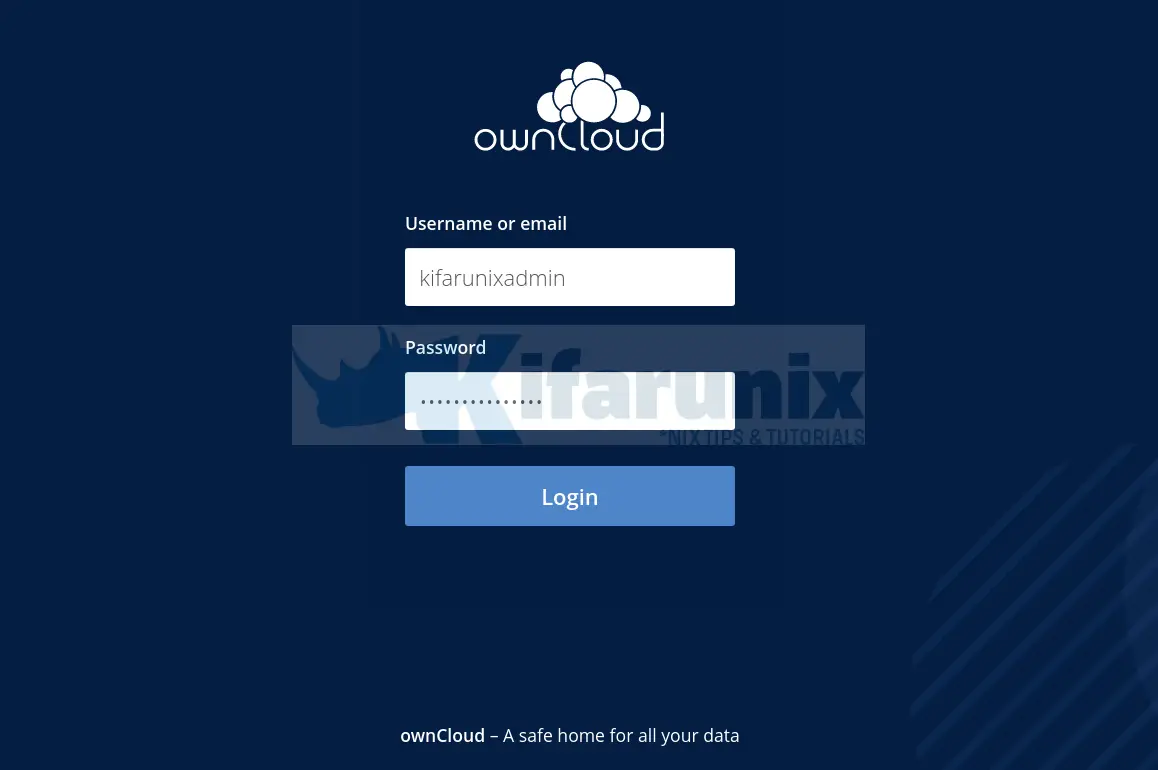
When configuration completes, you will get to a login page.
Enter your admin user login details to login to ownCloud dashboard.
If you lost ownCloud Admin password, you can always reset using the command below;
sudo -u www-data php /var/www/owncloud/occ user:resetpassword usernameFor example, to reset the password for admin user, kifarunixadmi;
sudo -u www-data php /var/www/owncloud/occ user:resetpassword kifarunixadminLogin with your Admin user account details you defined during setup. After a successful login, you will land on ownCloud dashboard.
And that is it on how to install ownCloud Server on Ubuntu. You can now create different folders and share with your relevant users. Enjoy.
Further Reading
Read more on ownCloud Documentation page.


many thanks Jay