Learn how to install ownCloud Desktop Client on Debian 10 Buster. ownCloud Desktop Client is a gui based ownCloud application that enables you to;
- Connect to one or more ownCloud servers (HTTP or HTTPS) for viewing in a single UI
- Browse files and folders in the native Finder or Explorer and share by name or link with a right-click
- Automatically sync your latest files and folders across PCs & with other users and groups
- Selectively sync additional folders from anywhere on your PC
- Control default sync behavior for new files and folders, setting max file size for sync
- Use the new activity tab to track server-side activities
- Pause and resume uploads and downloads automatically
- Configure proxies and throttle bandwidth for your use case
- Admins can push notifications out to users through the desktop client.
If you need to install and setup your own ownCloud server, see our guide by following the link below;
Install ownCloud Server on Debian 10 Buster
Installing ownCloud Desktop Client on Debian 10
ownCloud is not available on Debian 10 Buster repositories by default. As such, the installation can be done by installing ownCloud APT repos or by using the DEB binary.
Install ownCloud Desktop Client via ownCloud APT Repository
To install ownCloud desktop client via ownCloud APT repository on Debian 10 buster, you need to install the repository first.
Install the Repository Signing Key
Run the command below to download and install ownCloud Desktop client repository signing key.
curl -fsSL \
https://download.opensuse.org/repositories/isv:ownCloud:server:10/Debian_10/Release.key \
| gpg --dearmor | sudo tee /etc/apt/trusted.gpg.d/isv_ownCloud_server_10.gpg
Install ownCloud Desktop Client repository
echo 'deb http://download.opensuse.org/repositories/isv:/ownCloud:/server:/10/Debian_10/ /' \
| sudo tee /etc/apt/sources.list.d/isv:ownCloud:server:10.list
Run System Update
apt updateInstall ownCloud Desktop Client
Next, install ownCloud Desktop client by running the command below;
apt install owncloud-clientConnecting to ownCloud Server using ownCloud Desktop Client
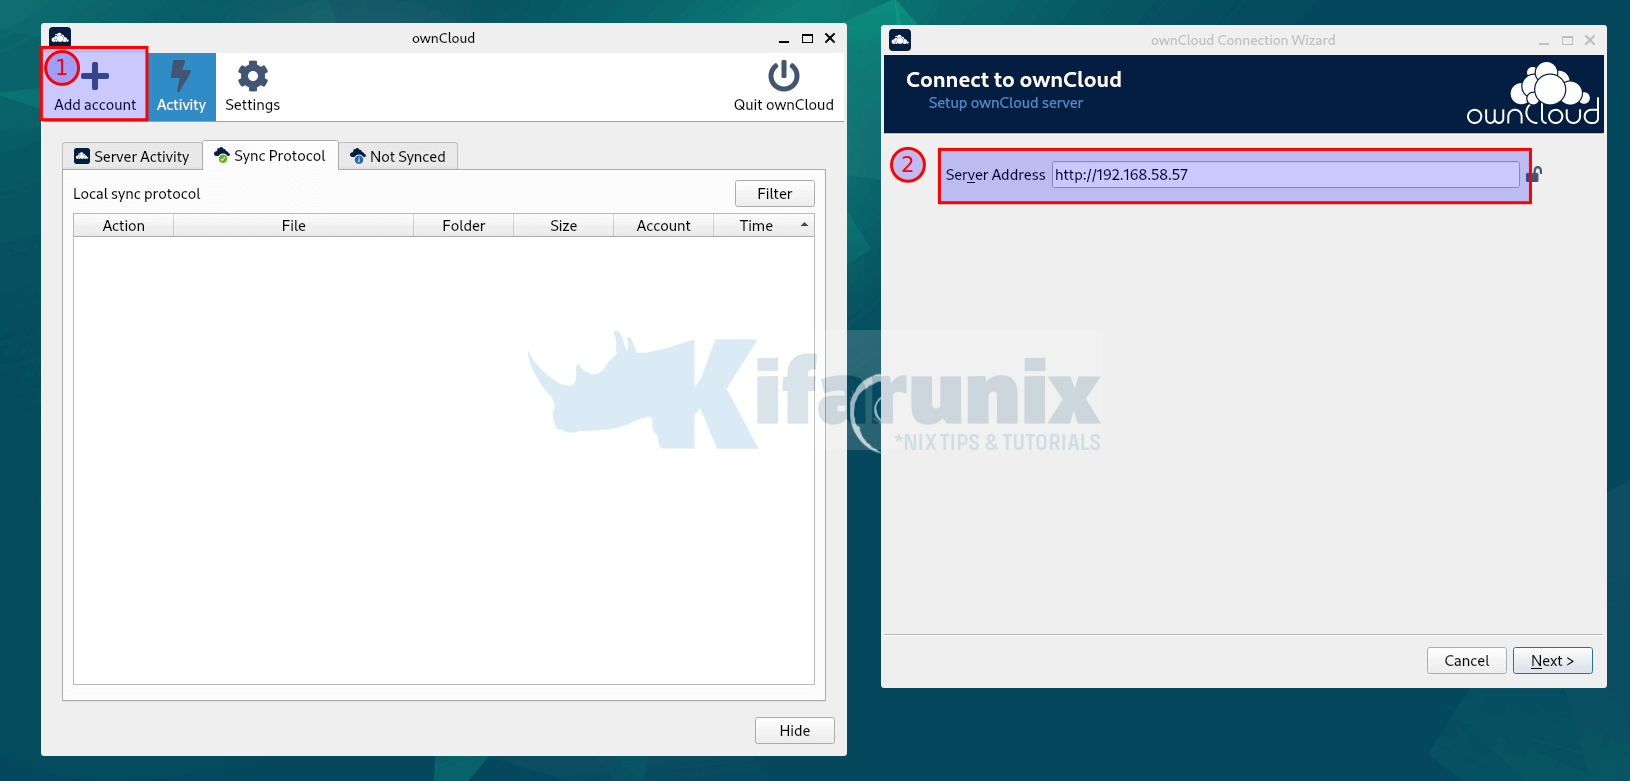
You can now launch your ownCloud desktop client and connect to your ownCloud server to synchronize your files and folders to local disk as well as upload files to your server.
Enter the ownCloud server address and click Next.

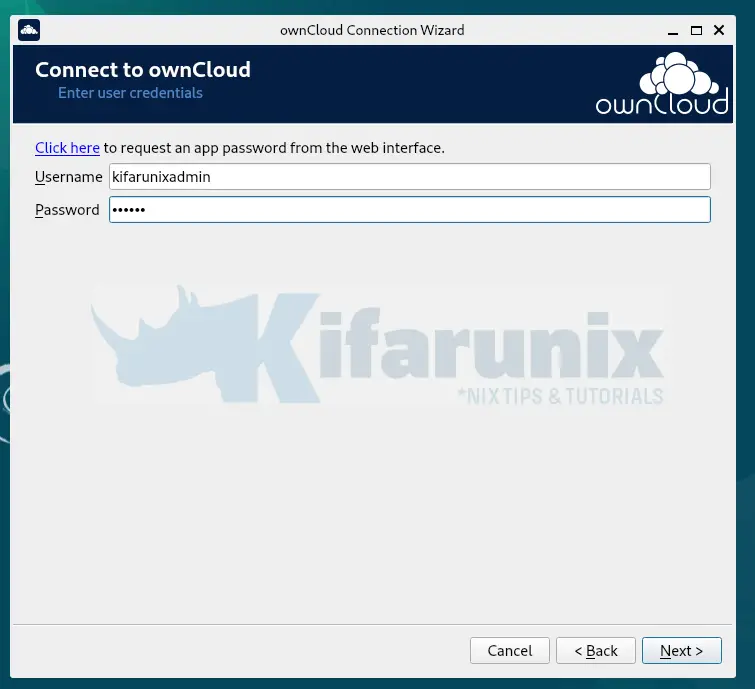
Enter your access credentials.

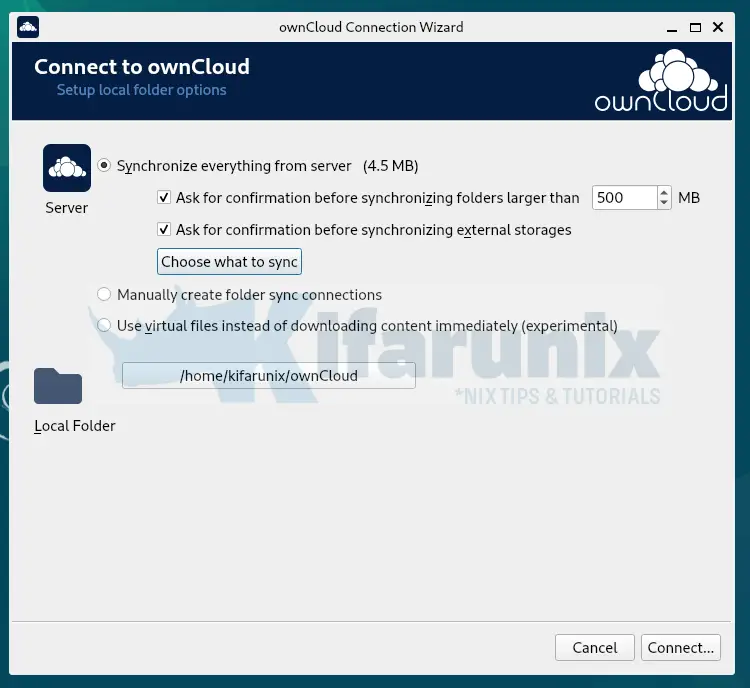
Setup your local folders for synchronization. In this demo, we leave the default settings.

Click connect to connect to the server and synchronize the folder and the files to the local folder and vise versa.
That is it on how to install ownCloud Desktop Client on Debian 10 Buster.
Related Tutorials
Configure ownCloud OpenLDAP Authentication
Install ownCloud Desktop Client on CentOS 8

