Welcome to our tutorial on how to install OTRS ticketting system on Rocky Linux. OTRS, an acronym for Open Source Ticket Request System, is a flexible ticket request and process management system for customer services, Helpdesk, and IT services.
OTRS ships with a comprehensive list of features that you can check them on the OTRS feature list page.
Install OTRS Ticketting System on Rocky Linux
OTRS is available as a commercial product as well as a community edition. In this tutorial, however, we will learn how to install OTRS community edition on Rocky Linux system by building it from the source.
To begin with;
- Create OTRS system user account
sudo useradd -r -m -d /opt/otrs -c "OTRS User" otrs- Install and enable additional repositories;
dnf install epel-releasednf config-manager --set-enabled powertools- Install Required Build Tools
dnf install perl mod_perl mariadb-server perl-DBD-MySQL \
perl-TimeDate perl-Net-DNS perl-LDAP perl-IO-Socket-SSL perl-SOAP-Lite \
perl-Text-CSV_XS perl-JSON-XS perl-Apache-DBI perl-XML-LibXML \
perl-XML-LibXSLT perl-YAML perl-Archive-Zip perl-Crypt-Eksblowfish \
perl-Encode-HanExtra perl-Mail-IMAPClient perl-Template-Toolkit \
perl-Moo perl-NTLM perl-DBD-ODBC perl-DBD-Pg httpd expat-devel \
policycoreutils-python-utils -y- Download latest OTRS Source Code from the download’s page and extract it to /opt directory.
wget -qO- \
https://otrscommunityedition.com/download/otrs-community-edition-6.0.35.tar.gz \
| tar xz -C /opt/otrs --strip-components=1- Next, run the OTRS Perl script to check if all required modules are in place.
perl /opt/otrs/bin/otrs.CheckModules.plSample command output;
  o Apache::DBI......................ok (v1.12)
  o Apache2::Reload..................ok (v0.13)
  o Archive::Tar.....................ok (v2.30)
  o Archive::Zip.....................ok (v1.60)
  o Crypt::Eksblowfish::Bcrypt.......ok (v0.009)
  o CSS::Minifier::XS................Not installed! To install, you can use: 'cpan CSS::Minifier::XS'. (optional - CSS::Minifier::XS - XS based CSS minifier, faster than pure Perl CSS::Minifier)
  o Date::Format.....................ok (v2.24)
  o DateTime.........................Not installed! To install, you can use: 'cpan DateTime'. (required)
    o DateTime::TimeZone.............Not installed! To install, you can use: 'cpan DateTime::TimeZone'. (optional - Olson time zone database, required for correct time calculations.)
  o DBI..............................ok (v1.641)
  o DBD::mysql.......................ok (v4.046)
  o DBD::ODBC........................ok (v1.61)
  o DBD::Oracle......................Not installed! To install, you can use: 'cpan DBD::Oracle'. (optional - Required to connect to a Oracle database.)
  o DBD::Pg..........................ok (v3.7.4)
  o Digest::SHA......................ok (v6.02)
  o Encode::HanExtra.................ok (v0.23)
  o IO::Socket::SSL..................ok (v2.066)
  o JSON::XS.........................ok (v3.04)
  o JavaScript::Minifier::XS.........Not installed! To install, you can use: 'cpan JavaScript::Minifier::XS'. (optional - JavaScript::Minifier::XS - XS based JavaScript minifier, faster than pure Perl JavaScript::Minifier)
  o List::Util::XS...................ok (v1.49)
  o LWP::UserAgent...................ok (v6.64)
  o Mail::IMAPClient.................ok (v3.42)
    o IO::Socket::SSL................ok (v2.066)
    o Authen::SASL...................ok (v2.16)
    o Authen::NTLM...................ok (v1.09)
  o ModPerl::Util....................ok (v2.000012)
  o Moo..............................ok (v2.003004)
  o Net::DNS.........................ok (v1.15)
  o Net::LDAP........................ok (v0.66)
  o Net::SMTP........................ok (v3.11)
  o Template.........................ok (v2.29)
  o Template::Stash::XS..............ok (undef)
  o Text::CSV_XS.....................ok (v1.40)
  o Time::HiRes......................ok (v1.9758)
  o XML::LibXML......................ok (v2.0132)
  o XML::LibXSLT.....................ok (v1.96)
  o XML::Parser......................ok (v2.44)
  o YAML::XS.........................Not installed! To install, you can use: 'cpan YAML::XS'. (required - Required for fast YAML processing.)
If any Perl module is missing, install using the package manager or CPAN.
For example, from the output above, the following Perl Modules were not installed;
CSS::Minifier::XS DateTime DateTime::TimeZone JavaScript::Minifier::XS YAML::XSYou can install them using CPAN;
cpan CSS::Minifier::XS DateTime DateTime::TimeZone JavaScript::Minifier::XS YAML::XSEnter yes and proceed.
Next, rerun the modules check command to see if any required perl module is missing;
perl /opt/otrs/bin/otrs.CheckModules.pl o Apache::DBI......................ok (v1.12)
o Apache2::Reload..................ok (v0.13)
o Archive::Tar.....................ok (v2.30)
o Archive::Zip.....................ok (v1.60)
o Crypt::Eksblowfish::Bcrypt.......ok (v0.009)
o CSS::Minifier::XS................ok (v0.13)
o Date::Format.....................ok (v2.24)
o DateTime.........................ok (v1.58)
o DateTime::TimeZone.............ok (v2.52)
o DBI..............................ok (v1.641)
o DBD::mysql.......................ok (v4.046)
o DBD::ODBC........................ok (v1.61)
o DBD::Oracle......................Not installed! To install, you can use: 'cpan DBD::Oracle'. (optional - Required to connect to a Oracle database.)
o DBD::Pg..........................ok (v3.7.4)
o Digest::SHA......................ok (v6.02)
o Encode::HanExtra.................ok (v0.23)
o IO::Socket::SSL..................ok (v2.066)
o JSON::XS.........................ok (v3.04)
o JavaScript::Minifier::XS.........ok (v0.15)
o List::Util::XS...................ok (v1.49)
o LWP::UserAgent...................ok (v6.64)
o Mail::IMAPClient.................ok (v3.42)
o IO::Socket::SSL................ok (v2.066)
o Authen::SASL...................ok (v2.16)
o Authen::NTLM...................ok (v1.09)
o ModPerl::Util....................ok (v2.000012)
o Moo..............................ok (v2.003004)
o Net::DNS.........................ok (v1.15)
o Net::LDAP........................ok (v0.66)
o Net::SMTP........................ok (v3.11)
o Template.........................ok (v2.29)
o Template::Stash::XS..............ok (undef)
o Text::CSV_XS.....................ok (v1.40)
o Time::HiRes......................ok (v1.9758)
o XML::LibXML......................ok (v2.0132)
o XML::LibXSLT.....................ok (v1.96)
o XML::Parser......................ok (v2.44)
o YAML::XS.........................ok (v0.83)
- Activate the default OTRS configuration,
/opt/otrs/Kernel/Config.pm.dist, by renaming it to remove the.distextension;
cp /opt/otrs/Kernel/Config.pm{.dist,}Once you activate the configuration file, check if other required modules are okay;
for i in cgi-bin/index.pl cgi-bin/customer.pl otrs.Console.pl; do \
perl -cw /opt/otrs/bin/$i; done
Sample Output;
/opt/otrs/bin/cgi-bin/index.pl syntax OK
/opt/otrs/bin/cgi-bin/customer.pl syntax OK
/opt/otrs/bin/otrs.Console.pl syntax OK
Ensure everything is Okay before you can proceed.
- Run MySQL initial security script;
systemctl enable --now mariadbmysql_secure_installation- Create OTRS Database and Database User
mysql -u root -p -e "create database otrsdb character set utf8 collate utf8_general_ci;"mysql -u root -p -e "grant all on otrsdb.* to otrsadmin@localhost identified by 'ChangeME';"mysql -u root -p -e "flush privileges;"Update the database configuration with the settings below;
max_allowed_packet   = 64M
query_cache_size     = 32M
innodb_log_file_size = 256M
Please these lines within the [mysqld] section. Use the command below;
sed -i.bak -e \
'/\[mysqld\]/amax_allowed_packet   = 64M\nquery_cache_size     = 32M\ninnodb_log_file_size = 256M' \
/etc/my.cnf.d/mariadb-server.cnf
Restart the database service;
systemctl restart mariadb- Setup Apache OTRS Site Configuration
By default, OTRS ships with default Apache configuration, /opt/otrs/scripts/apache2-httpd.include.conf.
Thus, instead of re-inventing the wheel, just link this configuration file to Apache sites-enabled directory to use it to serve OTRS.
ln -s /opt/otrs/scripts/apache2-httpd.include.conf /etc/httpd/conf.d/Set the ownership of the /opt/otrs;
chown -R apache: /opt/otrs/usermod -aG apache otrsUpdate OTRS Files Permissions
/opt/otrs/bin/otrs.SetPermissions.pl --web-group=apacheCheck Apache configuration for any error and restart Apache Web Server;
httpd -tsystemctl restart httpd- Update SELinux Policies
Allow httpd to can network connect;
setsebool -P httpd_can_network_connect 1Allow httpd to can network connect db;
setsebool -P httpd_can_network_connect_db 1Allow Apache to write to OTRS directory.
chcon -R -t httpd_sys_rw_content_t /opt/otrs/Finalize Setup of OTRS on Browser
Allow external access to Apache service;
firewall-cmd --add-port=80/tcp --permanent
firewall-cmd --reload
Next, access the OTRS installer via the http://HOST_IP_OR_DOMAIN/otrs/installer.pl.
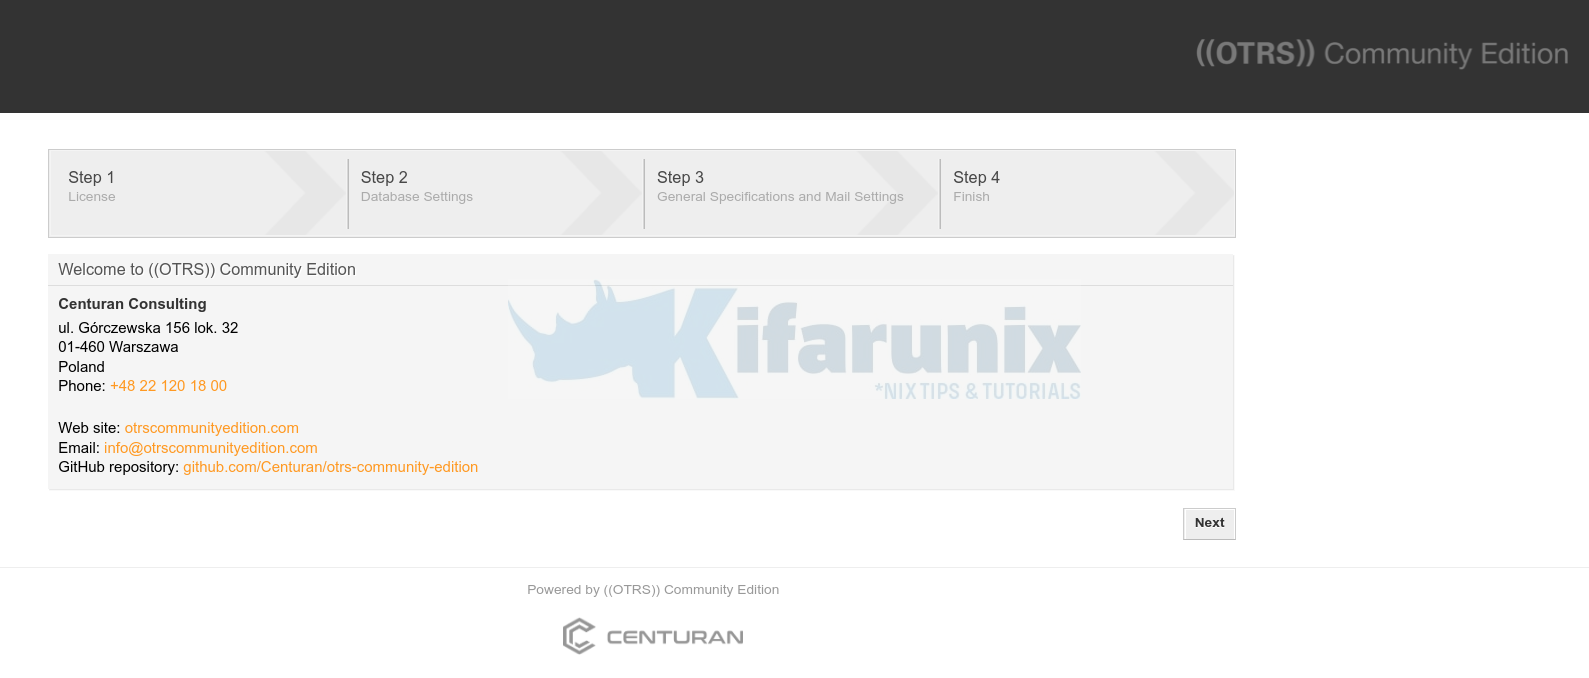
- On the first step, you need to Accept End User License Agreement. Thus click Next and scroll down and accept the license.
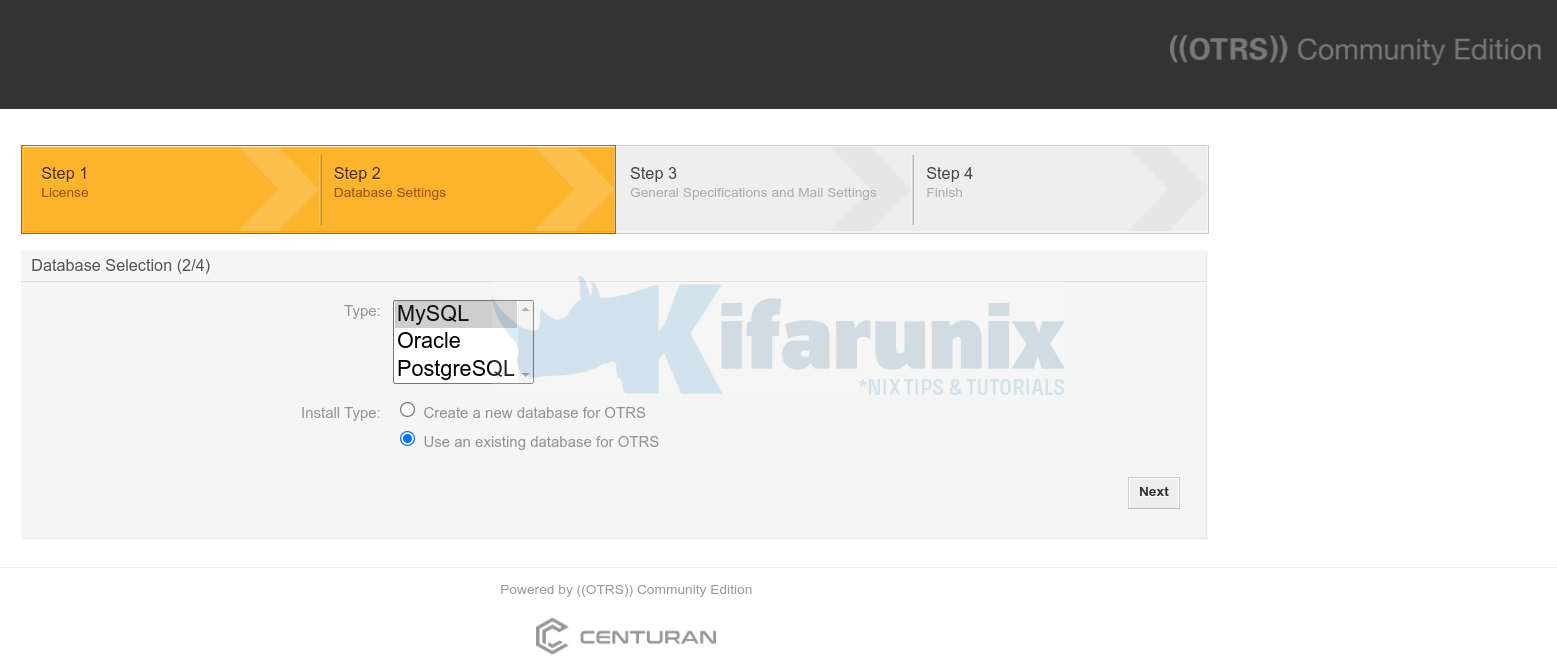
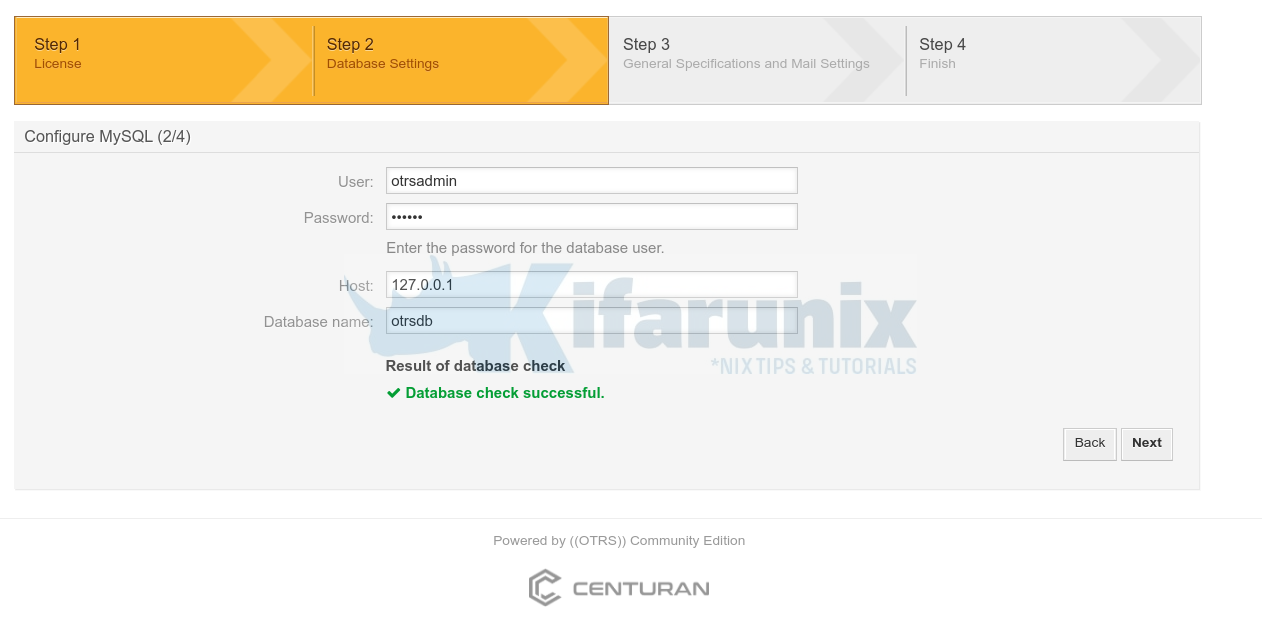
- Define OTRS database connections details created above. If you have not already created the database, you can choose to create a new one.
Thus select “Use an existing database for OTRS” and proceed to define the database connection details.
Once you enter the database connection settings, verify the connection before you can proceed.
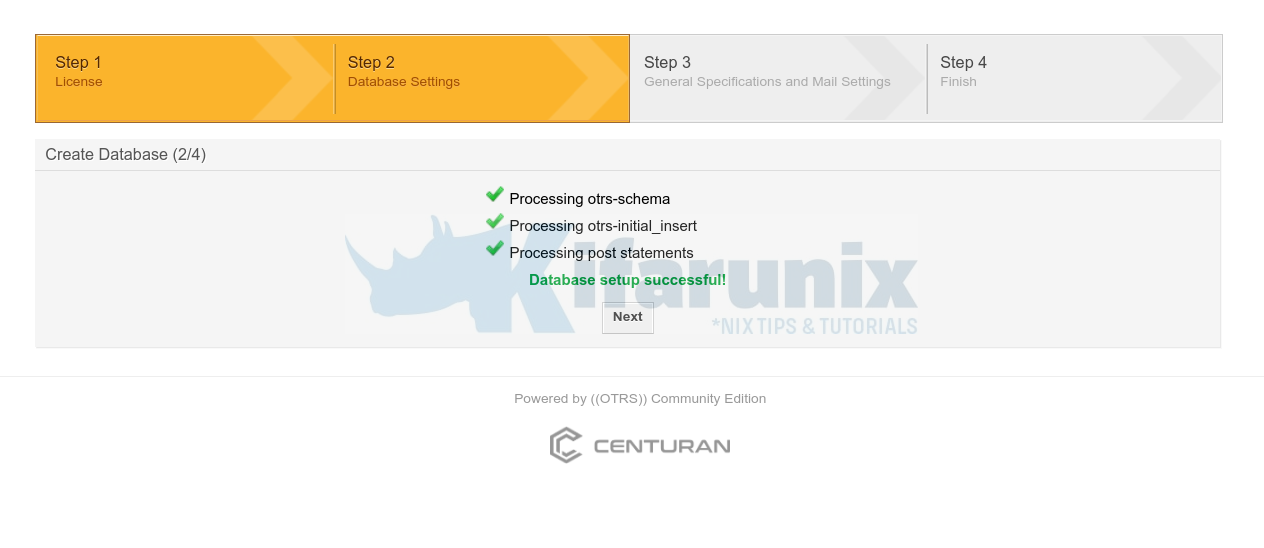
The database setup will proceed when you click Next.
Once it is done, click Next.
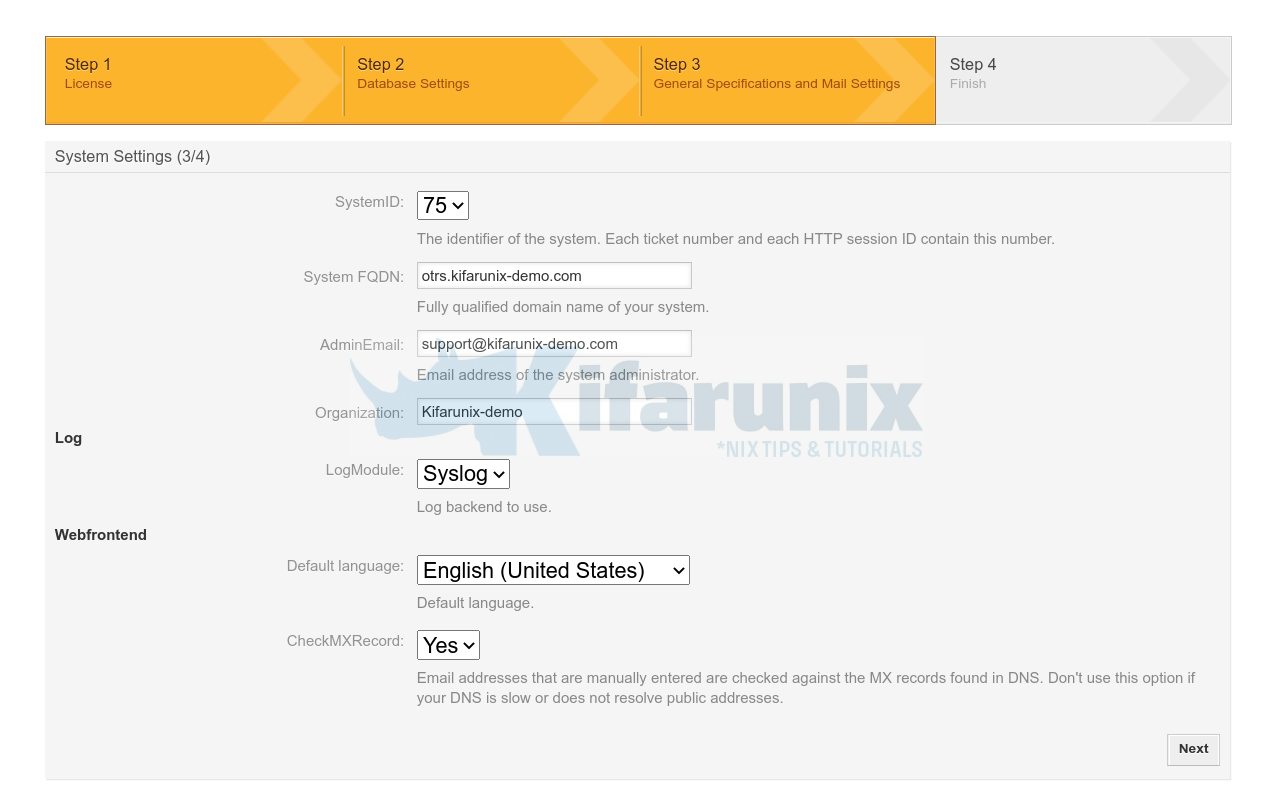
- OTRS general and Mail settings;
Click Next to configure your email settings.
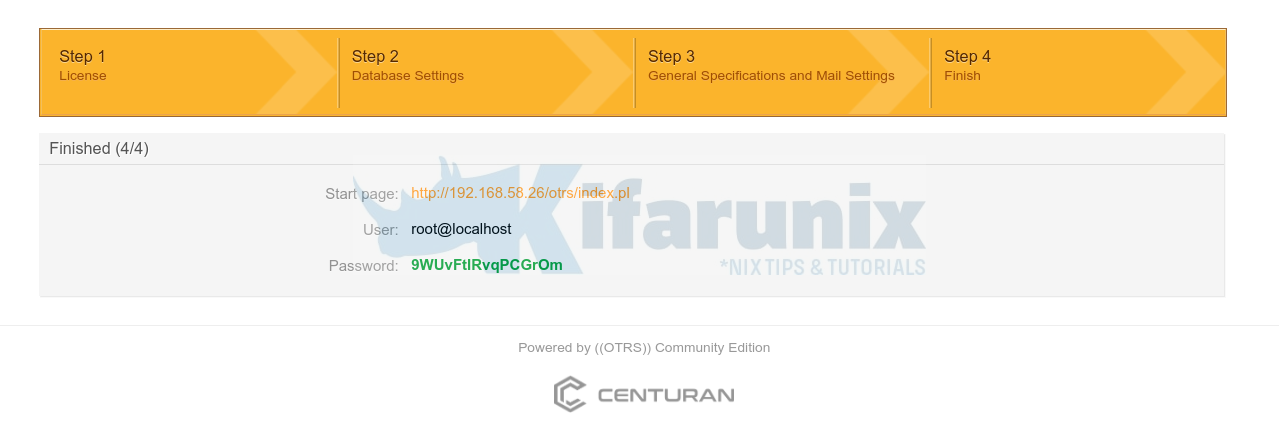
- OTRS Login Credentials
At the finish, you will see the OTRS login details.
- OTRS Dashboard
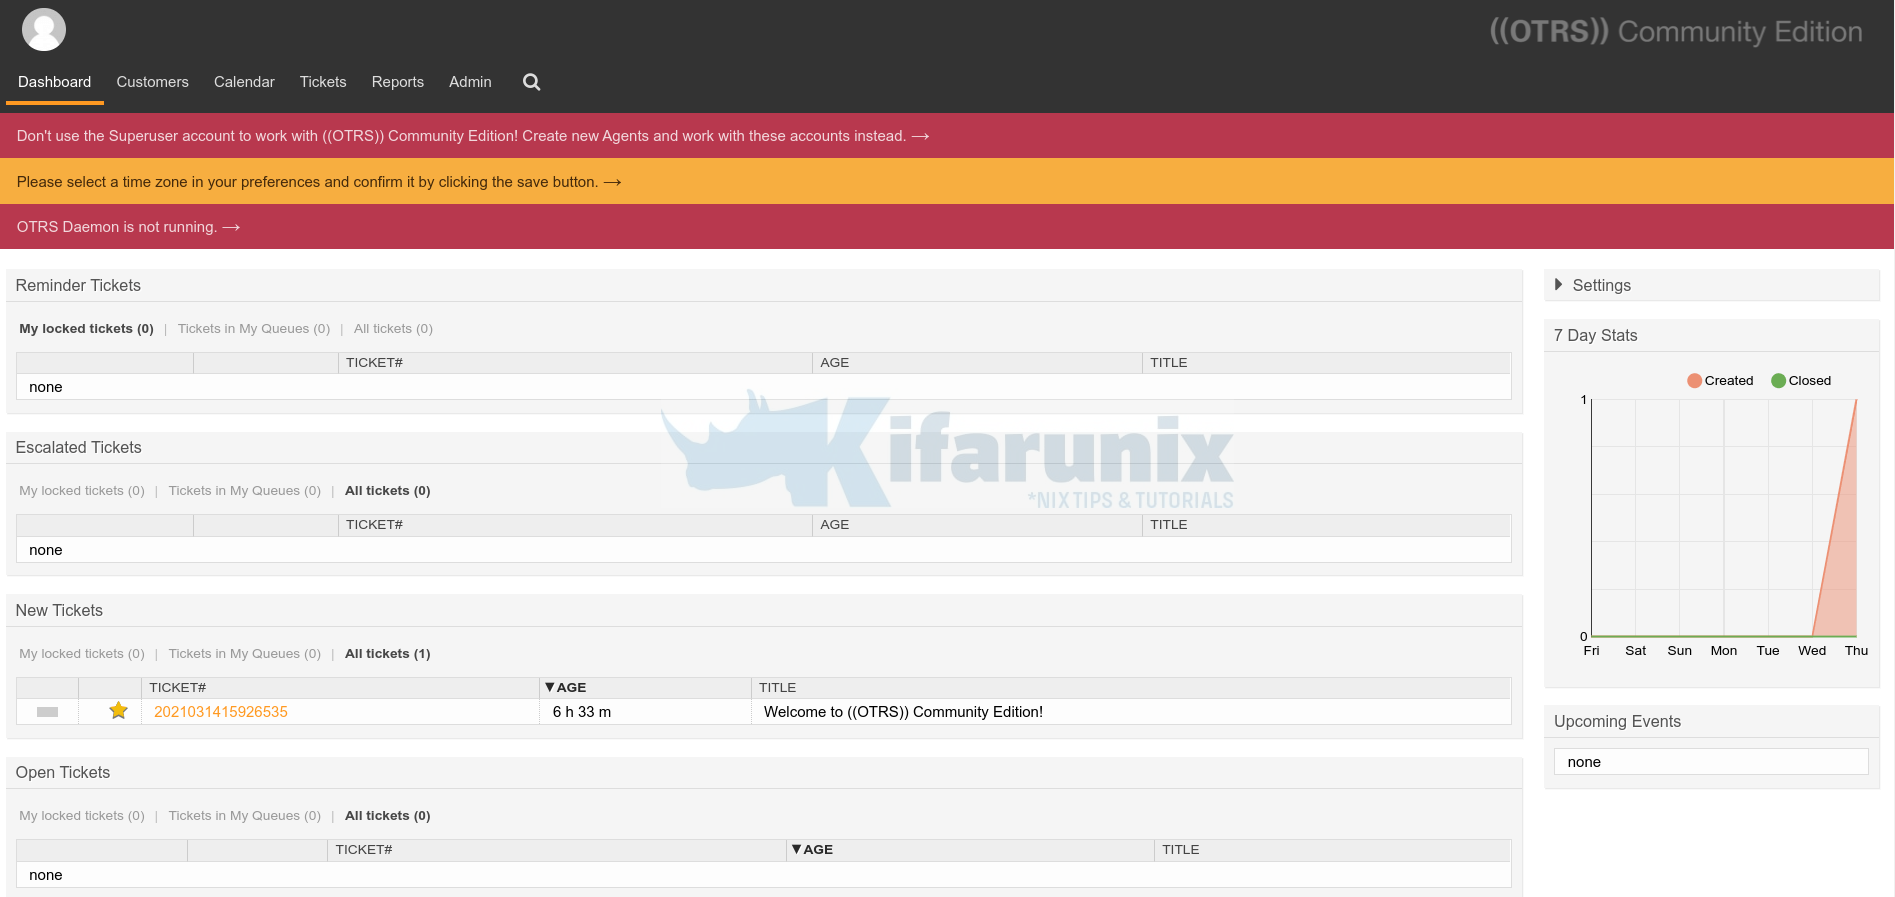
If you see that the OTRS Daemon is not running, start the OTRS Daemon;
sudo -Hiu otrs /opt/otrs/bin/otrs.Daemon.pl startNext, ensure that the OTRS cron jobs under /opt/otrs/var/cron/ exists without the .dist extension and start them;
sudo -Hiu otrs cp /opt/otrs/var/cron/aaa_base{.dist,}sudo -Hiu otrs cp /opt/otrs/var/cron/otrs_daemon{.dist,}sudo -Hiu otrs /opt/otrs/bin/Cron.sh startAnd that is how you can easily install OTRS Ticketting System on Rocky Linux.
Read more on the administration page.
Other Tutorials

