In this tutorial, you will learn how to install osTicket Ticketing system on Debian 11/Debian 10. osTicket is an opensource ticketing system.
Read more about osTicket and its capabilities on the osTicket Features page.
Install osTicket Ticketing System on Debian 11/Debian 10
osTicket is available in different editions;
- Free version
- Cloud based version
- Virtual Appliance
In this tutorial, we will be install the free version of osTicket on Debian 11/Debian 10 systems.
Run System Update
To begin with, run system package update;
apt updateInstall HTTP Server
To begin with, install an HTTP server. In this setup, we use Apache HTTP server. Thus run the command below to install Apache HTTP server on Debian 11/Debian 10.
apt install apache2 -yStart and enable Apache HTTP server to run on system boot;
systemctl enable --now apache2Install PHP and Required PHP Modules
Next, execute the command below to install PHP and PHP modules required by osTicket system. Note that osTicket requires PHP 7.2+. Hence, we will use PHP 7.4 on Debian 11 and PHP 7.3 on Debian 10, which is the default PHP versions available on the respective repositories;
apt install php php-{gd,imap,xml,json,mbstring,mysql,intl,apcu} libapache2-mod-php -yInstall MySQL/MariaDB Database on Debian 11/Debian 10
MySQL 5.5+ is supported. We will however use MariaDB 10.3 (which is available version on the default Debian 10 repositories) and MariaDB 10.5, (which is available version on the default Debian 11 repositories).
apt install mariadb-{server,client} -yStart and enable MariaDB service to run on boot after the installation;
systemctl enable --now mariadbCreate Database for osTicket Ticketing tool
Once the database is installed, run the initial security script to remove the anonymous accounts, disable remote root login, remove rest databases and reload privileges tables;
mysql_secure_installationNext, login and create the database and a user with all privileges granted on that specific database;
Be sure to replace the names of the database and database user, as well the user password.
mysqlcreate database osticket;grant all on osticket.* to osticketadmin@localhost identified by 'changeme';flush privileges;
quitDownload osTicket Installation Archive
osTicket v1.15.4 is the current stable release. You can grab the archive from the GitHub releases page.
You can as well get the download link and pull using wget or curl tools;
wget https://github.com/osTicket/osTicket/releases/download/v1.15.4/osTicket-v1.15.4.zip -P /tmpCreate osTicket Web Root Directory
Next, create osTicket web root directory. In this setup, we use the /var/www/html/osticket.
mkdir /var/www/html/osticketExtract osTicket Archive Contents
Extract osTicket archive contents to the web root directory created above;
apt install unzip -yunzip -qd /var/www/html/osticket /tmp/osTicket-v1.15.4.zipYou will now see two folders extracted;
ls -1 /var/www/html/osticket/scripts
uploadNext, rename the osTicket config file from upload/include/ost-sampleconfig.php to upload/include/ost-config.php as follows;
mv /var/www/html/osticket/upload/include/ost-{sample,}config.phpCreate osTicket Site Apache configuration file
To server osTicket, you need to create a VirtualHost configuration file that tells the HTTP server to access and server osTicket.
vim /etc/apache2/sites-available/osticket.confNext, paste the content below to the configuration file above. Be sure to make any appropriate changes.
<VirtualHost *:80>
        ServerName helpdesk.kifarunix-demo.com
        ServerAdmin webmaster@localhost
        DocumentRoot /var/www/html/osticket/upload

        <Directory /var/www/osticket/upload>
                Require all granted
                Options FollowSymlinks
                AllowOverride All
        </Directory>

        ErrorLog ${APACHE_LOG_DIR}/osticket.error.log
        CustomLog ${APACHE_LOG_DIR}/osticket.access.log combined
</VirtualHost>
Save and exit the config.
Check for any Apache syntax errors;
apachectl -tIf you get the output, Syntax OK, then proceed. otherwise fix those errors.
Disable the default Apache site;
a2dissite 000-default.confEnable osTicket site;
a2ensite osticket.confEnable Apache Rewrite module;
a2enmod rewriteChange the ownership of the osTicket web root directory to web user;
chown -R www-data: /var/www/html/osticketRestart Apache Service;
systemctl restart apache2Accessing osTicket Web Interface
You can now access osTicket web UI using http://<hostname or ip>.
If firewall is running, be sure to open ports 80/443 for external access.
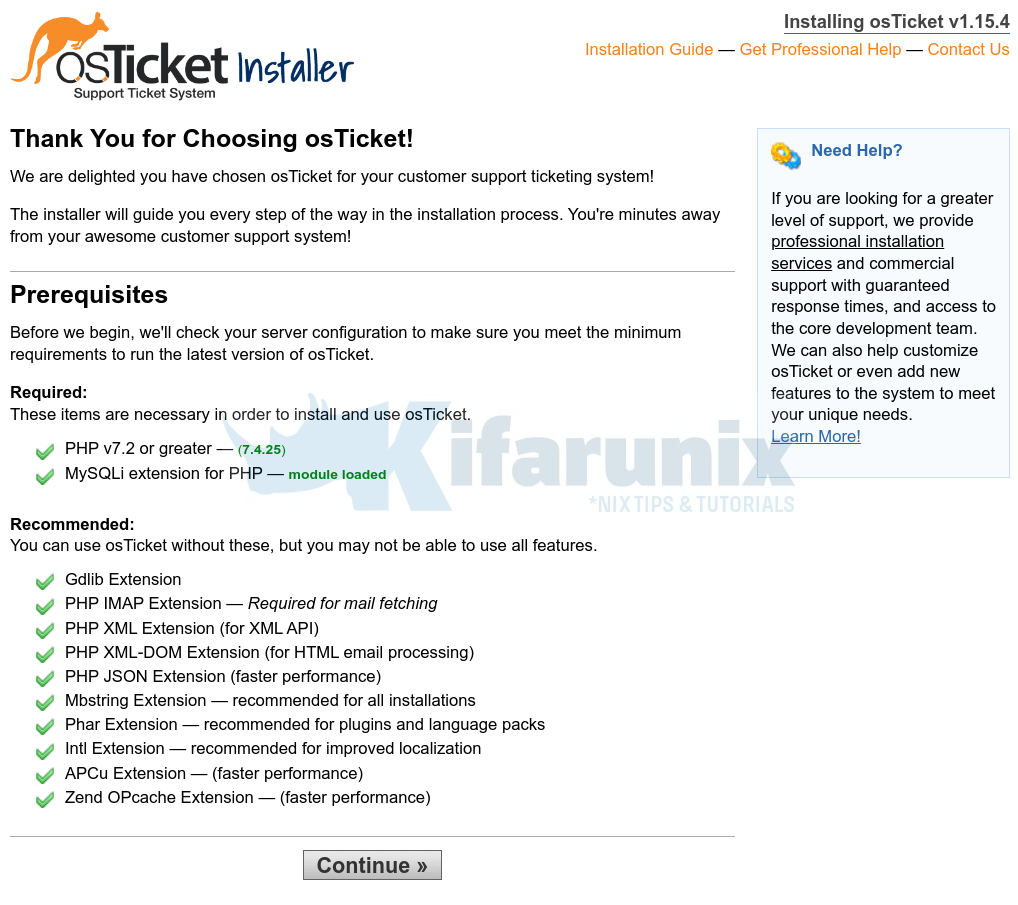
This will load osTicket setup and prerequisites page.
If all is well, click Continue to proceed with the setup:
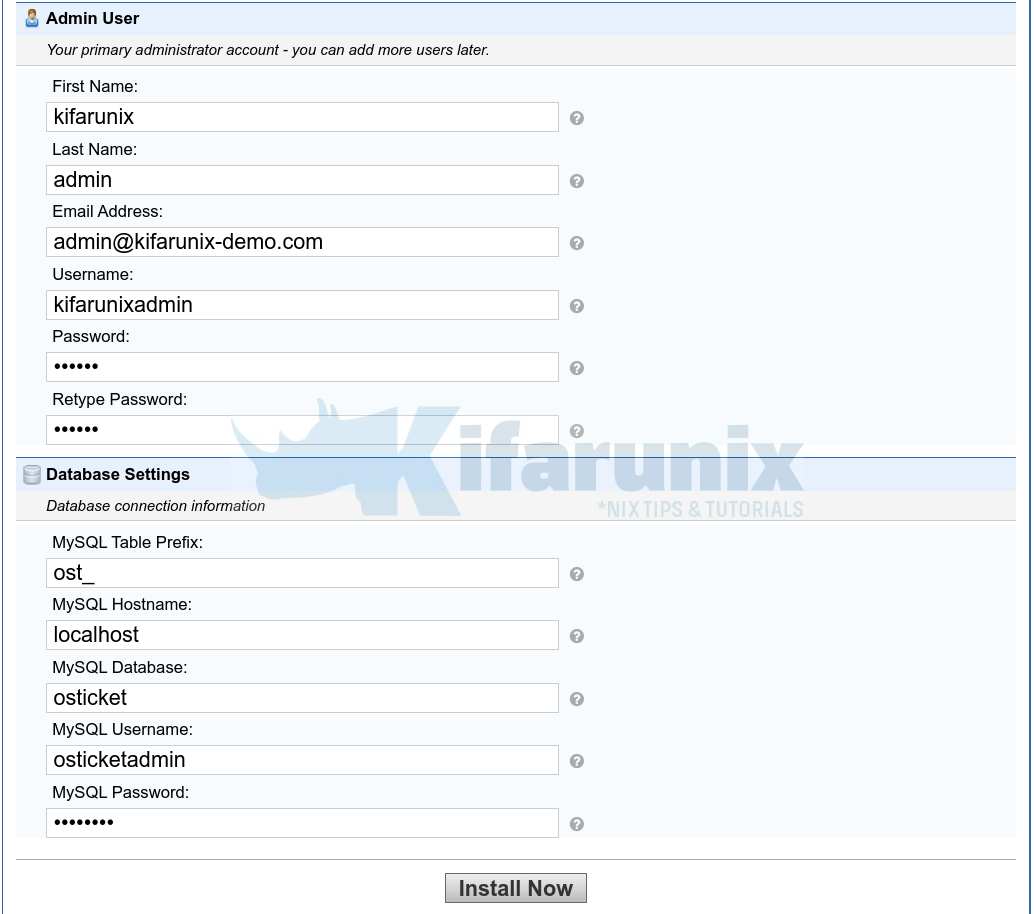
- Set the your helpdesk system name, default email address and your preferred language.
- Set the Admin user details.
- Define the database connection details (the username and password created above)
- Click Install to finalize the installation of osTicket ticketing system on Debian 11/Debian 10.
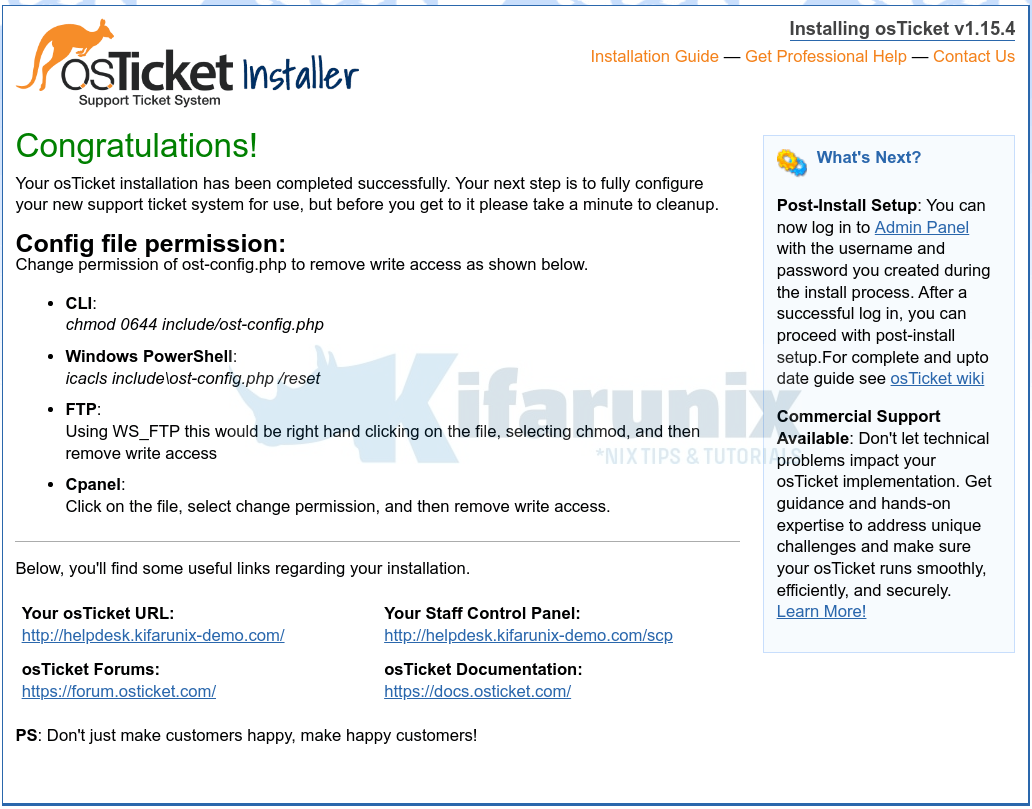
- When all is done, you will see such page;
And thus, update the permissions of the osTicket configuration file;
chmod 0644 /var/www/html/osticket/upload/include/ost-config.phpAlso, remove the setup directory;
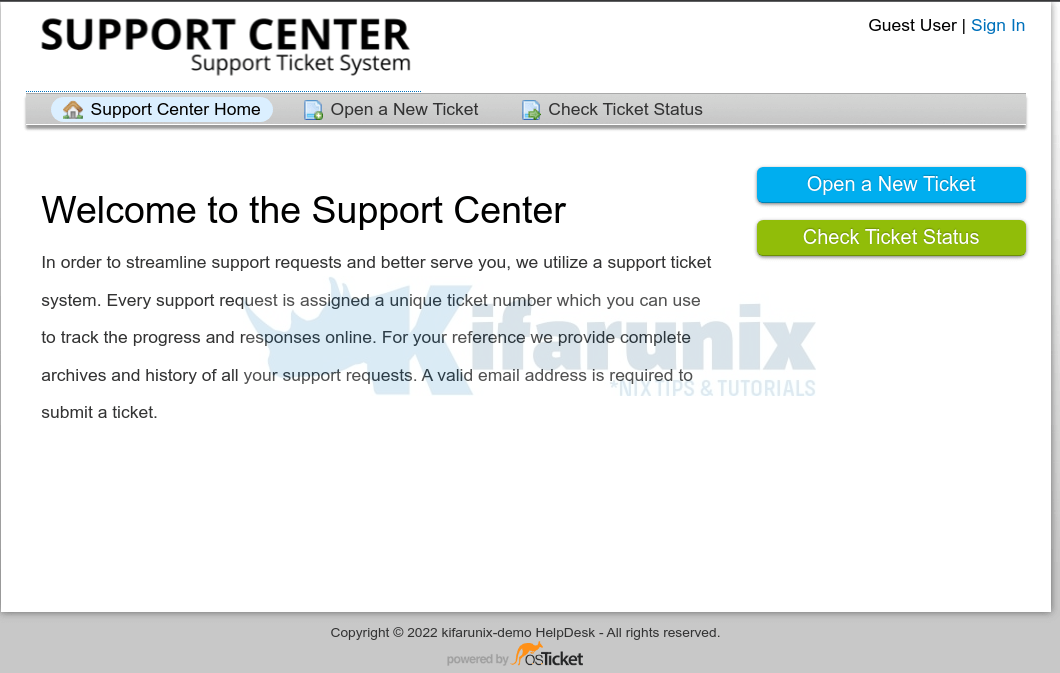
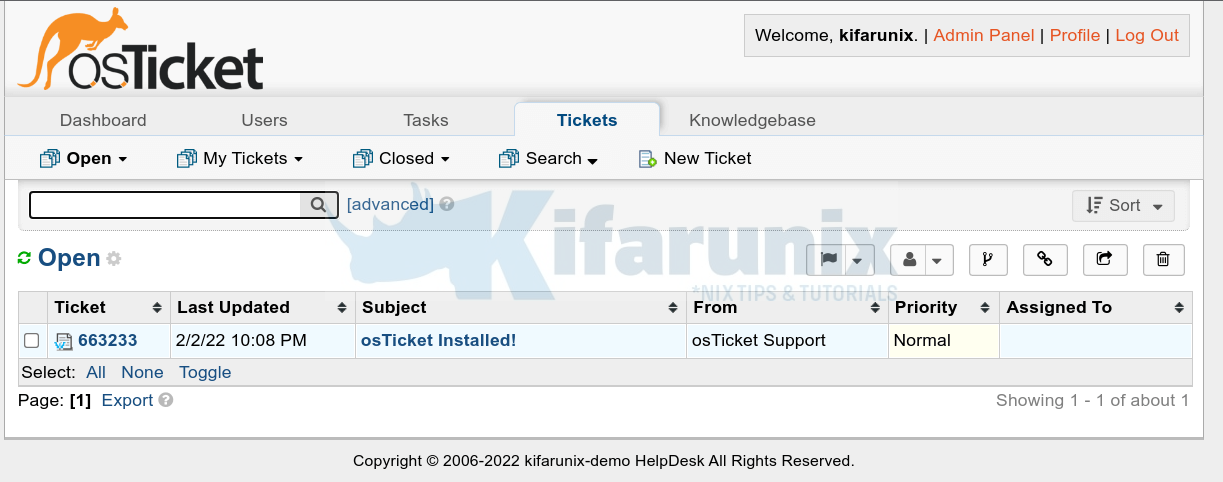
rm -rf /var/www/html/osticket/upload/setupYou can then access your osTicket web dashboard using the url, shown on the under useful links.
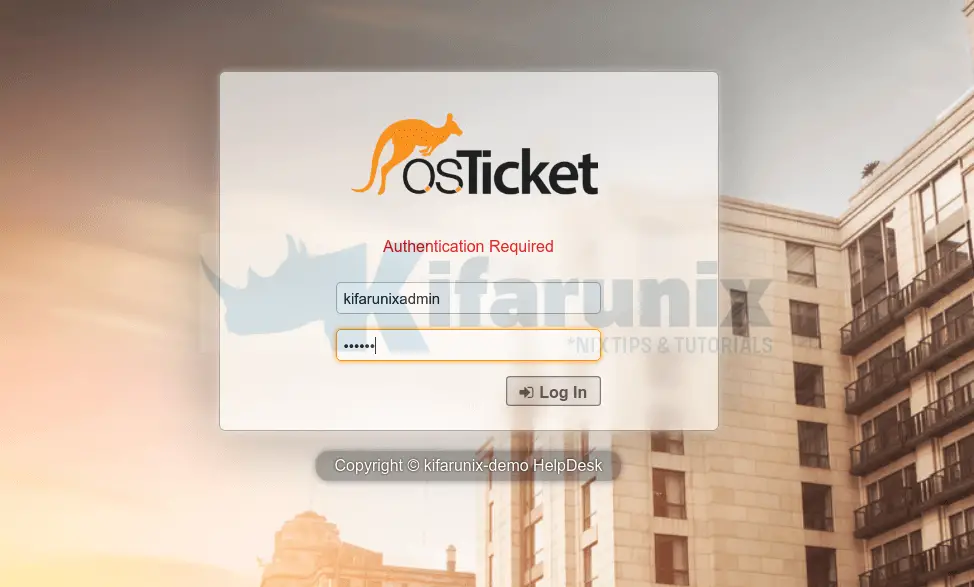
Login to check ticket status or create a new ticket. For example, login as admin user (sign in as an agent) created during the setup.
And there you go!
That concludes our guide on how to install osTicket ticketing system on Debian 11/Debian 10.
Read more on the documentation page.
Other Tutorials
Install osTicket Ticketing System on Ubuntu 22.04/Ubuntu 20.04
Install Zammad Ticketing System on Debian 10
Configure Request Tracker (RT) to send Mails using MSMTP via Office 365 Relay


