In this tutorial, you will learn on how to simply install Oracle Linux 9 on VirtualBox. With Oracle Linux 9 now being available, you might want to try it out and the best way out is through installing it as a virtual machine.
Table of Contents
Install Oracle Linux 9 on VirtualBox
Follow the steps below to install Oracle Linux 9 on VirtualBox.
Download Oracle Linux Installation ISO file
Navigate to Oracle Linux ISOs downloads page and grab an ISO file for your specific system architecture.
Create New VirtualBox Oracle Linux VM
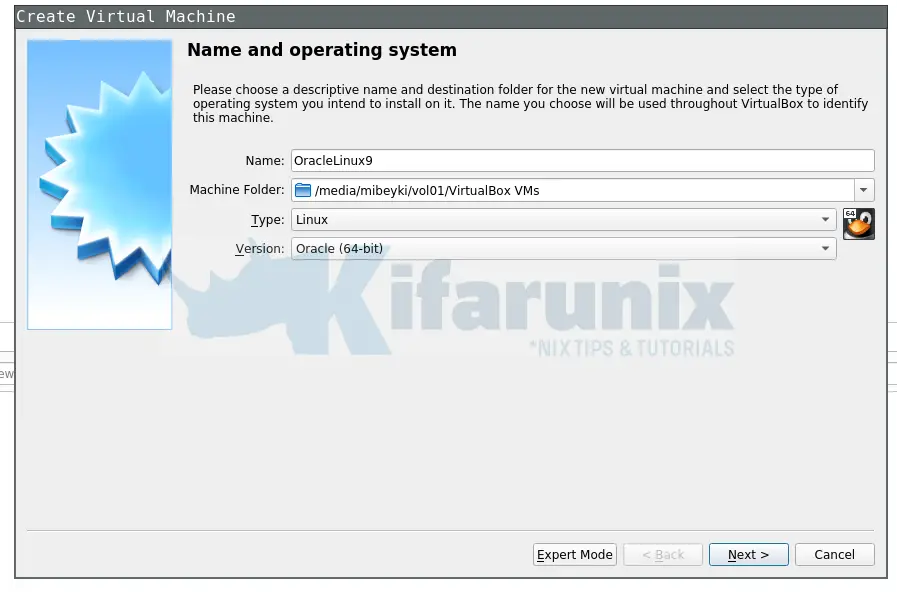
Launch VirtualBox and create a new VM with your preferred settings such as networking, disk size, system resources etc.
Next, step through the new vm wizard to;
- Assign enough memory to the Oracle Linux VM
- Create hard disk for the Oracle Linux VM
- Set the hard disk type
- Storage location and size
Attach Oracle Linux 9 Installation ISO to the VM
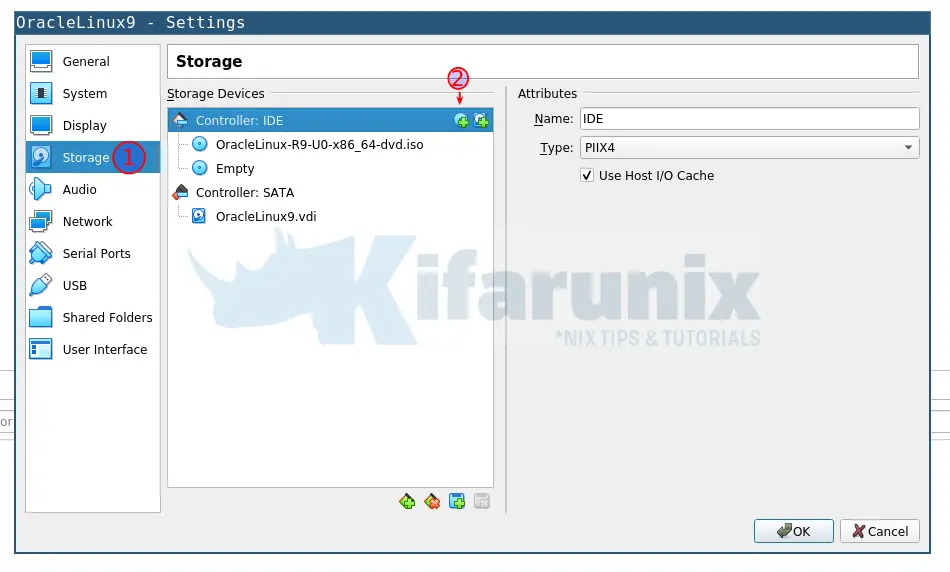
Once you have created and setup a new VirtualBox VM for Oracle Linux 9, higlight the vm open the settings.
Click Storage > Controller:IDE.
Next, click the disk like icon with a plus sign to choose the Oracle Linux 9 disk to attach.
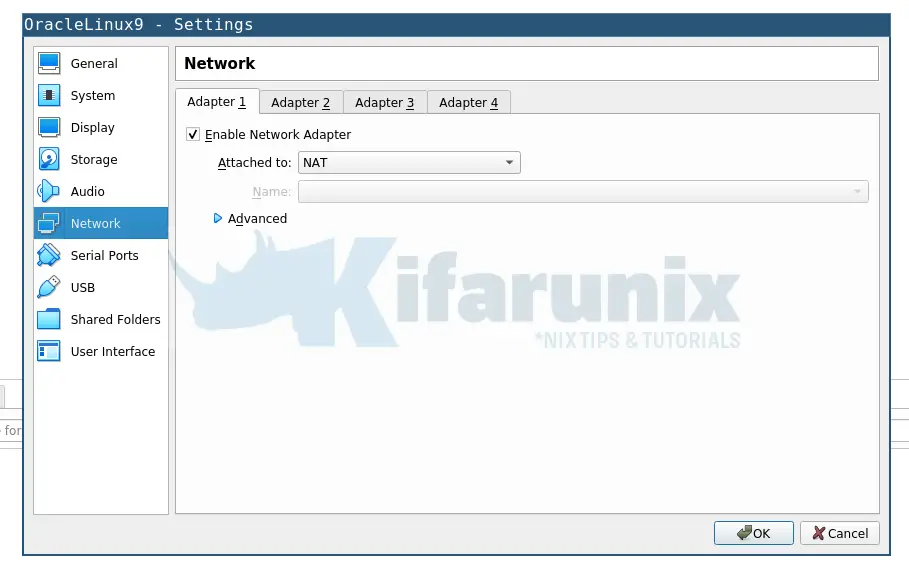
You can also add other network interfaces for example;
- Adapter 1 set it to NAT to allow the VM to access Internet via the host system.
- Adapter 2 you can set it to host only just in case you want it to communicate with other vms on your host machine and even facilitate easy access from the host system.
- Click Ok when done updating the Oracle Linux 9 vm settings.
Install Oracle Linux 9 on VirtualBox
Once you have setup your VM and attached the Oracle Linux ISO file, and done updating other settings, start the vm to begin the installation.
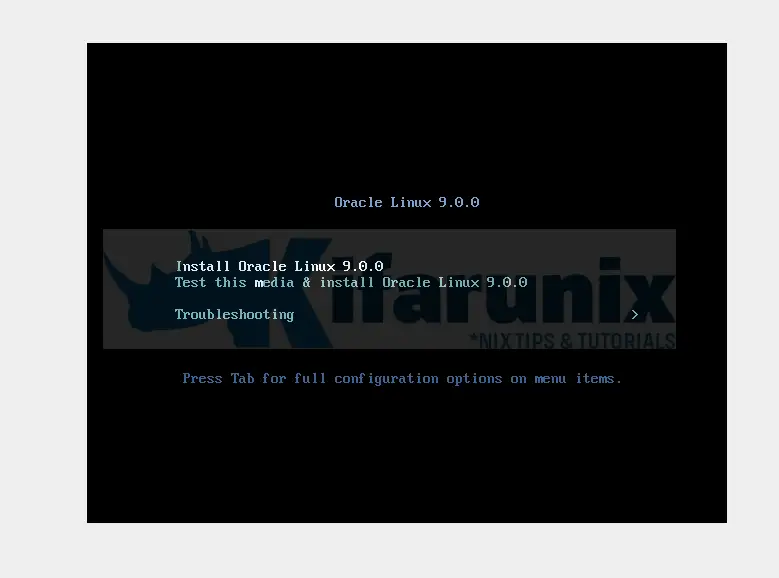
When it runs, select the first installation option, Install Oracle Linux 9.0.0.
Next;
- Choose your installation language,
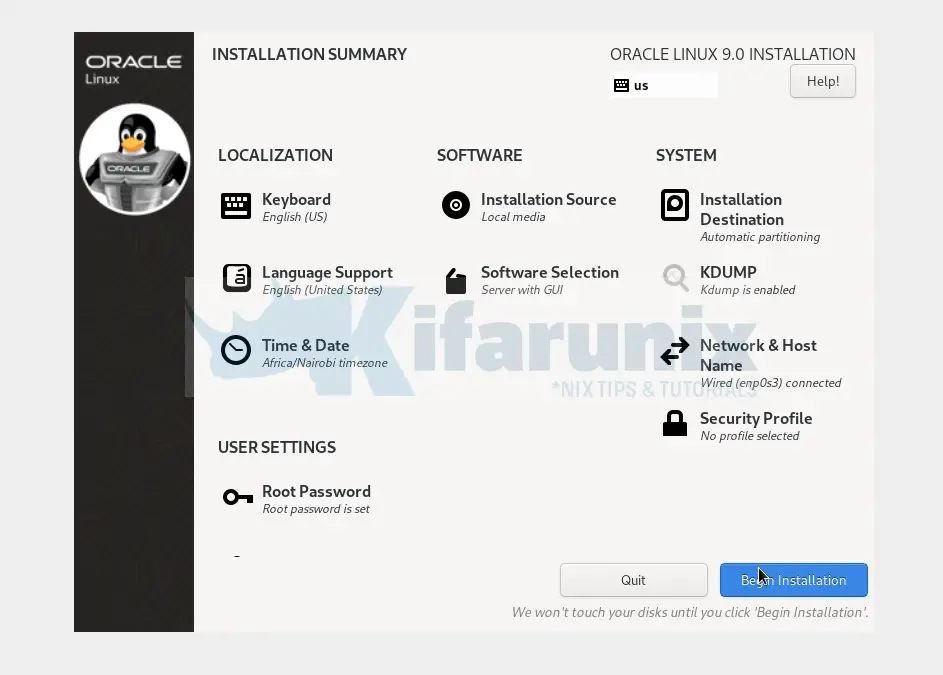
- Under the installation summary;
- set your Localization settings
- Under Software summary, you can choose whether to install minimal version, server headless version (Server) or Oracle Linux 9 desktop version (Server with GUI).
- Under System settings, choose the installation medium, set the networking
- Under User settings, set the root account password as well as other user accounts.
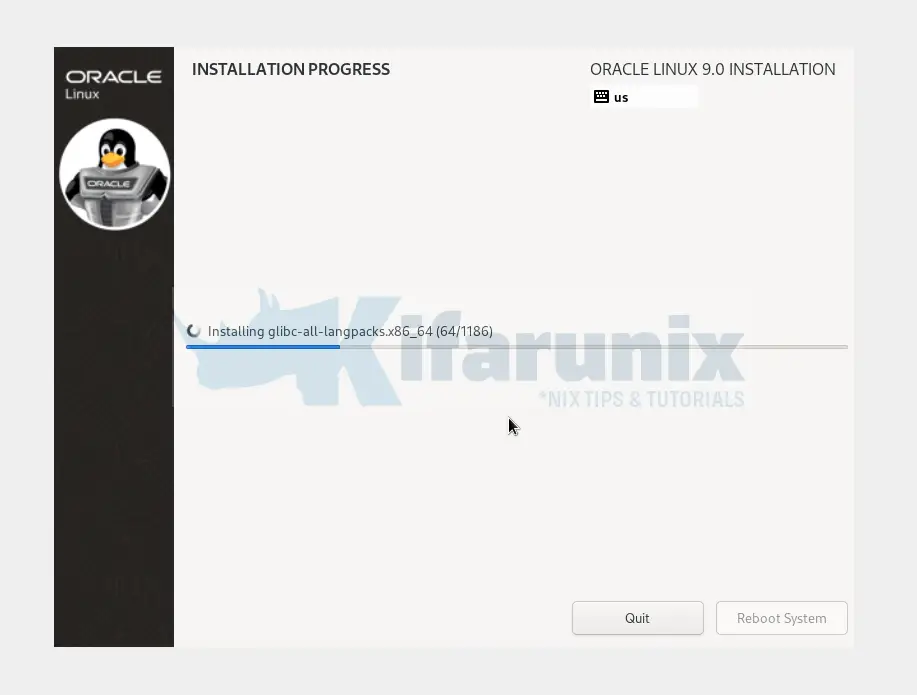
Click Begin Installation to proceed with installation of Oracle Linux 9 desktop version.
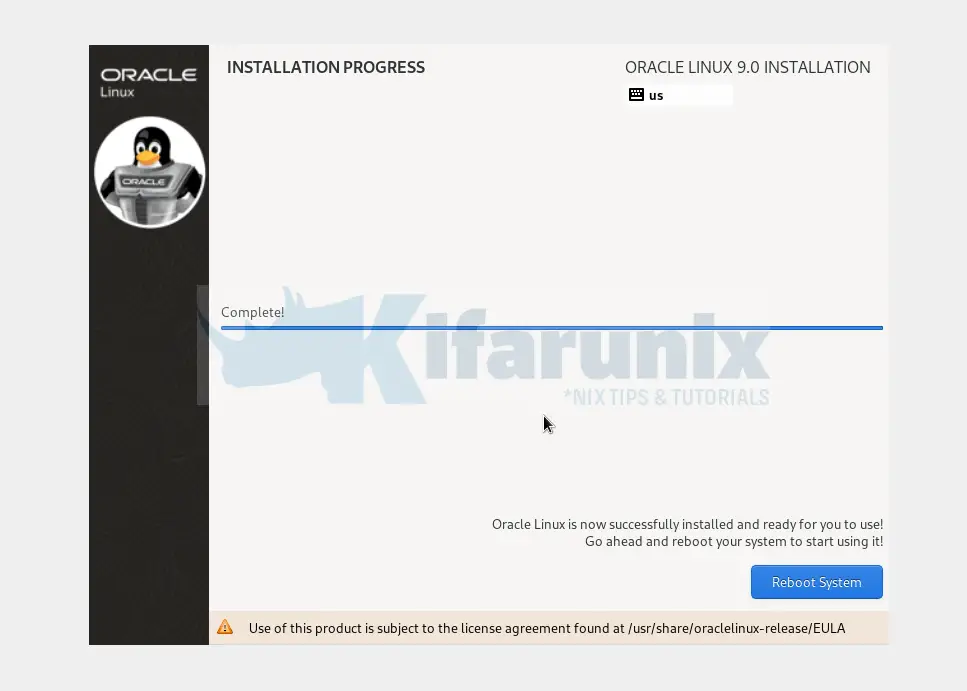
After the installation completes, instead of rebooting your Oracle Linux 9 virtual machine just power it off and detach the installation ISO file from the storage, otherwise the installation process will restart.
Running Oracle Linux 9 on VirtualBox
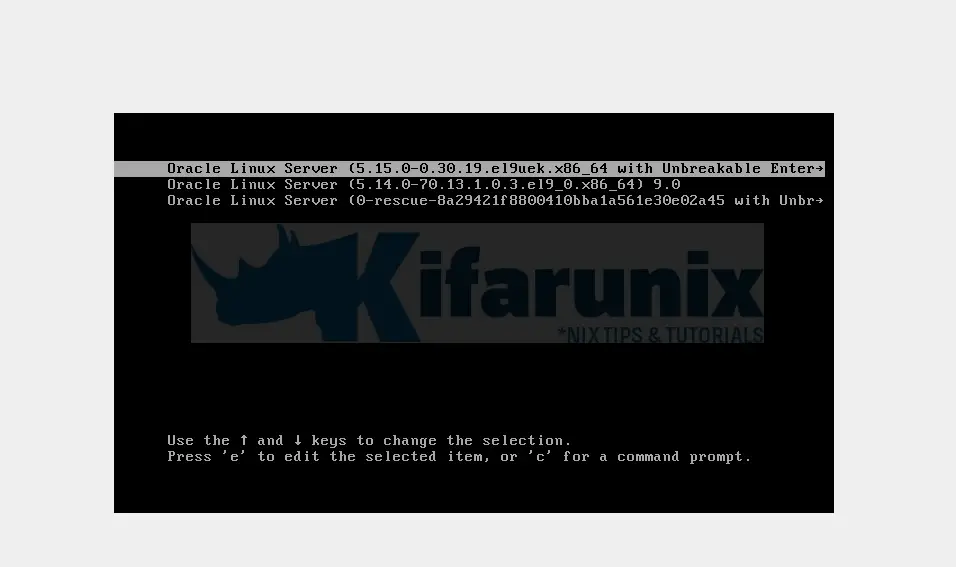
Once you have detached the installation medium, boot up your Oracle Linux 9 virtual machine.
Grub menu, the first entry is selected by default.
And there you go!
This is the console if you installed it an headless server.
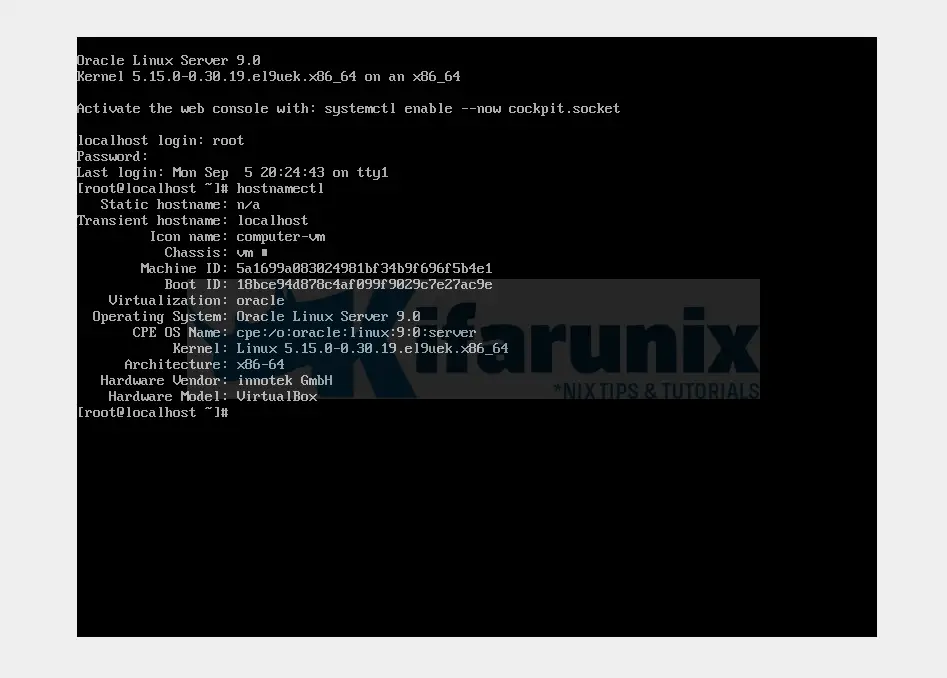
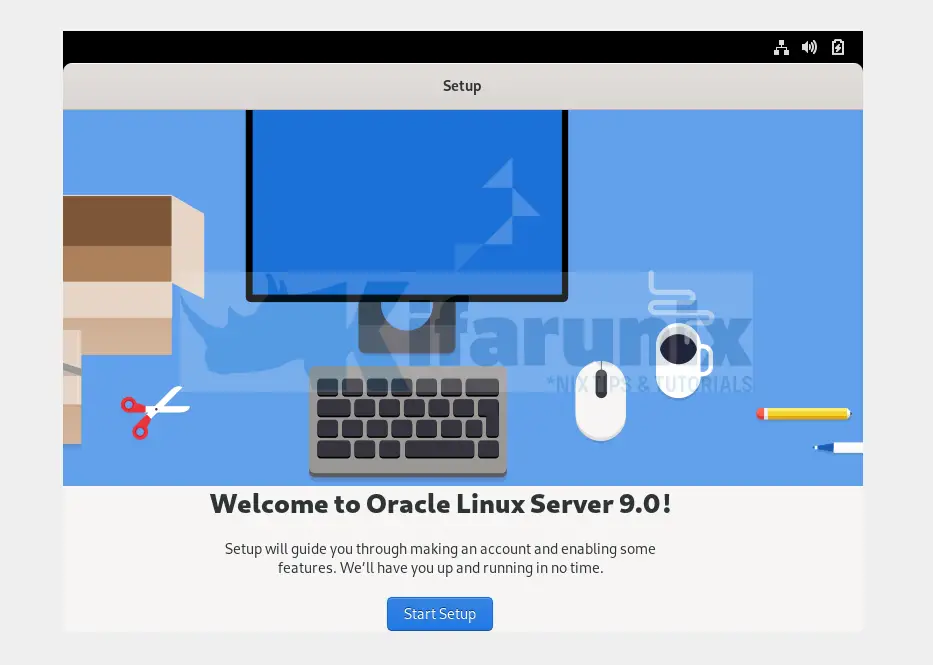
If you installed the desktop version, go through the setup and create your standard user account ans start using Oracle Linux 9 Server!
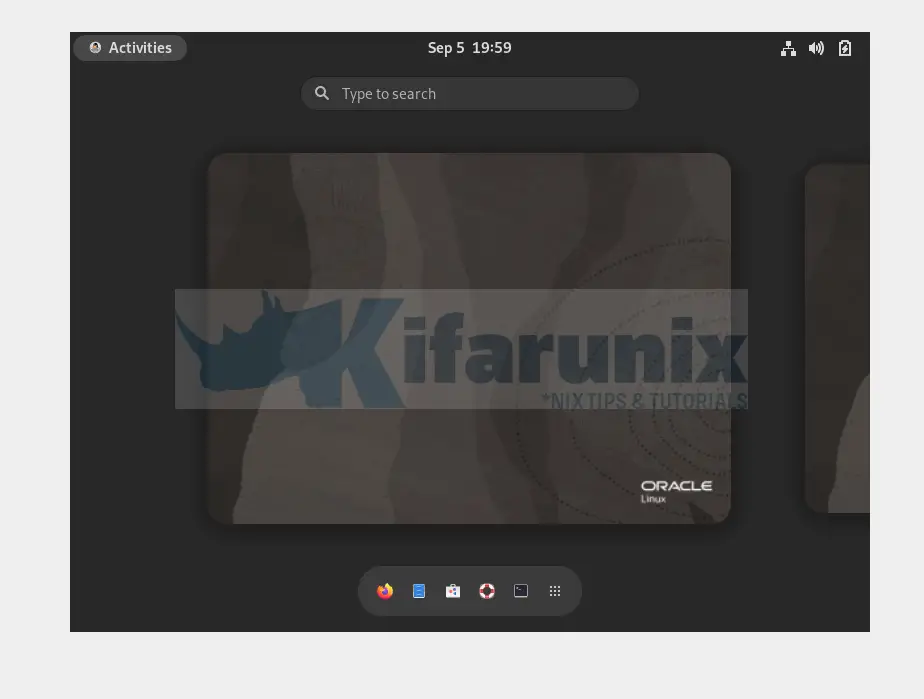
Oracle Linux Desktop
That is all about how to install Oracle Linux 9 on VirtualBox.
Also check;
Install dhclient command on Oracle Linux
Install VirtualBox Guest Additions on Rocky Linux 9

