Follow through this tutorial to learn how to install LibreNMS on Ubuntu 22.04/Ubuntu 20.04. LibreNMS is a fully featured MySQL/PHP and SNMP based network monitoring system.
Install LibreNMS on Ubuntu
To install LibreNMS on Ubuntu 22.04/Ubuntu 2.04 proceed as follows;
- Create LibreNMS system User Account
To begin with, create non privileged system user account for LibreNMS by executing the command below;
useradd -d /opt/librenms -M -r -s /bin/bash librenms- Run system update;
sudo apt update- Install Required Packages
LibreNMS is requires L[E/A]MP stack. Hence, run the command below to install the Webserver, Nginx, PHP, MariaDB and other required packages. Nginx is the recommended web server to use.
sudo apt install --no-install-recommends nginx-full php nmap mtr-tiny \
php-{cli,curl,fpm,gd,gmp,json,mbstring,mysql,snmp,xml,zip} \
rrdtool snmp snmpd whois unzip python3-pymysql python3-dotenv acl curl \
python3-redis python3-setuptools python3-systemd python3-pip git \
mariadb-server mariadb-client composer fping graphviz imagemagick- Create Database and Database User for LibreNMS
Run the initial security script to remove the test tables, disable remote root login, remove test tables/databases/anonymous users.
mysql_secure_installationNext, login to MariaDB database and create a database and database user for LibreNMS. The names used here are not standard. Feel free to use any suitable name.
mysql -u root -p -e "create database librenmsdb character set utf8mb4 collate utf8mb4_unicode_ci"mysql -u root -p -e "create user librenmsuser@localhost identified by 'StronGP@ssw0RD'"mysql -u root -p -e "grant all on librenmsdb.* to librenmsuser@localhost"mysql -u root -p -e "flush privileges"Configure InnoDB to use one tablespace file per InnoDB table and enable the preservation of the lettercase of database and table names;
sed -i.bak -e '/\[mysqld\]/a innodb_file_per_table=1\nlower_case_table_names=0' /etc/mysql/mariadb.conf.d/50-server.cnf- Install LibreNMS on Ubuntu
Next, install LibreNMS by cloning its Github repository to home directory, /opt/librenms, defined above for the librenms user;
git clone https://github.com/librenms/librenms.git /opt/librenms- Set ownership, permission and access control lists for the LibreNMS directories and files;
chown -R librenms:librenms /opt/librenms
chmod 771 /opt/librenms
setfacl -d -m g::rwx /opt/librenms/rrd /opt/librenms/logs /opt/librenms/bootstrap/cache/ /opt/librenms/storage/setfacl -R -m g::rwx /opt/librenms/rrd /opt/librenms/logs /opt/librenms/bootstrap/cache/ /opt/librenms/storage/- Install LibreNMS PHP dependencies
As user librenms, install required PHP dependencies;
sudo -Hiu librenms /opt/librenms/scripts/composer_wrapper.php install --no-dev- Set the Database Connection credentials
sudo -Hiu librenms vim /opt/librenms/.envDB_HOST=localhost
DB_DATABASE=librenmsdb
DB_USERNAME=librenmsuser
DB_PASSWORD=StronGP@ssw0RD- Update System and PHP timezone;
Ensure that you update your system and PHP timezone accordingly.
timedatectl set-timezone America/Santiagogrep -irl ';date.timezone =' /etc/php/ | xargs -I {} sed -i.bak 's/;date.timezone =/date.timezone = America\/Santiago/' {}- Configure LibreNMS SNMPD
Copy the default SNMP configuration file;
cp /opt/librenms/snmpd.conf.example /etc/snmp/snmpd.confEdit the SNMPD and update the community string.
vim /etc/snmp/snmpd.confReplace the RANDOMSTRINGGOESHERE with your string.
Save and exit the file
Next, download and install system distribution detection script;
curl -o /usr/bin/distro https://raw.githubusercontent.com/librenms/librenms-agent/master/snmp/distroMake the script executable;
chmod +x /usr/bin/distroStart and enable SNMPD services;
systemctl enable --now snmpd- Install LibreNMS Cron Job
Copy the default cron job in place;
cp /opt/librenms/librenms.nonroot.cron /etc/cron.d/librenmsEnable Cron jobs log rotation;
cp /opt/librenms/misc/librenms.logrotate /etc/logrotate.d/librenmsCreate global LibreNMS shortcuts;
ln -s /opt/librenms/lnms /usr/local/bin/lnmsEnable LibreNMS bash completion;
cp /opt/librenms/misc/lnms-completion.bash /etc/bash_completion.d/Import LibreNMS database schema into the database.
su - librenms./lnms migrate- Create LibreNMS Nginx Site configuration file
Remove the default Nginx site configuration.
rm -rf /etc/nginx/sites-enabled/defaultNext, run the commands below to install LibreNMS Nginx site configuration. Be sure to replace the PHP-FPM socket path accordingly.
On Ubuntu 20.04;
cat > /etc/nginx/sites-enabled/librenms << 'EOL'
server {
 listen      80;
 server_name librenms.kifarunix-demo.com;
 root        /opt/librenms/html;
 index       index.php;

 charset utf-8;
 gzip on;
 gzip_types text/css application/javascript text/javascript application/x-javascript image/svg+xml text/plain text/xsd text/xsl text/xml image/x-icon;
 location / {
  try_files $uri $uri/ /index.php?$query_string;
 }
 location ~ [^/]\.php(/|$) {
  fastcgi_pass unix:/run/php/php7.4-fpm.sock;
  fastcgi_split_path_info ^(.+\.php)(/.+)$;
  include fastcgi.conf;
  fastcgi_read_timeout 240;
 }
 location ~ /\.(?!well-known).* {
  deny all;
 }
}
EOL
On Ubuntu 22.04;
cat > /etc/nginx/sites-enabled/librenms << 'EOL'
server {
 listen      80;
 server_name librenms.kifarunix-demo.com;
 root        /opt/librenms/html;
 index       index.php;

 charset utf-8;
 gzip on;
 gzip_types text/css application/javascript text/javascript application/x-javascript image/svg+xml text/plain text/xsd text/xsl text/xml image/x-icon;
 location / {
  try_files $uri $uri/ /index.php?$query_string;
 }
 location ~ [^/]\.php(/|$) {
  fastcgi_pass unix:/run/php/php8.1-fpm.sock;
  fastcgi_split_path_info ^(.+\.php)(/.+)$;
  include fastcgi.conf;
  fastcgi_read_timeout 240;
 }
 location ~ /\.(?!well-known).* {
  deny all;
 }
}
EOL
Change Nginx web user from www-data to librenms user;
sed -i.bak 's/www-data/librenms/' /etc/nginx/nginx.confChange the PHP FPM user from www-data to librenms user created above.
sed -i.bak 's/www-data/librenms/g' /etc/php/*/fpm/pool.d/www.conf- Restart Nginx and PHP-FPM services
Verify Nginx for any syntax;
nginx -tSample output if no errors;
nginx: the configuration file /etc/nginx/nginx.conf syntax is ok
nginx: configuration file /etc/nginx/nginx.conf test is successful
Restart the services;
systemctl restart nginx php7.4-fpmsystemctl restart nginx php8.1-fpmEnable to run on boot;
systemctl enable nginx php7.4-fpmsystemctl enable nginx php8.1-fpmCheck the status;
systemctl status nginx php7.4-fpmsystemctl status nginx php8.1-fpm● nginx.service - A high performance web server and a reverse proxy server
Loaded: loaded (/lib/systemd/system/nginx.service; enabled; vendor preset: enabled)
Active: active (running) since Thu 2022-05-26 13:31:30 -04; 25s ago
Docs: man:nginx(8)
Process: 2501 ExecStartPre=/usr/sbin/nginx -t -q -g daemon on; master_process on; (code=exited, status=0/SUCCESS)
Process: 2506 ExecStart=/usr/sbin/nginx -g daemon on; master_process on; (code=exited, status=0/SUCCESS)
Main PID: 2507 (nginx)
Tasks: 3 (limit: 2282)
Memory: 3.5M
CGroup: /system.slice/nginx.service
├─2507 nginx: master process /usr/sbin/nginx -g daemon on; master_process on;
├─2508 nginx: worker process
└─2509 nginx: worker process
May 26 13:31:30 ubuntu20 systemd[1]: Starting A high performance web server and a reverse proxy server...
May 26 13:31:30 ubuntu20 systemd[1]: Started A high performance web server and a reverse proxy server.
● php7.4-fpm.service - The PHP 7.4 FastCGI Process Manager
Loaded: loaded (/lib/systemd/system/php7.4-fpm.service; enabled; vendor preset: enabled)
Active: active (running) since Thu 2022-05-26 13:31:30 -04; 26s ago
Docs: man:php-fpm7.4(8)
Process: 2513 ExecStartPost=/usr/lib/php/php-fpm-socket-helper install /run/php/php-fpm.sock /etc/php/7.4/fpm/pool.d/www.conf 74 (code=exited, status=0/SUCCESS)
Main PID: 2487 (php-fpm7.4)
Status: "Processes active: 0, idle: 2, Requests: 0, slow: 0, Traffic: 0req/sec"
Tasks: 3 (limit: 2282)
Memory: 10.3M
CGroup: /system.slice/php7.4-fpm.service
├─2487 php-fpm: master process (/etc/php/7.4/fpm/php-fpm.conf)
├─2511 php-fpm: pool www
└─2512 php-fpm: pool www
May 26 13:31:30 ubuntu20 systemd[1]: Starting The PHP 7.4 FastCGI Process Manager...
May 26 13:31:30 ubuntu20 systemd[1]: Started The PHP 7.4 FastCGI Process Manager.
- Finalize LibreNMS installation on Web Browser
Open Nginx web server on firewall if any is running.
ufw allow 80/tcpNext, access LibreNMS using the url http://server-name.
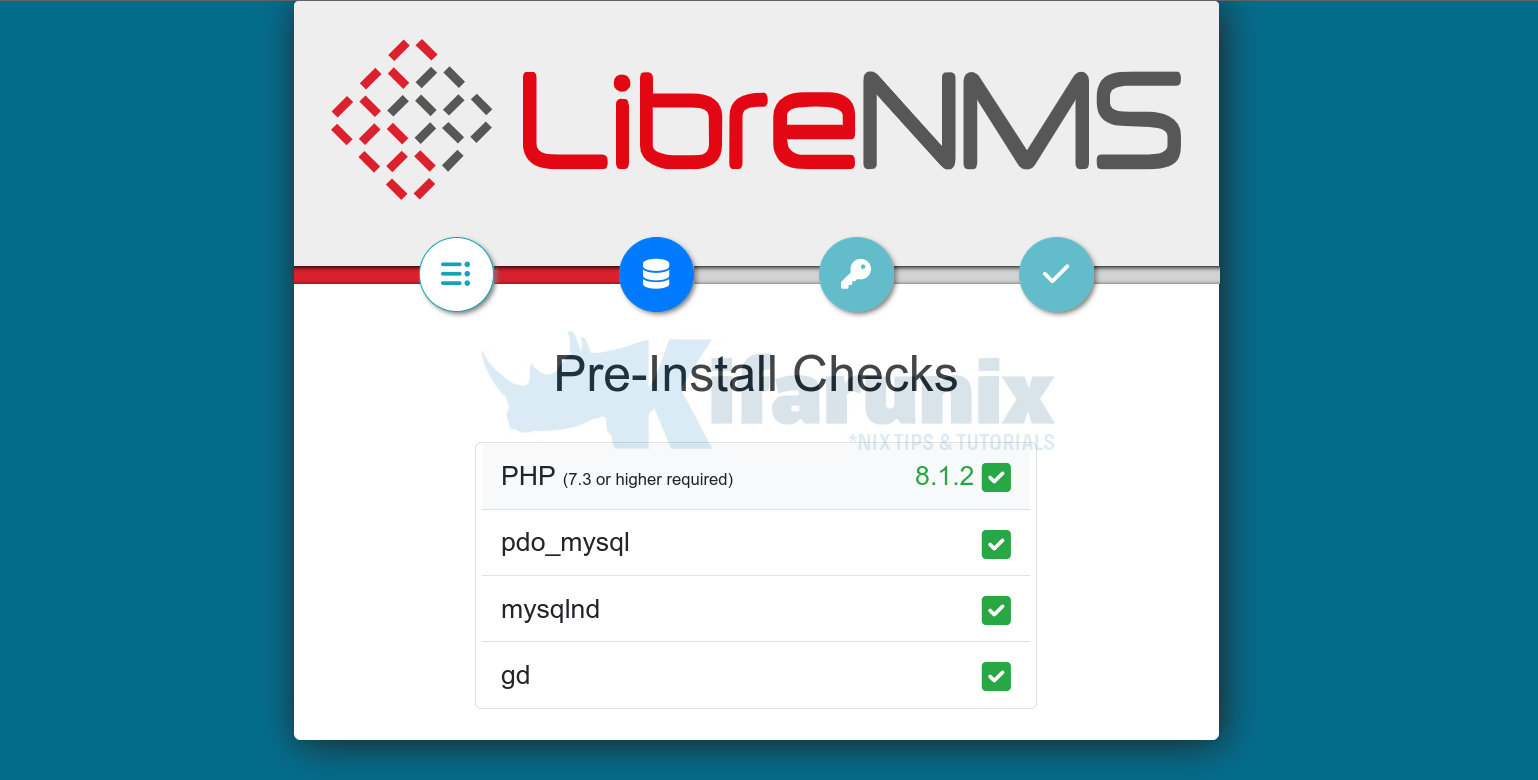
LibreNMS Pre-install Checks;
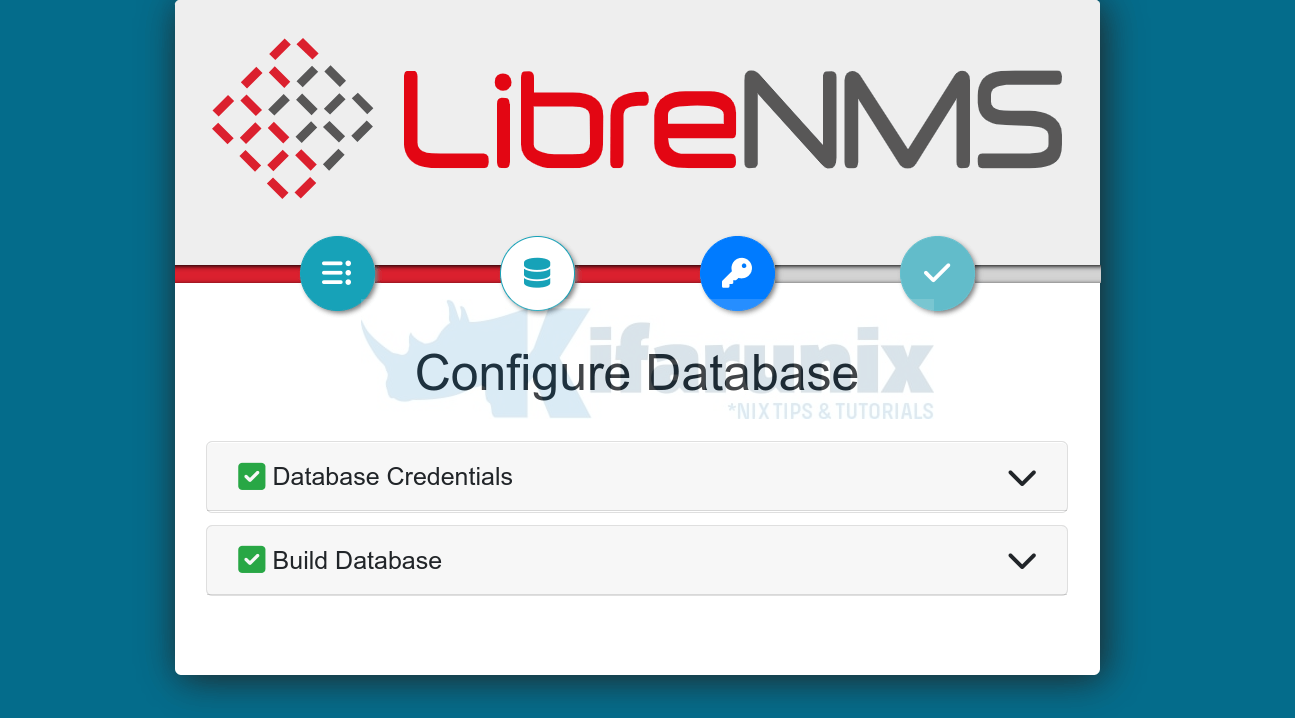
LibreNMS Database Connection Settings. We already supplied the credentials before, hence everything should be ok.
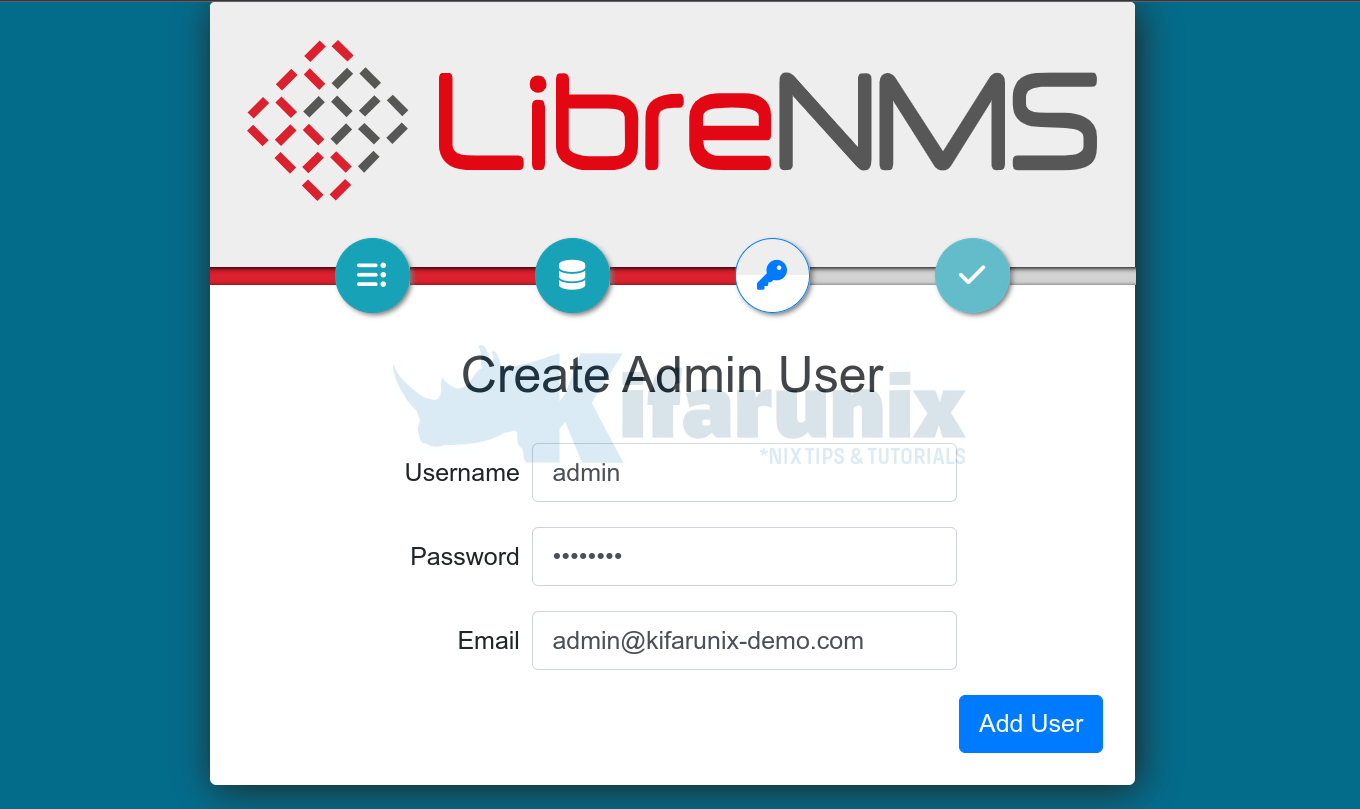
Create LibreNMS Administrative User
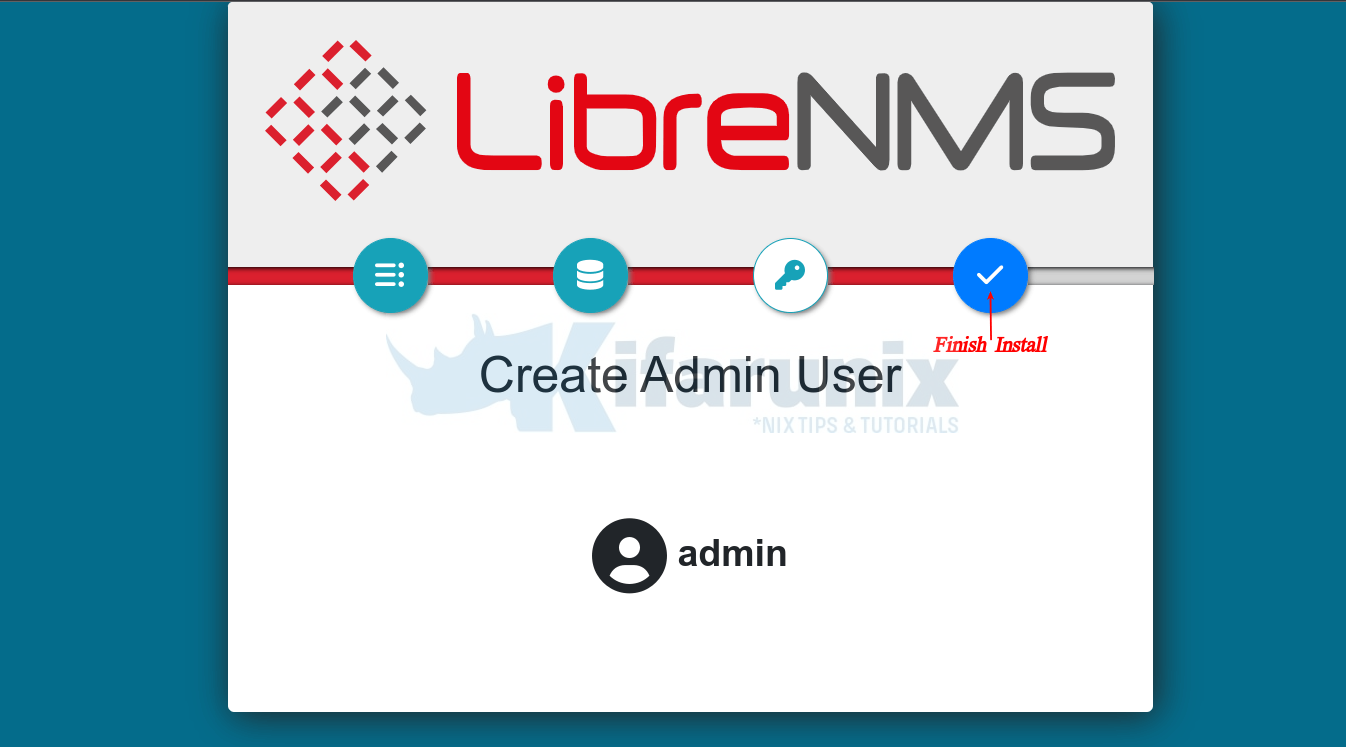
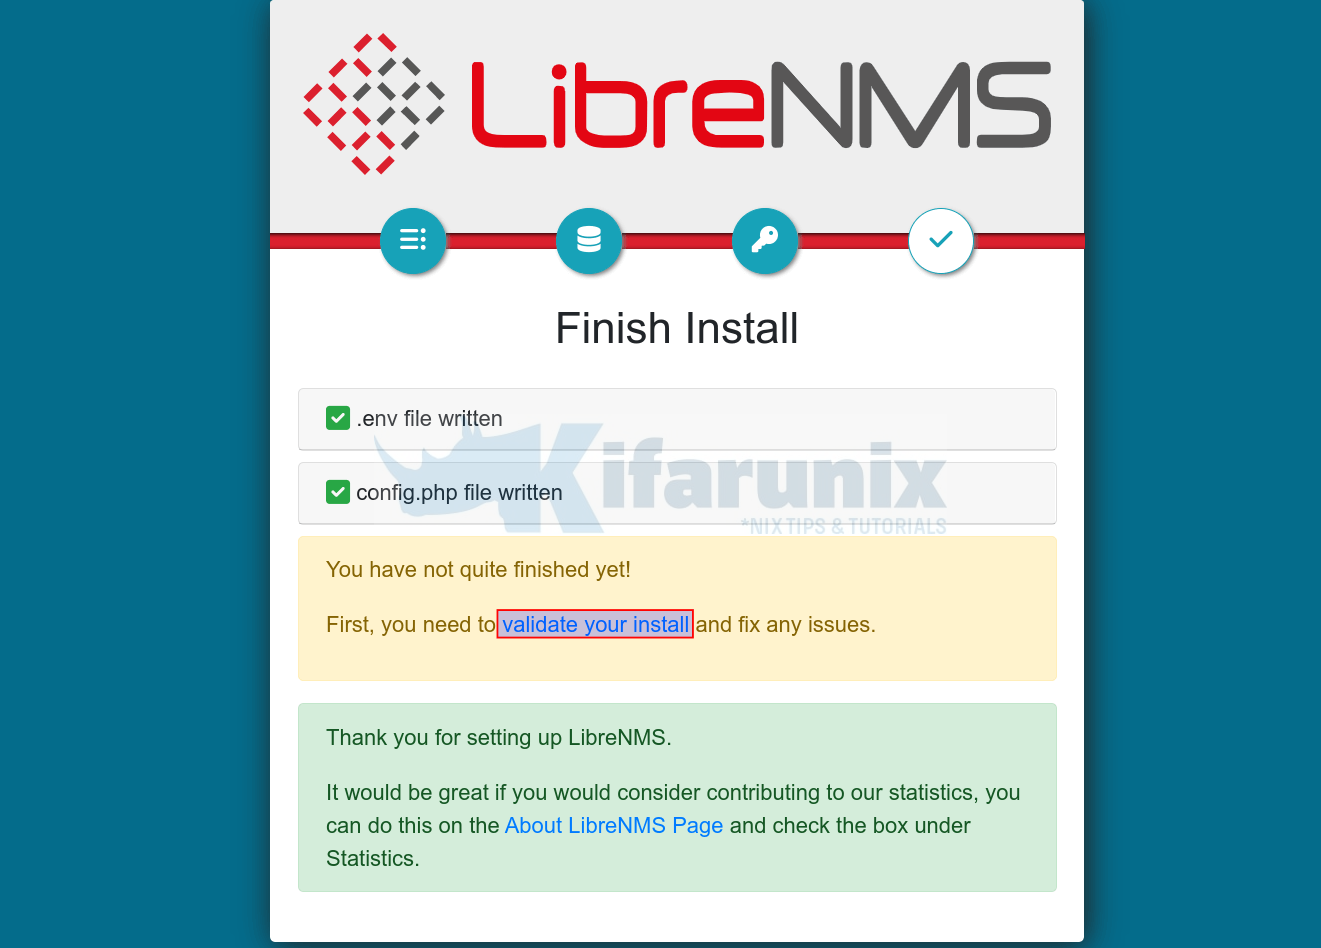
Click Finish install to finalize the LibreNMS setup.
Validate LibreNMS installation by clicking the validate your install link.
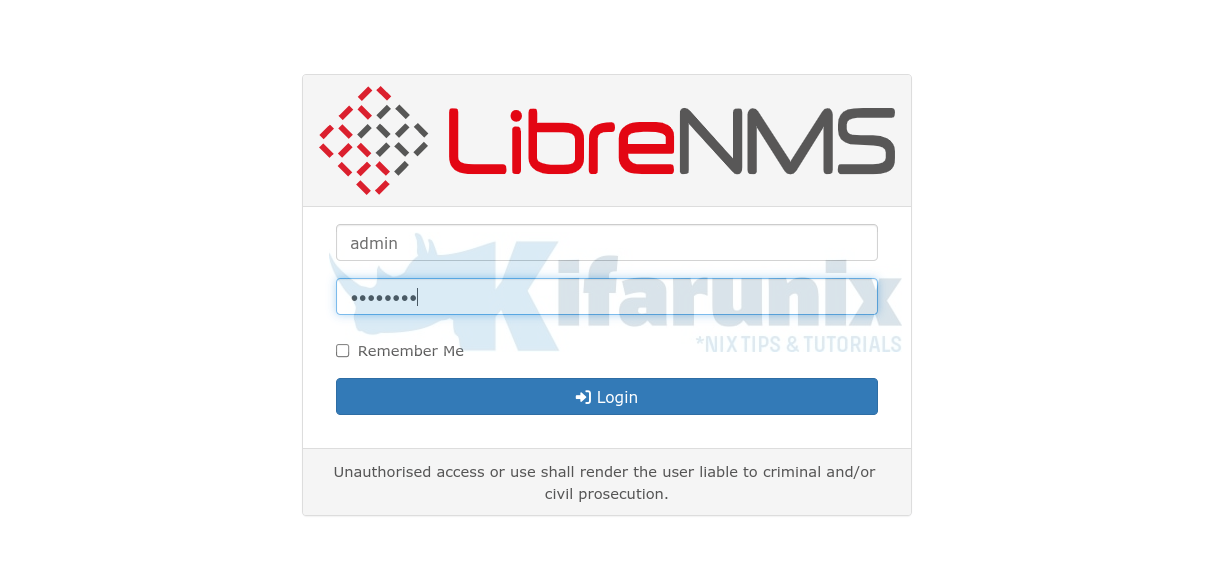
You should be redirected to the login page.
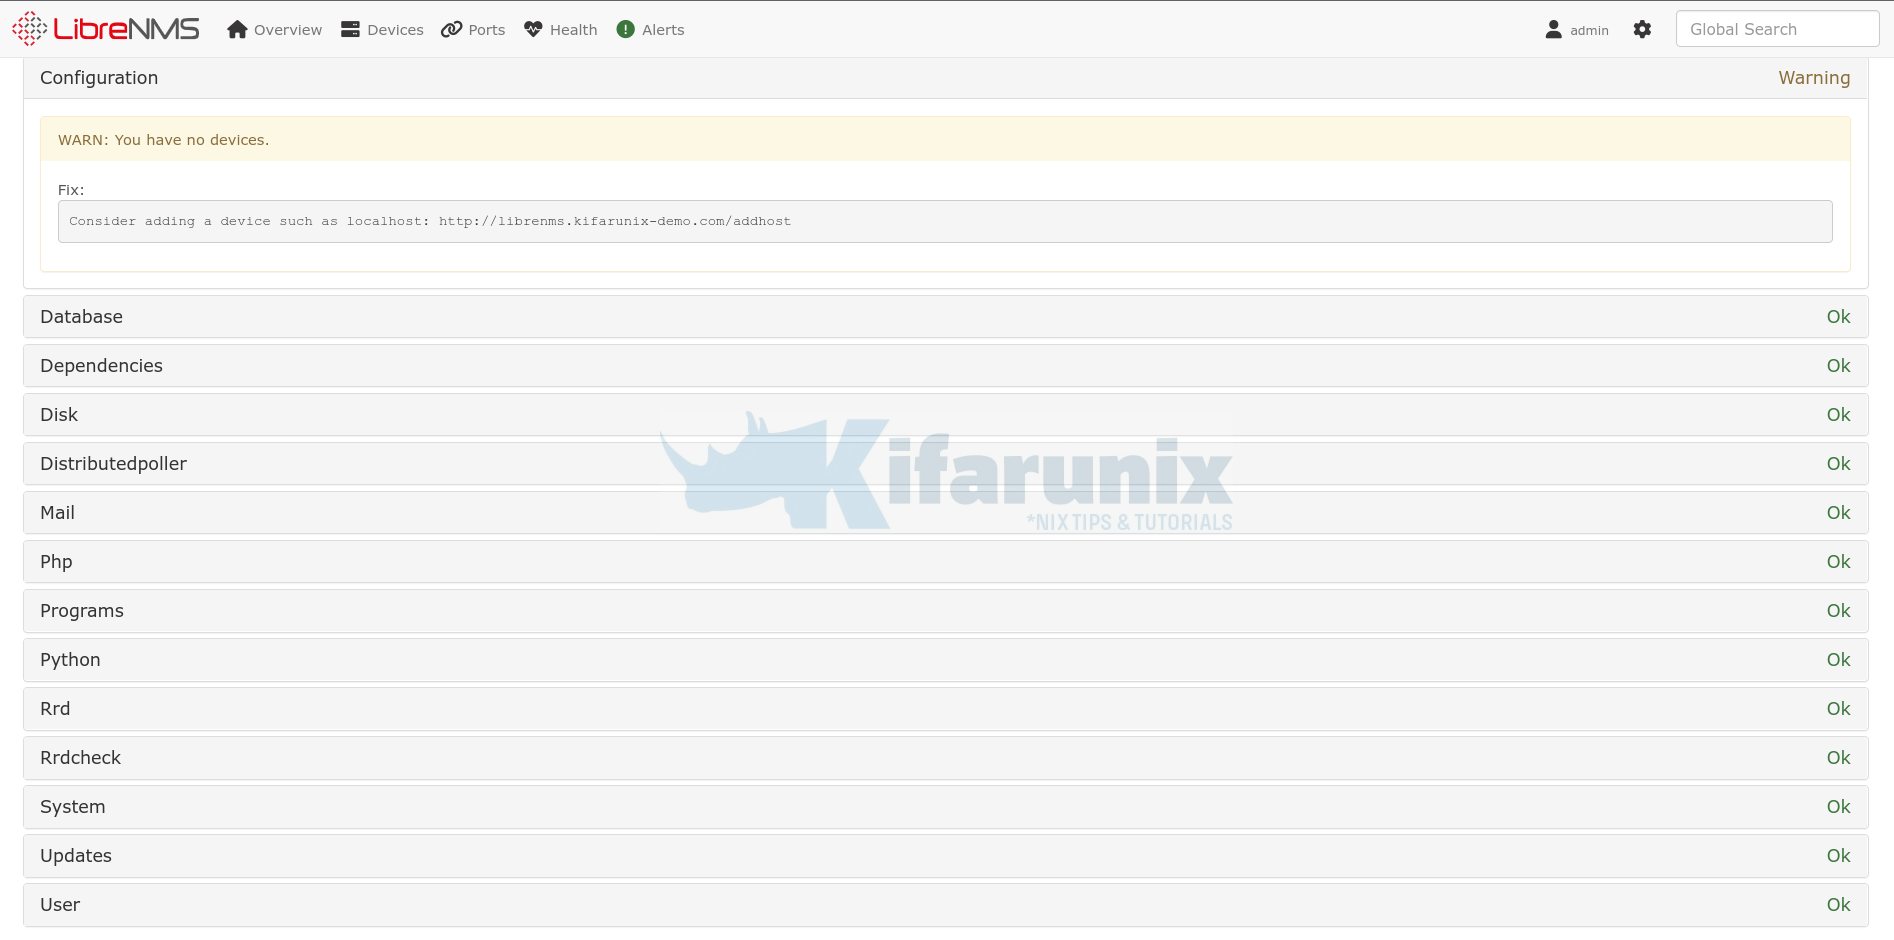
Validation will then proceed and results are displayed on the dashboard.
You may see that there is a warning about hosts having not been added to LibreNMS yet.
Add Hosts to LibreNMS Server for Monitoring
That marks the end of our tutorial on how to install LibreNMS on Ubuntu.
In the meantime, read more in the documentation page.

