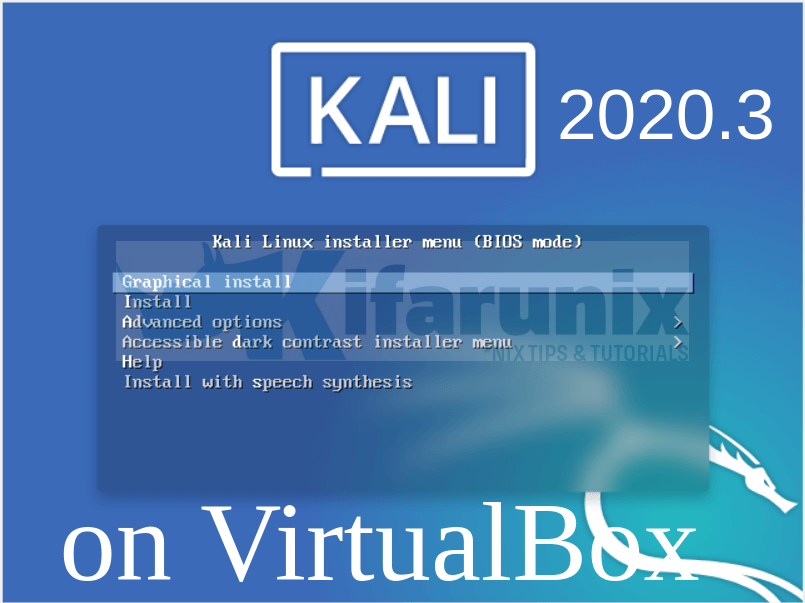
In this tutorial, you will learn how to install Kali Linux 2020.3 on VirtualBox. Kali Linux is an Advanced Penetration Testing Debian-based Linux distribution used for Penetration Testing, Ethical Hacking and network security assessments. Kali Linux 2020.3 is the third (Quarter 3) 2020 Kali Rolling release. It comes pimped with various awesome updates;
- New Shell – Starting the process to switch from “Bash” to “ZSH“
- The release of “Win-Kex” – Get ready WSL2
- Automating HiDPI support – Easy switching mode
- Tool Icons – Every default tool now has its own unique icon
- Bluetooth Arsenal – New set of tools for Kali NetHunter
- Nokia Support – New devices for Kali NetHunter
- Setup Process – No more missing network repositories and quicker installs.
Want to install Kali Linux 2021.3 instead? Follow the link below;
Easily Install Kali Linux 2021.3 on VirtualBox
Installing Kali Linux 2020.3 on VirtualBox
Download Kali Linux 2020.3 Image
Navigate to Official Kali Linux images downloads page and grab Kali Linux 2020.3 installation ISO. You can simply obtain the link to the ISO and pull it using wget or curl tools;
wget -c https://cdimage.kali.org/kali-2020.3/kali-linux-2020.3-installer-amd64.isoor
curl -L -O https://cdimage.kali.org/kali-2020.3/kali-linux-2020.3-installer-amd64.isoCreate New Virtual Machine on VirtualBox
Once you have Kali Linux 2020.3 ISO file downloaded, launch VirtualBox and create a new VM. You can create a new virtual machine by clicking on the VirtualBox menu, Machine > New. You can simply press Ctrl+n;
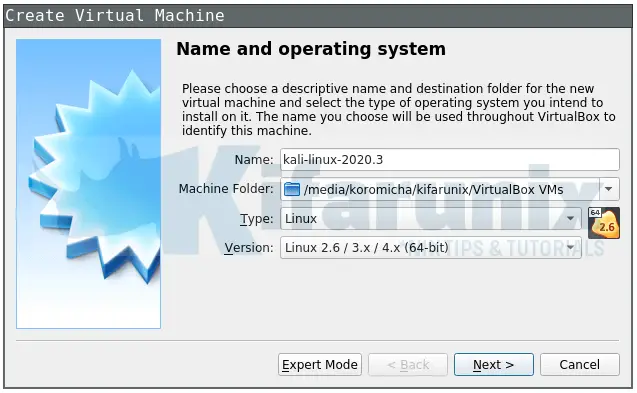
Set the Name and OS type of the VM
- Set the name of the VM
- Define the machine installation folder
- Select the type of OS and the version to install
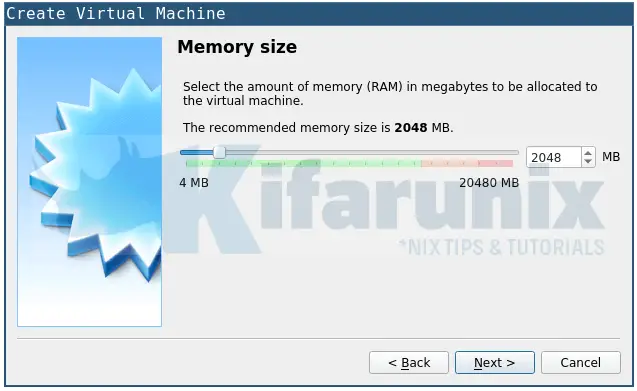
Define the Memory Size of the VM
Allocate as much memory to the VM as you possibly can.
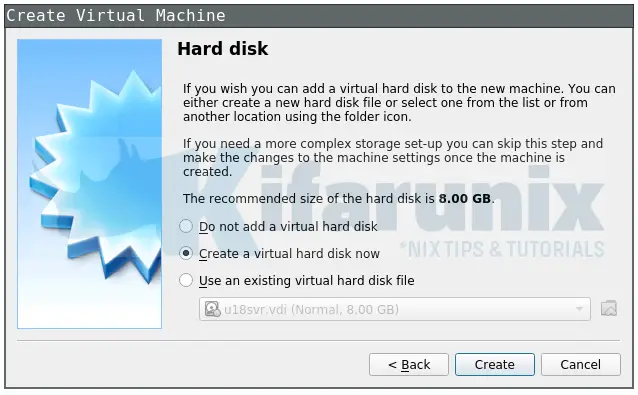
Create Virtual Hard Disk for the VM
You can create a new Virtual Hard Disk or use an existing if you have, for the VM.
Define VM Hard Disk File Type
On the next page, choose whether to assign a dynamic or fixed size storage type to Kali Linux VM.
Set the storage location and size of the storage disk as well. Be sure to assign enough storage. We assigned 20G in this setup. Click Create when done.
Define Kali Linux Virtual Machine Settings
Once you create a Kali Linux virtual machine, it should now be listed among your other VMs on the left pane of the VirtualBox.
Right click on the Kali Linux VM and choose settings or simply highlight the VM and press Ctrl+s to open the VM settings wizard.
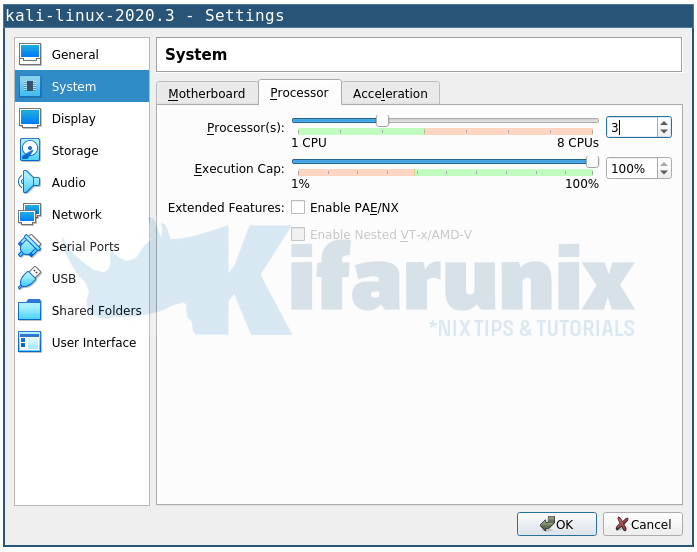
Allocate vCPU cores to the VM
Allocate more vCPUs to the VM by clicking on the settings menu and heading over to processor tab.
Attach the Installation Medium
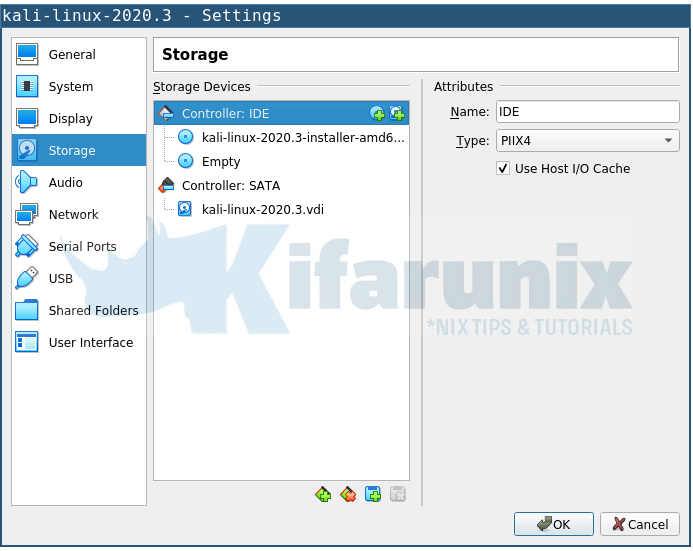
Click on the Storage menu > Storage Devices > Controller: IDE > Add optical Drive. Choose the Kali Linux 2020.3 ISO file you downloaded.
Set the VM Networks
Click on the Network settings to attach the NICs to your VM. On the first adapter, leave it with the default NAT so as to give the VM internet settings. On adapter two, you can choose to either bridge or set the host-only interfaces.

Define any other VM settings as you wish. Click Ok when done to close the VM settings wizard.
Install Kali Linux on VirtualBox
Click the VM to highlight it and click the start button at the top menu or simply right click on the vm and click Start > Normal Start to power on the VM and begin installation.
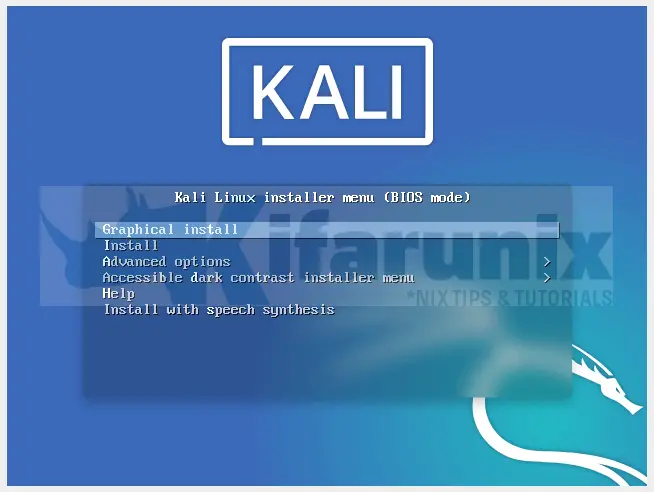
Once the VM starts, you are provided with multiple installation options. Choose Graphical Install and press enter to begin the installation.
Go through the installation process to install and setup Kali Linux 2020.3 on VirtualBox. The remaining steps are;
- Choose your Kali Linux 2020.3 installation process language.
- Define your location. This is used to set your timezone and system local settings.
- Configure the Keyboard keymap to use. We choose the default option in this setup.
- In the next step, the system detects and mounts the installation media for the installation process.
- Configure system network. Set the hostname, the domain name
- Setup users and passwords
- Configure the system clock by choosing your timezone based on the location you chose above.
- Select your system disk partition schemes. We used
Guided -use entire diskscheme in this setup. - The system then goes through package installation to install the base system.
- Once the base system installation completes, you are prompted on extra packages to install. This includes the Desktop Environments you might want to install on your new Kali Linux 2020.3 system.
- Install Grub on the root disk to make your system bootable.
- Once the installation and setup completes, reboot the system.
- Boot into your Kali Linux 2020.3 system.
Booting into Kali Linux 2020.3 on VirtualBox
Once the installation process completes, reboot your system and boot into it.
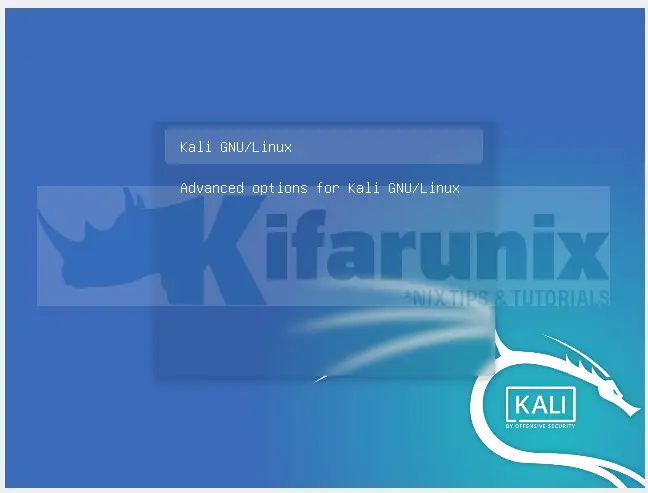
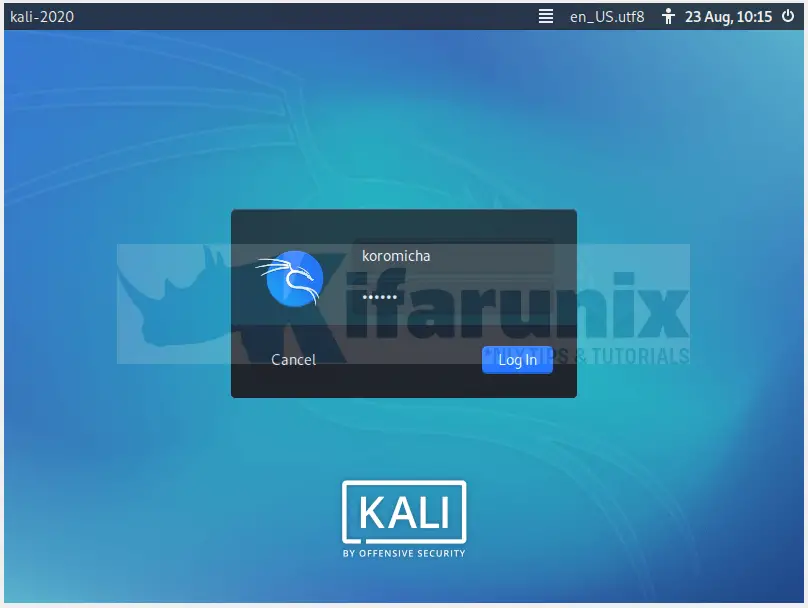
Login to your Kali Linux 2020.3 machine using the username and password setup before.
Upon successful login, you land on Kali Linux 2020.3 desktop.
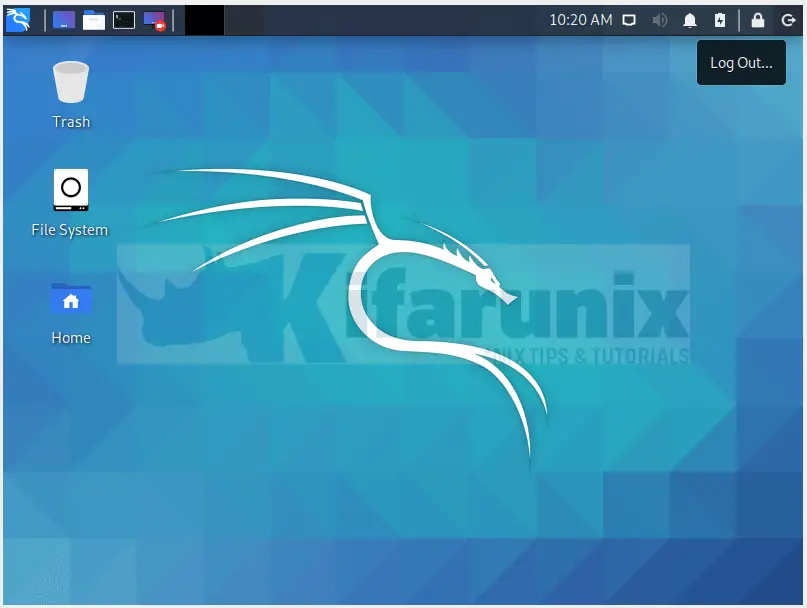
That was easy, wasn’t it? You can now start to explore a thousand security tools that this awesome Kali system comes bundled with.
Related Tutorials
Install VirtualBox Guest Additions on Fedora 31/32
Upgrade VirtualBox 6.0 to 6.1 on Ubuntu Systems

