In this guide, we are going to learn how to install Guacamole as Docker Container on Rocky Linux. Guacamole is a clientless HTML5 web based remote desktop gateway which provides remote access to servers and desktops through a web browser. It supports standard protocols like VNC, RDP, and SSH.
Table of Contents
Install and Run Guacamole as Docker Container
Guacamole is made up of two parts;
guacamole-server, which provides the guacd proxy and all the native, server-side components required by Guacamole to connect to remote desktops.guacamole-clientwhich provides the client to be served by the servlet container which is usuallyTomcat.
You need to install both of these components to setup Guacamole web-based remote desktop client.
If you do not want to run Guacamole as docker container, then check this guide.
Install Guacamole as a Docker Container on Rocky Linux
To be able to run Guacamole as a Docker Container on Rocky Linux;
Install Docker CE on Rocky Linux by running the commands below;
dnf config-manager --add-repo=https://download.docker.com/linux/centos/docker-ce.repodnf install docker-ce docker-ce-cli containerd.ioStart and enable Docker service;
systemctl enable --now dockerInstall Docker Compose on Rocky Linux;
Execute the commands below to install Docker compose on Rocky Linux;
curl -sL "https://github.com/docker/compose/releases/download/1.29.2/docker-compose-$(uname -s)-$(uname -m)" -o /usr/local/bin/docker-composechmod +x /usr/local/bin/docker-composeDownload Guacamole Container Images
Execute the commands below to download the Guacamole server and client images.
docker pull guacamole/guacddocker pull guacamole/guacamoleListing available images;
docker imagesREPOSITORY TAG IMAGE ID CREATED SIZE
guacamole/guacd latest 70fd332fa74e 17 hours ago 271MB
guacamole/guacamole latest 599b74ba38c9 18 hours ago 439MBConfigure Guacamole Authentication
The Guacamole Docker container needs at least one authentication mechanism in order to function, such as a MySQL database, PostgreSQL database, LDAP directory or RADIUS server.
In this guide, we will use MySQL database authentication.
Create MySQL Docker Container
As a result, let’s deploy MySQL database container. We are using the latest MySQL 8 docker image.
The command below will download latest MySQL 8 docker image, create a MySQL 8 Docker container called, guacamole_db, Guacamole database (guacdb), MySQL root user password;
docker run --name guacamole_db \
	-e MYSQL_ROOT_PASSWORD=p@ssw0rd \
	-e MYSQL_DATABASE=guacdb \
	-d mysql/mysql-server
Initialize Guacamole MySQL Database
Next, you need to generate Guacamole MySQL database initialization schema.
Let’s create a directory to store the schema;
mkdir -p /opt/guacamole/mysqldocker run --rm guacamole/guacamole /opt/guacamole/bin/initdb.sh --mysql > /opt/guacamole/mysql/01-initdb.sqlCopy the Guacamole MySQL database initialization script to MySQL Docker container;
docker cp /opt/guacamole/mysql/01-initdb.sql guacamole_db:/docker-entrypoint-initdb.dThe script will be copied to /docker-entrypoint-initdb.d directory of the MySQL docker container.
Connect to MySQL database container;
docker exec -it guacamole_db bashThis will drop you to the root directory of MySQL container.
bash-4.4#Check that the initialization script is available;
ls /docker-entrypoint-initdb.d/Initialize Guacamole MySQL Database;
cd /docker-entrypoint-initdb.d/mysql -u root -pUse the password specified with MYSQL_ROOT_PASSWORD above. You should now drop into MySQL prompt;
bash-4.4# mysql -u root -p
Enter password:
Welcome to the MySQL monitor.  Commands end with ; or \g.
Your MySQL connection id is 24
Server version: 8.0.29 MySQL Community Server - GPL

Copyright (c) 2000, 2022, Oracle and/or its affiliates.

Oracle is a registered trademark of Oracle Corporation and/or its
affiliates. Other names may be trademarks of their respective
owners.

Type 'help;' or '\h' for help. Type '\c' to clear the current input statement.

mysql>
Initialize the Guacamole database;
use guacdb;source 01-initdb.sql;When done initializing, check the tables available;
show tables;Sample output;
+---------------------------------------+
| Tables_in_guacdb                      |
+---------------------------------------+
| guacamole_connection                  |
| guacamole_connection_attribute        |
| guacamole_connection_group            |
| guacamole_connection_group_attribute  |
| guacamole_connection_group_permission |
| guacamole_connection_history          |
| guacamole_connection_parameter        |
| guacamole_connection_permission       |
| guacamole_entity                      |
| guacamole_sharing_profile             |
| guacamole_sharing_profile_attribute   |
| guacamole_sharing_profile_parameter   |
| guacamole_sharing_profile_permission  |
| guacamole_system_permission           |
| guacamole_user                        |
| guacamole_user_attribute              |
| guacamole_user_group                  |
| guacamole_user_group_attribute        |
| guacamole_user_group_member           |
| guacamole_user_group_permission       |
| guacamole_user_history                |
| guacamole_user_password_history       |
| guacamole_user_permission             |
+---------------------------------------+
23 rows in set (0.01 sec)
Create Guacamole Database and Database User
Next, create the Guacamole database user and grant the required permissions on the database;
create user guacadmin@'%' identified by 'ChangeME';grant SELECT,UPDATE,INSERT,DELETE on guacdb.* to guacadmin@'%';flush privileges;
quitExit the MySQL container;
exitIf you check the running containers;
docker psSample output;
CONTAINER ID   IMAGE                COMMAND                  CREATED         STATUS                   PORTS                       NAMES
8fe00bea2c59   mysql/mysql-server   "/entrypoint.sh mysq…"   3 minutes ago   Up 3 minutes (healthy)   3306/tcp, 33060-33061/tcp   guacamole_db
As you can see, the health status is healthy, (started and running).
You can check the status again and print specific fields;
docker ps --format '{{.ID}}\t{{.Image}}\t{{.Status}}\t{{.Names}}'You can also check the logs for the container;
docker logs guacamole_dbStart Guacamole Server Container
You can start the Guacamole Server container in the background as a service.
docker run --name guacamole-server -d guacamole/guacddocker logs --tail 10 guacamole-serverguacd[7]: INFO: Guacamole proxy daemon (guacd) version 1.4.0 started
guacd[7]: INFO: Listening on host 0.0.0.0, port 4822Again, list running containers after a few moments.
docker psCONTAINER ID IMAGE COMMAND CREATED STATUS PORTS NAMES
669ad905db27 guacamole/guacd "/bin/sh -c '/usr/lo…" 23 minutes ago Up 23 minutes (healthy) 4822/tcp guacamole-server
b78a10e6b107 mysql/mysql-server "/entrypoint.sh mysq…" About an hour ago Up About an hour (healthy) 3306/tcp, 33060-33061/tcp guacamole_db
As you can see, Guacamole server is now up and running.
Start Guacamole Client Container
You can now start the Guacamole client.
In order for this to work, you need to link it to the Guacamole server and the Guacamole database.
You also need to expose the Guacamole client port, 8080 on the host to allow external access to the Guacamole.
All the containers will use the default Docker networks.
Thus, launch the Guacamole client;
docker run --name guacamole-client \
	--link guacamole-server:guacd \
	--link guacamole_db:mysql \
	-e MYSQL_DATABASE=guacdb \
	-e MYSQL_USER=guacadmin \
	-e MYSQL_PASSWORD=ChangeME \
	-d -p 80:8080 guacamole/guacamole
Check the Docker container processes;
docker psCONTAINER ID IMAGE COMMAND CREATED STATUS PORTS NAMES
07233565559c guacamole/guacamole "/opt/guacamole/bin/…" 23 seconds ago Up 20 seconds 0.0.0.0:80->8080/tcp, :::80->8080/tcp guacamole-client
669ad905db27 guacamole/guacd "/bin/sh -c '/usr/lo…" 29 minutes ago Up 29 minutes (healthy) 4822/tcp guacamole-server
b78a10e6b107 mysql/mysql-server "/entrypoint.sh mysq…" About an hour ago Up About an hour (healthy) 3306/tcp, 33060-33061/tcp guacamole_db
As you can see, the Guacamole client is listening on port 8080, exposed on the host as port 80;
ss -altnp | grep :80LISTEN 0 4096 0.0.0.0:80 0.0.0.0:* users:(("docker-proxy",pid=6129,fd=4))
LISTEN 0 4096 [::]:80 [::]:* users:(("docker-proxy",pid=6135,fd=4))
Accessing Guacamole from Browser
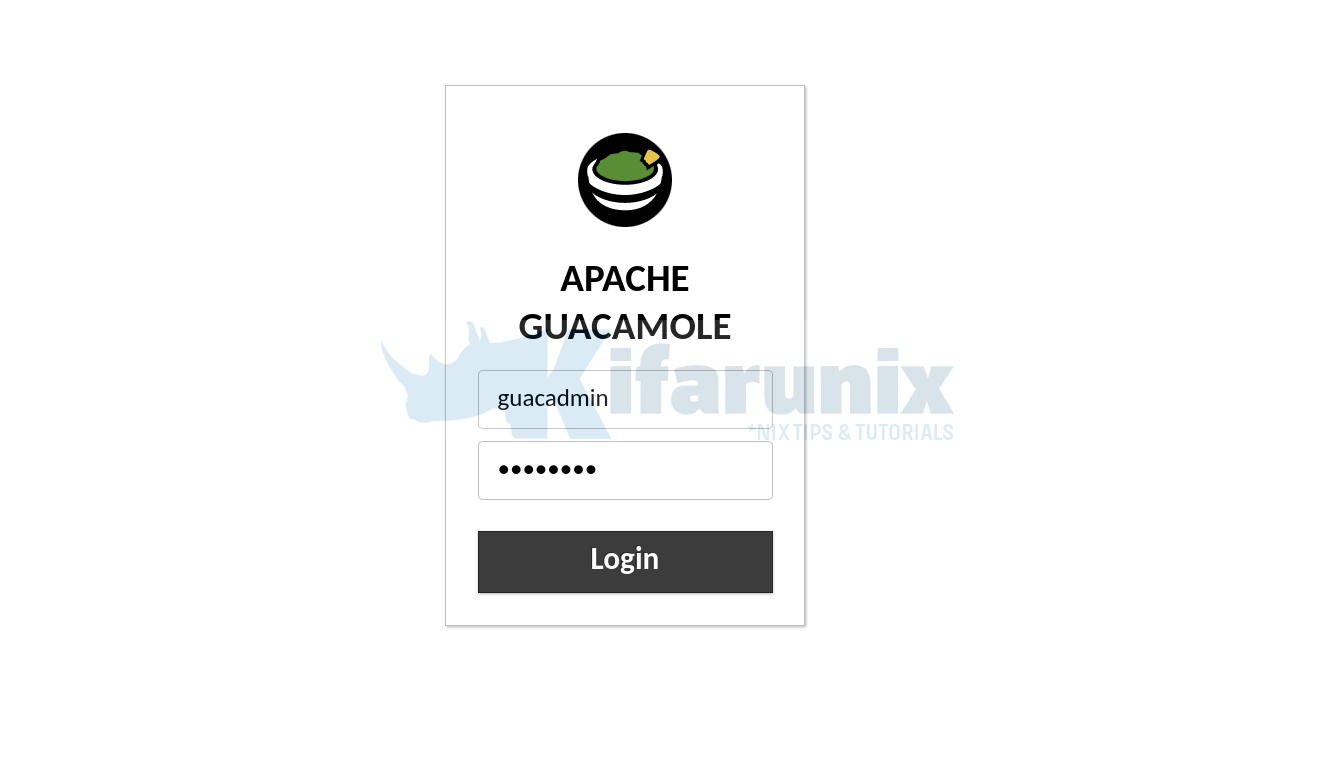
Once Guacamole is setup, you can access it from web browser using the address http://server-IP/guacamole.
Default Credentials;
- User: guacadmin
- Password: guacadmin

Upon successful login, you get to Guacamole web dashboard.
And there you go. As you can see, no connections have been added yet. You can now add connections to your Guacamole.
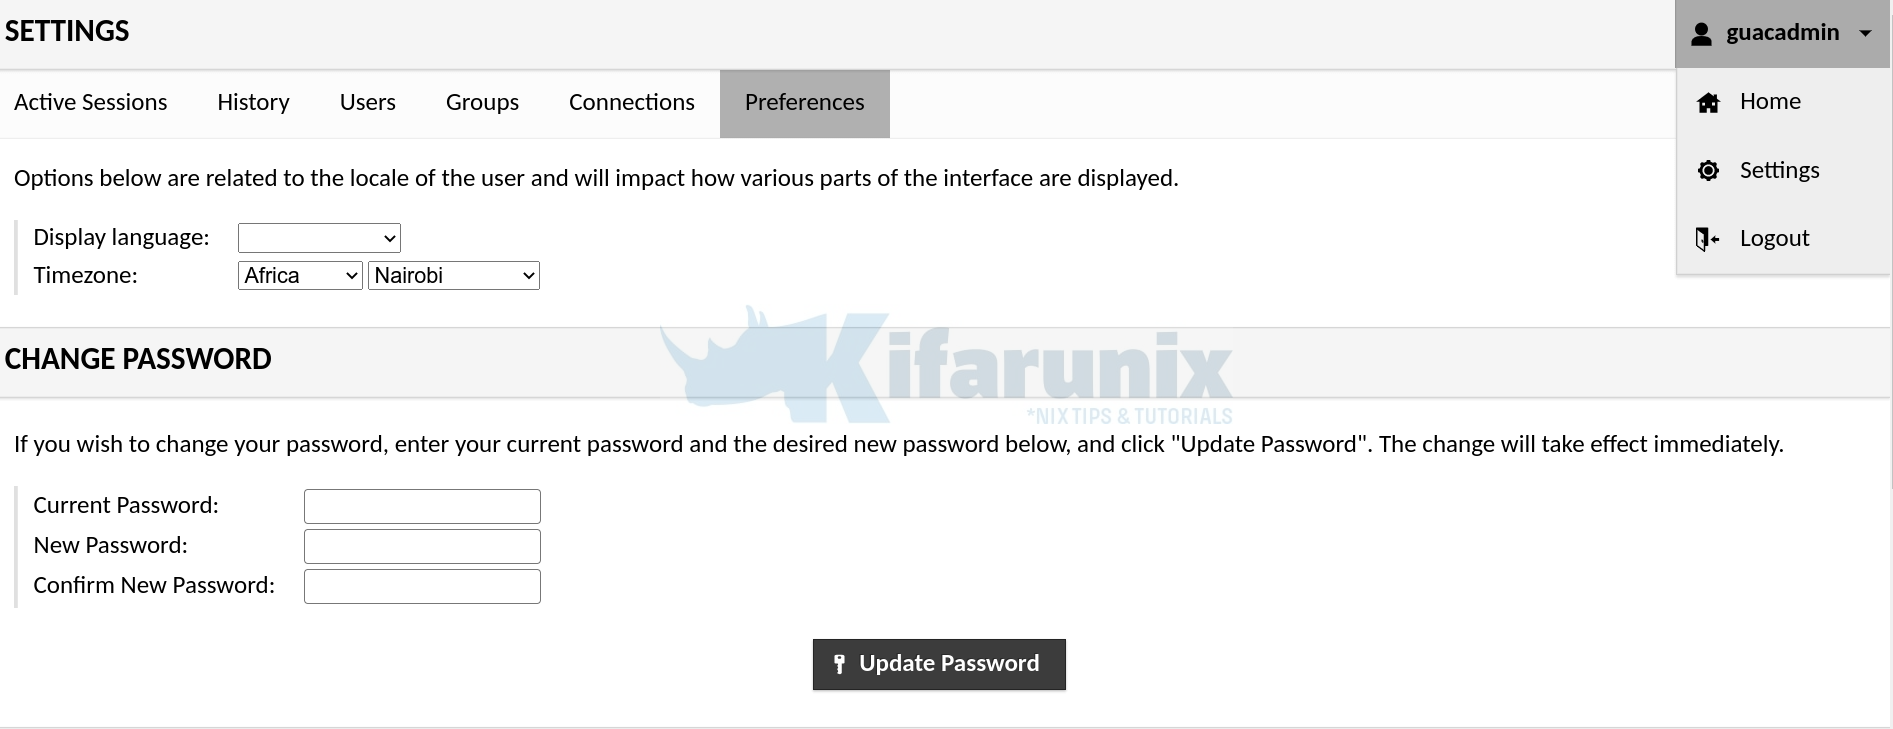
You can also reset Guacamole user password on the settings page.

That marks the end of our guide on install and run Guacamole as Docker Container on Rocky Linux.
Read more on Guacamole User Guide.
See other tutorials;


