In this guide, we are going to learn how to install Debian 10 Buster on VirtualBox. Debian 10 Buster has just been released and if you want to run it, you can simply setup a VirtualBox VM and spin it. That is what this guide is about, spinning Debian 10 Buster on VirtualBox.
Install Debian 10 Buster on VirtualBox
Download Debian 10 Buster ISO
To install Debian 10 Buster on VirtualBox, you can either use a CD/DVD iso file. Both CD/DVD disk contains all the files necessary to install a standard Debian system. However, a CD iso file is used in this guide.
Navigate to the downloads page and choose the CD of your respective architecture.
Create VirtualBox New Machine
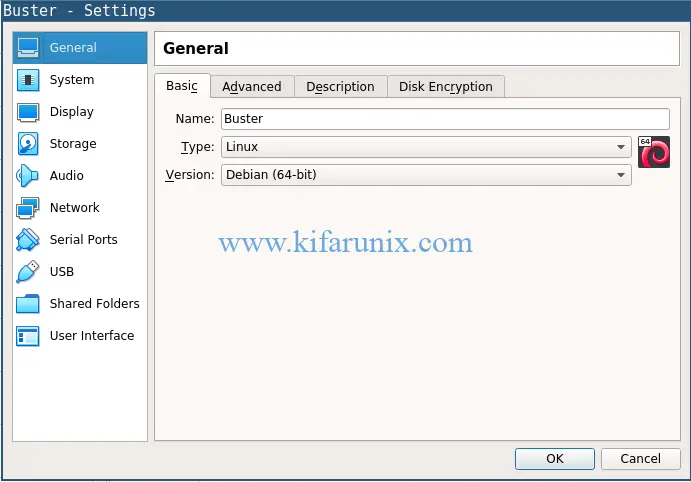
Once you have download the installation ISO file, launch VirtualBox and create a new VM. Setup your Debian system resources like RAM, Disk Storage, Networking and any other setting as you deem necessary for your VM.
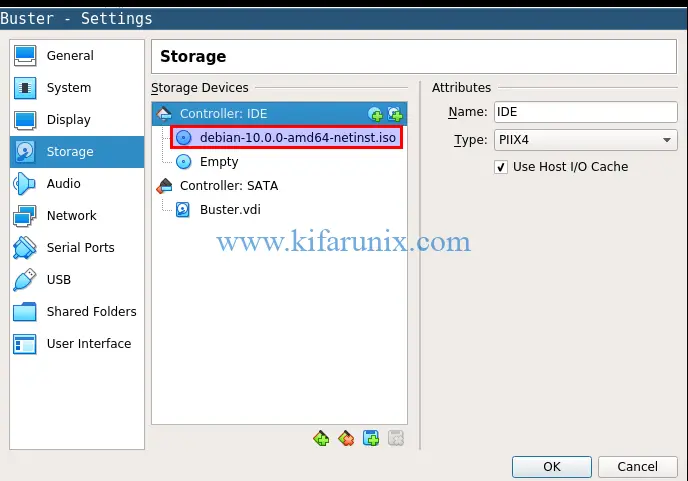
Attach Debian 10 ISO file
Once you have created Debian 10 Buster VirtualBox VM, attach the installation ISO.
Install Debian 10 Buster on VirtualBox
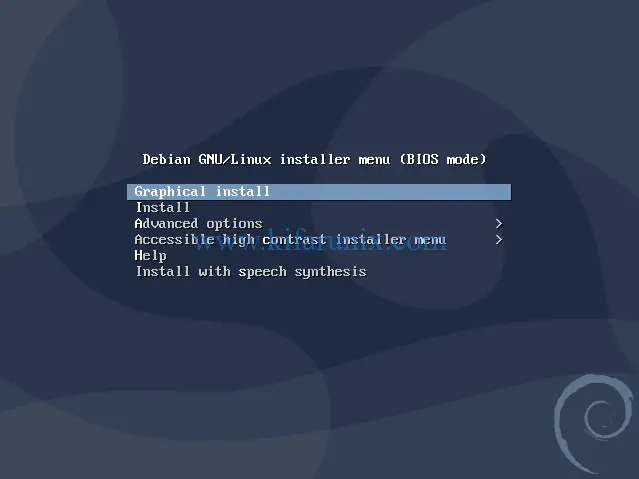
Once you have attached the installation ISO file to your Debian 10 Buster VM, click start button to launch the installation.
On the first prompt, you are prompted to select the installation method.
On the next steps;
- Select the installation language
- Choose your region
- Set the locales for your selected language
- Set your Keyboard settings
After that, click continue to load the installer components from the installation ISO file.
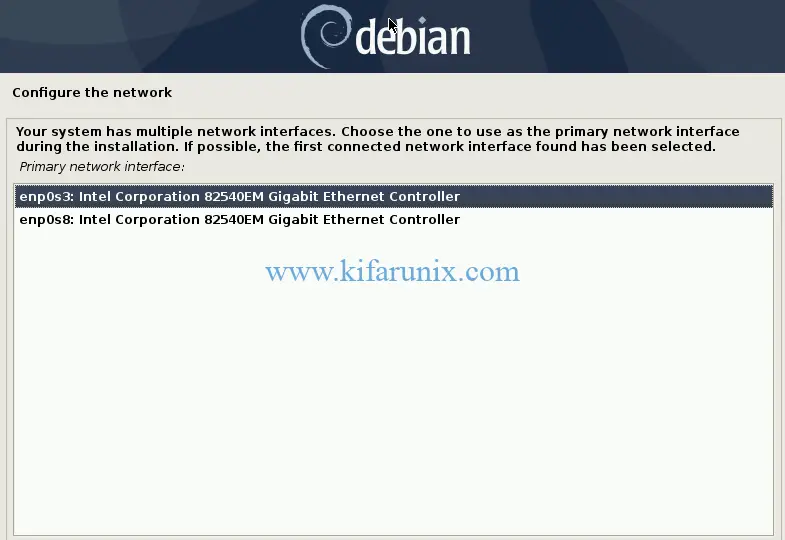
On the next step, choose your primary network interface, if you have multiple interfaces attached, and configure the network appropriately.
Next, set your hostname and the domain.
On the nexts step, set your root user password. You are also requires to set the name of a non-root user to be created on the system.
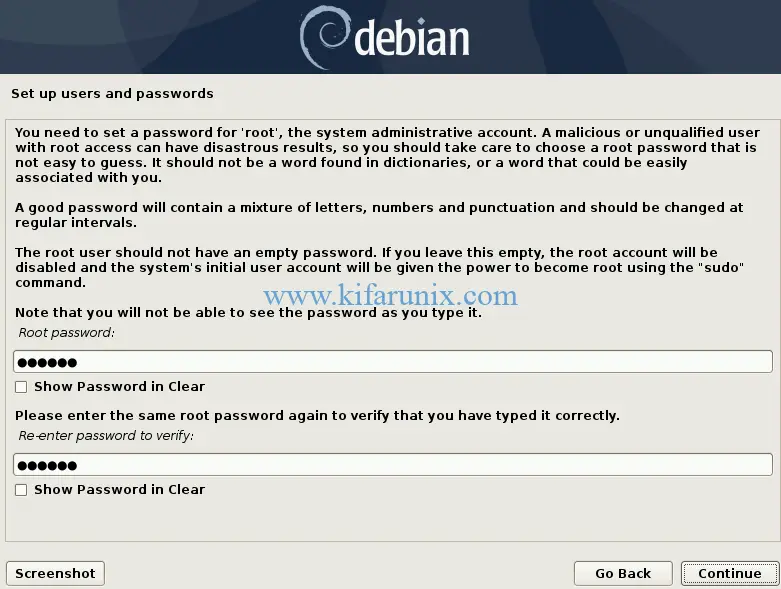
Click continue and select your timezone.
The next step is on disk partitioning. In this guide, we are going to choose the Guided partitioning and setup LVM.
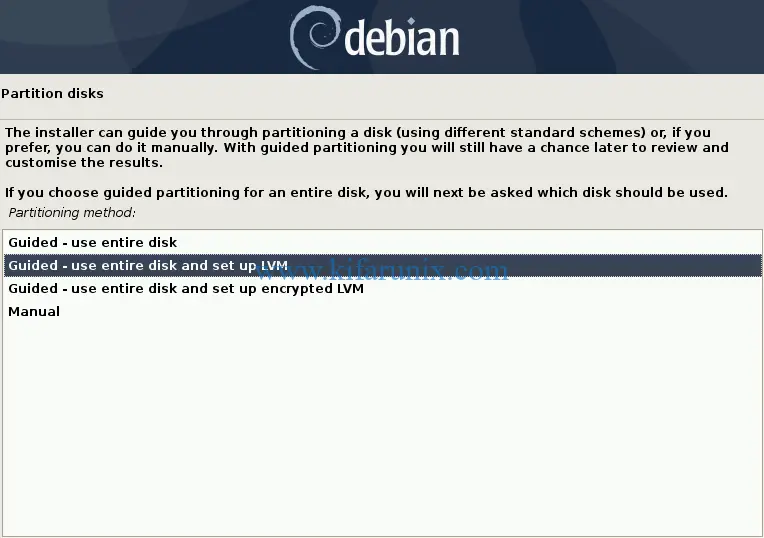
Next, select the disk to partition.
Once you have selected the disk, you can then choose the partitioning scheme from the options provided. This guide uses entire disk for demonstration purposes.
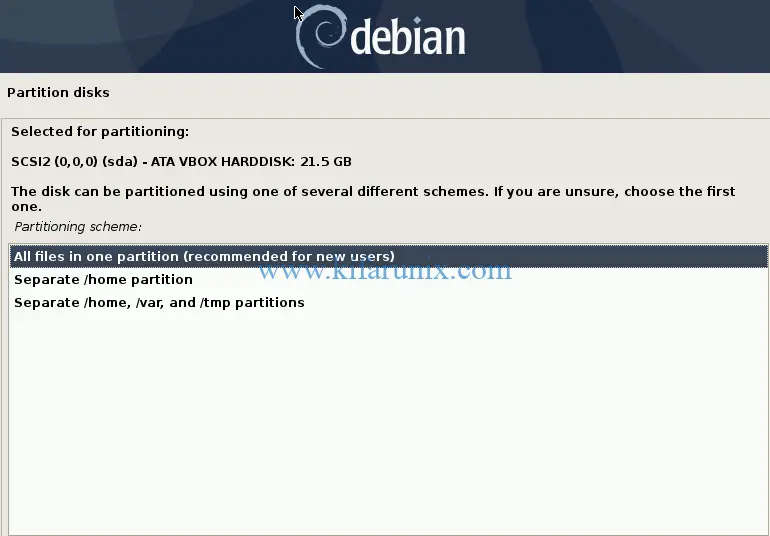
Write changes to disk and set the size of the Volume group to create. This guide uses entire disk. Verify the disk settings and press continue to install Debian 10 Buster base system.
Once the base system installation is done, you need to configure the package manager. You are prompted to select another disk, if any, where apt package manager.
Select the Debian mirror that is close to your country or region that can be used by the package manager.
If you are going through any proxy server, configure the Proxy connection details. If there is none, press enter to continue.
If you need to participate in the package usage survey, select Yes otherwise, select No.
On the next step, select the software to install.
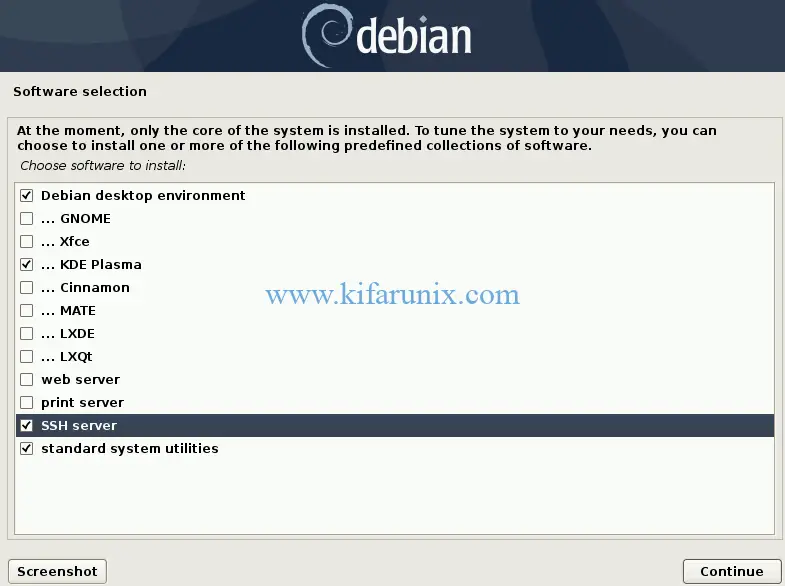
Select the packages to install and press enter to continue.
Once the package installation is done, you are prompted to install GRUB bootloader to MBR. Select yes and click continue to select the device to install bootloader to.
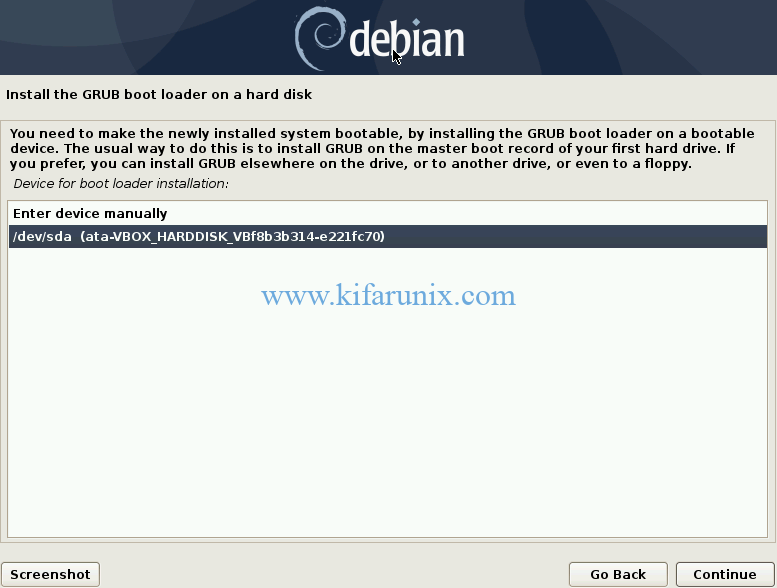
Press Enter to install Grub on /dev/sda.
After Grub installation, the installation of Debian 10 Buster on VirtualBox is now complete. Press Enter to finish the installation. The system will reboot and automatically detach the installation medium.
Login to Debian 10 Buster
On the software installation step, we chose to install KDE Plasma as our desktop environment. Hence, when your system reboots, such a screen welcomes you.
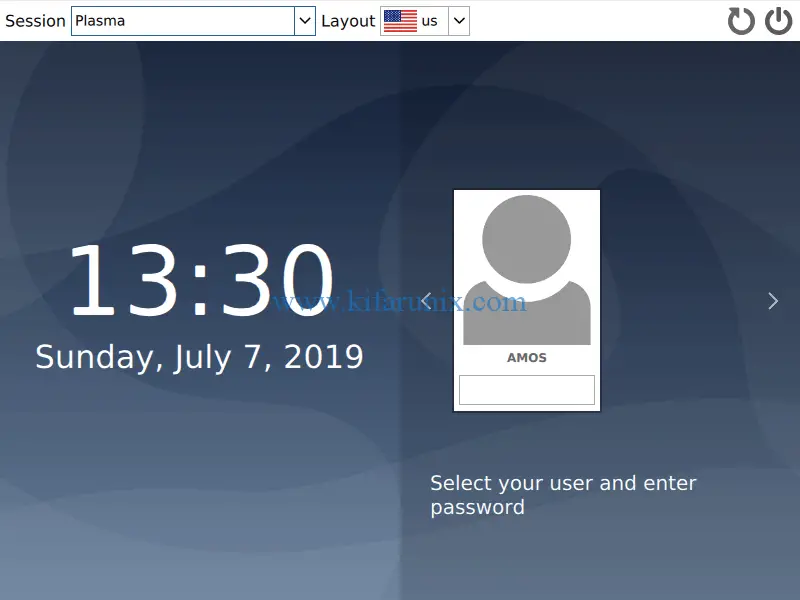
Login with your username password. And there you go, Your Debian 10 Buster is ready for exploration.
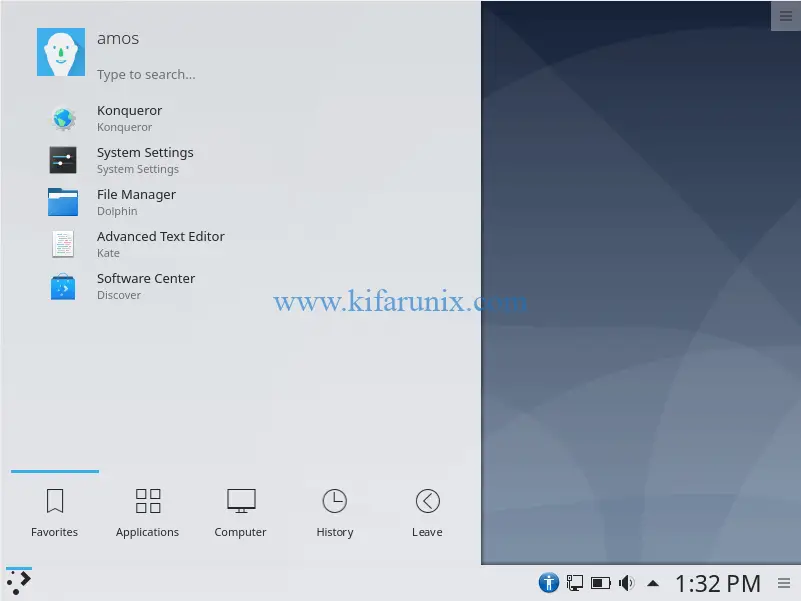
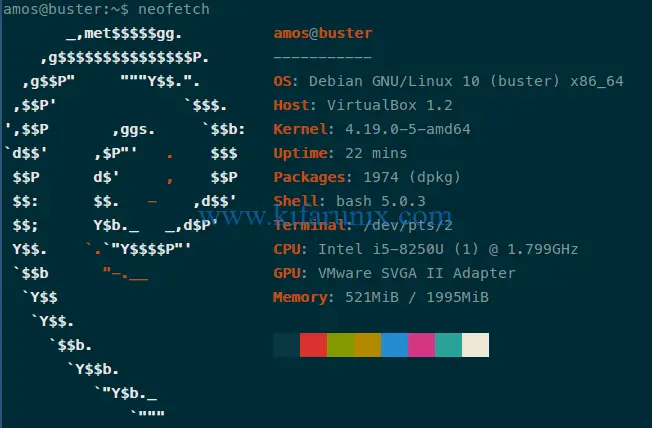
As you can see, the Debian 10 Buster is not in full-screen view. To configure full-screen settings, you need to install VirtualBox guest additions. See our guide on the link below to on how to install VirtualBox Guest Additions on Debian 10.
Install Debian 10 Buster on VirtualBox
That is on how to install Debian 10 Buster on VirtualBox. Enjoy.
Related Tutorials;
Install VirtualBox Guest Additions on Ubuntu 18.04
Install VirtualBox Extension Pack on VirtualBox 6.0
How to Upgrade VirtualBox 5.2 to VirtualBox 6.0 on Ubuntu 16.04


I started to install Debian Buster on a virtual machine, but it never ends, always throw an error “Installation step failed the failed step is: select and install software”, so, I think it could be by my wireless card network which is a Qualcomm Atheros AR956X (Yes, I am working on my laptop).
Does anyone have any thoughts about this?
Hi Alex,
Looks like you have an internet connection issue.
You can try to NAT you vm and ensure that your host has internet connection.