In this tutorial, you will learn how to install and setup NetData on Ubuntu 20.04/18.04. NetData is a free and open source, distributed, real-time performance and health monitoring tool for systems and applications. NetData can be installed as an agent on systems/containers/applications so as to collect in real time, the system/container/application metrics and displays them on an interactive web interface. It can store all these metrics for a predefined time period. It can be integrated with other monitoring tools such as Prometheus, Graphite, OpenTSDB, Kafka, Grafana, and more.
Installing NetData on Ubuntu 20.04/18.04
Netdata is a monitoring agent designed to run on all your systems: physical and virtual servers, containers, even IoT/edge devices. It runs on Linux, FreeBSD, macOS, Kubernetes, Docker, and all their derivatives.
There are different ways in which you can install NetData on Ubuntu or any other Linux/Unix systems as outlined on the NetData installation guide.
Note that NetData is available on both Ubuntu 20.04 and Ubuntu 18.04 Universe repos.
Ubuntu 20.04;
apt show netdataPackage: netdata
Version: 1.19.0-3ubuntu1
Priority: optional
Section: universe/net
Origin: Ubuntu
Maintainer: Ubuntu Developers <[email protected]>
Original-Maintainer: Lennart Weller <[email protected]>
Bugs: https://bugs.launchpad.net/ubuntu/+filebug
Installed-Size: 38.9 kB
Depends: netdata-core | netdata-core-no-sse, netdata-plugins-bash, netdata-web
Recommends: netdata-plugins-nodejs, netdata-plugins-python
Homepage: https://github.com/netdata/netdata
Download-Size: 8,156 B
APT-Sources: http://ke.archive.ubuntu.com/ubuntu focal/universe amd64 Packages
Description: real-time performance monitoring (metapackage)
Ubuntu 18.04;
apt show netdataPackage: netdata
Version: 1.9.0+dfsg-1
Priority: optional
Section: universe/net
Origin: Ubuntu
Maintainer: Ubuntu Developers <[email protected]>
Original-Maintainer: Lennart Weller <[email protected]>
Bugs: https://bugs.launchpad.net/ubuntu/+filebug
Installed-Size: 2,214 kB
Depends: adduser, libcap2-bin (>= 1:2.0), lsb-base (>= 3.1-23.2), netdata-data (= 1.9.0+dfsg-1), python3, python3-urllib3, python3-yaml, libc6 (>= 2.17), libuuid1 (>= 2.16), zlib1g (>= 1:1.1.4)
Recommends: curl, fping, nodejs
Homepage: https://github.com/firehol/netdata
Download-Size: 502 kB
APT-Sources: http://us.archive.ubuntu.com/ubuntu bionic/universe amd64 Packages
As you can see, on Ubuntu 20.04, we have NetData v1.19.0 while on Ubuntu 18.04 we have NetData 1.9.0. However, NetData v1.24.0 is the current release as of this writing.
Install NetData on Ubuntu 20.04/18.04 using NetData Automated Installer Script
In this tutorial, we will install NetData on Ubuntu 20.04/Ubuntu 18.04 using the most recommended method as per the NetData installation guide. This involves the use of the automatic one-line installation script which usually works out of the box on all Linux distributions.
To use the NetData automated installation script, simply execute the command below;
Be sure to run the script as an administrative user using a BASH shell.
bash <(curl -Ss https://my-netdata.io/kickstart.sh)Basically, the script installs NetData from the source code. It therefore downloads and installs all the package dependencies and build tools required to install and run NetData.
The script runs interactively. Follow the prompts to install NetData on Ubuntu 20.04/18.04;
...
[/tmp/netdata-kickstart-2PuU0j/netdata-v1.24.0-49-gc6ba56af]$ sudo ./netdata-installer.sh --auto-update
  ^
  |.-.   .-.   .-.   .-.   .  netdata
  |   '-'   '-'   '-'   '-'   real-time performance monitoring, done right!
  +----+-----+-----+-----+-----+-----+-----+-----+-----+-----+-----+-----+--->


  You are about to build and install netdata to your system.

  It will be installed at these locations:

   - the daemon     at /usr/sbin/netdata
   - config files   in /etc/netdata
   - web files      in /usr/share/netdata
   - plugins        in /usr/libexec/netdata
   - cache files    in /var/cache/netdata
   - db files       in /var/lib/netdata
   - log files      in /var/log/netdata
   - pid file       at /var/run/netdata.pid
   - logrotate file at /etc/logrotate.d/netdata

  This installer allows you to change the installation path.
  Press Control-C and run the same command with --help for help.


  NOTE:
  Anonymous usage stats will be collected and sent to Google Analytics.
  To opt-out, pass --disable-telemetry option to the installer or export
  the environment variable DO_NOT_TRACK to a non-zero or non-empty value
  (e.g: export DO_NOT_TRACK=1).

Press ENTER to build and install netdata to your system > press ENTER
Once the installation is done, the script will tell you that it is done and NetData is installed and running;
...
netdata by default listens on all IPs on port 19999,
so you can access it with:

  http://this.machine.ip:19999/

To stop netdata run:

  systemctl stop netdata

To start netdata run:

  systemctl start netdata

Uninstall script copied to: /usr/libexec/netdata/netdata-uninstaller.sh

 --- Installing (but not enabling) the netdata updater tool ---
Update script is located at /usr/libexec/netdata/netdata-updater.sh

 --- Check if we must enable/disable the netdata updater tool ---
Adding to cron
Auto-updating has been enabled. Updater script linked to: /etc/cron.daily/netdata-updater

netdata-updater.sh works from cron. It will trigger an email from cron
only if it fails (it should not print anything when it can update netdata).

 --- Wrap up environment set up ---
Preparing .environment file
[/tmp/netdata-kickstart-2PuU0j/netdata-v1.24.0-49-gc6ba56af]# chmod 0644 /etc/netdata/.environment
 OK

Setting netdata.tarball.checksum to 'new_installation'

 --- We are done! ---

  ^
  |.-.   .-.   .-.   .-.   .-.   .  netdata                          .-.   .-
  |   '-'   '-'   '-'   '-'   '-'   is installed and running now!  -'   '-'
  +----+-----+-----+-----+-----+-----+-----+-----+-----+-----+-----+-----+--->

  enjoy real-time performance and health monitoring...

 OK
Refer to NetData installation guide for more installation methods.
Running NetData As s Service
The NetData Kickstart script installs NetData systemd service unit. It also starts and enables NetData service to run on system boot;
Checking the status;
systemctl status netdata● netdata.service - Real time performance monitoring
Loaded: loaded (/lib/systemd/system/netdata.service; enabled; vendor preset: enabled)
Active: active (running) since Sun 2020-08-16 10:18:51 EAT; 13min ago
Process: 2141 ExecStartPre=/bin/chown -R netdata:netdata /var/run/netdata (code=exited, status=0/SUCCESS)
Process: 2140 ExecStartPre=/bin/mkdir -p /var/run/netdata (code=exited, status=0/SUCCESS)
Process: 2139 ExecStartPre=/bin/chown -R netdata:netdata /var/cache/netdata (code=exited, status=0/SUCCESS)
Process: 2128 ExecStartPre=/bin/mkdir -p /var/cache/netdata (code=exited, status=0/SUCCESS)
Main PID: 2142 (netdata)
Tasks: 36 (limit: 2317)
CGroup: /system.slice/netdata.service
├─2142 /usr/sbin/netdata -P /var/run/netdata/netdata.pid -D
├─2181 /usr/sbin/netdata --special-spawn-server
├─2359 bash /usr/libexec/netdata/plugins.d/tc-qos-helper.sh 1
├─2366 /usr/libexec/netdata/plugins.d/go.d.plugin 1
├─2367 /usr/libexec/netdata/plugins.d/apps.plugin 1
└─2369 /usr/libexec/netdata/plugins.d/ebpf.plugin 1
Aug 16 10:18:52 ubuntu18.mibeyki.silensec.com netdata[2142]: 2020-08-16 10:18:52: netdata INFO : MAIN : Found 0 legacy dbengines, setting multidb diskspace to 256MB
Aug 16 10:18:52 ubuntu18.mibeyki.silensec.com netdata[2142]: Created file '/var/lib/netdata/dbengine_multihost_size' to store the computed value
Aug 16 10:18:52 ubuntu18.mibeyki.silensec.com netdata[2142]: 2020-08-16 10:18:52: netdata INFO : MAIN :
Allow NetData Web Interface External Access
NetData by default listens on all IPs on port 19999.
sudo netstat -altnp | grep :19999tcp 0 0 0.0.0.0:19999 0.0.0.0:* LISTEN 2142/netdata
tcp6 0 0 :::19999 :::* LISTEN 2142/netdataTherefore, to allow external access to NetData web dashboard, you need to open this port on the UFW, if it is running.
sudo ufw allow 19999/tcpAccessing Netdata Web Interface
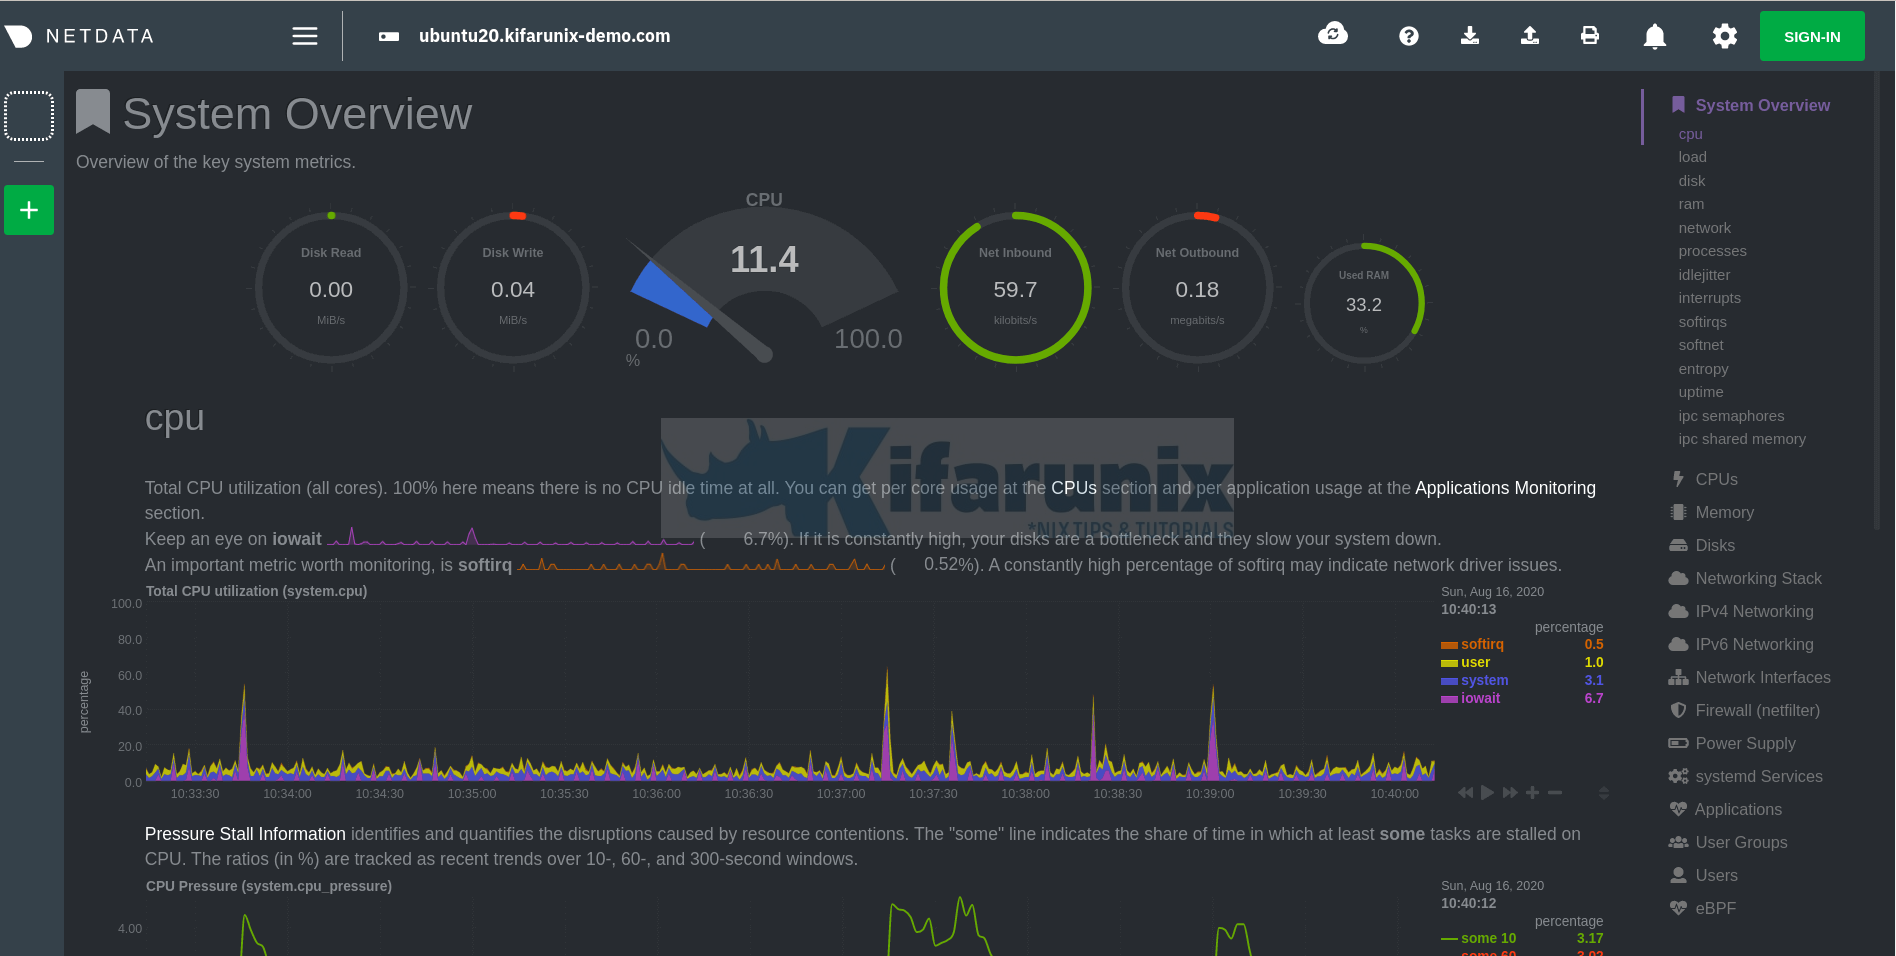
You can now access your NetData Web interface via the address http:<hostname-or-IP>:19999. This should land you on the beautiful various system metrics NetData dashboard.

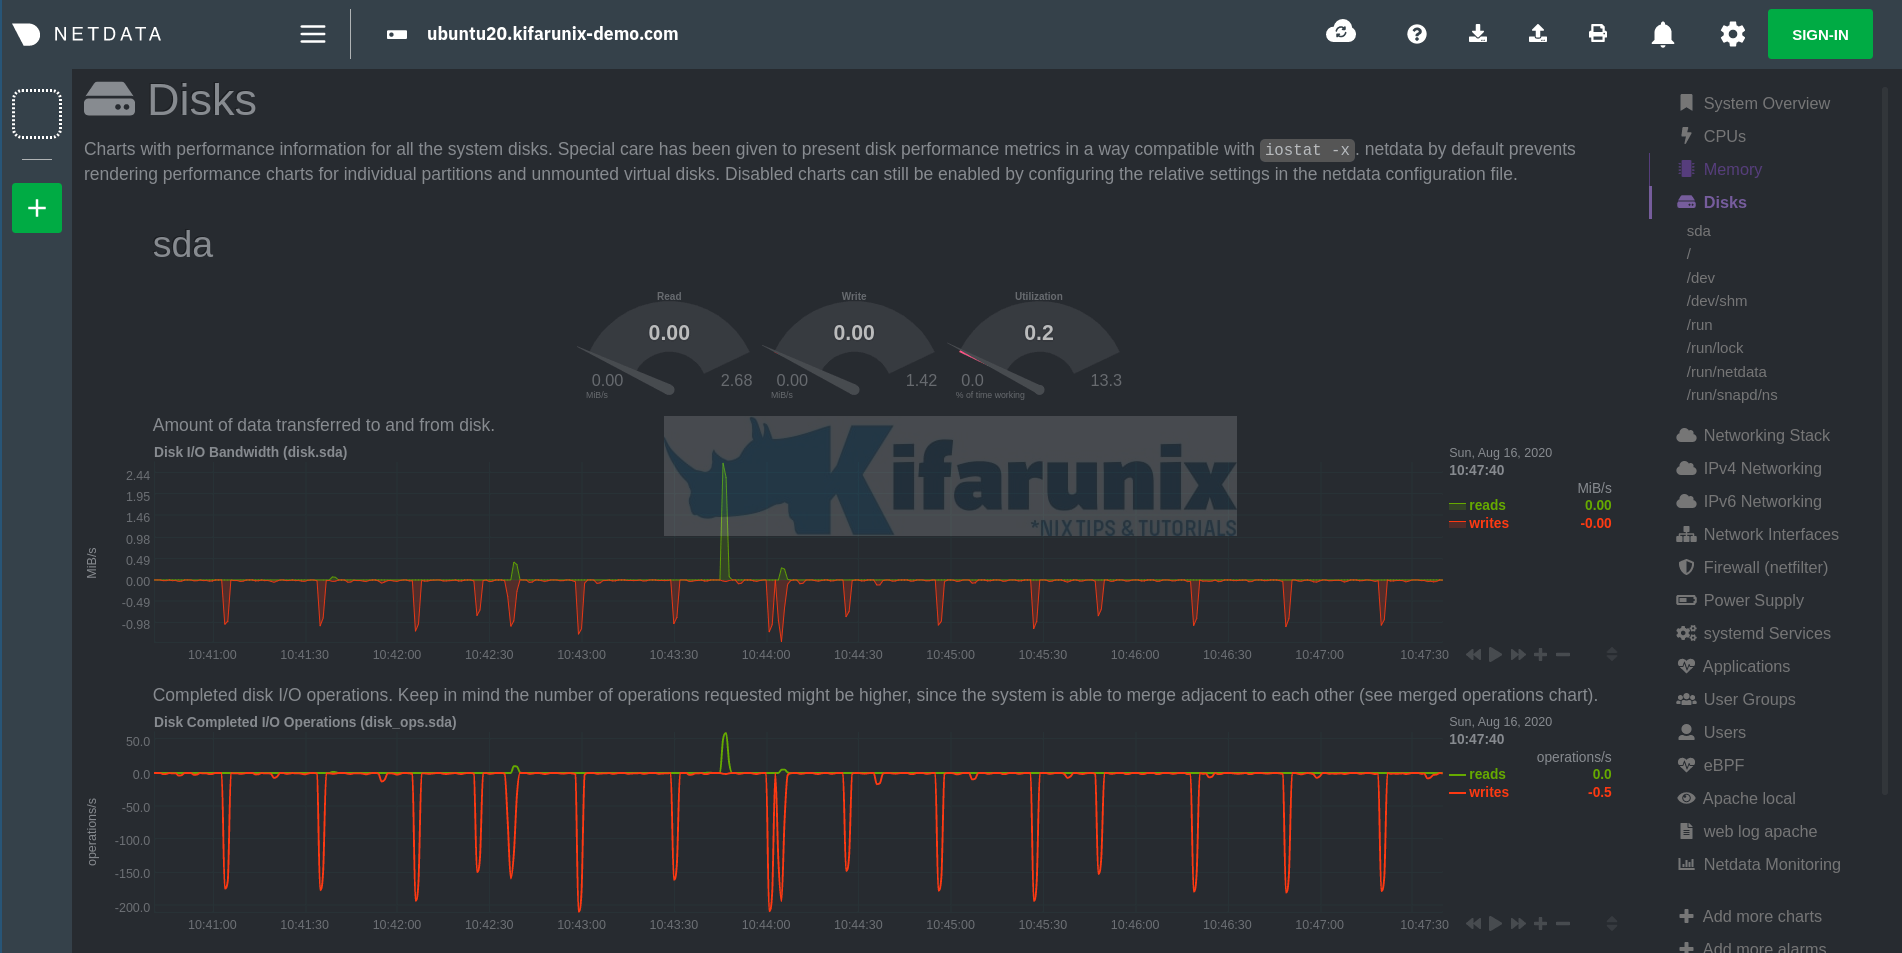
You can explore other system metrics;

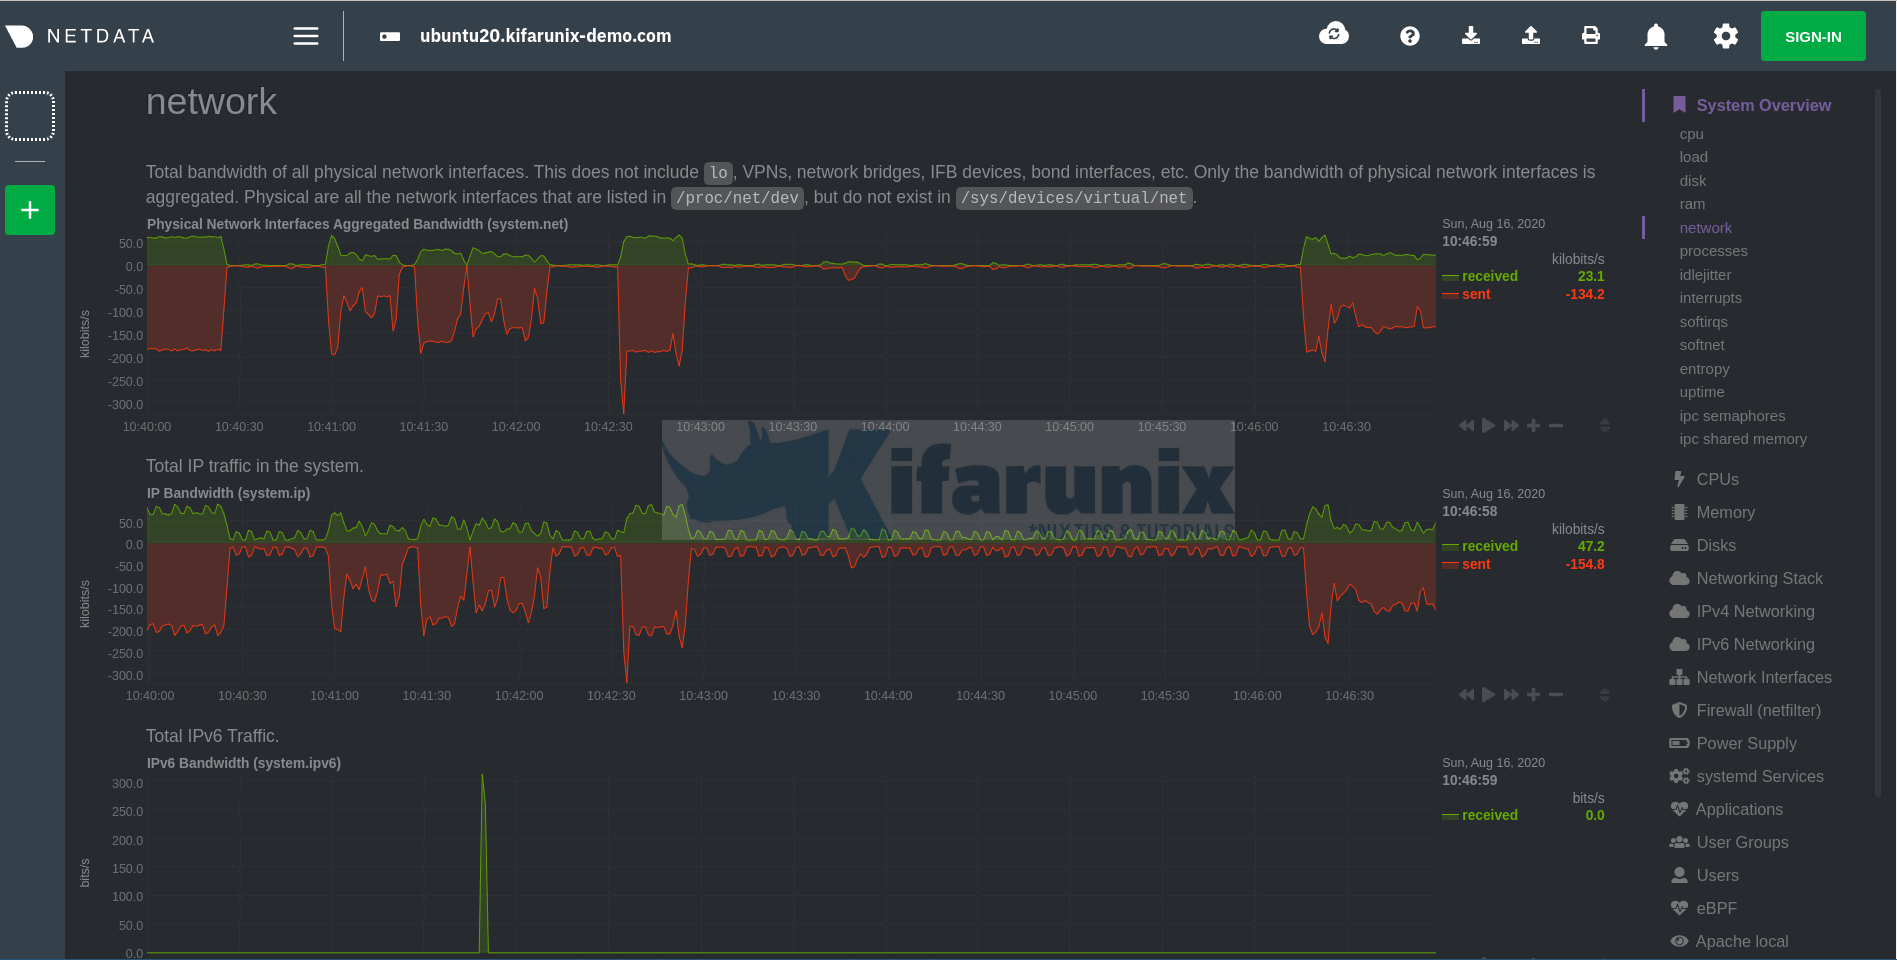
Network stats;

You can further explore the tool by checking on the NetData getting started guide link provided below;
Further Reading
Reference
Related Tutorials
Install and Setup AWStats Log Analyzer on CentOS 8
Deploy a Single Node Elastic Stack Cluster on Docker Containers
Install and Setup TIG Stack on Ubuntu 20.04

