In this tutorial, you will learn how to install and configure xrdp server on AlmaLinux 10, enabling remote desktop access. Whether your system is a headless server or already has a desktop environment, this guide ensures a seamless setup for remote desktop protocol (RDP) connections. Follow these instructions to set up a lightweight workstation environment with GNOME, KDE, or XFCE, install xrdp, and configure it for secure and efficient remote access.
Table of Contents
Install and Configure xrdp Server on AlmaLinux 10
Prerequisites
- AlmaLinux 10 installed (headless server or desktop environment).
- Root or sudo privileges.
- Internet connection for package installation.
- Basic familiarity with Linux terminal commands.
Step 1: Verify or Install a Desktop Environment
xrdp requires a graphical desktop environment to function, as RDP is designed for desktop access. If your AlmaLinux 10 system is a headless server, you’ll need to install a desktop environment. If a desktop environment is already installed, skip to Step 2.
Installing a Desktop Environment on a Headless Server
For a lightweight setup, we recommend installing the GNOME desktop environment as part of the “Workstation” group, which is leaner than a full server with GUI. Alternatively, you can install KDE or XFCE for different preferences.
Option 1: Install GNOME (Workstation)
- Enable the CodeReady Builder (CRB) and EPEL repositories:
sudo dnf config-manager --set-enabled crb
sudo dnf install epel-release - Install the GNOME Workstation group:
sudo dnf groupinstall "Workstation"
Option 2: Install KDE (Optional)
If you prefer KDE, install the KDE Plasma desktop:
sudo dnf groupinstall "KDE Plasma Workspaces"Option 3: Install XFCE (Optional)
For a lightweight alternative, install XFCE:
sudo dnf groupinstall "Xfce"Set Graphical Target
Ensure the system boots into graphical mode:
sudo systemctl set-default graphical.targetReboot to apply changes:
sudo rebootStep 2: Install xrdp
xrdp is available in the EPEL repository. Follow these steps to install it.
- Enable the EPEL repository (if not already enabled):
sudo dnf config-manager --set-enabled crb
sudo dnf install epel-release - Install xrdp:
sudo dnf install -y xrdp - Heads up. As of this writing, the EPEL repos do not provide XRDP package to EL10 yet. In that case, just download the EL9 RPM and install as follows:
sudo dnf install -y https://repo.almalinux.org/almalinux/9/AppStream/x86_64/os/Packages/tigervnc-license-1.14.1-8.el9_6.noarch.rpmsudo dnf install -y https://repo.almalinux.org/almalinux/9/AppStream/x86_64/os/Packages/tigervnc-server-minimal-1.14.1-8.el9_6.x86_64.rpmsudo dnf install -y https://dl.fedoraproject.org/pub/epel/9/Everything/x86_64/Packages/x/xrdp-0.10.3-1.el9.x86_64.rpm - Verify the installation.
The command below should display the installed xrdp version.:xrdp --version
Step 3: Start and Enable xrdp Service
After installation, start the xrdp service and enable it to run at boot.
- Start the xrdp service:
sudo systemctl start xrdp - Enable xrdp to start on boot:
sudo systemctl enable xrdp - Verify the service status:
Ensure the output shows xrdp as active (running).sudo systemctl status xrdp
Step 4: Configure Firewall for RDP
xrdp uses port 3389 by default. Configure the firewall to allow RDP connections.
- Open port 3389:
sudo firewall-cmd --permanent --add-port=3389/tcp - Reload the firewall to apply changes:
sudo firewall-cmd --reload - To allow xrdp connections (port 3389) from a specific network or IP in the firewall on AlmaLinux 10, use the following commands inline. Replace 192.168.1.0/24 with your specific network or IP.
sudo firewall-cmd --permanent --add-rich-rule='rule family="ipv4" source address="192.168.1.0/24" port port="3389" protocol="tcp" accept'
For a single IP, replace 192.168.1.0/24 with, e.g., 192.168.1.100. This restricts RDP access to the specified network or IP, enhancing security.sudo firewall-cmd --reload
Step 5: Configure xrdp for Desktop Sessions
xrdp uses a backend like Xvnc to connect to the desktop environment. Configure the startup script to ensure compatibility with your chosen desktop environment (GNOME or XFCE).
Configure GNOME Session
For GNOME (Workstation), update the xrdp startup script:
- Edit the startup script:
sudo vim /etc/xrdp/startwm.sh - Replace the content with:
#!/bin/sh
unset DBUS_SESSION_BUS_ADDRESS
exec /usr/bin/gnome-session - Save and exit the file.
Configure XFCE Session (Optional)
If you installed XFCE, update the startup script:
- Edit the startup script:
sudo vim /etc/xrdp/startwm.sh - Replace the content with:
#!/bin/sh
unset DBUS_SESSION_BUS_ADDRESS
exec startxfce4 - Save and exit the file.
Step 6: Configure SELinux for xrdp
If SELinux is enabled (default on AlmaLinux) and XRDP is not behaving as expected check SELinux logs for denials:
sudo ausearch -m avcsudo sealert -a /var/log/audit/audit.logCreate custom SELinux policies if necessary.
Step 7: Test the xrdp Connection
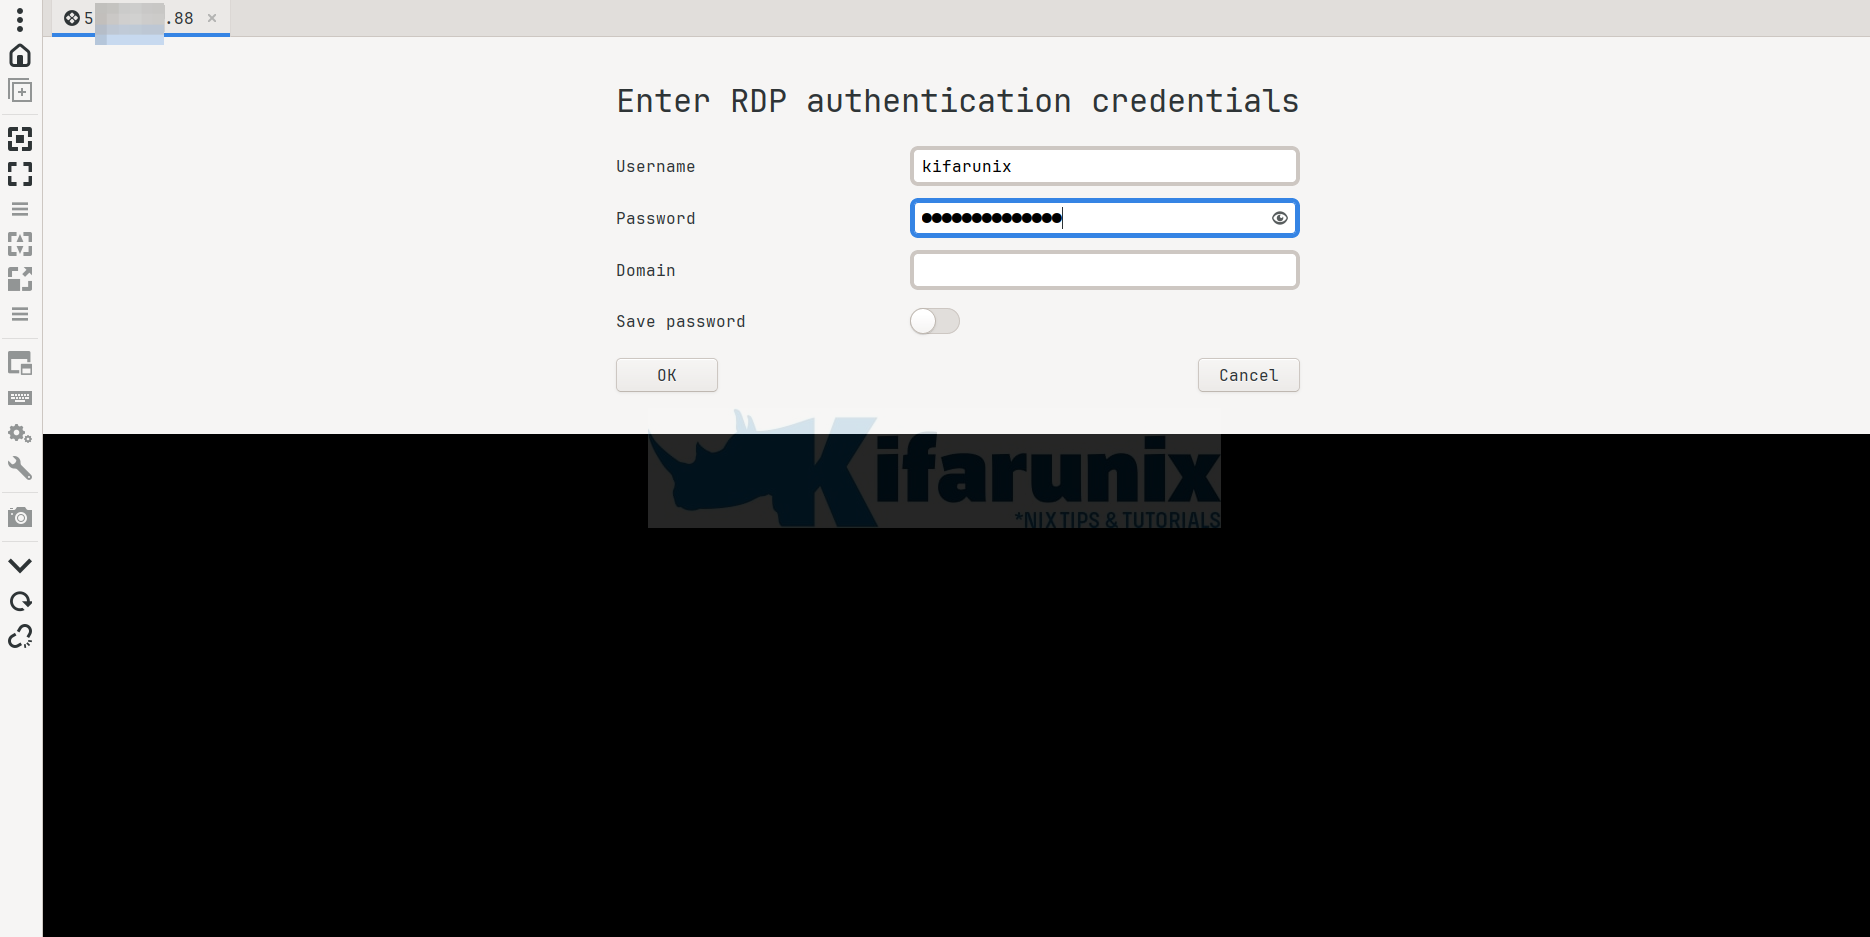
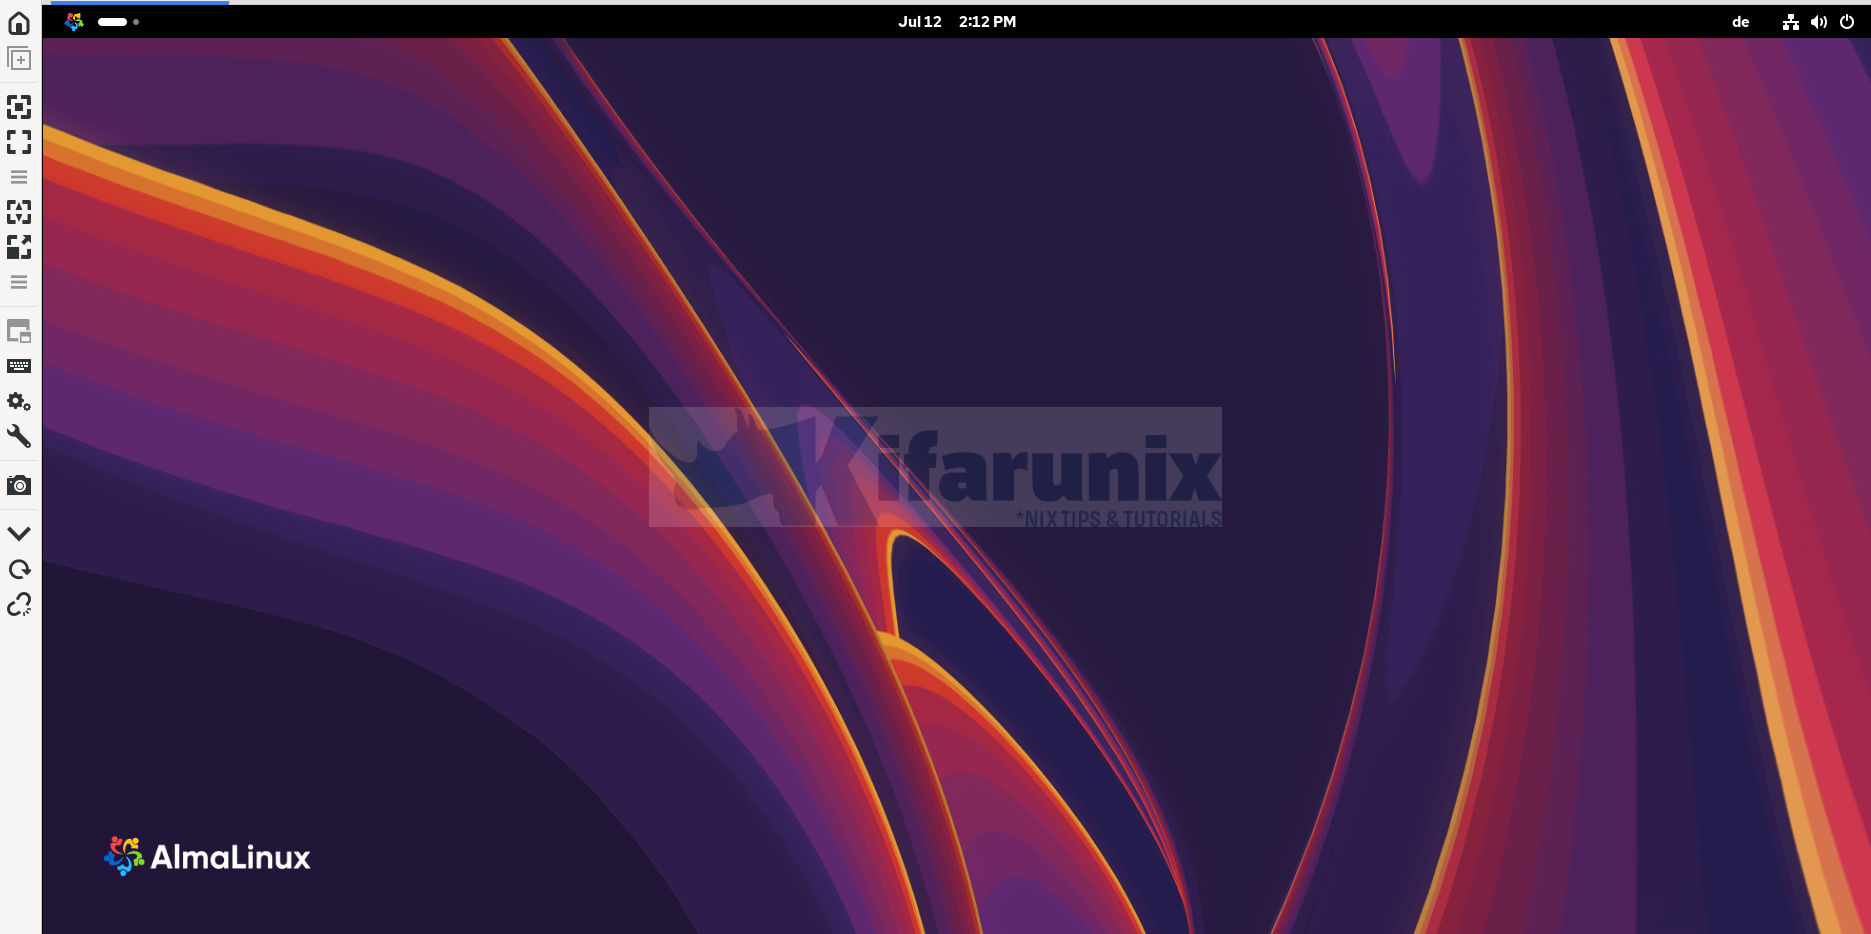
From a remote machine, use an RDP client (e.g., Microsoft Remote Desktop, Remmina) to connect to your AlmaLinux 10 server using its IP address and port 3389.
From Arch Linux, let’s use Remmina.

Log in with your AlmaLinux user credentials.

Troubleshooting Tips
- Check the service status (sudo systemctl status xrdp) and logs (journalctl -u xrdp) for any errors.
- Blank screen on RDP login: Ensure the correct desktop session is configured in /etc/xrdp/startwm.sh.
- Connection refused: Verify that port 3389 is open (sudo firewall-cmd –list-ports) and xrdp is running.
- SELinux issues: Review SELinux denials and adjust policies as needed.
That marks the end of our tutorial on how to nstall and configure xrdp server on AlmaLinux 10.

