In our previous article, we covered how to install LEMP (Linux, Nginx,MySQL/MariaDB, PHP) Stack on Fedora 28/29. Well, here we are again on yet another guide on how to install LAMP (Linux, Apache, MySQL, PHP) Stack on Fedora 28/29.
Update your system package repositories
dnf update -y
Install Apache Web server
Apache is available on default Fedora repositories. Thus run the command beiow to install it.
dnf install httpd -y
Once the installation is done, allow Apache through firewall in case firewall is running on your system.
firewall-cmd --add-port=80/tcp --permanent
firewall-cmd --reload
Start and enable Apache to run on system start.
systemctl start httpd
systemctl enable httpd
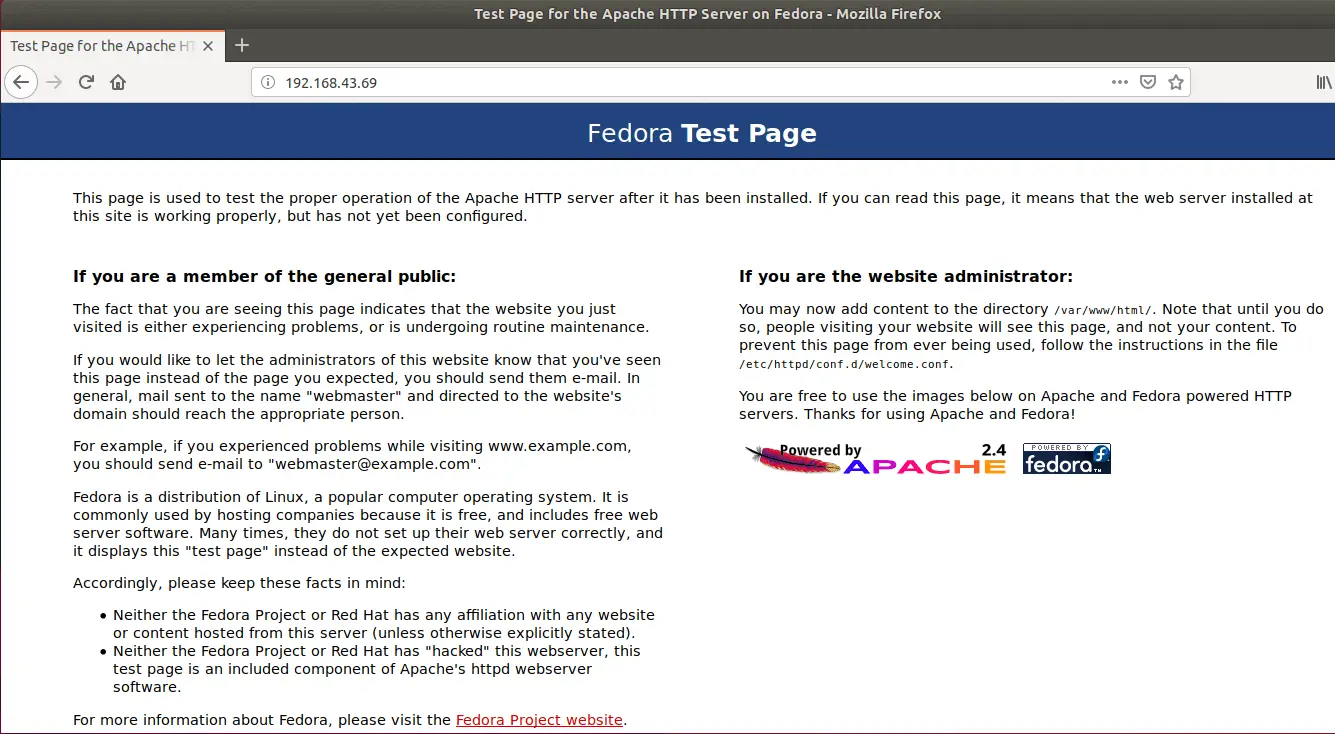
You can verify that Apache is ready to server your web content by navigation to the broswer and entering your server IP address or the hostname. You should be able to see the default Fedora page.

Now that seems well, proceed to install MySQL database server.
Installing MySQL
Run the command below to install MySQL. Note that this will install MariaDB by default.
dnf install mysql mysql-server
In case you want to install MySQL itself, you may want to get the official repositories from here.
Start and enable MySQL to run on system start up.
systemctl enable mariadb
systemctl start mariadb
Once the installation is done, run MySQL security script as shown below to set the root password, remove the test databases, remove anonymous users and disable remote login.
mysql_secure_installation

NOTE: RUNNING ALL PARTS OF THIS SCRIPT IS RECOMMENDED FOR ALL MariaDB
      SERVERS IN PRODUCTION USE!  PLEASE READ EACH STEP CAREFULLY!

In order to log into MariaDB to secure it, we'll need the current
password for the root user.  If you've just installed MariaDB, and
you haven't set the root password yet, the password will be blank,
so you should just press enter here.

Enter current password for root (enter for none): ENTER
OK, successfully used password, moving on...

Setting the root password ensures that nobody can log into the MariaDB
root user without the proper authorisation.

Set root password? [Y/n] y
New password: STRONGPASSWORD
Re-enter new password: STRONGPASSWORD
Password updated successfully!
Reloading privilege tables..
 ... Success!


By default, a MariaDB installation has an anonymous user, allowing anyone
to log into MariaDB without having to have a user account created for
them.  This is intended only for testing, and to make the installation
go a bit smoother.  You should remove them before moving into a
production environment.

Remove anonymous users? [Y/n] y
 ... Success!

Normally, root should only be allowed to connect from 'localhost'.  This
ensures that someone cannot guess at the root password from the network.

Disallow root login remotely? [Y/n] y
 ... Success!

By default, MariaDB comes with a database named 'test' that anyone can
access.  This is also intended only for testing, and should be removed
before moving into a production environment.

Remove test database and access to it? [Y/n] y
 - Dropping test database...
 ... Success!
 - Removing privileges on test database...
 ... Success!

Reloading the privilege tables will ensure that all changes made so far
will take effect immediately.

Reload privilege tables now? [Y/n] y
 ... Success!

Cleaning up...

All done!  If you've completed all of the above steps, your MariaDB
installation should now be secure.

Thanks for using MariaDB!
To verify that all is well, try to login to MariaDB as a root user.
mysql -u root -p
Enter password: STRONGPASSWORD
Welcome to the MariaDB monitor.  Commands end with ; or \g.
Your MariaDB connection id is 16
Server version: 10.3.10-MariaDB MariaDB Server

Copyright (c) 2000, 2018, Oracle, MariaDB Corporation Ab and others.

Type 'help;' or '\h' for help. Type '\c' to clear the current input statement.

MariaDB [(none)]>
Installing PHP
Well, we require PHP in order to generate dynamic web content. Installation of PHP and other requires PHP extensions can be done as shown below;
sudo dnf install php php-fpm php-mysqlnd php-gd php-mcrypt php-mbstring
You can install any PHP extensions depending on your needs.
Your LAMP stack setup is now done. Before you can conclude that all is well, create a PHP test page to verify that it is actually working.
Create a test page, /var/www/html/info.php with the following contents.
<?php phpinfo(); ?>
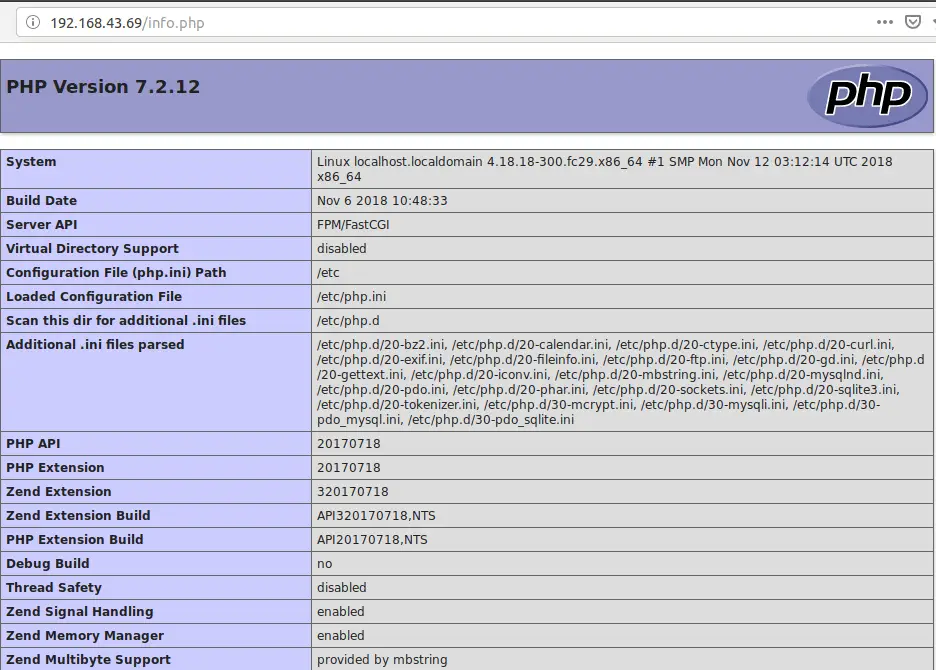
Navigate to the browser and enter your PHP info page URL in the format shown below. Note that this will take you to a web page where you can see various PHP information. See the screenshot below.
http://<Server's IP>/info.php

Congratulations, your LAMP stack is now setup and is fully functioning. You might have to remove the info.php file to avoid exposing your server information to the internet crooks.
rm /var/www/html/info.php
You can also check our previous similar articles by following the links below.
How to Install LEMP (Nginx,MariaDB,PHP7.2) Stack on Fedora 28 / Fedora 29
How to Install LAMP Stack (Apache,MariaDB, PHP 7.2) on Ubuntu 18.04 LTS
How To Setup LEMP Stack (Nginx, MariaDB, PHP 7.2) on Ubuntu 18.04

