How to run Nessus scan against a system or host? In this tutorial, we are going to learn how to scan a remote host using Nessus vulnerability scanner.
In our previous article, we covered how to install and setup Nessus on Linux System.
Table of Contents
Scanning Remote Host using Nessus
Create New Scan
To create a new scan, login to Nessus web UI and click Scans tab in the top navigation bar. This opens My Scans folder on the left pane.
Click on the New Scan button on the upper right corner. This opens up a Scan Templates page.
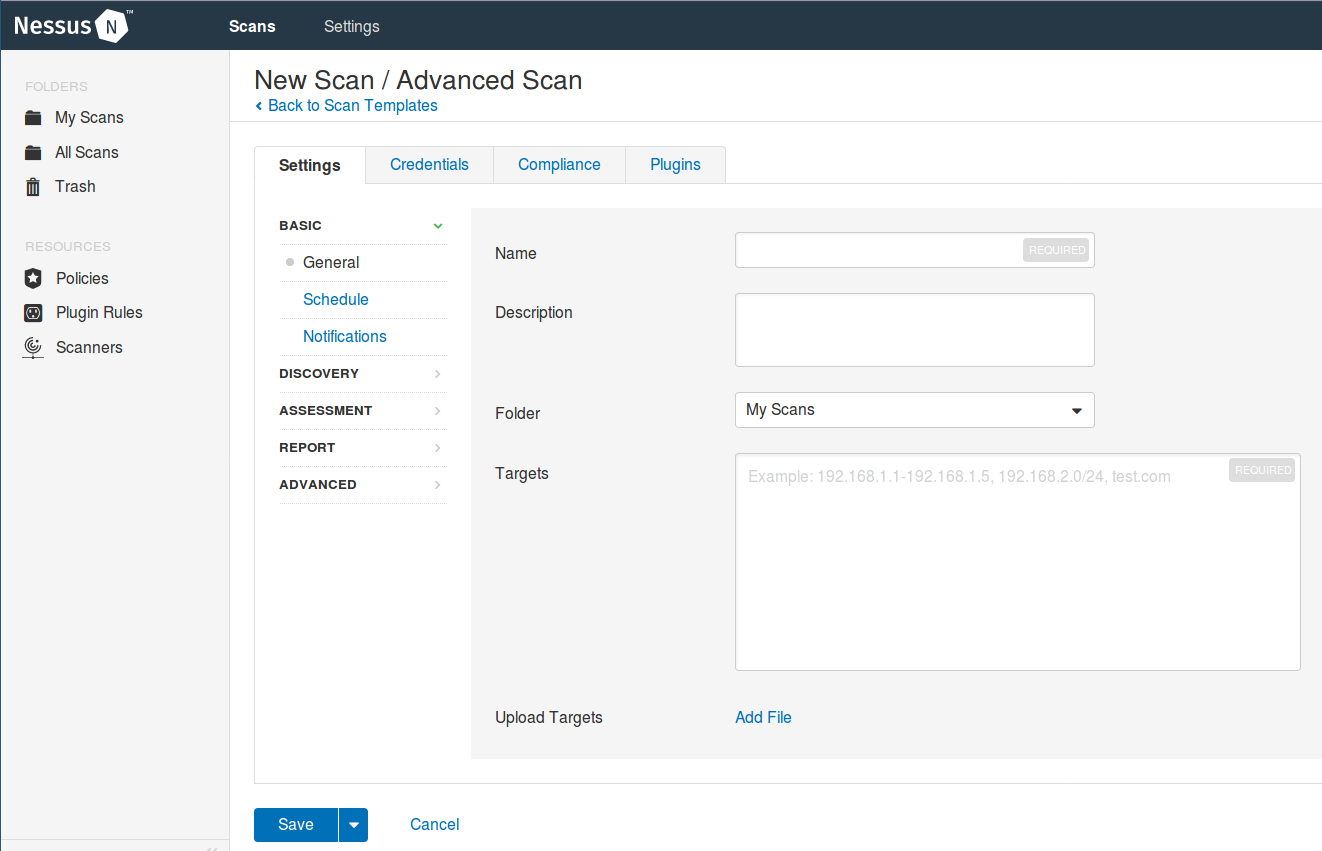
Choose a scan template of your interest from the default list. Let us choose Advanced Scan template as an example. This opens the selected template page shown below.

Under, Settings, fill out the scan details correctly.
NOTE: You can create your custom scan policy templates where you can define specific configurations that can be applied to a specific scan. See our next tutorial on how to create custom scan policy templates on Nessus.
Save or Launch the Scan
Once you are done with settings, you can click the Save button to save the scan for launching later or click the drop down and click Launch to save and run the Scan immediately.

Viewing Scan Details
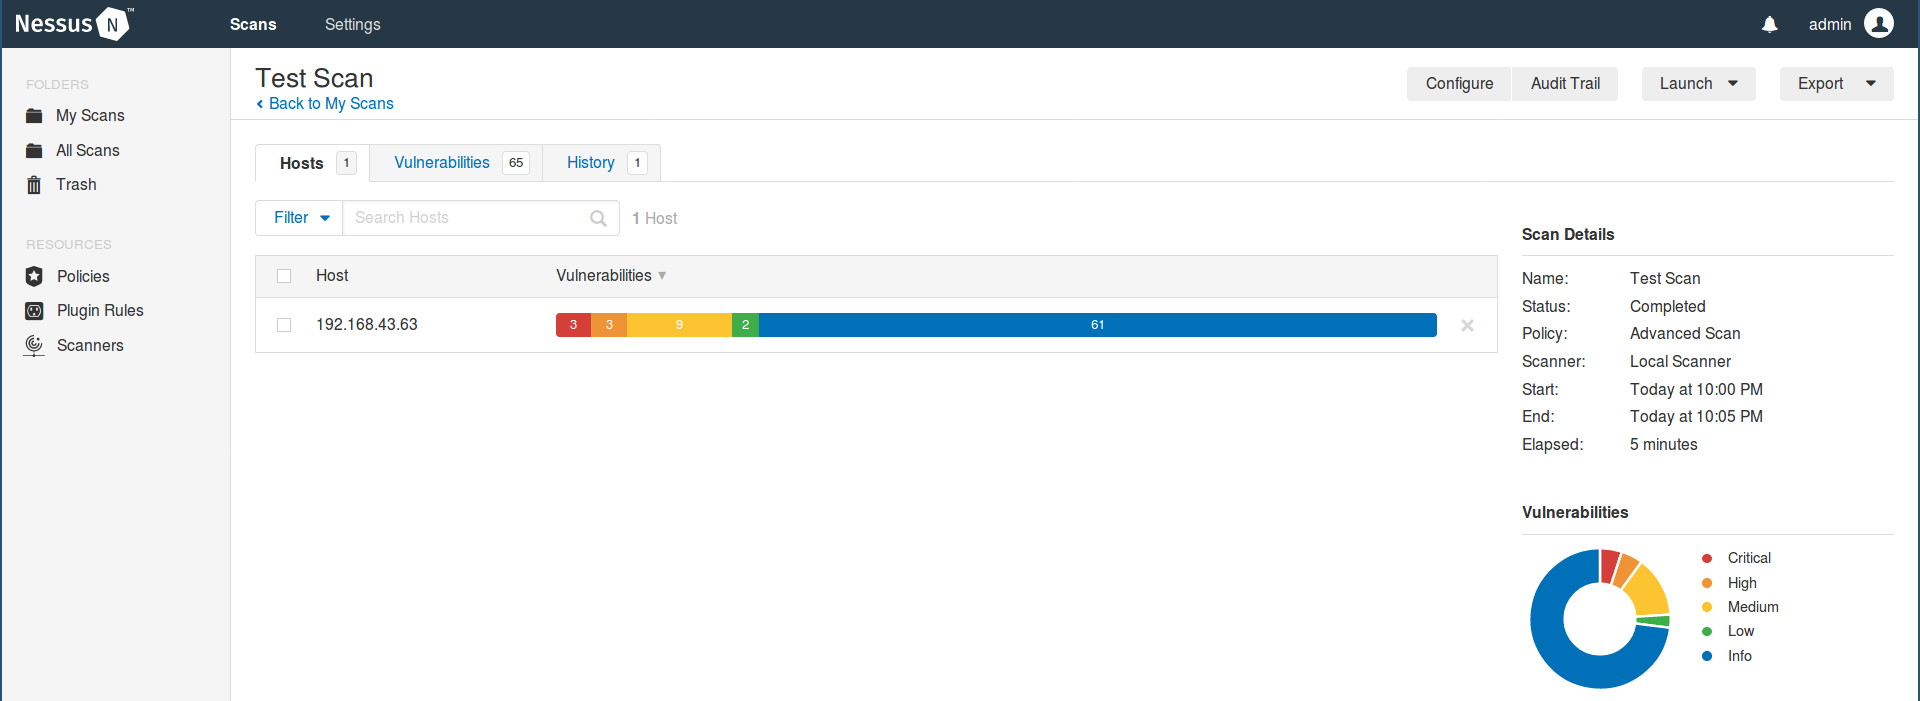
Once the Scan completes, click on the scan and a page with scan details opens up as shown below.

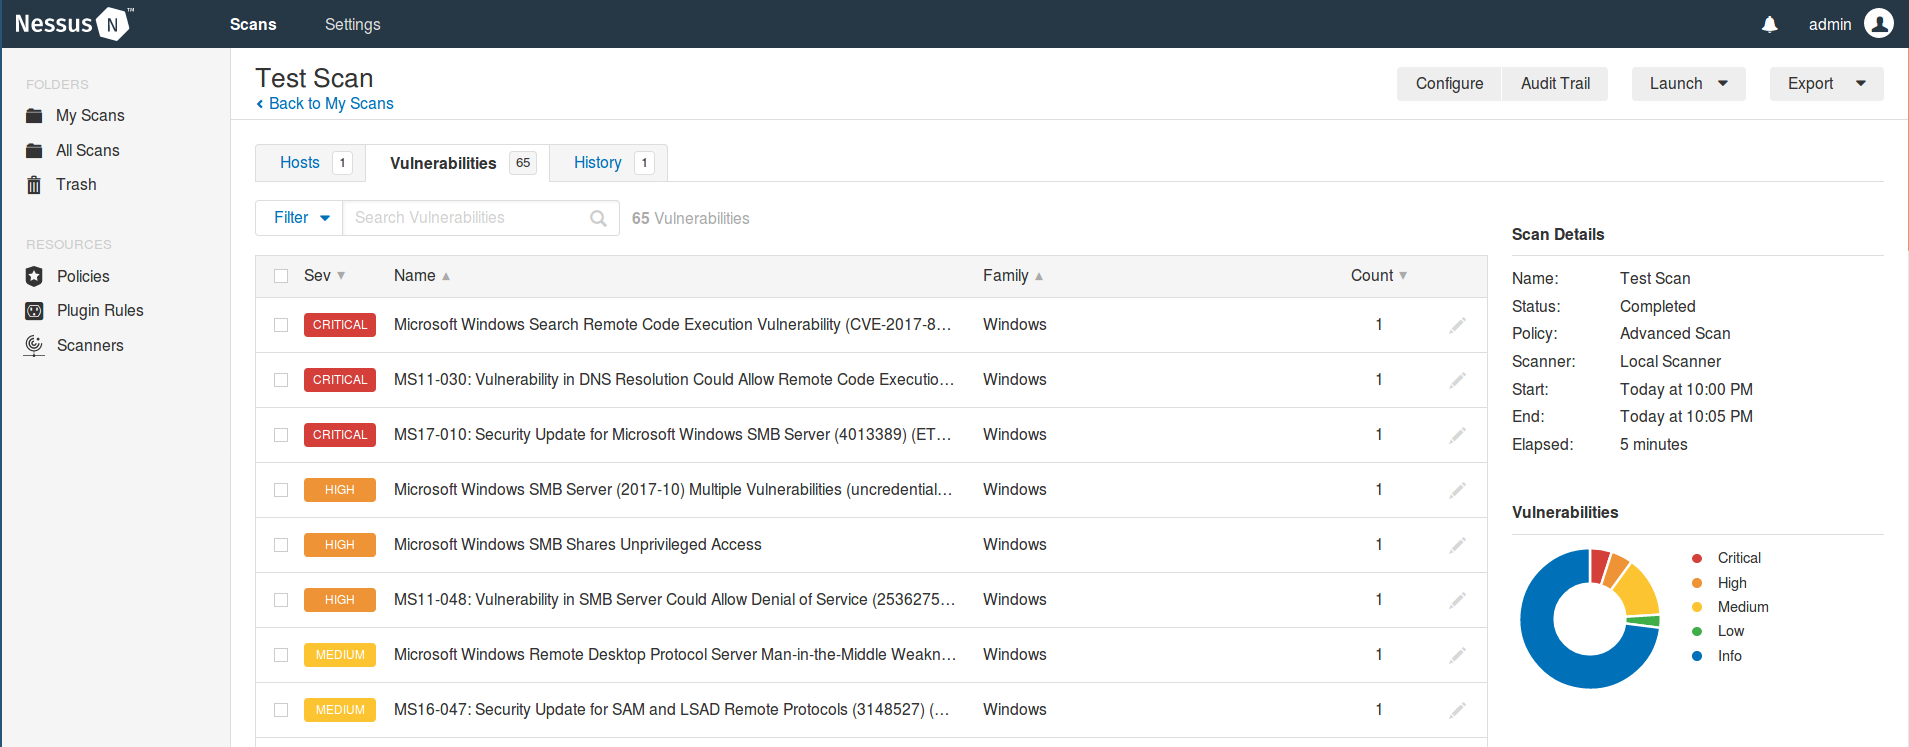
To display the vulnerabilities associated with the system, click on the Vulnerabilities tab. The screenshot below doesn’t capture the entire list of vulnerabilities against my test system.

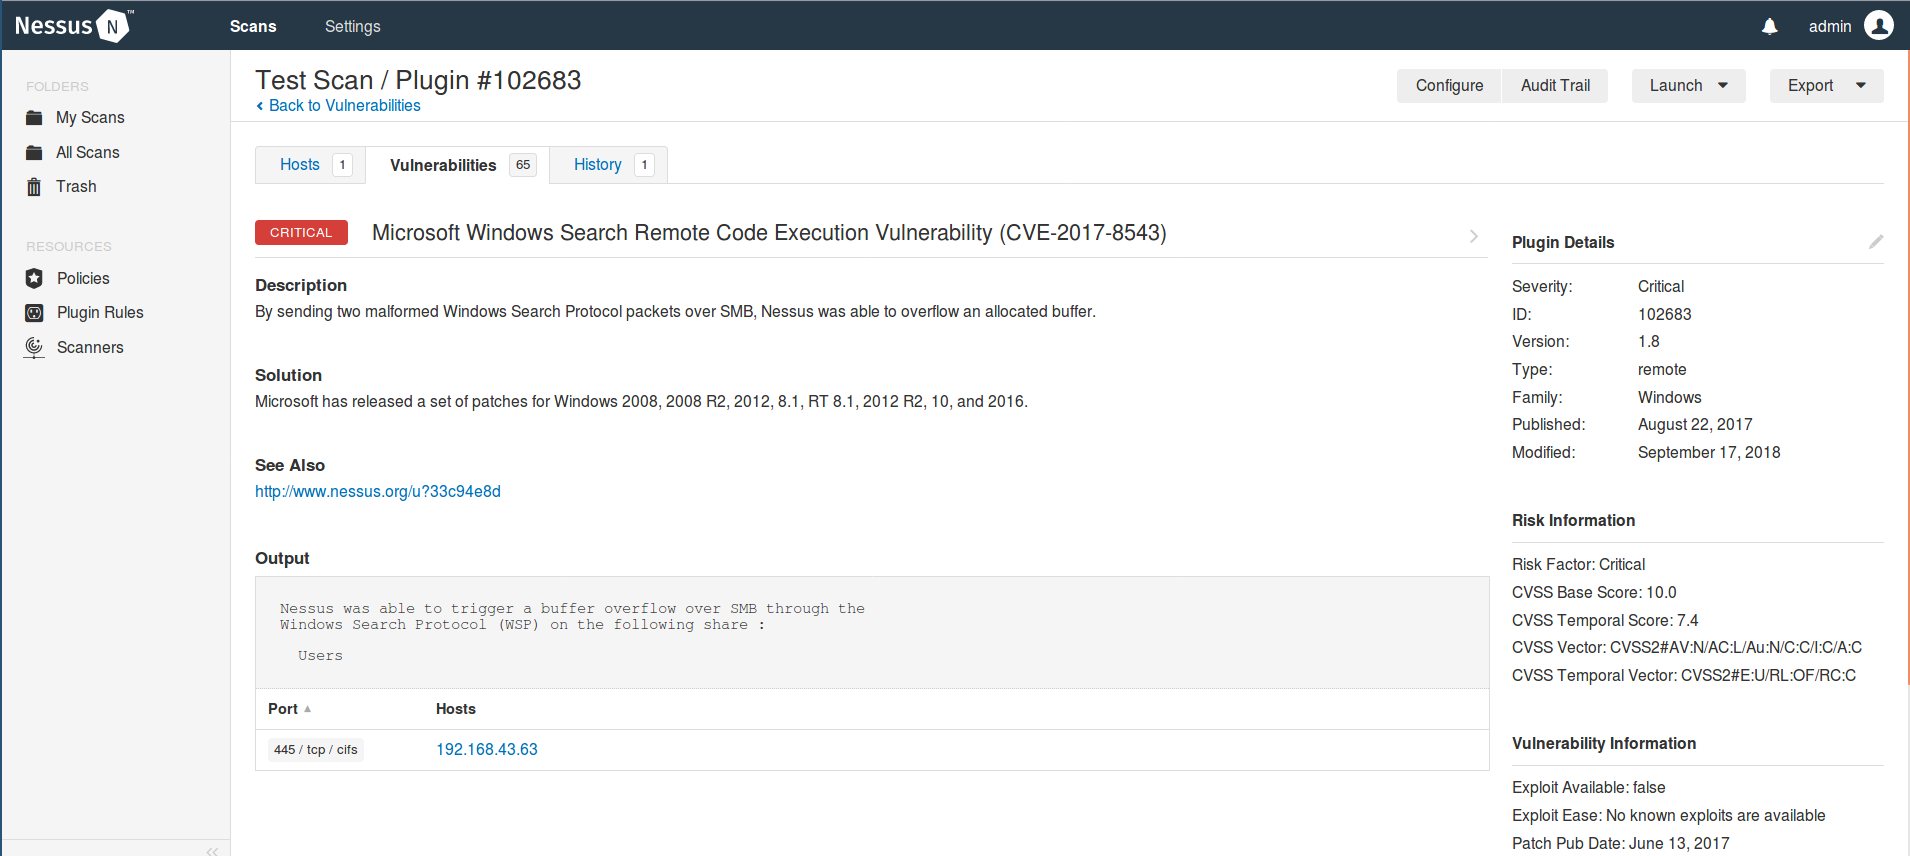
To learn more about a vulnerability, the description, the suggested remedy, risk information, patch details, click on the vulnerability itself.

Well, up to there we have created and launched a scan test against our test system. Enjoy vulnerability hunting.

