In this tutorial, you will learn how to monitor IT infrastructure using Checkmk. Checkmk is a free and Open Source IT infrastructure monitoring tool, alternative to Nagios. It provides a powerful monitoring of networks, servers, clouds, containers and applications. Fast. Effective.
This is an awesome tool. Read more about it on the features page.
Monitoring IT Infrastructure using Checkmk
Install Checkmk on Ubuntu 20.04 Server
Checkmk can only be installed on a Linux box. As of this writing, it currently support these Linux distros;
- Red Hat Enterprise Linux (RHEL) and CentOS from Version 7.x
- SUSE Linux Enterprise Server (SLES) from Version 12 SP3
- Debian from Version 9.0
- Ubuntu Version 16.04, 18.04 and from Version 20.04
In this tutorial, we will be installing Checkmk on an Ubuntu 20.04 server.
Download Appropriate Checkmk package
There exists various versions of Checkmk to choose from;
- Checkmk Raw Edition (CRE)
- Checkmk Enterprise Free Edition (CFE)
- Checkmk Enterprise Standard Edition (CEE)
- Checkmk Enterprise Managed Services Edition (CME)
Read more about these versions on Product Editions page.
In this tutorial, we will install the Free Edition version, Checkmk Enterprise Free Edition (CFE).
Hence, navigate to the downloads page and;
- Select the product edition of your preferences
- Select the release version
- Select your respective Linux platform.
- Select the OS version.
- For a CFE version, you are required to enter your email address before you can download the installer.
- Download the installer
You can simply get the download link and pull it directly to the server on which you will install Checkmk;
wget https://download.checkmk.com/checkmk/2.0.0p12/check-mk-free-2.0.0p12_0.focal_amd64.debVerify the integrity of the downloaded installer by comparing the SHA256 hash value for the download file and the hash on the downloads page.
sha256sum check-mk-free-2.0.0p12_0.focal_amd64.debcf62edcaea7b0d24371ba1859aec11f7979e2550c2976fcc21060f2b86e39ebf check-mk-free-2.0.0p12_0.focal_amd64.debGet the calculated hash above and compare with the hash on the downloads page;
[ "cf62edcaea7b0d24371ba1859aec11f7979e2550c2976fcc21060f2b86e39ebf" = "cf62edcaea7b0d24371ba1859aec11f7979e2550c2976fcc21060f2b86e39ebf" ]echo $?If the exit status is 0, then the hash values are same and hence, integrity of the file is fine.
Install Checkmk on Ubuntu 20.04 Server
Run system update and install the Checkmk package on Ubuntu 20.04;
apt updateapt install ./check-mk-free-2.0.0p12_0.focal_amd64.debThe command will install Checkmk and all required package dependencies.
Reading package lists... Done
Building dependency tree
Reading state information... Done
Note, selecting 'check-mk-free-2.0.0p12' instead of './check-mk-free-2.0.0p12_0.focal_amd64.deb'
The following additional packages will be installed:
  apache2 apache2-bin apache2-data apache2-utils binutils binutils-common binutils-x86-64-linux-gnu debugedit dialog fontconfig fontconfig-config fonts-dejavu-core
  fonts-liberation freeradius-common freeradius-config freeradius-utils graphviz lcab libann0 libapr1 libaprutil1 libaprutil1-dbd-sqlite3 libaprutil1-ldap
  libavahi-client3 libavahi-common-data libavahi-common3 libbinutils libcairo2 libcdt5 libcgraph6 libctf-nobfd0 libctf0 libcups2 libdatrie1 libdbi-perl libdbi1 libdw1
  libfontconfig1 libfreeradius3 libgd3 libgraphite2-3 libgsf-1-114 libgsf-1-common libgts-0.7-5 libgts-bin libgvc6 libgvpr2 libharfbuzz0b libice6 libjansson4 libjbig0
  libjpeg-turbo8 libjpeg8 liblab-gamut1 liblcms2-2 libldb2 liblua5.2-0 libnspr4 libnss3 libopenjp2-7 libpango-1.0-0 libpangocairo-1.0-0 libpangoft2-1.0-0 libpathplan4
  libpixman-1-0 libpoppler97 libpq5 librpm8 librpmbuild8 librpmio8 librpmsign8 libsm6 libsmbclient libtalloc2 libtevent0 libthai-data libthai0 libtiff5 libtirpc-common
  libtirpc3 libwbclient0 libwebp6 libxaw7 libxcb-render0 libxcb-shm0 libxmu6 libxpm4 libxrender1 libxt6 make php-cgi php-cli php-common php-gd php-pear php-sqlite3
  php-xml php7.4-cgi php7.4-cli php7.4-common php7.4-gd php7.4-json php7.4-opcache php7.4-readline php7.4-sqlite3 php7.4-xml poppler-data poppler-utils python3-crypto
  python3-gpg python3-ldb python3-samba python3-talloc python3-tdb rpcbind rpm rpm-common rpm2cpio samba-common samba-common-bin samba-dsdb-modules samba-libs smbclient
  ssl-cert traceroute unzip update-inetd x11-common xinetd
Suggested packages:
  apache2-doc apache2-suexec-pristine | apache2-suexec-custom www-browser binutils-doc rpm-i18n gsfonts graphviz-doc cabextract cups-common libclone-perl libmldbm-perl
  libnet-daemon-perl libsql-statement-perl libgd-tools liblcms2-utils make-doc ghostscript fonts-japanese-mincho | fonts-ipafont-mincho fonts-japanese-gothic
  | fonts-ipafont-gothic fonts-arphic-ukai fonts-arphic-uming fonts-nanum alien python elfutils rpmlint rpm2html heimdal-clients python3-markdown python3-dnspython
  cifs-utils openssl-blacklist zip
The following NEW packages will be installed:
  apache2 apache2-bin apache2-data apache2-utils binutils binutils-common binutils-x86-64-linux-gnu check-mk-free-2.0.0p12 debugedit dialog fontconfig fontconfig-config
  fonts-dejavu-core fonts-liberation freeradius-common freeradius-config freeradius-utils graphviz lcab libann0 libapr1 libaprutil1 libaprutil1-dbd-sqlite3
  libaprutil1-ldap libavahi-client3 libavahi-common-data libavahi-common3 libbinutils libcairo2 libcdt5 libcgraph6 libctf-nobfd0 libctf0 libcups2 libdatrie1 libdbi-perl
  libdbi1 libdw1 libfontconfig1 libfreeradius3 libgd3 libgraphite2-3 libgsf-1-114 libgsf-1-common libgts-0.7-5 libgts-bin libgvc6 libgvpr2 libharfbuzz0b libice6
  libjansson4 libjbig0 libjpeg-turbo8 libjpeg8 liblab-gamut1 liblcms2-2 libldb2 liblua5.2-0 libnspr4 libnss3 libopenjp2-7 libpango-1.0-0 libpangocairo-1.0-0
  libpangoft2-1.0-0 libpathplan4 libpixman-1-0 libpoppler97 libpq5 librpm8 librpmbuild8 librpmio8 librpmsign8 libsm6 libsmbclient libtalloc2 libtevent0 libthai-data
  libthai0 libtiff5 libtirpc-common libtirpc3 libwbclient0 libwebp6 libxaw7 libxcb-render0 libxcb-shm0 libxmu6 libxpm4 libxrender1 libxt6 make php-cgi php-cli php-common
  php-gd php-pear php-sqlite3 php-xml php7.4-cgi php7.4-cli php7.4-common php7.4-gd php7.4-json php7.4-opcache php7.4-readline php7.4-sqlite3 php7.4-xml poppler-data
  poppler-utils python3-crypto python3-gpg python3-ldb python3-samba python3-talloc python3-tdb rpcbind rpm rpm-common rpm2cpio samba-common samba-common-bin
  samba-dsdb-modules samba-libs smbclient ssl-cert traceroute unzip update-inetd x11-common xinetd
0 upgraded, 130 newly installed, 0 to remove and 127 not upgraded.
Need to get 33.2 MB/209 MB of archives.
After this operation, 920 MB of additional disk space will be used.
Do you want to continue? [Y/n] y
Setup Checkmk Web User Interface
Installation of Checkmk provides an Open Monitoring Distribution tool, omd, an administration interface for creating and maintaining sites (monitoring instances) within OMD.
Creating Checkmk Site
To setup Checkmk web UI, you need to create a monitoring instances, which can be referred to as a site.
To create a site, use the omd command, which takes the syntax;
omd create [OPTIONS] NAME-of-SITE- You need root permissions for creating a new site.
- The name of the site must be at most 16 characters long and consist only of letters, digits and underscores. It must not begin with a digit.
- OMD creates an operating system user and group with the name of the site. No user or group with that name must exist prior to the site creation.
- Then a directory /omd/sites/NAME-of-SITE will be created and used as the new user’s home directory.
- The home directory will be populated with configuration files and sub-directories.
- A basic configuration will be created for the new instance.
For example, to create a monitoring instance called kifarunix;
omd create kifarunixThere are command line options you can pass to the command, see man omd.
Sample site creation command output;
Adding /opt/omd/sites/kifarunix/tmp to /etc/fstab.
Creating temporary filesystem /omd/sites/kifarunix/tmp...OK
Updating core configuration...
Generating configuration for core (type cmc)...Creating helper config...OK
OK
Executing post-create script "01_create-sample-config.py"...OK
Created new site kifarunix with version 2.0.0p12.cfe.

  The site can be started with omd start kifarunix.
  The default web UI is available at http://ubuntu20/kifarunix/

  The admin user for the web applications is cmkadmin with password: kFYhb3jT
  For command line administration of the site, log in with 'omd su kifarunix'.
  After logging in, you can change the password for cmkadmin with 'htpasswd etc/htpasswd cmkadmin'.
- The command creates a site URL, http://ubuntu20/kifarunix/
- Admin user for web application, cmkadmin and its password is created by default.
Starting Checkmk Site
Once the site is created, you can start it with the command, omd start.
omd startDoing 'start' on site kifarunix:
Temporary filesystem already mounted
Starting mkeventd...OK
Starting liveproxyd...OK
Starting mknotifyd...OK
Starting rrdcached...OK
Starting cmc...OK
Starting apache...OK
Starting dcd...OK
Starting redis...OK
Initializing Crontab...OK
Accessing Checkmk Web User Interface
When you create a site for your monitoring server, the commands gives the URL for accessing the site, for example, http://ubuntu20/kifarunix/.
In my setup, I will just replace the hostname, ubuntu20, with my servers IP address, 192.168.59.23 such that my url is http://192.168.59.23/kifarunix/.
Ensure Apache Web Server is up and running;
systemctl status apache2If it is not running, then start and enable it to run on system boot as follows;
systemctl enable --now apache2Open Web server port on firewall, if at all firewall is enabled and running.
ufw allow "Apache Full"Then access the Checkmk web interface from the browser using your appropriate URL.

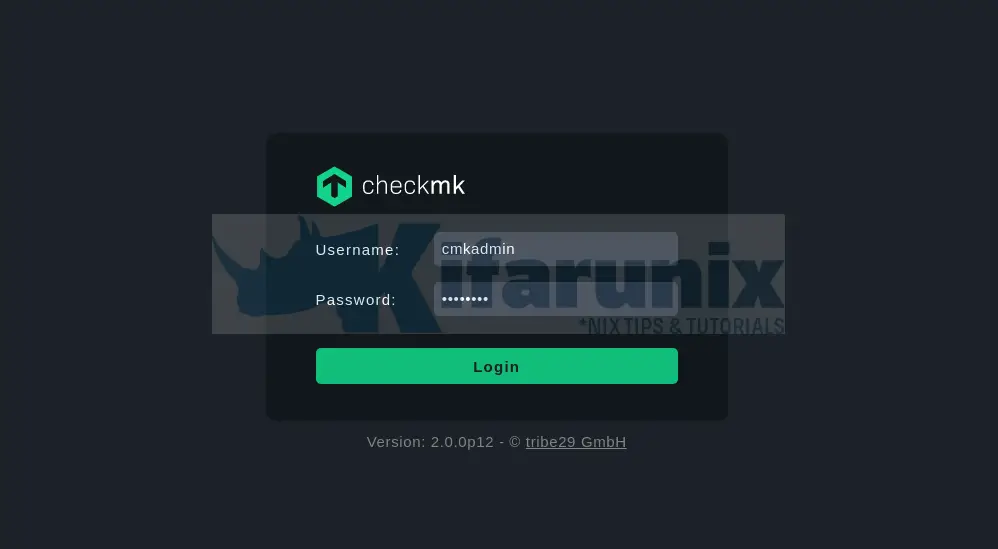
Login with the credentials that you were provided with when you ran omd create command.
The admin user for the web applications is cmkadmin with password: kFYhb3jTYou reset the credentials as follows;
omd su NAME-of-SITEReplace NAME-of-SITE with your respective site name, e.g;
omd su kifarunixNext, run the command below to reset the web app admin (cmkadmin) credentials.
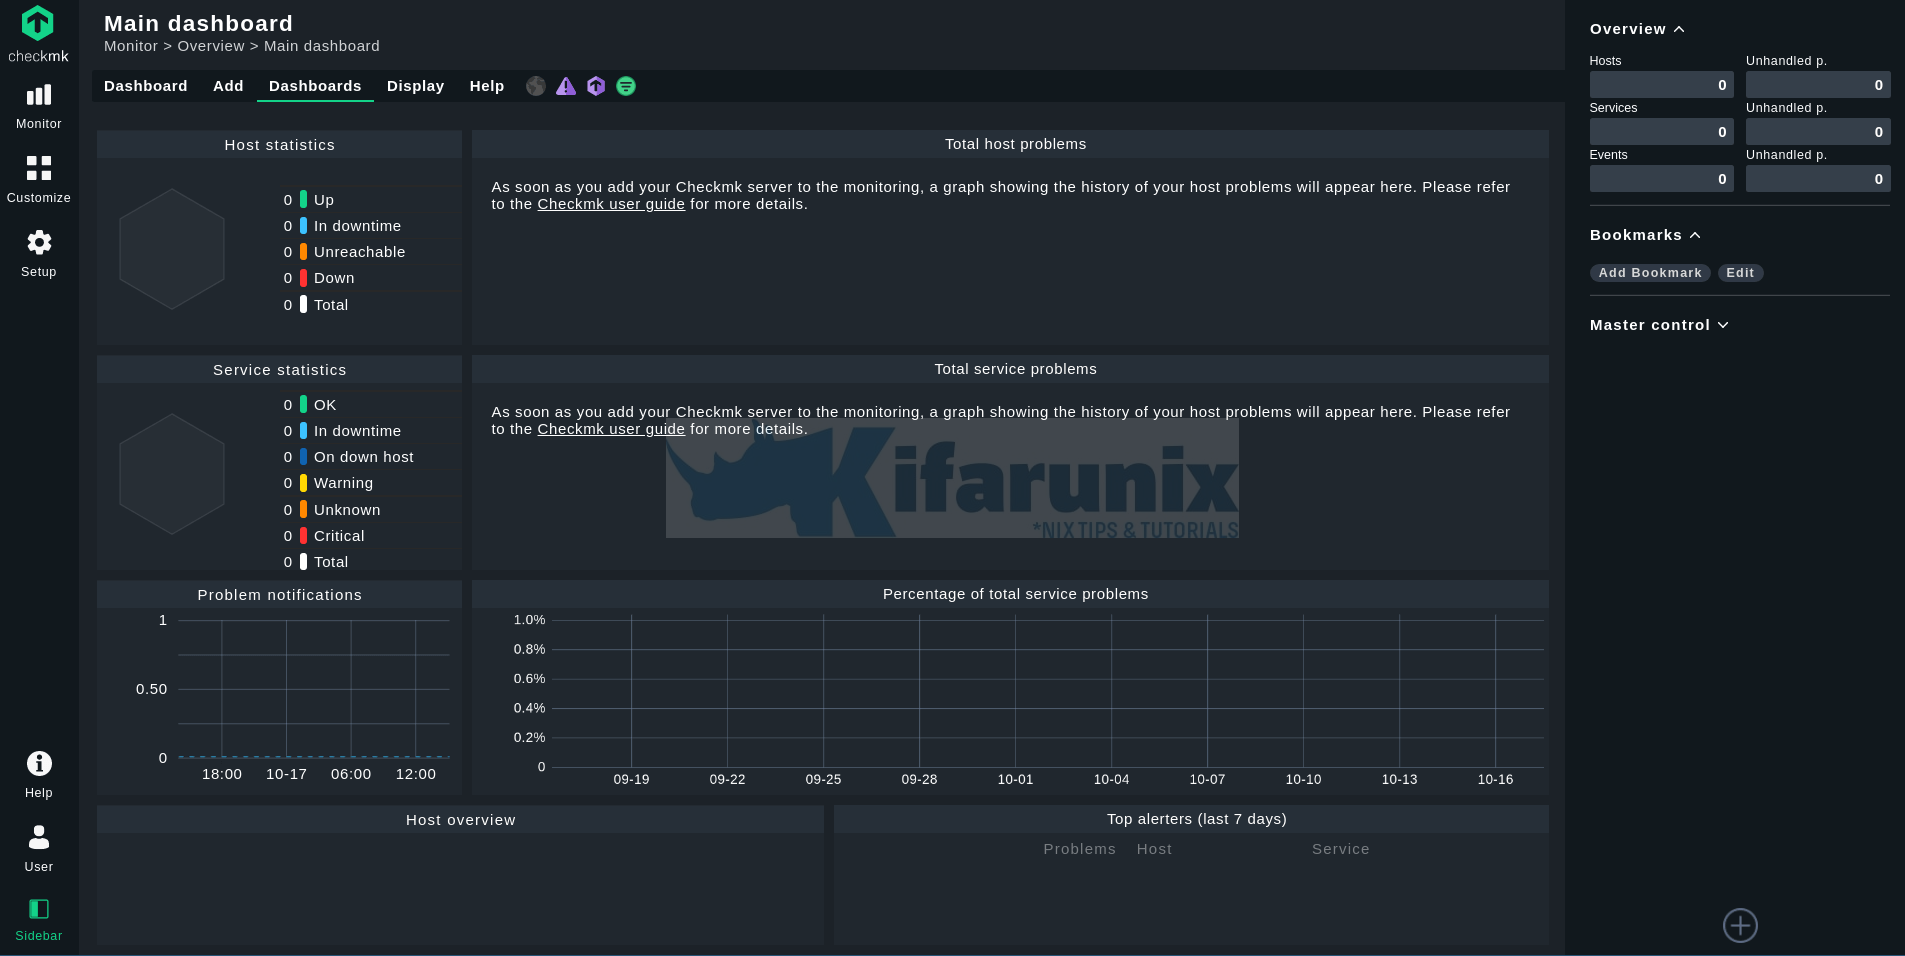
htpasswd etc/htpasswd cmkadminexitUpon successful login to Checkmk web interface, such a dashboard welcomes you.

Beautiful, isn’t it?
As you can see, no host/service is being monitored by default. You need to have agents installed on the hosts to be monitored in order to poll the necessary metrics and start monitoring your infrastructure.
We will cover how to install Checkmk Monitoring agents on Linux and Windows system in our next guides, link given below;
How to Install Checkmk Monitoring Agents on Linux
Reference
Installation on Debian and Ubuntu

