In our previous guide, we demonstrated how to install RainLoop Webmail client on Ubuntu 18.04. In this tutorial, we are going to learn how to setup RainLoop webmail client after installation on Ubuntu 18.04.
There are two ways in which RainLoop application can be configured;
- Through Admin Panel – makes it easy to set basic configurations.
- Manually modifying the application.ini configuration file
Admin Panel Configuration
Login to RainLoop Admin Panel
To login to RainLoop admin panel, enter the URL http://product_installation_URL/?admin, where product_installation_URL is your server’s host-name for example http://webmail.example.com/?admin. The default login credentials are;
- Username:
admin - Password:
12345
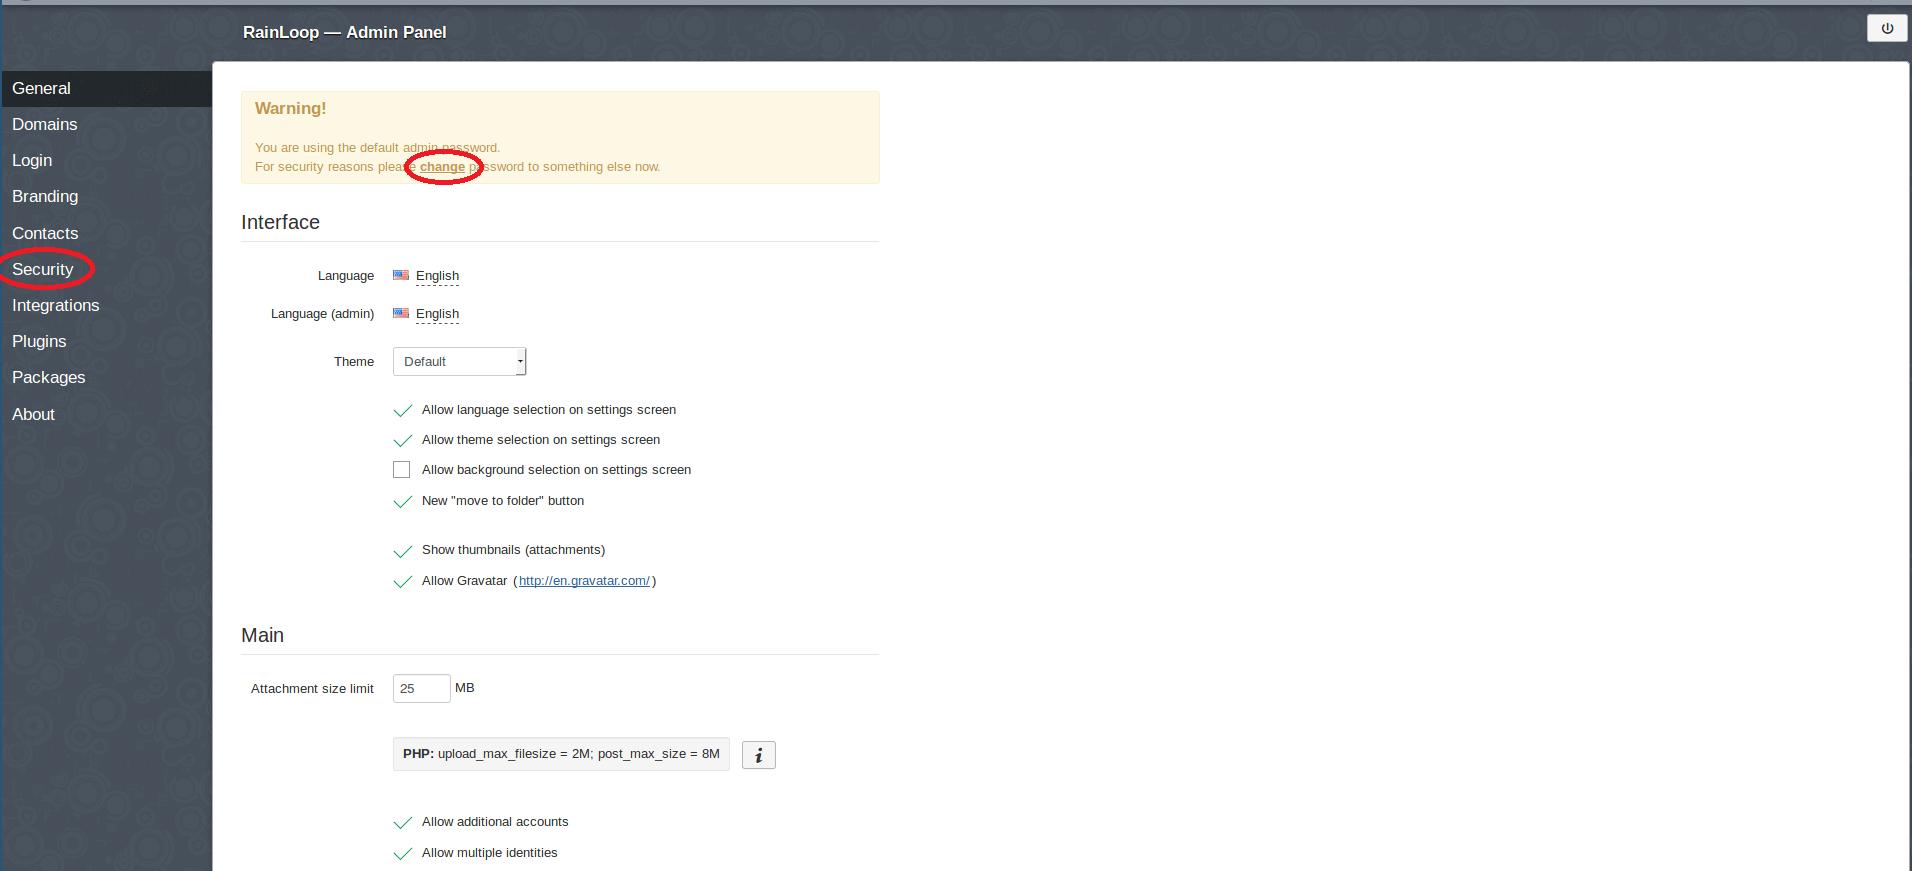
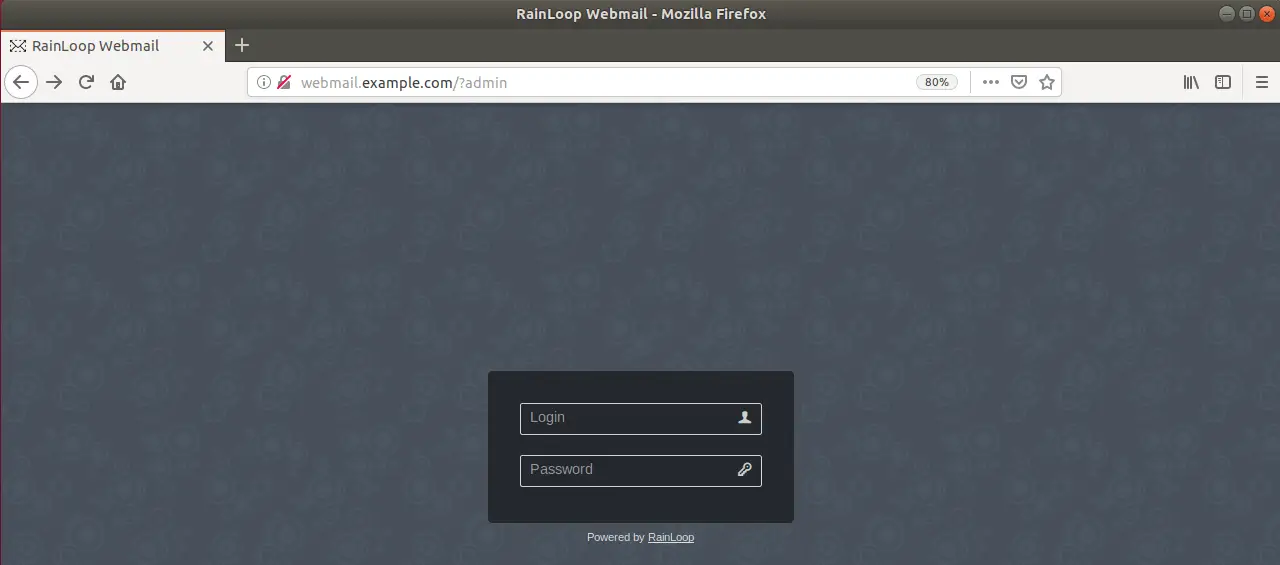 When you login for the first time, you should consider changing the default password.
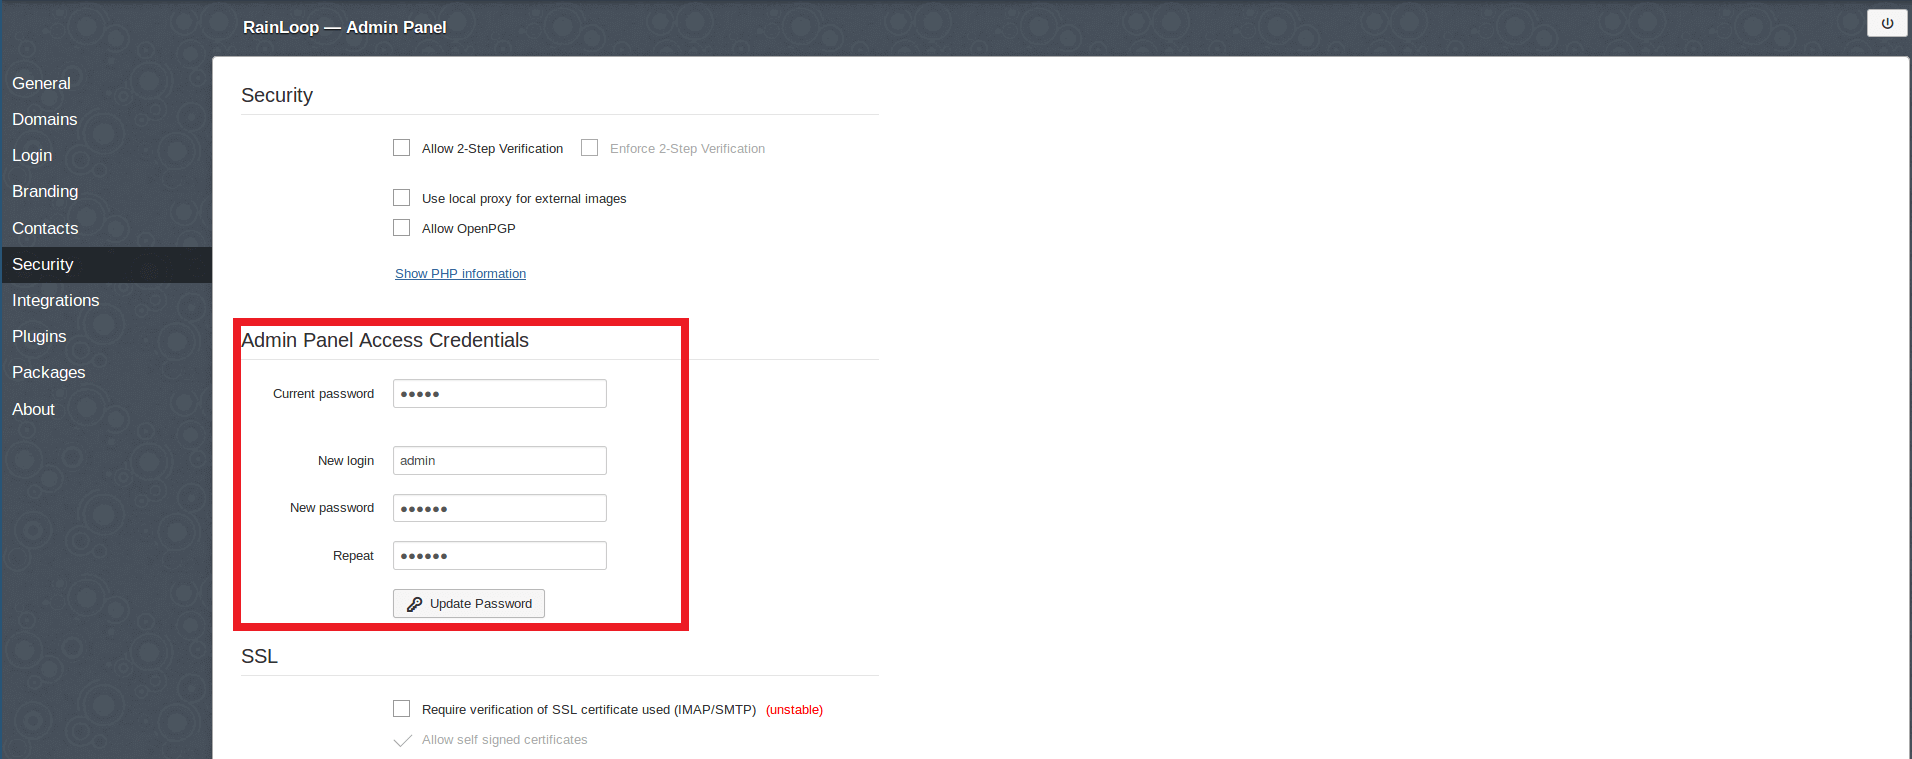
You can change the password by click change link on the Warning message or just click Security tab on the left pane. This will take you the page shown below;
Enter your password details and click Update Password to reset it. You may also want to configure two factor authentication (2-FA).
Configure Email server settings
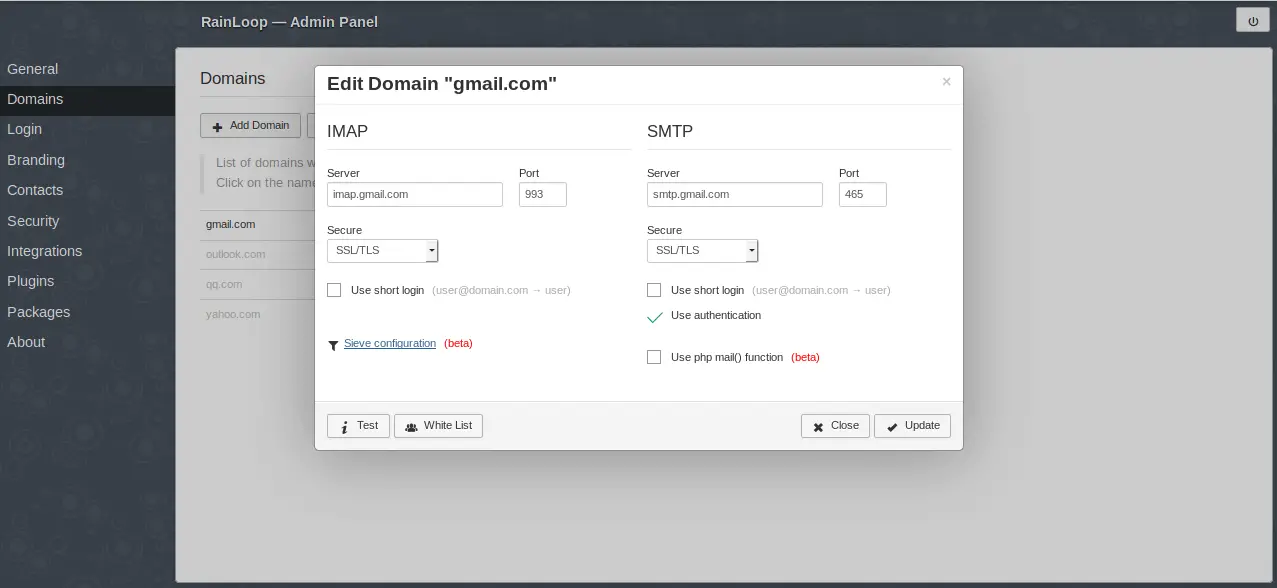
Once you have reset your password, go ahead and configure your email server settings so that you can be able to access your mails. Therefore, click on the Domains tab. By default, RainLoop supports four types of email domains namely; gmail.com, yahoo.com, outlook.com, qq.com. You can click the check box to enable or disable any mail domain.
Among these, Gmail is enabled by default with its SMTP and IMAP settings configured.
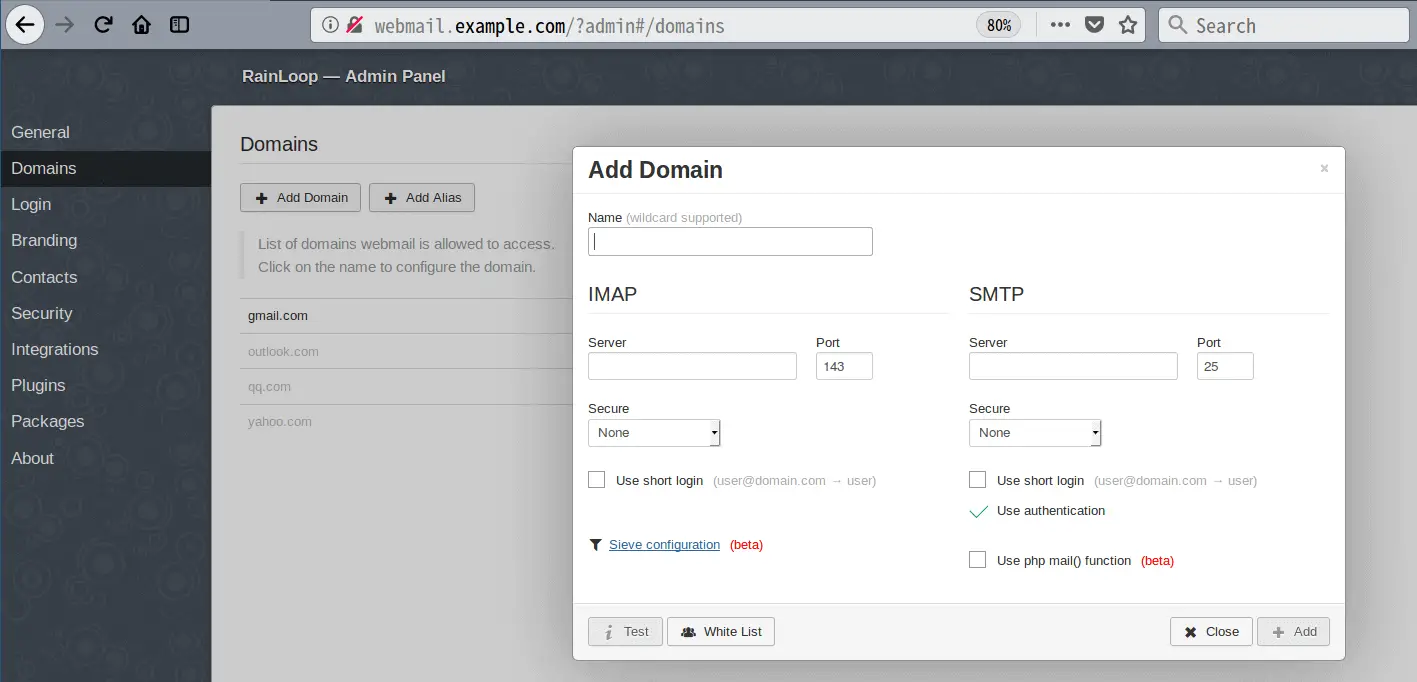
If you have your own email server, click + Add Domain button to configure your IMAP and SMTP settings.
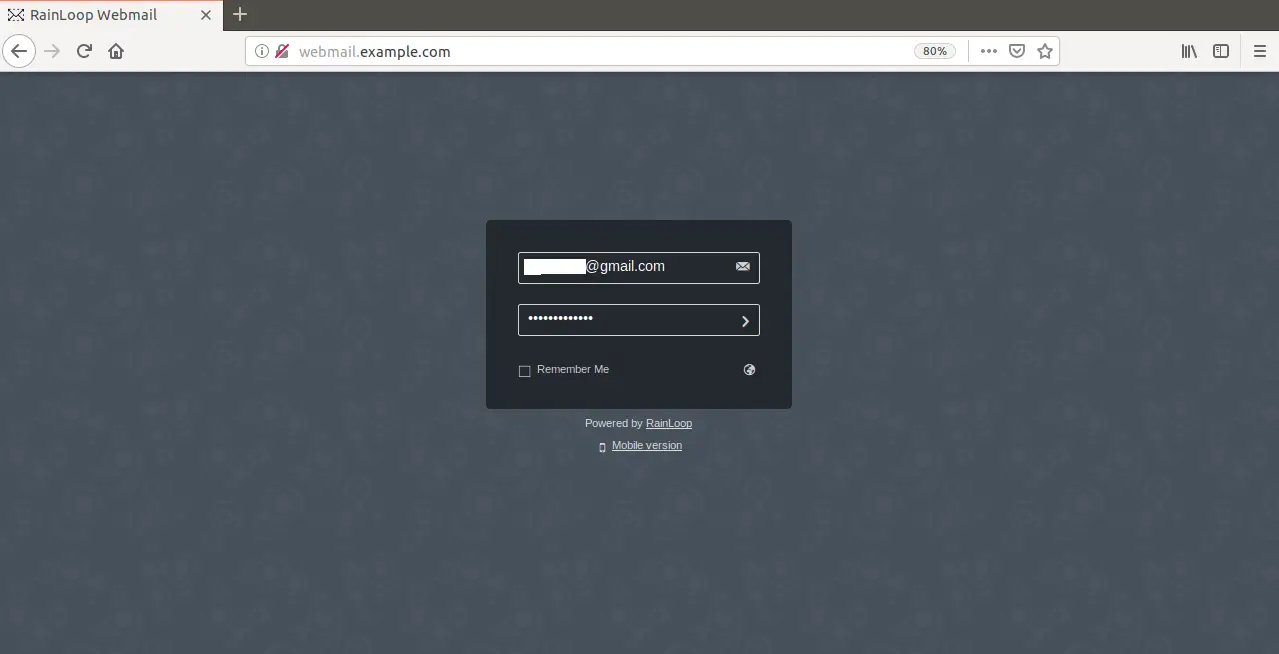
Once you are done configuring your email server settings, logout from admin panel and remove the /?admin suffix from the URL and reload the page. Enter your email address and password to login.
If you get the Can’t connect to server error, check your nameserver settings. You may want to edit the /etc/resolv.conf file and adding the line, nameserver 8.8.8.8.
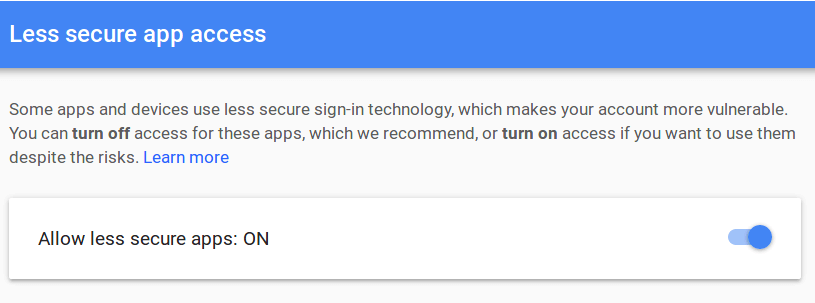
If you are logging in with a gmail account and you get the error, Authentication failed, you should consider allowing less secure app access to your account.
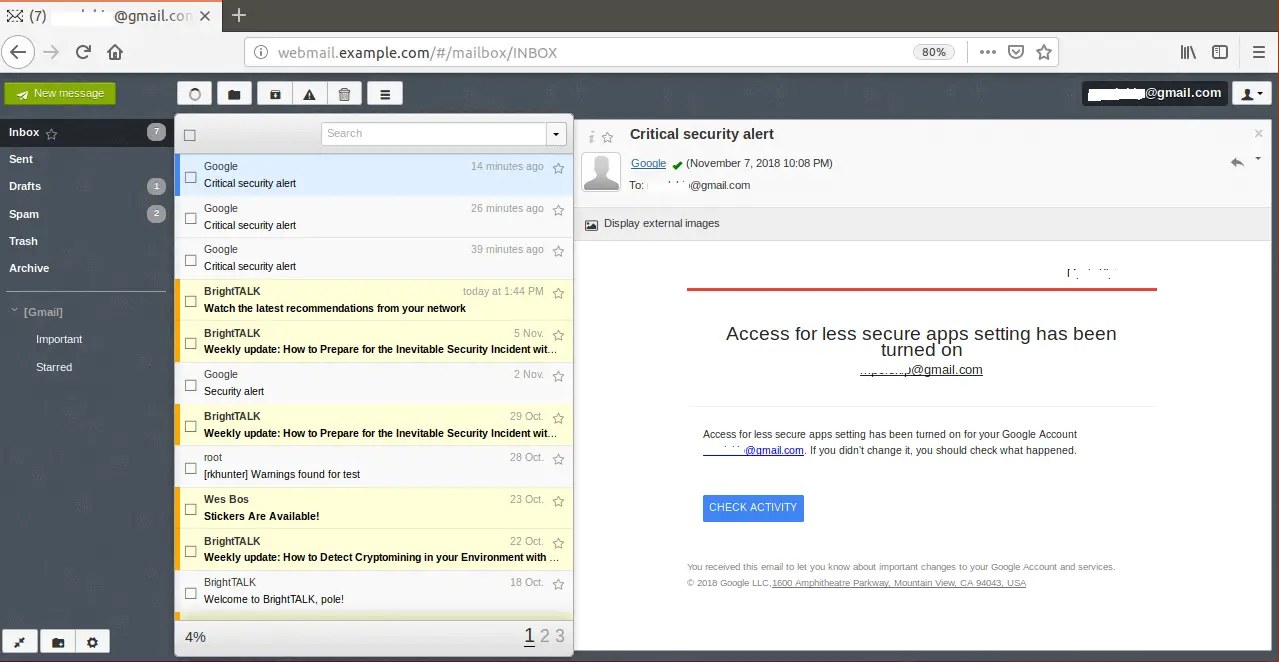
Now Login to your mail account.
Wonderful, you can now access your mails via RainLoop Webmail client. If you have multiple accounts, you can add to RainLoop client. Feel free to explore this amazing tool.
In the our next article, we will learn how to enable contacts and other customization on RainLoop Webmail Client. Thank you for reading.
You can read more about RainLoop on https://www.rainloop.net/docs/.



I’ve installed Rainloop on Ubuntu (server) 16.04 sporting Postfix and Dovecot. The installation was swift and efficient, but for some odd reason it’s impossible to save new or import existing contacts. When testing the connection to the MySQL-database there is no indication of error, still it would be my prime suspect, regardless of Rainloop’s assurances to the contrary.
Is this a known bug, or am I missing something?
Should anyone be interested: I created a new MySQL database (identical to the first one) which for some odd reason works perfectly with Rainloop. I still have no idea what the issue was with the original database, but at least I got the address book working.
Lesson learned: Do not trust Rainloop’s test button.
rainloop support is well….there is none!