In this tutorial, we are going to learn how to install and configure FreeRADIUS with daloRADIUS on Fedora 29.
FreeRADIUS is the most popular opensource, high performance and highly configurable multi-protocol RADIUS server across the globe. RADIUS stands for Remote Authentication Dial In User Service. It provides centralized network authentication, authorization and accounting services for most tier 1 Internet Service Providers (ISPs), cellular network providers and corporate and educational networks. You can read more about FreeRADIUS on their documentation page.
daloRADIUS on the other hand is an advanced web management platform for RADIUS server. It provides graphical reporting, Access Control Lists, intergration with Google maps for geo-location, accounting, billing…
Installing FreeRADIUS with daloRADIUS on Fedora 29
Install FreeRADIUS on Fedora 29
Prerequsites
Before kicking off on how to installation FreeRADIUS with daloRADIUS on Fedora 29, it would be a good idea to disable SELinux or put it in permission mode unless you are comfortable managing it.
To disable SELinux, run the command below and reboot your server;
sudo sed -i 's/=enforcing/=disabled/' /etc/selinux/configTo put SELinux in a permissive mode, run the command below;
sed -i 's/=enforcing/=permissive/' /etc/selinux/configAlso, ensure that you have LAMP stack on Fedora 29/Fedora 28 up and running.
Install the following extra PHP extensions that might not have been installed on the LAMP stack guide above.
dnf install php-devel php-xml php-cli mod_phpCreate FreeRADIUS Database
In this step, you are required to create the RADIUS database and user with all privileges on that database. Login to MySQL/MariaDB as root and run the commands below to create a database called radius and a user called radius.
mysql -u root -p
create database radius;
grant all privileges on radius.* to radius@localhost identified by 'P@SSWORD';
flush privileges;
quit
Install FreeRADIUS on Fedora 29
Next, run the command below to install FreeRADIUS on Fedora 29.
dnf install freeradius freeradius-utils freeradius-mysqlOnce the installation is done, run the commands below to start and enable FreeRADIUS service to run on system reboot.
systemctl start radiusd.service
systemctl enable radiusd.service
If firewalld is running, open access to RADIUS service.
firewall-cmd --add-service=radius --permanent
firewall-cmd --reload
Note that RADIUS server, radiusd, is listening on UDP ports 1812 and 1813. To verify that the ports are opened, run the command below
netstat -alunp4 | grep -E '1812|1813'
udp        0      0 127.0.0.1:18120         0.0.0.0:*                           17201/radiusd
udp        0      0 0.0.0.0:1812            0.0.0.0:*                           17201/radiusd
udp        0      0 0.0.0.0:1813            0.0.0.0:*                           17201/radiusd
To verify that RADIUS server is working fine, stop the service and run RADIUS server in debug mode as shown below;
systemctl stop radiusdradiusd -XYou should be able to see that RADIUS server is Ready to process requests.
...
listen {
type = "auth"
ipaddr = 127.0.0.1
port = 18120
}
Listening on auth address * port 1812 bound to server default
Listening on acct address * port 1813 bound to server default
Listening on auth address :: port 1812 bound to server default
Listening on acct address :: port 1813 bound to server default
Listening on auth address 127.0.0.1 port 18120 bound to server inner-tunnel
Listening on proxy address * port 33637
Listening on proxy address :: port 37947
Ready to process requests
Configure FreeRADIUS on Fedora 29
Create FreeRADIUS Database Schema
Run the command below to import the RADIUS database located under /etc/raddb/mods-config/sql/main/mysql/schema.sql, to the RADIUS database, radius, we created above.
mysql -u root -p radius < /etc/raddb/mods-config/sql/main/mysql/schema.sqlConfigure RADIUS SQL
Enable RADIUS SQL module by creating a symbolic link from the RADIUS available SQL modules;
ln -s /etc/raddb/mods-available/sql /etc/raddb/mods-enabled/Edit the enabled RADIUS SQL module and configure MySQL database connection parameters such that the configuration looks like;
...
        # The dialect of SQL you want to use, this should usually match
        # the driver you selected above.
        #
        # If you're using rlm_sql_null, then it should be the type of
        # database the logged queries are going to be executed against.
        #dialect = "sqlite"
        dialect = "mysql"

        # Connection info:
        #
        server = "localhost"
        port = 3306
        login = "radius"
        password = "P@SSWORD"

        # Database table configuration for everything except Oracle
        radius_db = "radius"
Configure RADIUS server to read clients from the database by uncommenting the line, # read_clients = yes.
...
        # Set to 'yes' to read radius clients from the database ('nas' table)
        # Clients will ONLY be read on server startup.
        read_clients = yes
...
Save the file and quit.
Change the ownership group of the RADIUS SQL module symbolic link, /etc/raddb/mods-enabled/sql, to radiusd group as shown below;
chgrp -h radiusd /etc/raddb/mods-enabled/sqlls -alh /etc/raddb/mods-enabled/sql
lrwxrwxrwx. 1 root radiusd 29 Jan 11 20:25 /etc/raddb/mods-enabled/sql -> /etc/raddb/mods-available/sqlInstall and Configure daloRADIUS on Fedora 29
Install daloRADIUS on Fedora 29
Next, install the RADIUS web management tool, daloRADIUS. In this case, we will do the installation from source. Hence, to get the latest release of daloRADIUS, navigate to Sourceforge and grab it. You can simply copy the link and use wget command to download it
wget https://liquidtelecom.dl.sourceforge.net/project/daloradius/daloradius/daloradius0.9-9/daloradius-0.9-9.tar.gzExtract the archive once the download is complete.
tar -xzf daloradius-0.9-9.tar.gzConfigure daloRADIUS on Fedora 29
Move the extracted daloRADIUS archive your web server document root directory renaming it as follows;
mv daloradius-0.9-9 /var/www/html/daloradiusImport daloRADIUS MySQL tables into FreeRADIUS database created above;
mysql -u root -p radius < /var/www/html/daloradius/contrib/db/fr2-mysql-daloradius-and-freeradius.sql
mysql -u root -p radius < /var/www/html/daloradius/contrib/db/mysql-daloradius.sql
Set proper ownership and permission of the daloRADIUS configuration to apache web user and group
chown -R apache.apache /var/www/html/daloradius/Set the permissions for the daloRADIUS configuration file as shown below;
chown 664 /var/www/html/daloradius/library/daloradius.conf.phpEdit the daloRADIUS configuration file, /var/www/html/daloradius/library/daloradius.conf.php, and set the MySQL connection parameters as shown below;
vim /var/www/html/daloradius/library/daloradius.conf.php$configValues['DALORADIUS_VERSION'] = '0.9-9';
$configValues['FREERADIUS_VERSION'] = '2';
$configValues['CONFIG_DB_ENGINE'] = 'mysql';
$configValues['CONFIG_DB_HOST'] = 'localhost';
$configValues['CONFIG_DB_PORT'] = '3306';
$configValues['CONFIG_DB_USER'] = 'radius'; < set the RADIUS database user
$configValues['CONFIG_DB_PASS'] = 'P@SSWORD'; < set user password
$configValues['CONFIG_DB_NAME'] = 'radius'; < Set RADIUS databaseSave the file and quit.
The configuration of both FreeRADIUS and daloRADIUS is done. Restart the Apache, RADIUS and MySQL database and access your daloRADIUS web user interface as shown below;
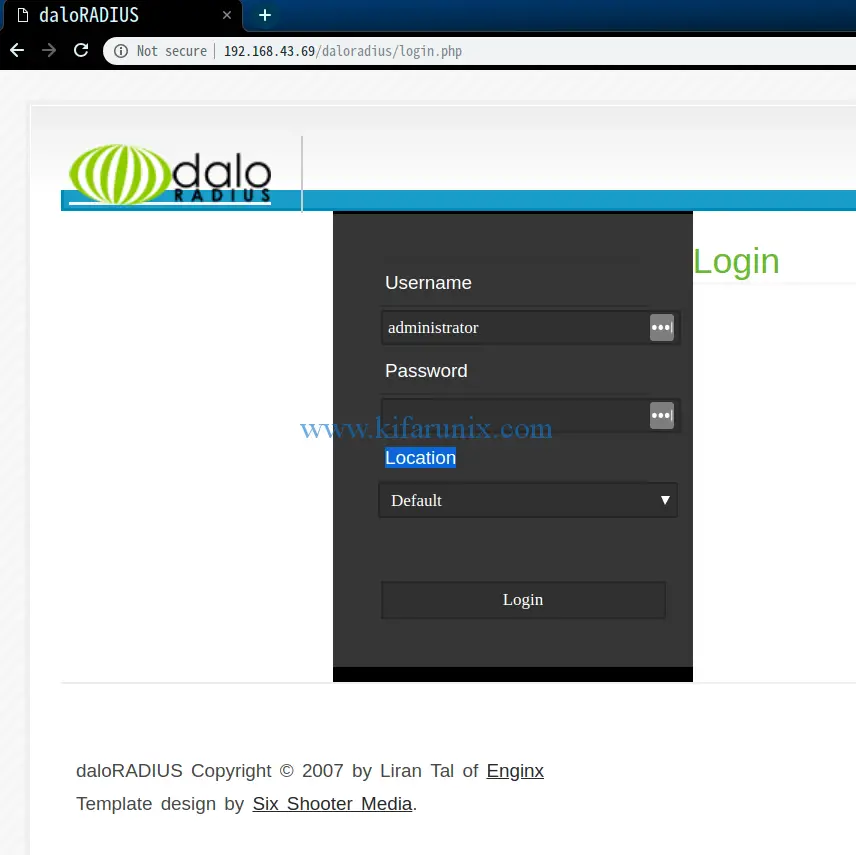
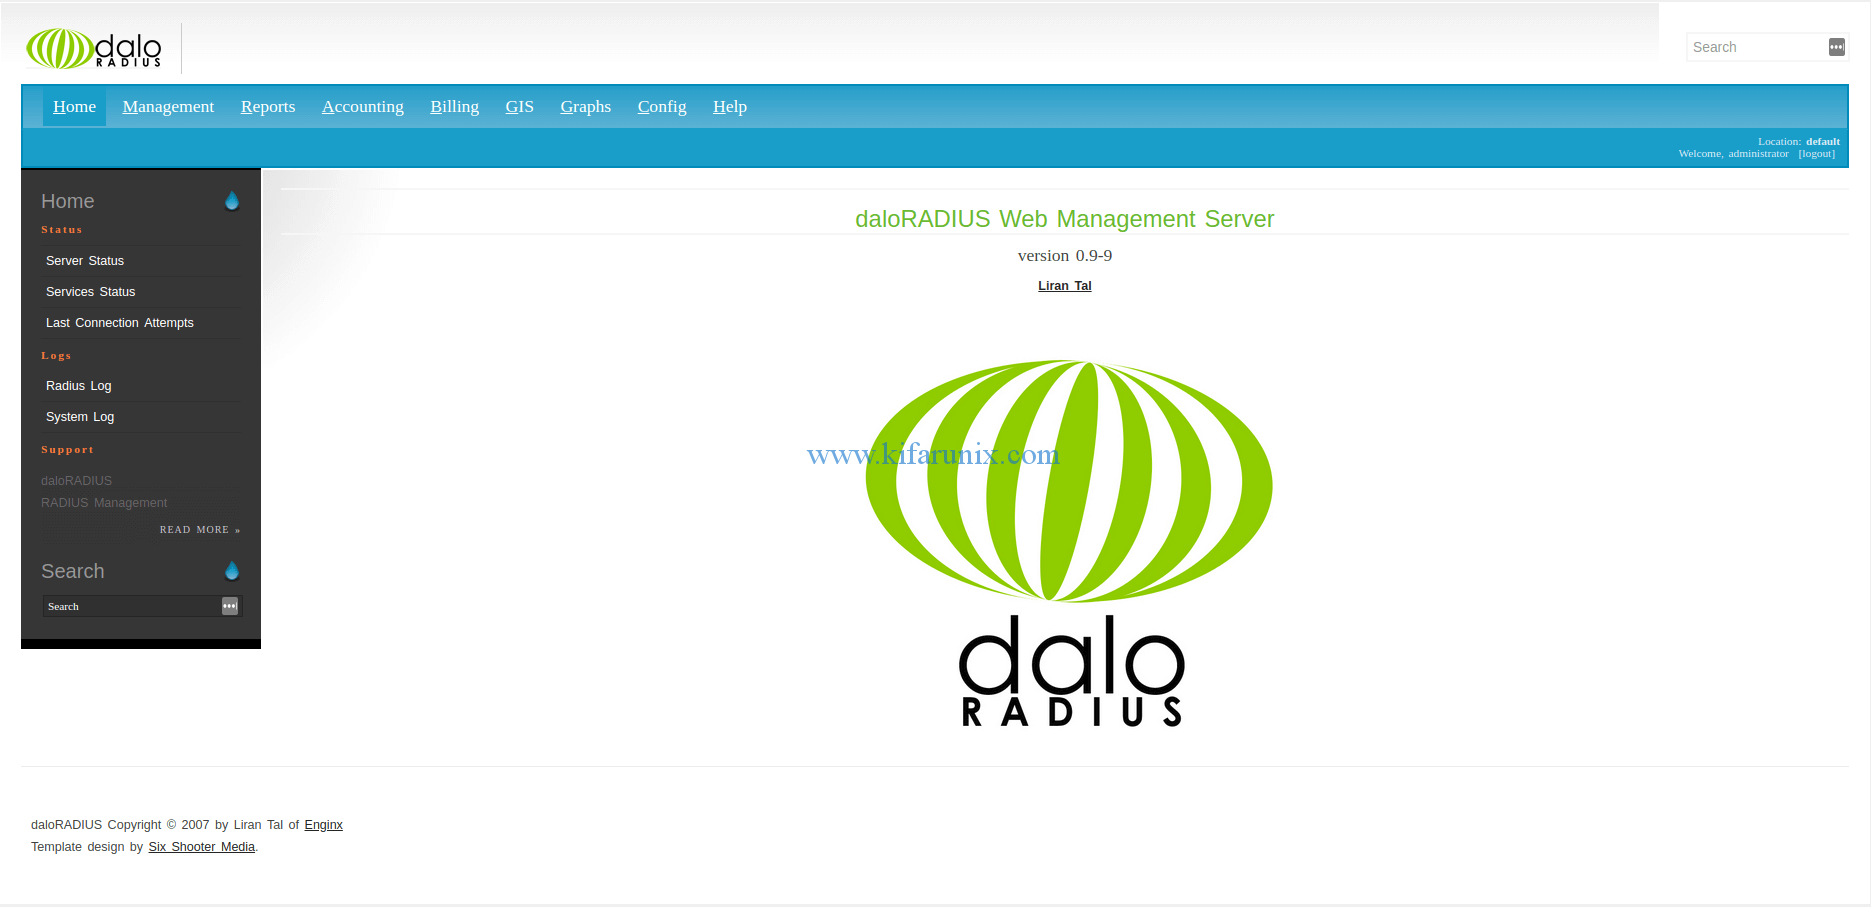
systemctl restart httpd radiusd mariadbAccess daloRADIUS web interface using the link, http://server_IP/daloradius. This should take you to the login page.

The default login credentials for daloRADIUS are, user: administrator and password: radius.

If you encounter the error, Error Message: DB Error: extension not found, while logging in, edit the daloRADIUS configuration file, /var/www/html/daloradius/library/daloradius.conf.php and change the value of $configValues['CONFIG_DB_ENGINE'] = 'mysql'; from mysql to mysqli such that the line looks like $configValues['CONFIG_DB_ENGINE'] = 'mysqli';
Other tutorials
Install FreeRADIUS with daloRADIUS on Debian 11/Debian 10

