In this tutorial, we are going to learn how to add and scan a target host for any vulnerability using OpenVAS Scanner.
Want to use PostgreSQL database with OpenVAS 9 instead of the default SQLite? See the link below on how to configure OpenVAS 9 to use PostgreSQL.
Install OpenVAS 9 with PostgreSQL in Ubuntu 18.04
Add and Scan a Target Host for Vulnerabilities
To add a new target host, login to OpenVAS web dashboard and navigate to Configuration > Targets. On the page that opens, click a star like icon,![]() on the left side of the page to add a new target.
on the left side of the page to add a new target.
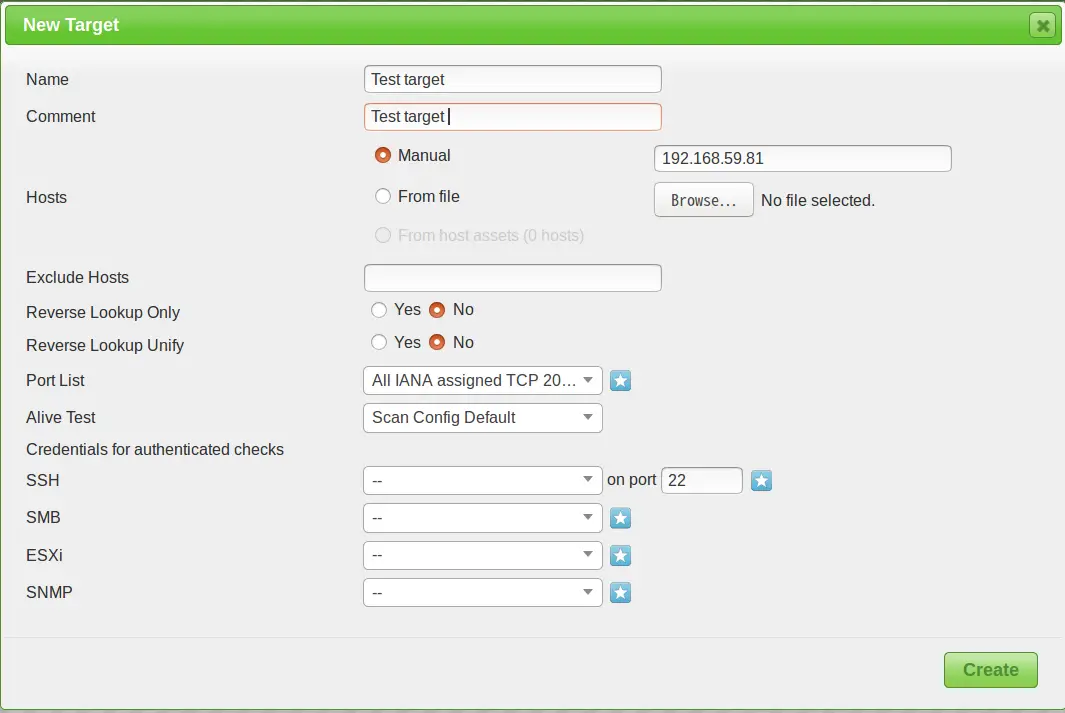
When you click on the New Target icon, the screen like as shown below opens up.
Fill up the necessary details and click Create button to add the target.
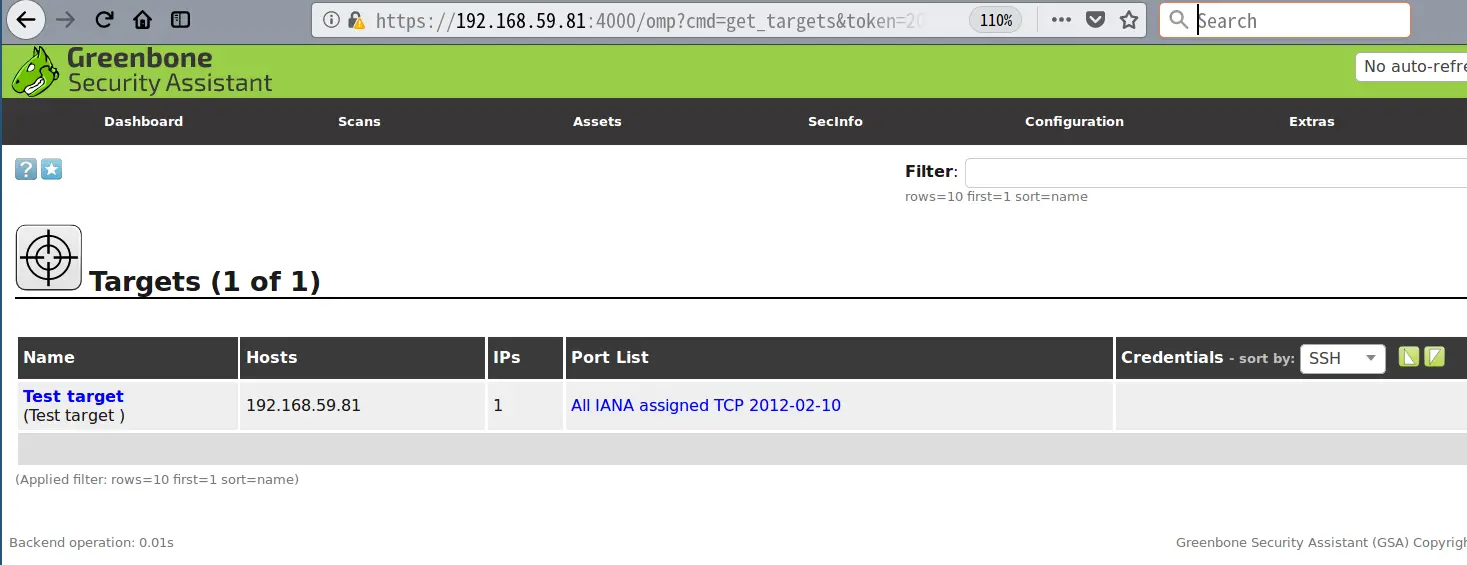
Once we have added, we should be able to see our targets as shown below.
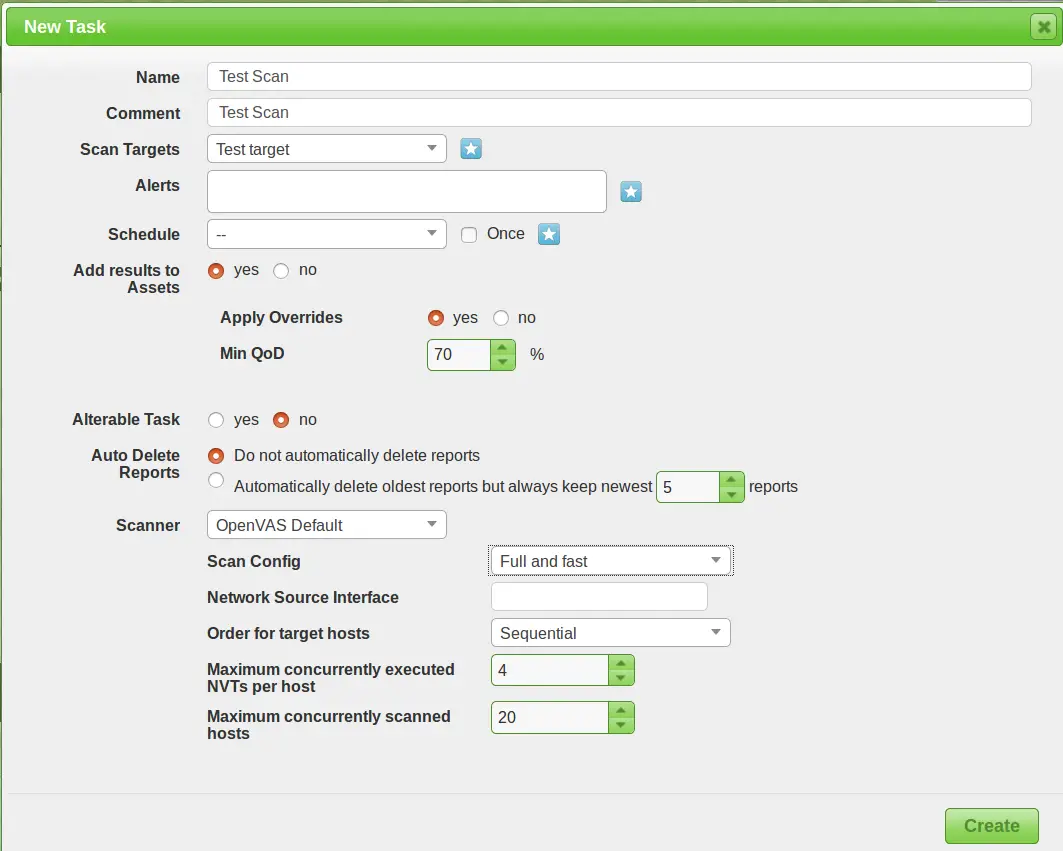
Now that the target is added, we need to create a scan task. Navigate to Scans > Tasks and click the star like icon on the left side of page then New Task. This opens up a new page where you can fill the specifics of the scan. You can leave most of the settings as default.
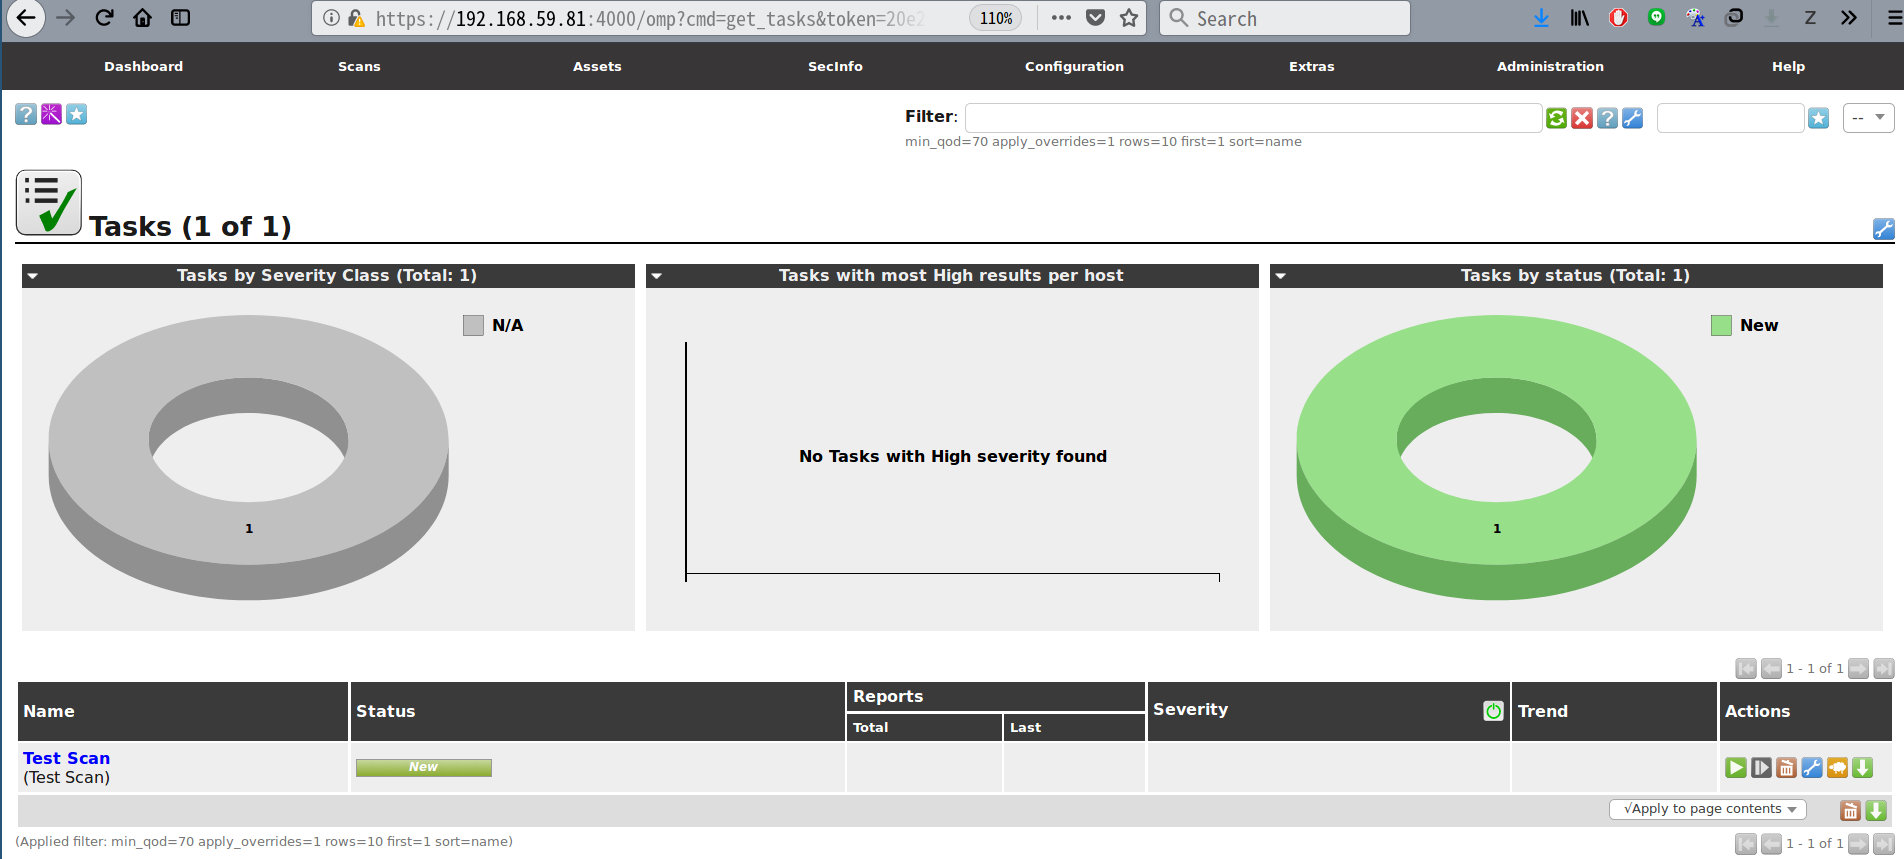
To run the scans against a target, click the play button under the actions field.
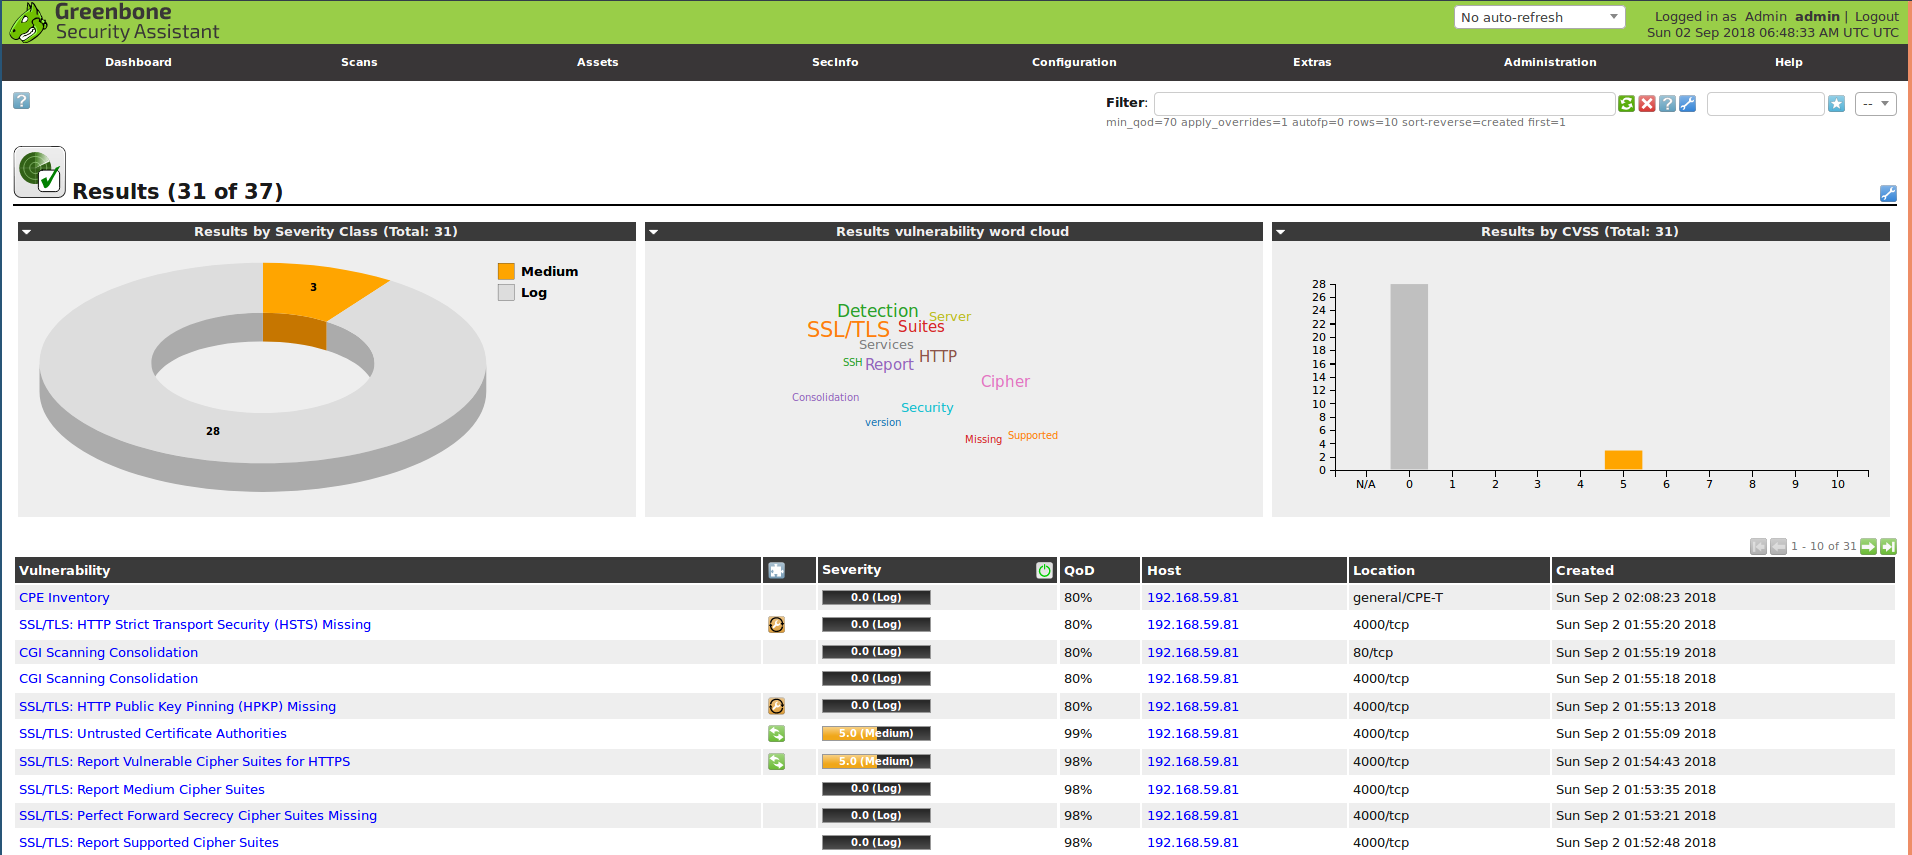
Once the Scan starts, sit back and wait for the results. This may take a while depending on the type of Scan you chose. Below are the example results of our test target.
Result can also be downloaded in HTML/CSV/PDF formats.
That is all about adding and scanning a target for vulnerabilities using OpenVAS Scanner. Feel free to exploit the full potential of OpenVAS Scanner.


from where can I download report in pdf?
Is there any way to scan another computer that is in a different network environment?
Yes, as long as there is network connection between the network on which you scanner is located and the other computer network, then it is as simple as creating the scan and running it
Hi Koromicha, what if there is no connection between the two networks?
Do we need to set up anything on GreenBone for them to be able to communicate?
What if the two networks do not communicate? I mean there is no connection between them, is there anything we can do to have a communication between them?
Like is there something we need to configure in GreenBone?
or
or we need to configure/establish S2S VPN between two Firewalls?
Thank you
If there is no connection to that specific network from the network where GVM is seated, then there is no way you can scan the end points in that network.
You can either have GVM installed on each network side or use VPN to interconnect the networks.