In this tutorial, you will learn how to create locally trusted SSL certificates with mkcert on Ubuntu 20.04. mkcert is a simple zero-config tool that is used to make locally trusted development certificates. It automatically creates and installs a local CA in the system root store, and generates locally-trusted certificates.
Using certificates from real certificate authorities (CAs) for development can be dangerous or impossible (for hosts like localhost or 127.0.0.1), but self-signed certificates cause trust errors. Managing your own CA is the best solution, but usually involves arcane commands, specialized knowledge and manual steps, but not any more with the availability of mkcert utility.
Using mkcert to Create Locally Trusted SSL Certificates
Install Certutil on Ubuntu 20.04
As a prerequisite, you are required to install certutil, a command-line utility that can create and modify certificate and key databases before you can install mkcert utility.
sudo apt install libnss3-tools -yInstalling mkcert on Ubuntu 20.04
Once the installation of certutil is done, download the current version of mkcert pre-built binary from Github releases page.
As of this writing, the current version of mkcert is v1.4.3
So download the current version and install it as shown below
wget https://github.com/FiloSottile/mkcert/releases/download/v1.4.3/mkcert-v1.4.3-linux-amd64sudo cp mkcert-v1.4.3-linux-amd64 /usr/local/bin/mkcert
sudo chmod +x /usr/local/bin/mkcert
Generate Local CA on Ubuntu 20.04
Now that the mkcert utility is installed, run the command below to generate and install your local CA on Ubuntu 20.04.
mkcert -installSample command output;
The local CA is now installed in the system trust store! ⚡️
The local CA is now installed in the Firefox and/or Chrome/Chromium trust store (requires browser restart)! 🦊
The command creates a root CA and is stored under ~/.local/share/mkcert.
You can find the root CA path by running the command below.
mkcert -CAROOT/home/koromicha/.local/share/mkcertListing the directory contents;
ls -1 ~/.local/share/mkcertrootCA-key.pem
rootCA.pemCreate Locally Trusted SSL Certificates with mkcert
Now that you have your local CA, run the command below to generate local SSL certificates using mkcert command.
mkcert kifarunix-demo.com '*.kifarunix-demo.com' localhost 127.0.0.1 ::1
Sample command output;Created a new certificate valid for the following names 📜
- "kifarunix-demo.com"
- "*.kifarunix-demo.com"
- "localhost"
- "127.0.0.1"
- "::1"
Reminder: X.509 wildcards only go one level deep, so this won't match a.b.kifarunix-demo.com ℹ️
The certificate is at "./kifarunix-demo.com+4.pem" and the key at "./kifarunix-demo.com+4-key.pem" ✅
It will expire on 31 August 2023 🗓You have the certificate and key in the current working directory;
ls -1 ./kifarunix-demo.com+* ./kifarunix-demo.com+4-key.pem
./kifarunix-demo.com+4.pemEnable Web Server HTTPS using the Certificates
The certificates are now installed and it is time to enable your webserver to use them for HTTPS connections.
To configure Apache to use these certificates, edit the default ssl configuration file, /etc/apache2/sites-available/default-ssl.conf and change the SSL certificate and key file to point to the locally generated cert and key file above.
See the example below. Note the certificates are in my home directory.
Be sure to replace the paths accordingly.
sudo sed -i 's#/etc/ssl/certs/ssl-cert-snakeoil.pem#/home/koromicha/kifarunix-demo.com+4.pem#; s#/etc/ssl/private/ssl-cert-snakeoil.key#/home/koromicha/kifarunix-demo.com+4-key.pem#' /etc/apache2/sites-available/default-ssl.conf
To verify this;
grep -E "SSLCertificateFile|SSLCertificateKeyFile" /etc/apache2/sites-available/default-ssl.conf # SSLCertificateFile directive is needed.
SSLCertificateFile /home/koromicha/kifarunix-demo.com+4.pem
SSLCertificateKeyFile /home/koromicha/kifarunix-demo.com+4-key.pem
# the referenced file can be the same as SSLCertificateFileEnable Apache to use SSL by loading the ssl modules;
sudo a2enmod ssl
sudo a2ensite default-ssl.confReload and restart Apache to activate the new configuration
sudo systemctl restart apache2Verify Local SSL Certs generated with mkcert
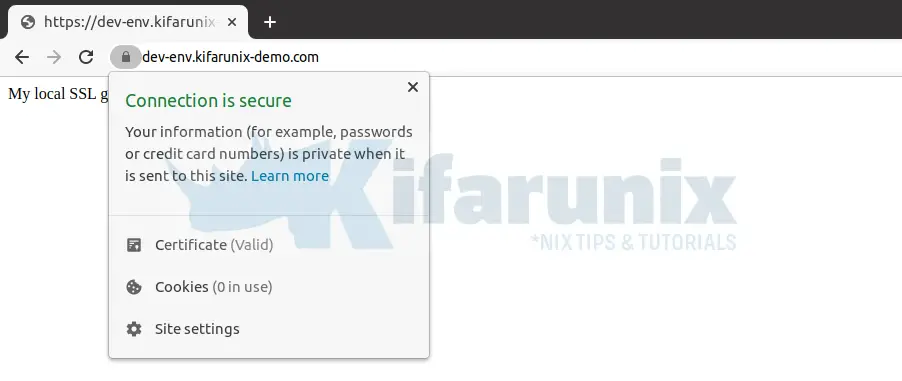
Navigate to the browser and try to access your domain.
I am using local hosts file for my DNS entries.

Enable the Certificates for Nginx Web Server
Create your web page configuration as shown below.
Replace the paths to the ceritificate and key accordingly
vim /etc/nginx/sites-available/example.comserver {
listen 80;
listen 443 ssl;
ssl on;
ssl_certificate /home/koromicha/kifarunix-demo.com+4.pem;
ssl_certificate_key /home/koromicha/kifarunix-demo.com+4-key.pem;
server_name example.com;
location / {
root /var/www/html/example;
index index.html;
}
}Verify that the configuration has no error.
nginx -t
nginx: the configuration file /etc/nginx/nginx.conf syntax is ok
nginx: configuration file /etc/nginx/nginx.conf test is successful
Restart Nginx
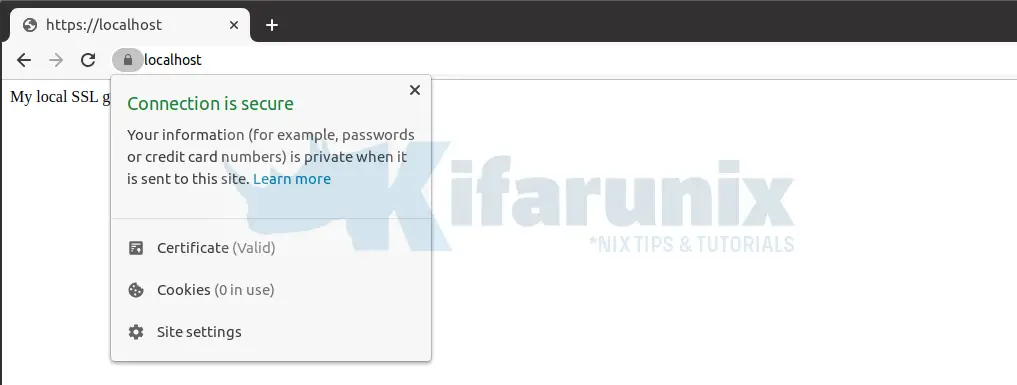
systemctl restart nginxNavigate to the browser and test your ssl for your domain.

Well, seems up-to that far everything is fine.
And that concludes our guide on how to use mkcert to create locally trusted SSL certificates.
More mkcert usage information.
mkcert --helpOther Tutorials
Configure Nginx with SSL/TLS certificates on CentOS 8
Monitor SSL/TLS Certificate Expiry with Prometheus and Grafana


Thanks for this article, helped me a lot. Just to make this more flexible, you can set the Certifications via host based.
ServerName http://www.example.loc
ServerAlias example.loc
DocumentRoot /var/www/example.loc/public
ServerName example.loc
SSLEngine On
SSLCertificateFile /home/user_dir/ssl-certs/example.loc.pem
SSLCertificateKeyFile /home/user_dir/ssl-certs/example.loc-key.pem
DocumentRoot /var/www/example.loc/public
If you need additional subdomains with https, you’ve to create separate Certificates for each subdomain and also repeat the “” block for each subdomain.
Thanks a lot! Worked for my KUbuntu 22.04 and local phpMyAdmin (now it is https://localhost/phpmyadmin)
Great write-up! I’m really interested in learning more about generating SSL certificates locally on Ubuntu, and this blog post has provided some valuable insights. Using `mkcert` to generate certs without needing to rely on a CA is a game-changer, and I can’t wait to try it out on my own systems. Thanks for sharing!
Thanks for sharing this helpful tutorial! I’m running Ubuntu 20.04 and was struggling to understand how to create locally trusted SSL certificates. Your steps were clear and easy to follow. I’ll definitely be using mkcert for my SSL certificate needs from now on.
Glad you found tutorial useful. enjoy