In this tutorial, you will learn how to change Windows boot device from IDE to Virtio on KVM. IDE and Virtio are types of virtual disk controllers. They emulate the common hard disk controllers for physical devices. The type of the virtual bus/device controllers that you use while setting up a virtual machine will affect the performance of the VM in terms of data read write operations. Thre are other device controllers supported by KVM including SATA, SCSI, USB. Of all these, Virtio bus device controller provides maximum performance.
Table of Contents
Change Windows Boot Device from IDE to Virtio
So, assuming that you have already installed and configured your Windows VM on KVM, and using IDE bus device controller, how can you change it to Virtio for better performance?
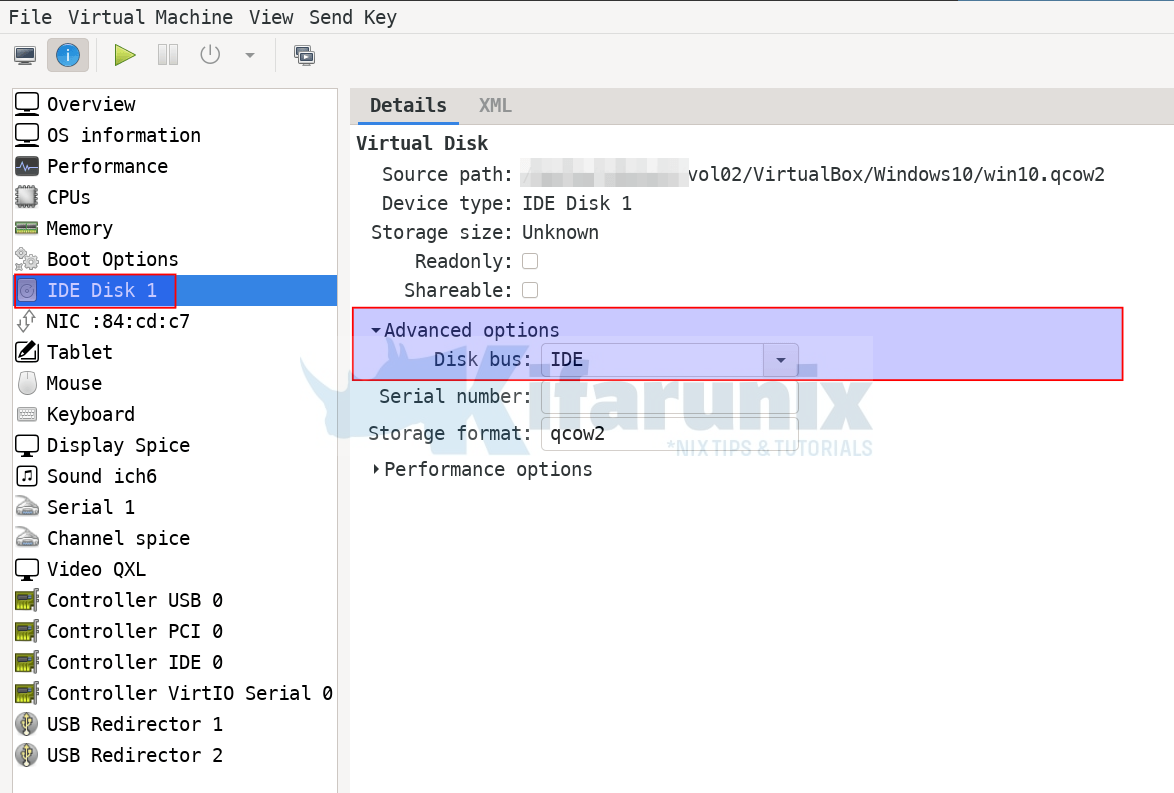
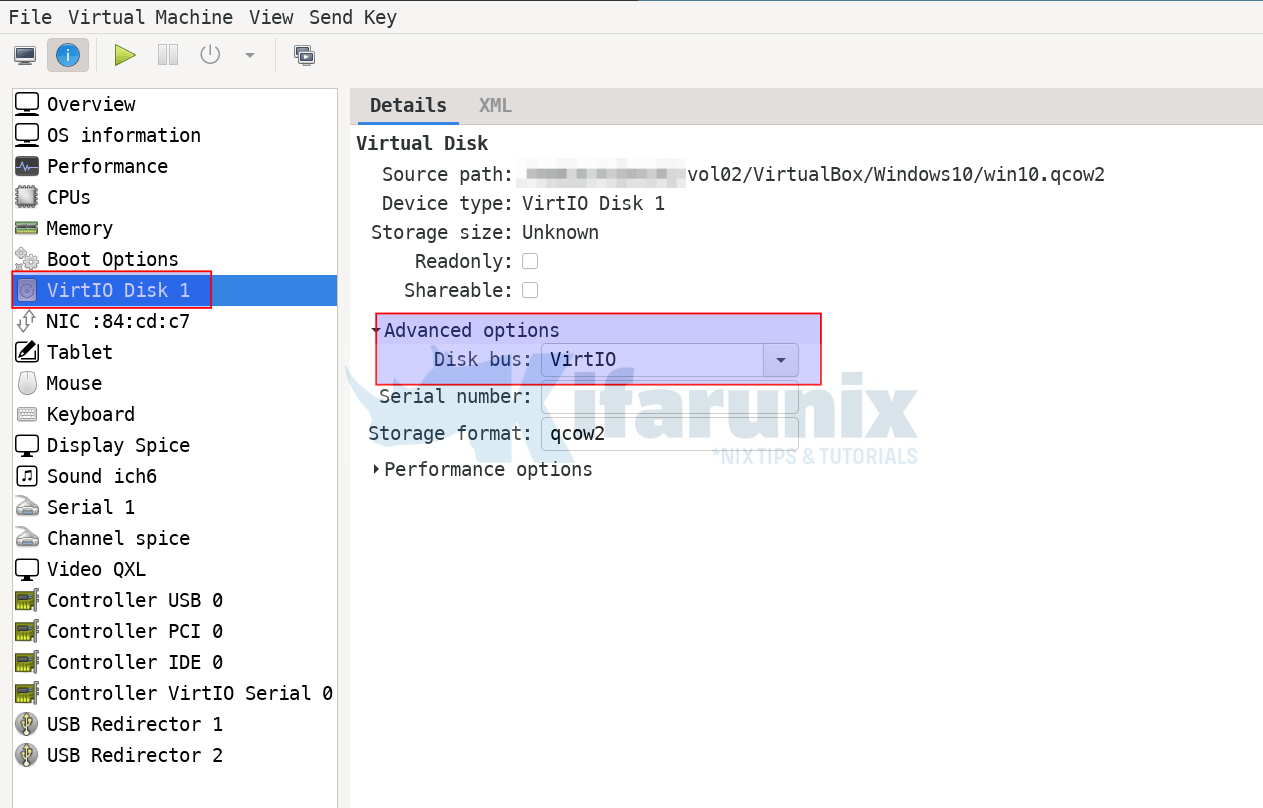
Well, as much it is easy to just change the disk bus controller from the virtual machine settings as shown below and apply the changes;
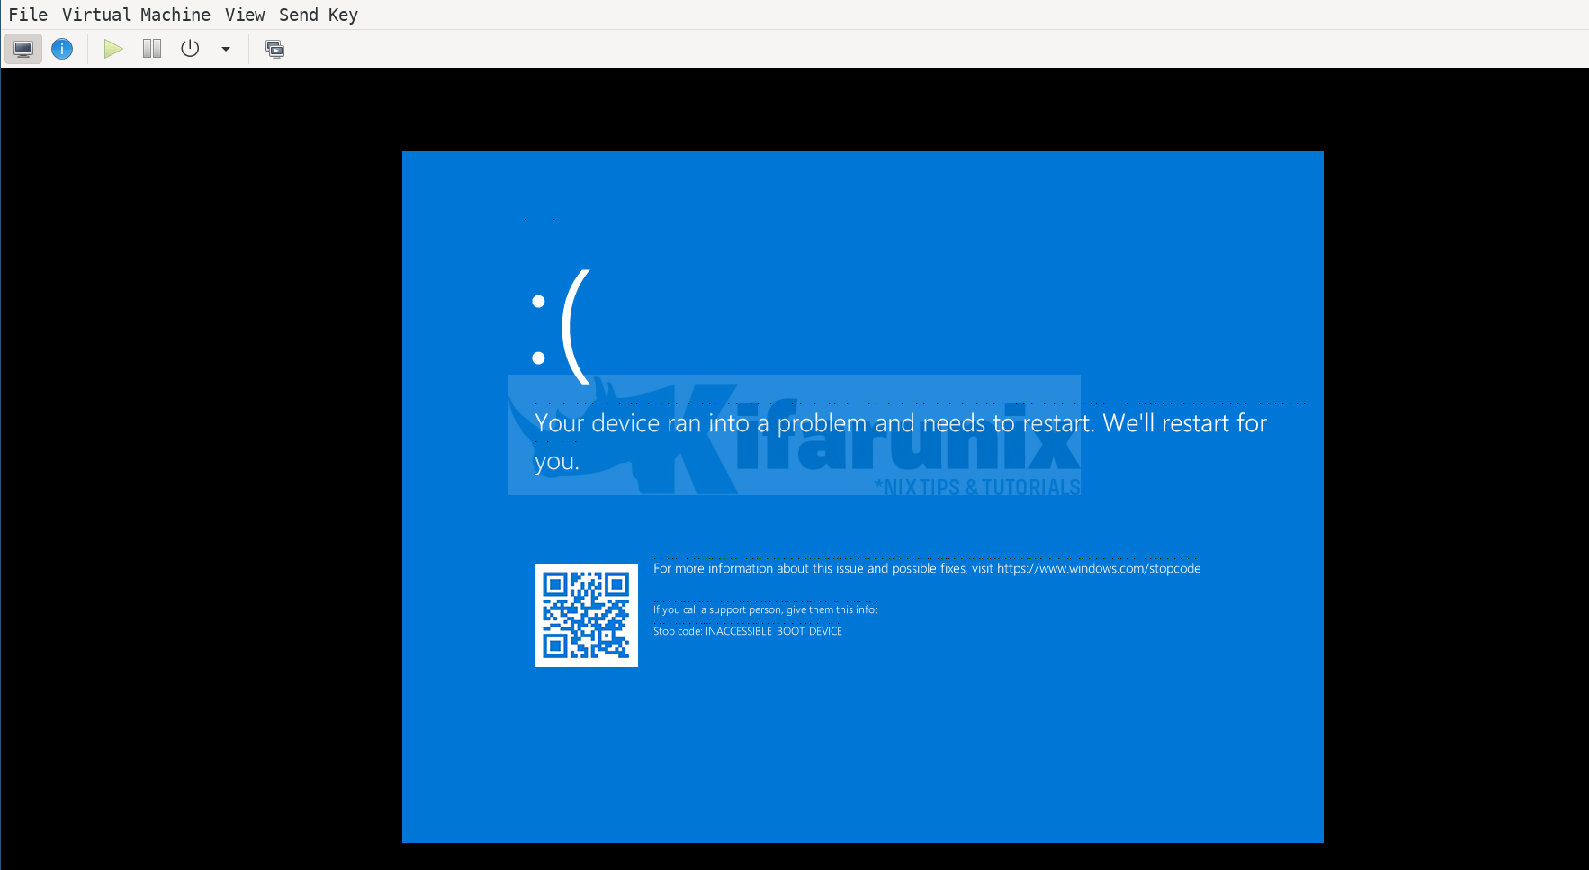
When you boot, it may fail with INACCESSIBLE BOOT DEVICE;
So, in such situations, how can you proceed to boot your Windows system with Virtio disk bus type?
Install Virtio Drivers on Windows Systems
If you want to change your Windows boot device from IDE to Virtio on KVM, you first of all need to install Virtio drivers.
In this tutorial, we are going to use Windows 10 as a our Virtual Machine. However, the method of installing Virtio drivers is same across all Windows systems.
Thus, power off the virtual machine and change the boot device bus type back to IDE as it were before;

Once you change the bus type to IDE, apply the changes and boot the virtual machine.
Once the virtual machine boots, login and;
- Download the latest stable Virtio drivers or you can download the most recent build of the ISO.
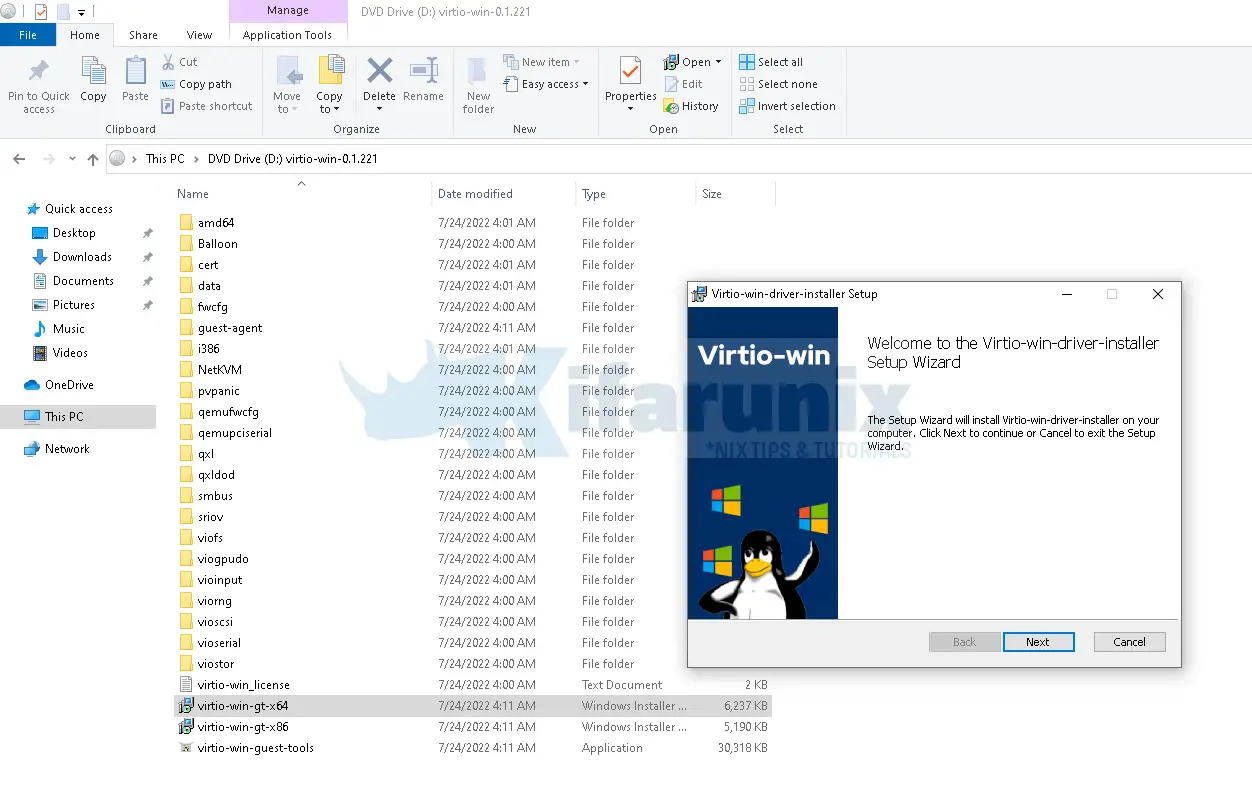
- Open the Windows File Explorer and navigate to where you downloaded your Virtio drivers ISO file.
- Double click the ISO file to mount it so you can be able to access the installer.
- Once the ISO is mounted, double click the virtio-win-gt-x64 installer and follow the installation instructions.
Configure Windows to Start in Safe Mode
In order for the Windows system to enable and load all the newly installed Virtio drivers, you need to configure it to boot in safe mode first.
To configure Windows 10 to boot in safe mode;
- Open CMD as administrator
- Run the command below;
bcdedit /set {current} safeboot minimalYou should see a message, The operation completed successfully.
Poweroff the VM once that is done.
Attach Virtio Drivers ISO to the Virtual Machine
Similarly, download Virtio drivers ISO file to your host machine and attach it to the VM;
Under virtual machine hardware information;
- Click Add Hardware option at the bottom
- Under Storage
- click Select or create custom storage
- click Manage… and navigate to where you downloaded the Virtio drivers ISO file to
- change Bus Type to VirtIO.
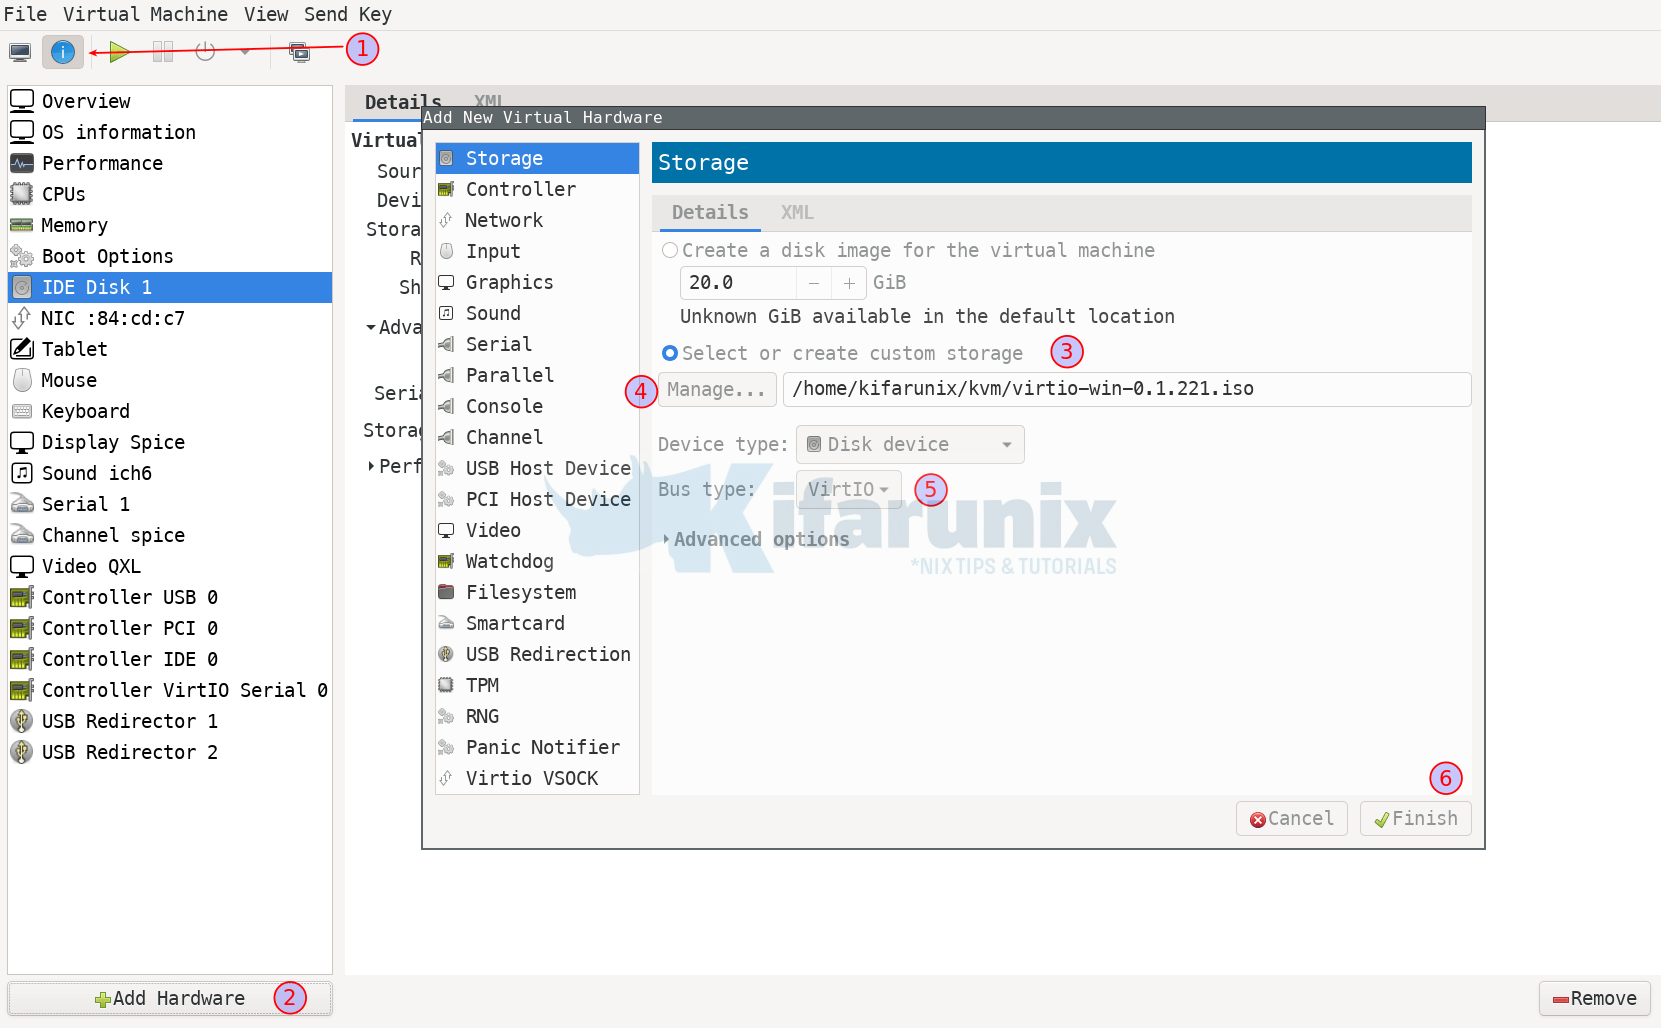
Start the VM.
It will boot in Safe Mode and load all the necessary drivers.
Disable Safe Mode Boot
Once again, open CMD as administrator and disable safe mode boot;
bcdedit /deletevalue {current} safebootSimilarly, you should see a message, The operation completed successfully.
Change Boot Device from IDE to Virtio and Start the VM
- Shutdown the VM.
- Remove that attached Virtio Drivers ISO file and apply the changes.
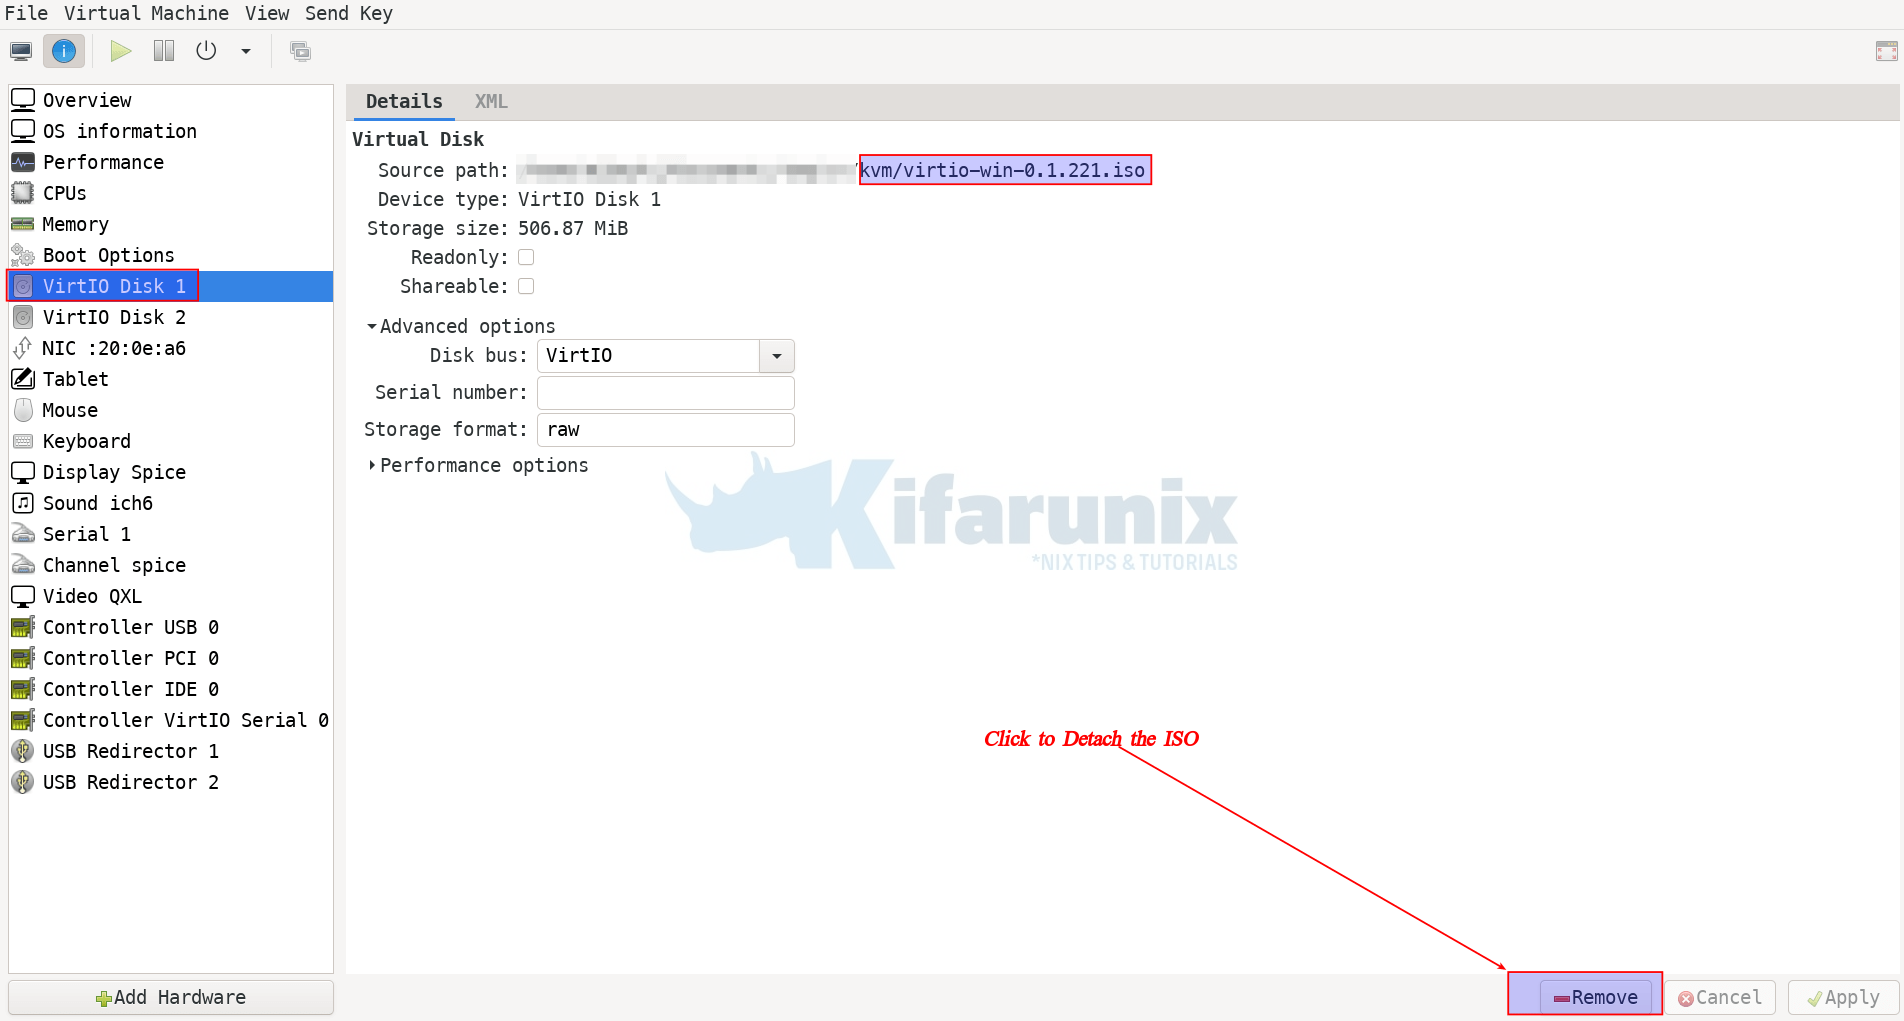
- Change the boot disk bus type to Virtio and apply the changes;

Apply the changes and start the VM after that.
And there you go.
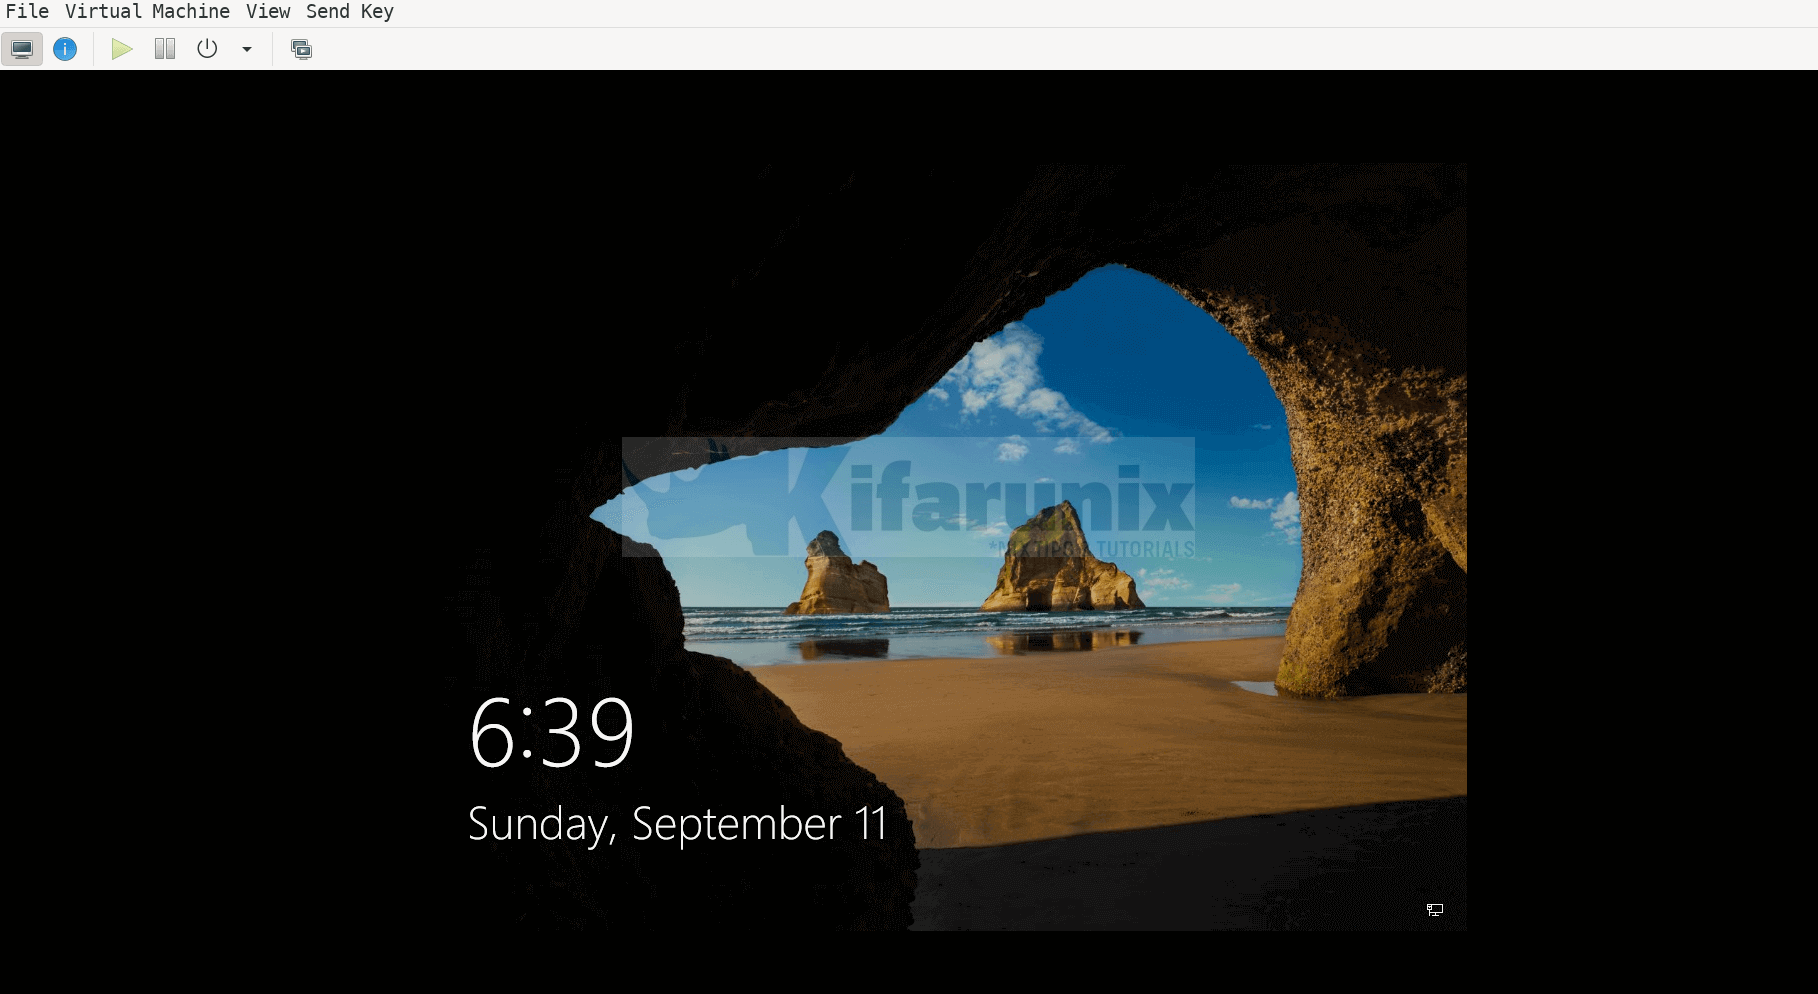
You Windows virtual machine should now boot with Virtio disk with no error!
That concludes our guide on changing Windows boot device from IDE to Virtio on KVM.
Other Tutorials
Easy Way to Extend KVM Virtual Machine Disk Size

