In this guide, you will learn how to install Redmine on Ubuntu 20.04. Redmine is cross-platform and cross-database, flexible project management tool written on Ruby on Rails Framework.
Some of the main features of Redmine are:
- Multiple projects support
- Flexible role based access control
- Flexible issue tracking system
- Gantt chart and calendar
- News, documents & files management
- Feeds & email notifications
- Per project wiki
- Per project forums
- Time tracking
- Custom fields for issues, time-entries, projects and users
- SCM integration (SVN, CVS, Git, Mercurial and Bazaar)
- Issue creation via email
- Multiple LDAP authentication support
- User self-registration support
- Multilanguage support
- Multiple databases support
Read more about Redmine features on the features page.
Table of Contents
Installing Redmine on Ubuntu 20.04
Want to use Ubuntu 22.04 instead? Check how to Install Redmine on Ubuntu 22.04.
Run system update
To begin with, ensure that your system packages are up-to-date.
apt updateRedmine can be installed from the default Ubuntu 20.04 Universe repos. However, the repos doesnt provide the Redmine package. For example, the currently available version of Redmine on he default Ubuntu 20.04 Universe repos is v4.0.6;
apt-cache policy redmineredmine:
Installed: (none)
Candidate: 4.0.6-2
Version table:
4.0.6-2 500
500 http://ke.archive.ubuntu.com/ubuntu focal/universe amd64 Packages
However, Redmine 5.1 is the current release version.
Therefore, to install Redmine, you need to build and install it from the source.
Install Required Build Tools and Dependencies
To install Redmine from the source code, you need install the required build tools and dependencies.
apt install build-essential \
	ruby-dev \
	libxslt1-dev \
	libmariadb-dev \
	libxml2-dev \
	zlib1g-dev \
	imagemagick \
	libmagickwand-dev \
	curl \
	gnupg2 \
	bison \
	libbison-dev \
	libgdbm-dev \
	libncurses-dev \
	libncurses5-dev \
	libreadline-dev \
	libssl-dev \
	libyaml-dev \
	libsqlite3-dev \
	sqlite3 -y
Install Apache HTTP Server on Ubuntu 20.04
Install Apache web server and Apache modules for the Passenger, lightweight web server for Ruby.
apt install apache2 libapache2-mod-passengerStart and enable Apache to run on system boot.
systemctl enable --now apache2Install Ruby interpreter
Redmine version 5.1 supports upto Ruby 3.1 as of this post update!
Ruby is installed as part of the above package dependencies. To check the current version of installed Ruby;
ruby -v
ruby 3.0.2p107 (2021-07-07 revision 0db68f0233) [x86_64-linux-gnu]Create Redmine System User
Create a Redmine system user that can be used to install Redmine Ruby dependencies via bundler command. Set its home directory to /opt/redmine as this is where we will install Redmine app.
useradd -r -m -d /opt/redmine -s /usr/bin/bash redmineAdd Apache web server user to Redmine group.
usermod -aG redmine www-dataInstall MariaDB on Ubuntu 20.04
Run the command below to install MariaDB database server on Ubuntu 20.04
apt install mariadb-server
MariaDB is started and enabled to run on boot upon installation. If not already started, run the command below to start it;
systemctl enable --now mariadb
Run initial MariaDB database secure script to remove default databases, test tables, disable remote root login,
mysql_secure_installation
Create Redmine Database and Database User
Once MariaDB is installed, login as root user and create Redmine database and database user.
Replace the names of the database and the database user accordingly.
mysql -u root -p
create database redminedb;
grant all on redminedb.* to redmineuser@localhost identified by 'P@ssW0rD';Reload privilege tables and exit the database.
flush privileges;
quit
Download and Install Redmine
Navigate Redmine releases page and grab Redmine tarball for the current stable release version.
You can simply download and extract the Redmine tarball to the Redmine install directory, /opt/redmine.
VER=5.1.0curl -s https://www.redmine.org/releases/redmine-$VER.tar.gz | \
sudo -u redmine tar xz -C /opt/redmine/ --strip-components=1Configuring Redmine on Ubuntu 20.04
Once you have installed Redmine under the /opt/redmine directory, you can now proceed to configure it.
Create Redmin Configuration Files
Create Redmine configuration file by renaming the sample configuration files as shown below;
su - redminecp /opt/redmine/config/configuration.yml{.example,}cp /opt/redmine/public/dispatch.fcgi{.example,}cp /opt/redmine/config/database.yml{.example,}Configure Redmine Database Settings
Open the created Redmine database configuration setting and set the Redmine database connection details for MySQL.
vim /opt/redmine/config/database.yml...
production:
adapter: mysql2
database: redminedb
host: localhost
username: redmineuser
password: "P@ssW0rD"
# Use "utf8" instead of "utfmb4" for MySQL prior to 5.7.7
encoding: utf8mb4
...
Save and exit the file.
Install Redmine Ruby Dependencies
Logout as redmine user by running the exit.
exitAs privileged user, navigate to Redmine install directory and install the Ruby dependencies.
cd /opt/redmineInstall Bundler for managing gem dependencies.
sudo gem install bundlerNext, install the required gems dependencies as redmine user.
su - redminebundle config set --local path 'vendor/bundle'bundle installAlso update the gems;
bundle updateInstall updated io-wait and strscan gems;
gem install io-wait strscan webrick --user-installGenerate Secret Session Token
To prevent tempering of the cookies that stores session data, you need to generate a random secret key that Rails uses to encode them.
bundle exec rake generate_secret_tokenCreate Database Schema Objects
Create Rails database structure by running the command below;
Ensure you set the correct database credentials above,
RAILS_ENV=production bundle exec rake db:migrateOnce the database migration is done, insert default configuration data into the database by executing;
RAILS_ENV=production REDMINE_LANG=en bundle exec rake redmine:load_default_dataYou can safely ignore the Ruby warnings.
Configure FileSystem Permissions
Ensure that the following directories are available on Redmine directory, /opt/redmine.
- tmp and tmp/pdf
- public and public/plugin_assets
- log
- files
If they do not exist, simply create them and ensure that they are owned by the user used to run Redmine.
for i in tmp tmp/pdf public/plugin_assets; do [ -d $i ] || mkdir -p $i; donechown -R redmine:redmine files log tmp public/plugin_assetschmod -R 755 /opt/redmineTesting Redmine Installation
The setup of Redmine on Ubuntu 20.04 is now done.
Redmine listens on TCP port 3000 by default. Hence, before running the tests, open port 3000/tcp on firewall if it is running.
redmine@ubuntu22:~$ exitsudo ufw allow 3000/tcpYou can now test Redmine using WEBrick by executing the command below;
su - redmineAdd webrick to Gemfile;
echo 'gem "webrick"' >> GemfileInstall webrick gem and test the installation;
bundle installbundle exec rails server -u webrick -e productionSample output;
=> Booting WEBrick
=> Rails 6.1.7.6 application starting in production http://0.0.0.0:3000
=> Run `bin/rails server --help` for more startup options
[2023-11-12 18:54:22] INFO  WEBrick 1.8.1
[2023-11-12 18:54:22] INFO  ruby 3.0.2 (2021-07-07) [x86_64-linux-gnu]
[2023-11-12 18:54:22] INFO  WEBrick::HTTPServer#start: pid=8940 port=3000
Navigate to the browser and enter the address, http://server-IP-or-Hostname:3000. Replace the server-IP-or-Hostname accordingly.
If all is well, you should land on Redmine web user interface.

Configure Apache for Redmine on Ubuntu 20.04
Now that you have confirmed that Redmine is working as expected, proceed to configure Apache to server Redmine.
Press CTRL+C to stop Redmine in foreground and exit redmine user account.
exitnext, create Redmine Apache VirtualHost configuration file.
cat > /etc/apache2/sites-available/redmine.conf << 'EOL'
Listen 3000
<VirtualHost *:3000>
	ServerName redmine.kifarunix-demo.com
	RailsEnv production
	DocumentRoot /opt/redmine/public

	<Directory "/opt/redmine/public">
	        Allow from all
	        Require all granted
	</Directory>

	ErrorLog ${APACHE_LOG_DIR}/redmine_error.log
        CustomLog ${APACHE_LOG_DIR}/redmine_access.log combined
</VirtualHost>
EOL
Ensure the value of the ServerName, the domain, is resolvable! You can use hosts file to define the IP address if you dont have a DNS server.
Disable the default site configuration.
a2dissite 000-default.confCheck Apache configuration for errors.
apachectl configtestSyntax OKEnsure that Passenger module is loaded;
apache2ctl -M | grep -i passengerpassenger_module (shared)If not enabled, run the command below to enable it.
a2enmod passengerEnable Redmine site.
sudo a2ensite redmineReload Apache
sudo systemctl restart apache2Check to ensure that Redmine is now listening on port 3000.
sudo lsof -i :3000COMMAND PID USER FD TYPE DEVICE SIZE/OFF NODE NAME apache2 7630 root 6u IPv6 48985 0t0 TCP *:3000 (LISTEN) apache2 7645 www-data 6u IPv6 48985 0t0 TCP *:3000 (LISTEN) apache2 7646 www-data 6u IPv6 48985 0t0 TCP *:3000 (LISTEN)
Access Redmine on Browser
Next, you can now access and sign in to Redmine on browser using the address http://server-IP-or-ddomain-address:3000.
Click Sign in at the top right corner.
Default credentials: admin:admin.

When prompted, reset your admin password.
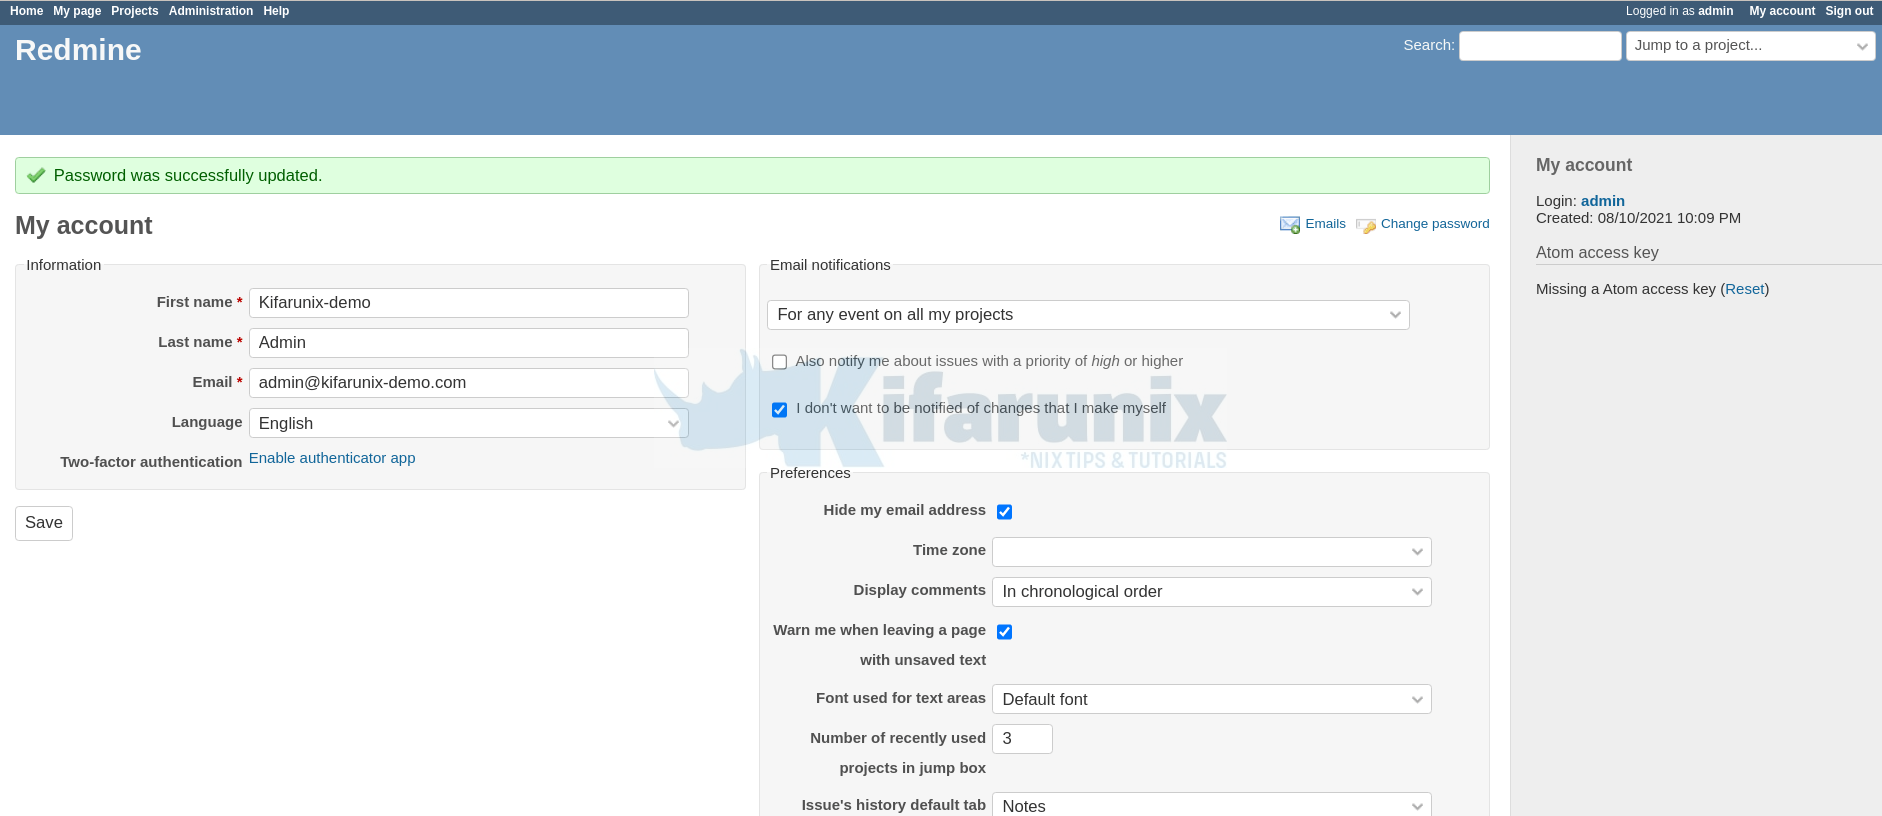
Setup your Redmine profile;

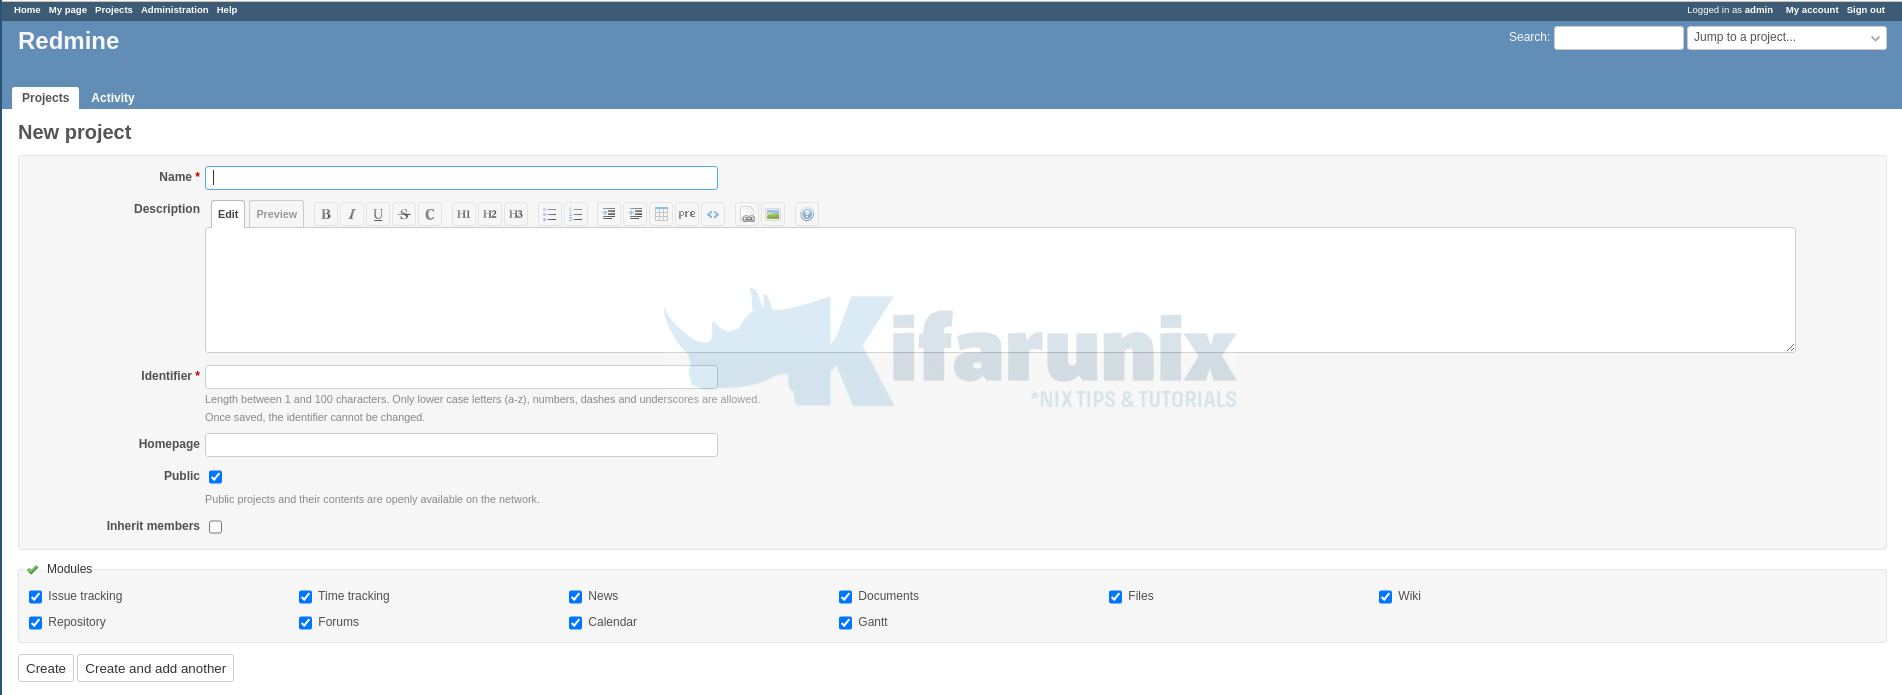
Create Projects

That concludes our guide on how to install Redmine. You can now explore this awesome tool.
Read more on how to use Redmine User Guide.


Great tutorial! Thanks!
Trying to install on Ubuntu 20.04.4 Server, made all steps, but finally got stuck in problem with Passenger trying to use OS default Ruby 2.7.0 instead of 2.6.0 w rvm installed by your guide. “bundle exec rails server webrick -e production” as in test step works, but production with Apache – won’t. Error – below.
Running Setting PassengerDefaultRuby to /usr/local/rvm/rubies/ruby-2.6.0/bin/ruby at /etc/apache2/mods-available/passenger.conf doesn’t help. May be /etc/profile.d/rvm.sh settings are not used by passenger.
Is there any way to fix this?
/var/log/apache2/error.log:
[ 2022-03-27 10:27:22.9835 2927/7fc7237fe700 age/Cor/Con/CheckoutSession.cpp:283 ]: [Client 1-1] Cannot checkout session because a spawning error occurred. The identifier of the error is 987e55c6. Please see
earlier logs for details about the error.
App 3103 stdout:
App 3103 stdout:
[ 2022-03-27 10:27:34.4038 2927/7fc72805f700 age/Cor/App/Implementation.cpp:304 ]: Could not spawn process for application /opt/redmine: An error occurred while starting up the preloader.
Error ID: 04797c86
Error details saved to: /tmp/passenger-error-kgdiVx.html
Message from application: It looks like Bundler could not find a gem. Maybe you didn’t install all the gems that this application needs. To install your gems, please run:
bundle install
If that didn’t work, then the problem is probably caused by your application being run under a different environment than it’s supposed to. Please check the following:
Is this app supposed to be run as the
redmineuser?Is this app being run on the correct Ruby interpreter? Below you will
see which Ruby interpreter Phusion Passenger attempted to use.
——– The exception is as follows: ——-
Could not find racc-1.6.0 in any of the sources (Bundler::GemNotFound)
/usr/lib/ruby/2.7.0/bundler/spec_set.rb:86:in `block in materialize'
/usr/lib/ruby/2.7.0/bundler/spec_set.rb:80:in `map!'
/usr/lib/ruby/2.7.0/bundler/spec_set.rb:80:in `materialize'
/usr/lib/ruby/2.7.0/bundler/definition.rb:170:in `specs'
/usr/lib/ruby/2.7.0/bundler/definition.rb:237:in `specs_for'
/usr/lib/ruby/2.7.0/bundler/definition.rb:226:in `requested_specs'
/usr/lib/ruby/2.7.0/bundler/runtime.rb:101:in `block in definition_method'
/usr/lib/ruby/2.7.0/bundler/runtime.rb:20:in `setup'
/usr/lib/ruby/2.7.0/bundler.rb:149:in `setup'
/usr/lib/ruby/2.7.0/bundler/setup.rb:20:in `block in <top (required)>'
/usr/lib/ruby/2.7.0/bundler/ui/shell.rb:136:in `with_level'
/usr/lib/ruby/2.7.0/bundler/ui/shell.rb:88:in `silence'
/usr/lib/ruby/2.7.0/bundler/setup.rb:20:in `<top (required)>'
/usr/lib/ruby/2.7.0/rubygems/core_ext/kernel_require.rb:92:in `require'
/usr/lib/ruby/2.7.0/rubygems/core_ext/kernel_require.rb:92:in `require'
/usr/lib/ruby/vendor_ruby/phusion_passenger/loader_shared_helpers.rb:430:in `activate_gem'
/usr/lib/ruby/vendor_ruby/phusion_passenger/loader_shared_helpers.rb:297:in `block in run_load_path_setup_code'
/usr/lib/ruby/vendor_ruby/phusion_passenger/loader_shared_helpers.rb:435:in `running_bundler'
/usr/lib/ruby/vendor_ruby/phusion_passenger/loader_shared_helpers.rb:296:in `run_load_path_setup_code'
/usr/share/passenger/helper-scripts/rack-preloader.rb:100:in `preload_app'
/usr/share/passenger/helper-scripts/rack-preloader.rb:156:in `<module:App>'
/usr/share/passenger/helper-scripts/rack-preloader.rb:30:in `<module:PhusionPassenger>'
/usr/share/passenger/helper-scripts/rack-preloader.rb:29:in `<main>'
[ 2022-03-27 10:27:34.4089 2927/7fc722ffd700 age/Cor/Con/CheckoutSession.cpp:283 ]: [Client 2-1] Cannot checkout session because a spawning error occurred. The identifier of the error is 04797c86. Please see
earlier logs for details about the error.
Hi Koguni,
Actually, Redmine 5.0.0 supports Ruby 2.7. The guide has been updated.