In this tutorial, you will learn how to install Portainer on Rocky Linux. Portainer is a self-service container service delivery platform that provides container management GUI for Kubernetes, Docker and Swarm.
Install Portainer on Rocky Linux
Portainer is available as both Community Edition and Business Edition. We will be installing the Community Edition in this guide.
There are different environments in which you can deploy Portainer;
- Standalone Docker container
- Docker Swarm
- Kubernetes
We will learn how to install Portainer as a standalone Docker container.
You can also check how to setup Portainer with SSL certificates by following the link below;
Setup Portainer with SSL Certificates
Install Docker on Rocky Linux
To begin with, you need to install Docker on Rocky Linux by running the commands below;
dnf config-manager --add-repo=https://download.docker.com/linux/centos/docker-ce.repoDisable container-tools module which provides runc which conflicts with podman/containerd.io
dnf -y module disable container-toolsThen install Docker ce on Rocky Linux.
dnf install docker-ce docker-ce-cli containerd.ioStart and enable Docker to run on system boot;
systemctl enable --now dockerCreate Portainer Server Docker Data Volume
Once the Docker is in place, it is now time to deploy Portainer on Rocky Linux.
To begin with, you need to create Portainer server data volume. Please note that Portainer requires persistent storage in order to maintain the database and configuration information it needs to function.
You can create a Docker volume using the command;
docker volume create [OPTIONS] [VOLUME-NAME]For example, to create a volume called pt_data, you can use the command. Name can be anything of your preference.
docker volume create pt_dataYou can confirm the volumes by listing them;
docker volume lsSample output;
DRIVER    VOLUME NAME
local     pt_data
The voume is created under the Docker host path, /var/lib/docker/volumes/. See the output from the command below;
docker volume inspect pt_data[
{
"CreatedAt": "2022-06-11T01:24:00-04:00",
"Driver": "local",
"Labels": {},
"Mountpoint": "/var/lib/docker/volumes/pt_data/_data",
"Name": "pt_data",
"Options": {},
"Scope": "local"
}
]
Install Portainer
Next, download and install Portainer server Docker container on Rocky Linux;
docker run -d -p 8000:8000 -p 9443:9443 --name portainer \
--restart=always -v /var/run/docker.sock:/var/run/docker.sock \
-v pt_data:/data portainer/portainer-ce:latest- Note that the Portainer Server listens on port TCP
9443for the UI and API and on an optional port TCP8000, which is only required if using Edge Compute features with Edge Agents. - The Portainer Agents listen on TCP port
9001
Demystifying the Docker command line options used above;
-d/--detach: Causes the container in background and print container ID-p/--publish: Exposes/Publishes a container’s port(s) to the host.- 9443:9443: For example, Portainer server container port 9443 can be accessed on the main Docker host on port 9443.
--name: Assign a name to the container.--restart: Restart policy to apply when a container exits (default “no”)- always means Always restart the container regardless of the exit status
- it also causes the container to start on daemon startup, regardless of the current state of the container
-v/--volume: Bind mount a Docker container volume.-v /var/run/docker.sock:/var/run/docker.sock: This causes the Portainer Server container process to communicate with the main host Docker process.-v pt_data:/data: Mounts the Portainer Server container data,/data, to the host path/var/lib/docker/volumes/pt_data.
- And then of course the Portainer image we are using, the Portainer CE latest container image,
portainer/portainer-ce:latest.
Read more on docker run --help.
Sample output from the command above;
Unable to find image 'portainer/portainer-ce:latest' locally
latest: Pulling from portainer/portainer-ce
772227786281: Pull complete
96fd13befc87: Pull complete
dc6f8e90d5b4: Pull complete
0e84c6386ab3: Pull complete
Digest: sha256:52f9fdee1e4acfb1b5c4ddd15c88905287efb6e8f8058d2c5a2543ddc72e9dc0
Status: Downloaded newer image for portainer/portainer-ce:latest
521fb09ed7c7daa9241c85e469928e232d5034edb6d8ec4b89d3ba4e5fc601eb
Portainer server should now be running.
You can list running Docker container using the command;
docker psSample output;
CONTAINER ID   IMAGE                           COMMAND        CREATED              STATUS              PORTS                                                                                            NAMES
72e109adcd89   portainer/portainer-ce:latest   "/portainer"   About a minute ago   Up About a minute   0.0.0.0:8000->8000/tcp, :::8000->8000/tcp, 0.0.0.0:9443->9443/tcp, :::9443->9443/tcp, 9000/tcp   portainer
You can confirm that actually, the Portainer server UI port is opened on the host as well.
ss -altnp | grep 9443LISTEN 0 128 0.0.0.0:9443 0.0.0.0:* users:(("docker-proxy",pid=13560,fd=4))
LISTEN 0 128 [::]:9443 [::]:* users:(("docker-proxy",pid=13566,fd=4))
Accessing Portainer Server Web Interface
Portainer server web services is exposed to the Docker host on port 9443/TCP.
In order to access Portainer server UI, then navigate to the browser and enter the address https://docker-domain-or-IP:9443
If Firewall is running, ensure that your open port 9443/TCP to allow external access to Portainer web service.
Accept the self-signed SSL exception and proceed to Portainer server web interface.
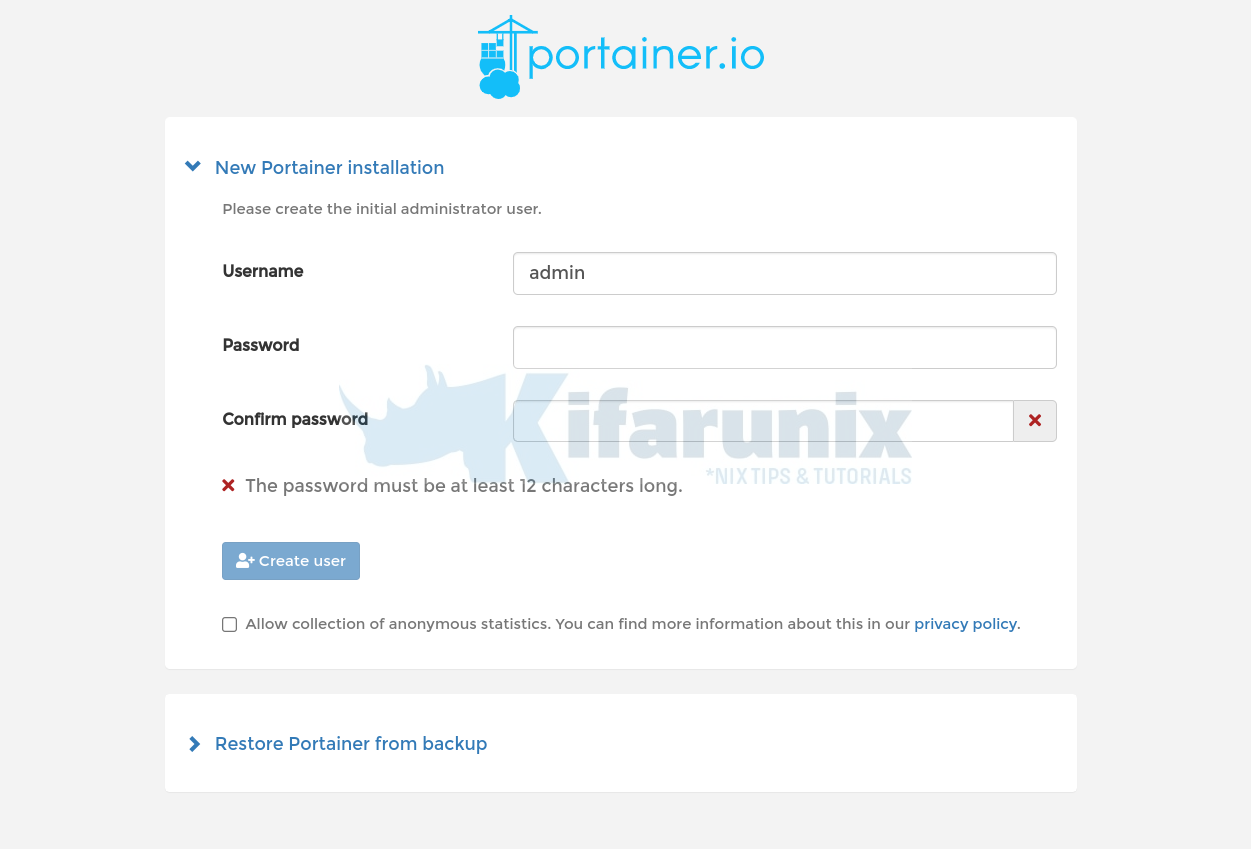
Create Admin user and password by entering password and click Create User.
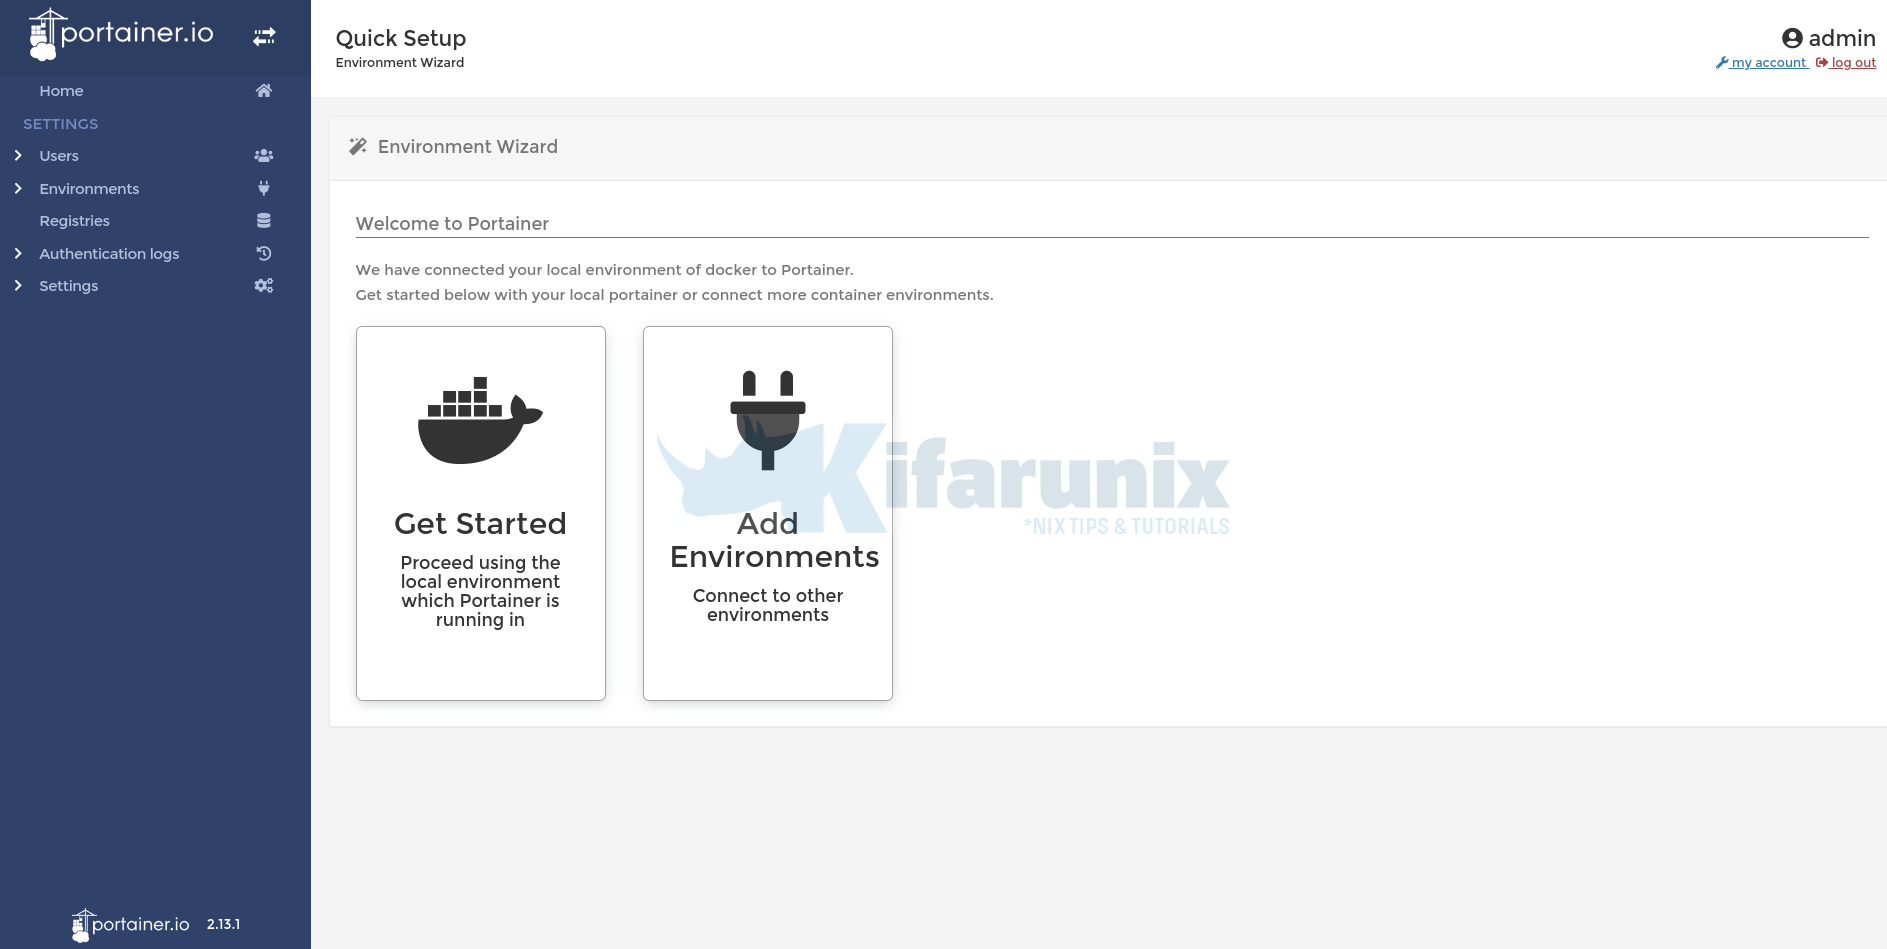
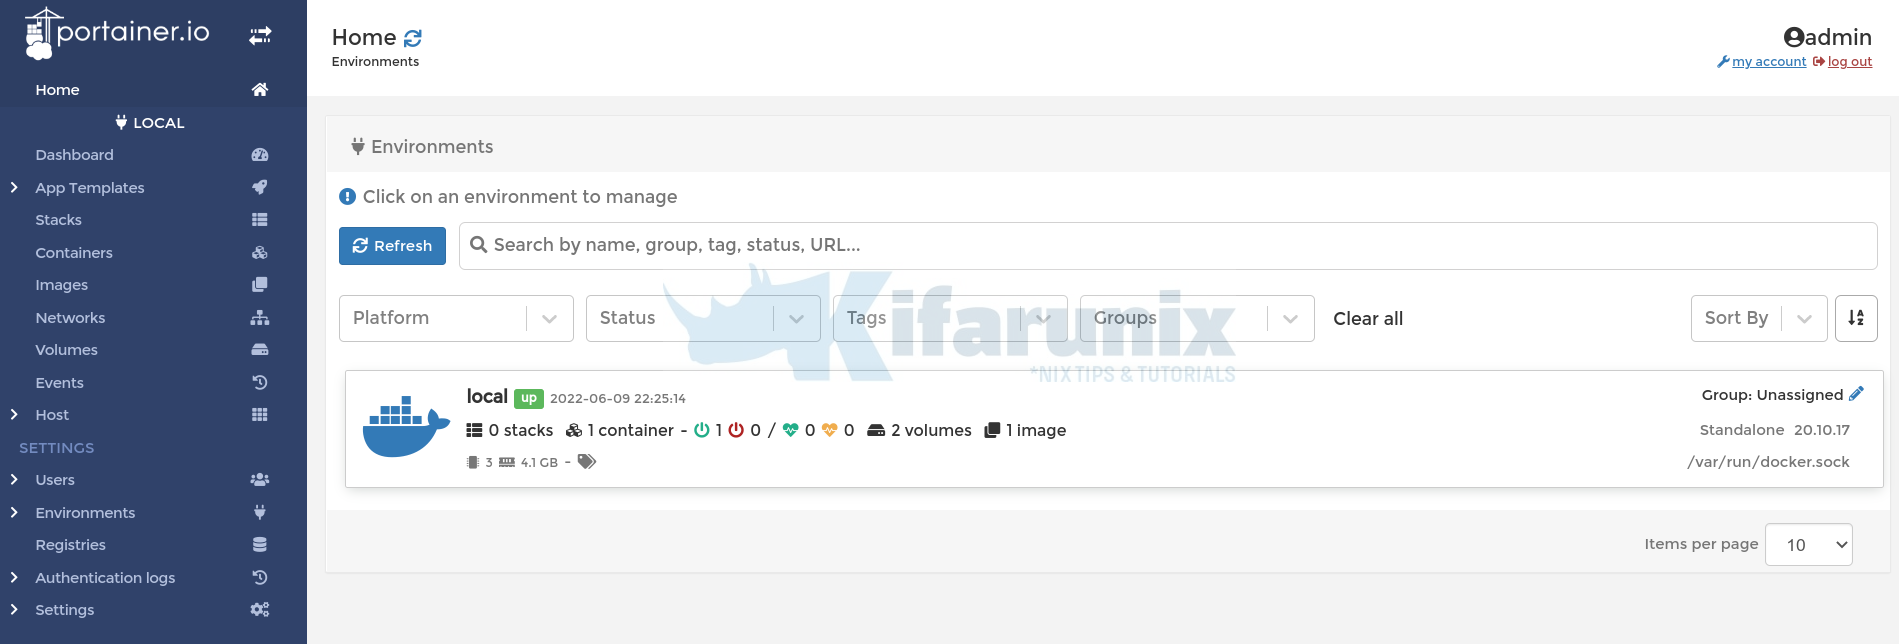
You should then land on the Portainer server web interface.
Home;
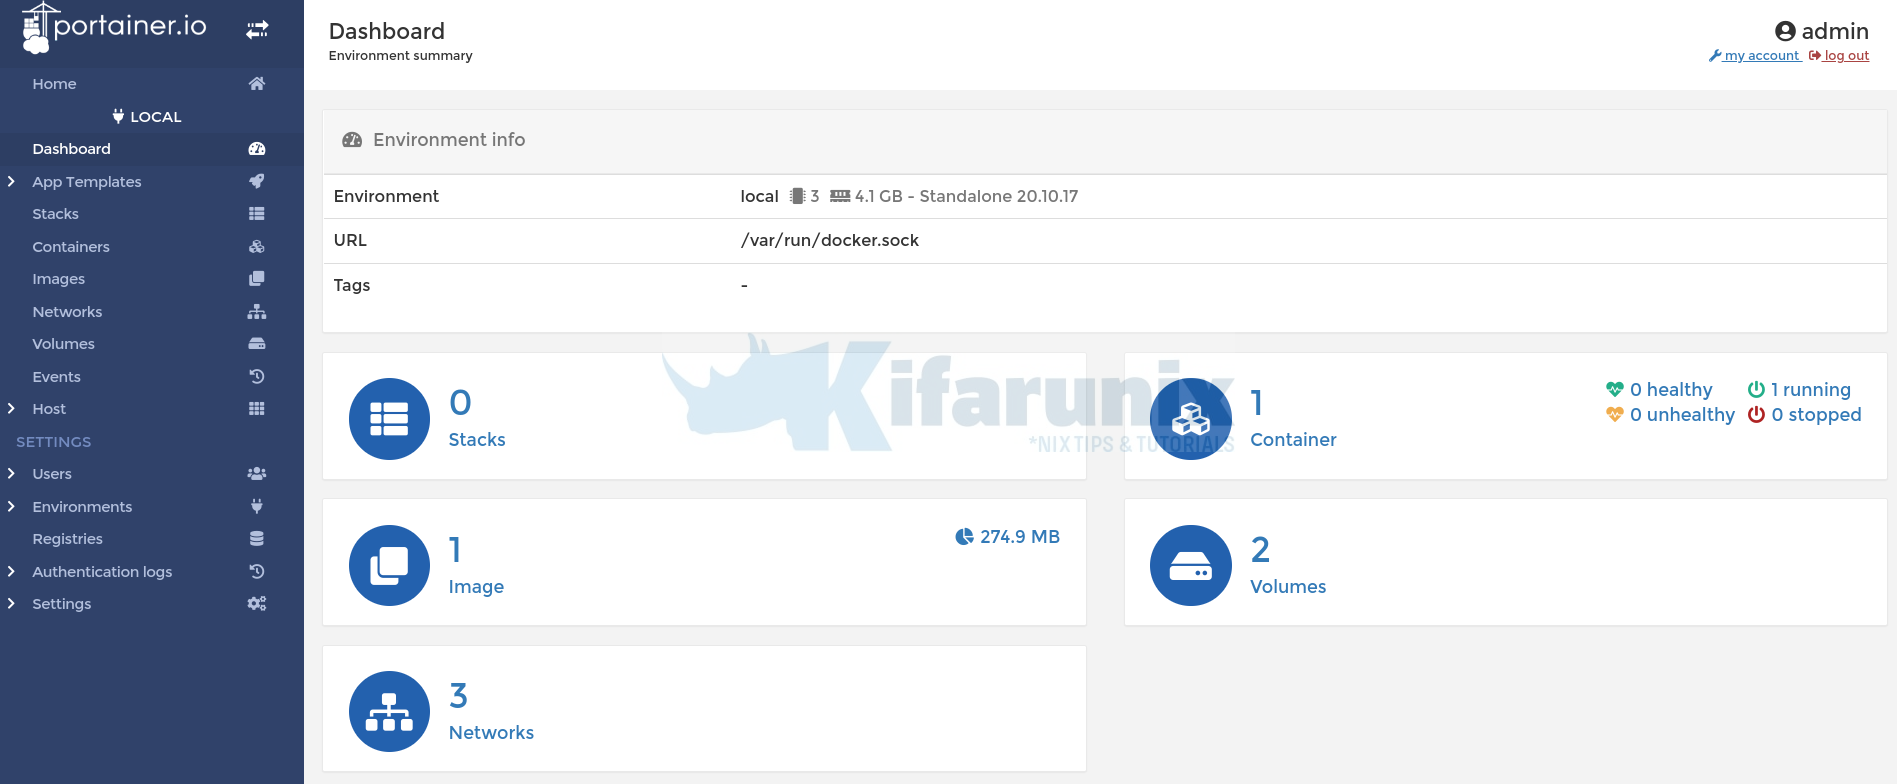
Local environment Dashboard;
And there you go. That concludes our guide on how to install Portainer as a standalone Docker.
Further Reading
Other Tutorials
Install Portainer on Ubuntu 22.04
Install Portainer on Debian 11/Debian 10
Install and Run MariaDB as a Docker Container
Deploy a Single Node Elastic Stack Cluster on Docker Containers


