In this guide, we are going to learn how to install Icinga Web 2 on Debian 10 Buster as our continuation for our guide on how to Install Icinga 2 on Debian 10 Buster. Icinga Web 2 is a powerful PHP framework that provides web management interface for Icinga 2.
Install Icinga Web 2 on Debian 10 Buster
Prerequisites
Icinga Web 2 requires Icinga 2 with IDO configured. Other requirements include a web server, PHP and some extensions, MySQL/MariaDB or PostgreSQL. Run the command below to install these requirements before you can proceed.
apt install apache2 php php-{curl,gettext,intl,mbstring,xml,mysql} opensslNote that we have already configured IDO and installed MariaDB server in our previous guide.
Install Icinga Web 2 APT Repository
If you have followed our previous guide on installing Icinga 2 on Debian 10 Buster, then Icinga 2 apt repos have been installed. Otherwise, you can install the repos by running the commands below;
apt install -y apt-transport-https wget gnupgwget -O - https://packages.icinga.com/icinga.key | apt-key add -echo "deb https://packages.icinga.com/debian icinga-buster main" > /etc/apt/sources.list.d/icinga.list
echo "deb-src https://packages.icinga.com/debian icinga-buster main" >> /etc/apt/sources.list.d/icinga.listRun system package update.
apt updateInstall Icinga 2 Web
Install Icinga 2 web and CLI management packages.
apt install icingaweb2 icingacliPrepare Icinga 2 Web Setup
Icinga web setup requires authentication using tokens. To generate the authentication token, run the command below;
icingacli setup token createThis will generate such a token as:
The newly generated setup token is: b5acfsae3f618eaeYou can always display the taken using the command;
icingacli setup token showAlso, ensure that the icingaweb2 system group exists and that the web server user, www-data, is a member of the group.
id www-datauid=33(www-data) gid=33(www-data) groups=33(www-data),117(icingaweb2)Restart Apache web server.
systemctl restart apache2Create Icinga Web 2 Database
Login to MySQL database server.
mysql -u root -pCreate Icinga Web 2 database. (Note, replace the name of the database, icingaweb2db, accordingly)
create database icingaweb2db;Create Icinga 2 database user. (Also, replace the username, icingaweb2admin, and the password, PassWORD, accordingly)
grant all on icingaweb2db.* to icingaweb2admin@localhost identified by 'PassWORD';Reload privileges tables and quit.
flush privileges;
quit
To access the setup wizard, use the address, http://<icinga-server-IP>/icingaweb2/setup
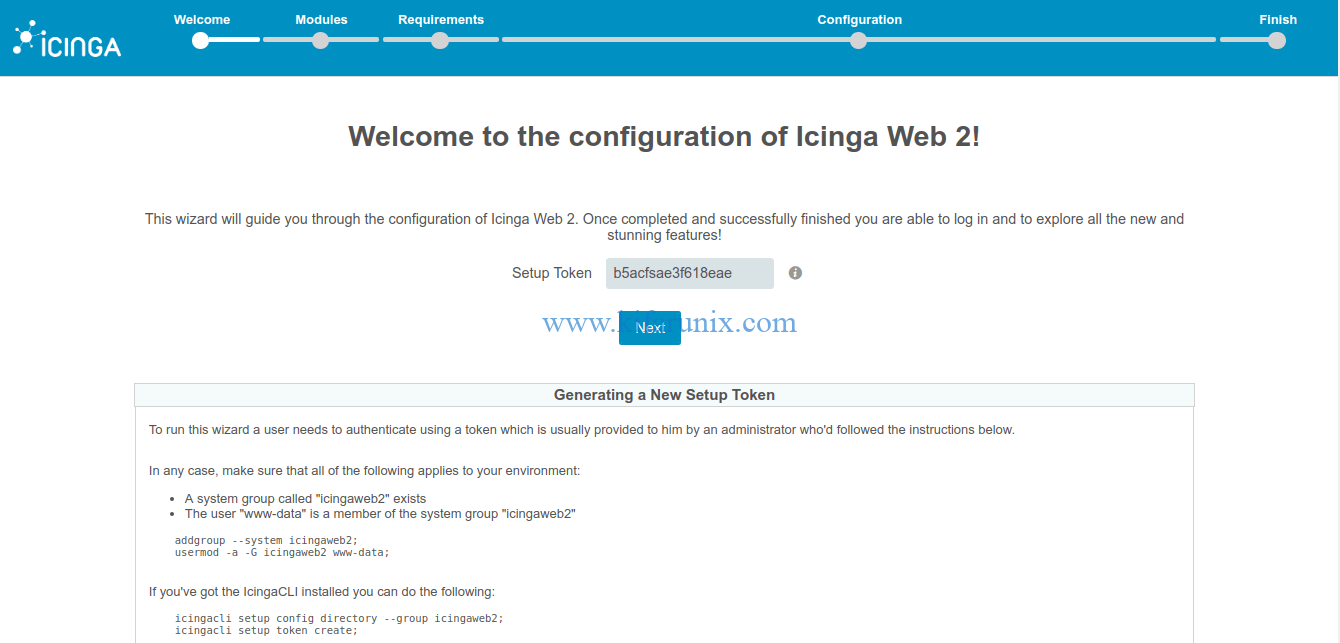
Enter your authentication token and click next to proceed. On the next page, select Icinga modules to enable.

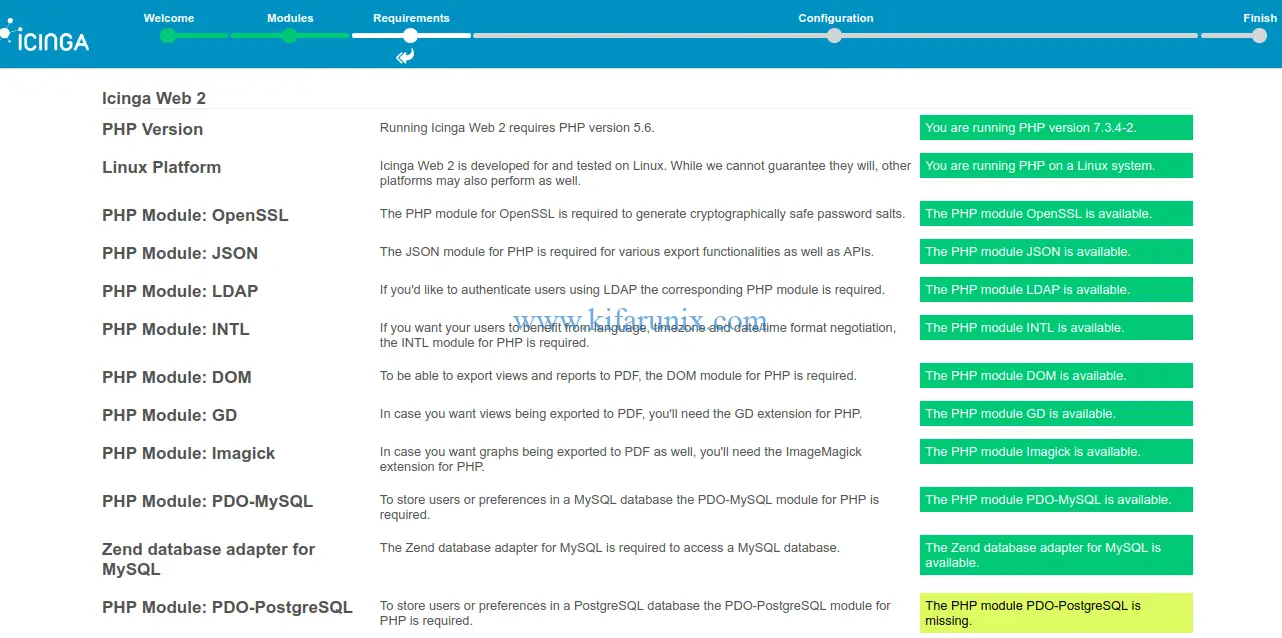
The next page verifies if the required PHP extensions are met. If there are any missing PHP extensions, install them and proceed with setup.
Configure Icinga Web 2 authentication method. This guide uses local authentication hence, selecting Database as the type of authentication.

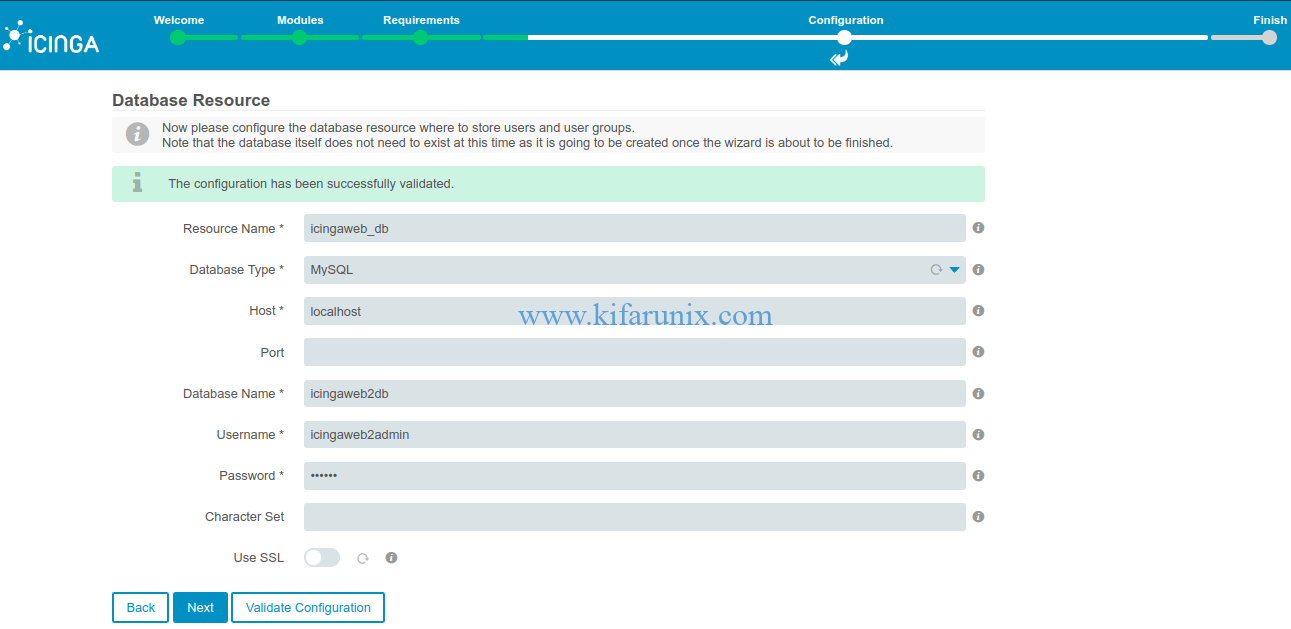
Configure database authentication details. Click validate to test connection to DB.
Set the Icinga web 2 authentication backend name and click Next.

Setup Icinga Web 2 administrative user. Note, these are the authentication details for Icinga Web interface.

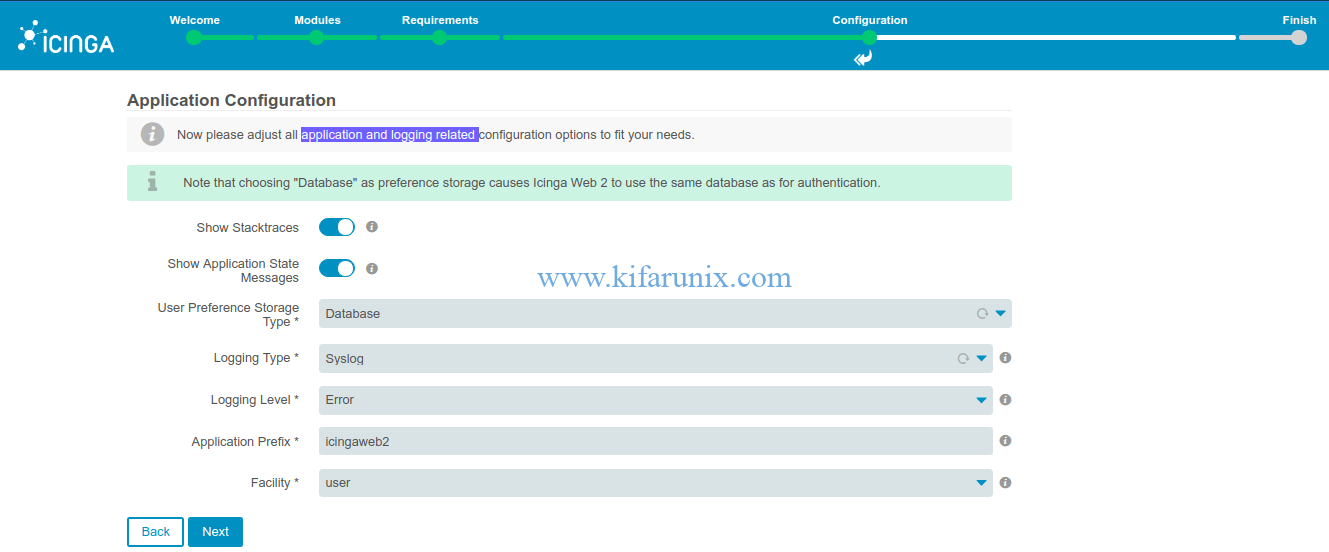
Configure application and logging related options and click Next.
Icinga Web 2 configuration summary.
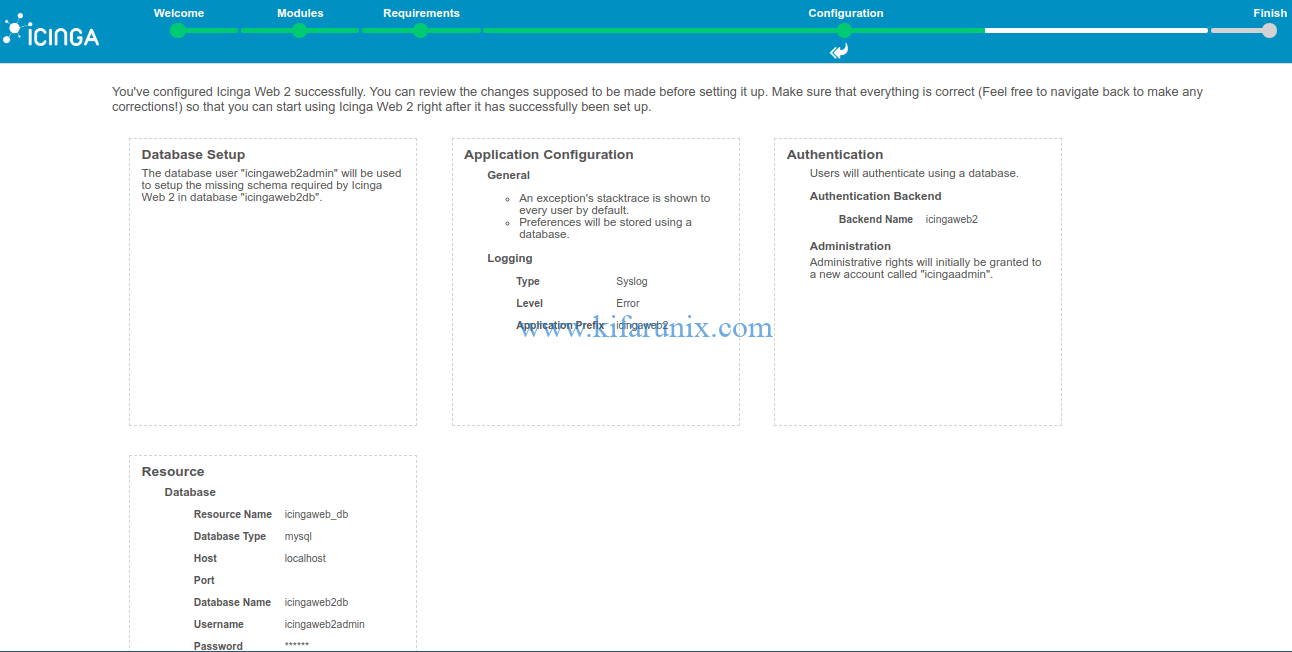
On the next screen, click next to configure Icinga Web 2 monitoring (IDO) backend.
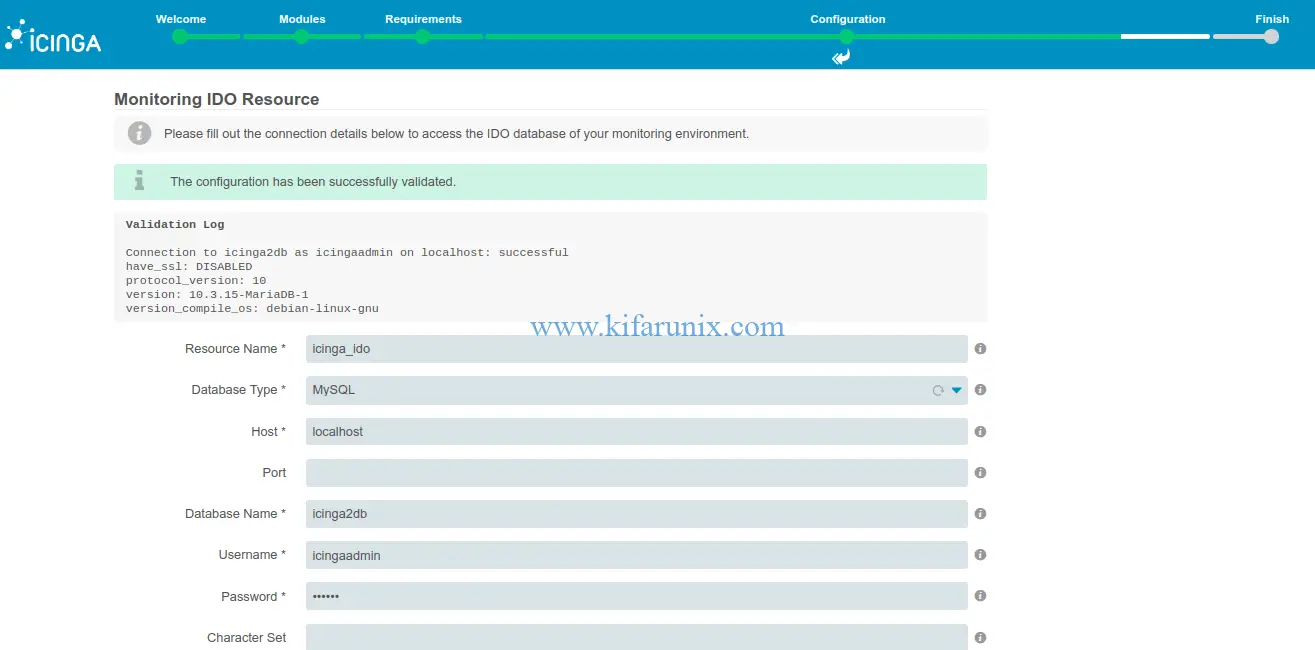
Configure authentication details for the IDO database set in the previous guide.
If you get the error, “There is currently no icinga instance writing to the IDO. Make sure that a icinga instance is configured and able to write to the IDO“, it means that the ido-mysql is not enabled. Enable it and restart Icinga 2 and proceed.
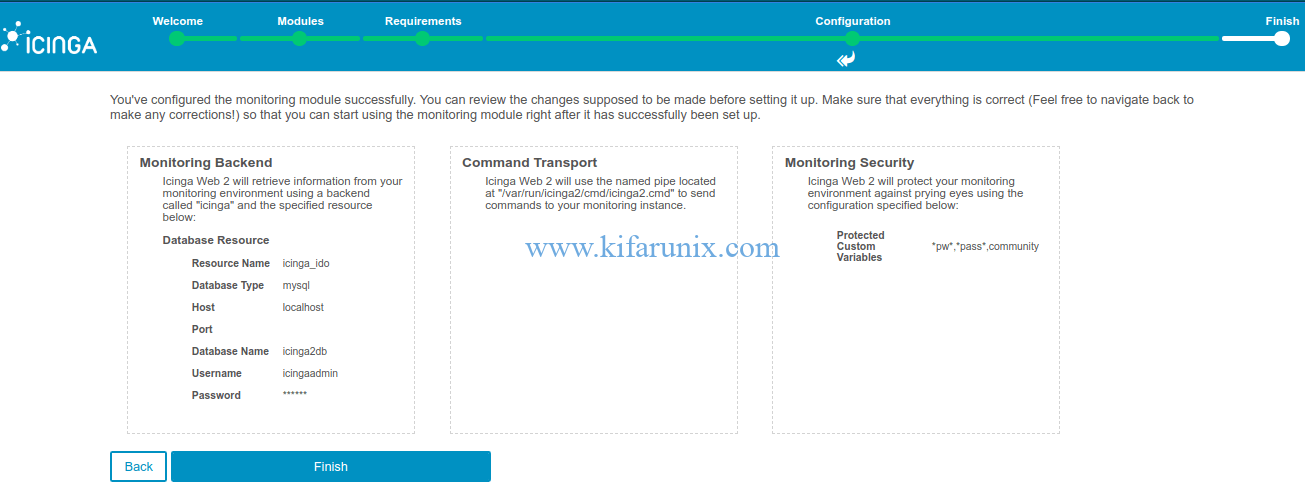
Configure Icinga Transport commands. In this guide, we are setting up Local command transport type. Read more on Icinga web 2 command transport.

Define your custom variables to protect.

Review configuration summary and click Finish to complete the installation.
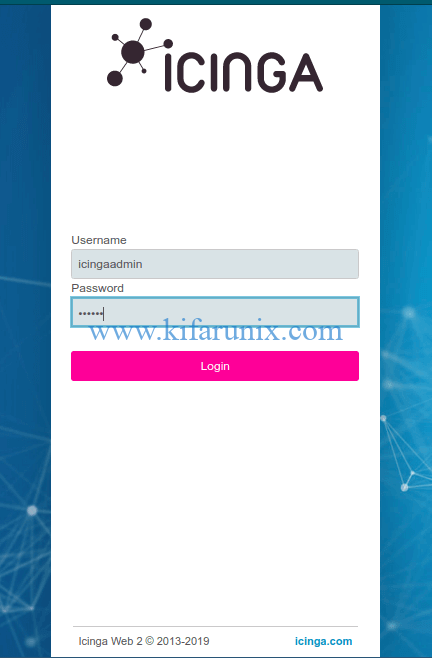
Click Login to Icinga Web 2 to access Icinga web login page.
Upon Successful Login to Icinga 2, you should land on the default dashboard.
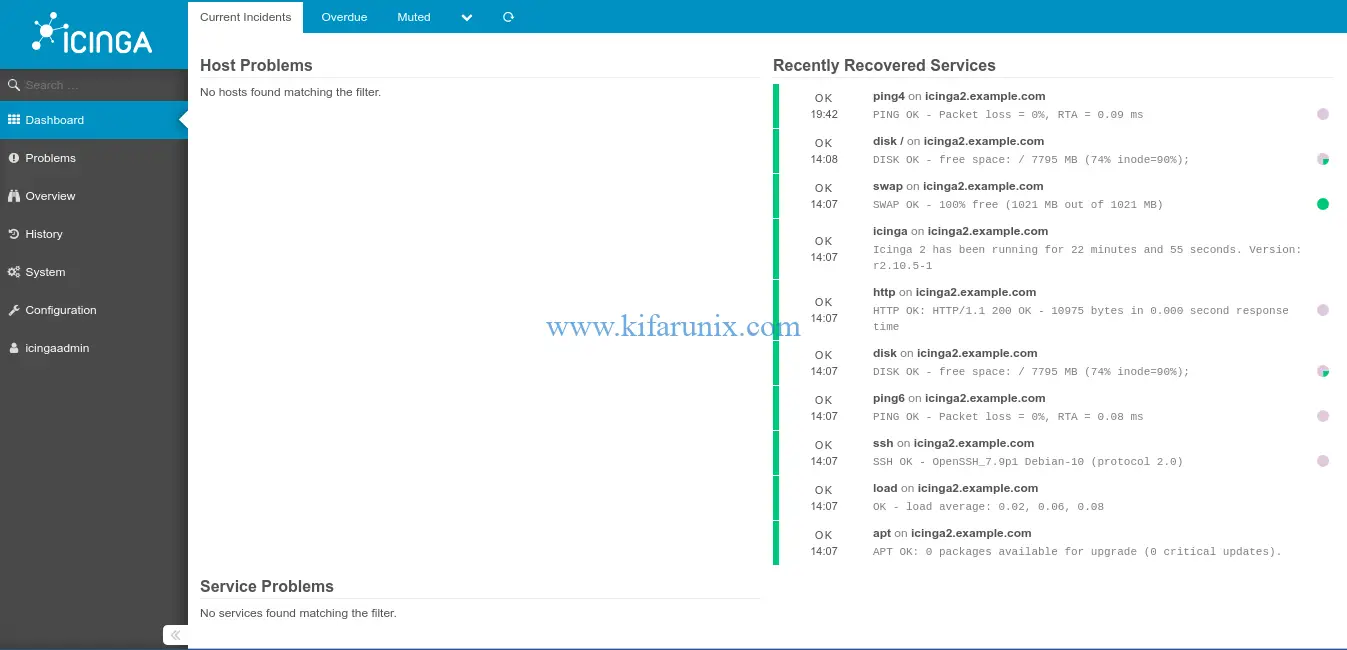
You have successfully learnt how to install Icinga Web 2 on Debian 10 Buster.
You can now add hosts to your Icinga for monitoring. See our link below on how to monitor Linux hosts with Icinga.
How to Monitor Remote Linux Hosts and Services with Icinga 2
Related Tutorials;
Install Icinga 2 on Debian 10 Buster
How to Install Icinga 2 and Icinga Web 2 on Ubuntu 18.04 LTS
Install Nagios Core on Debian 10 Buster
Install Zabbix 4.x from Sources on Debian 10 Buster
Nagios SNMP Monitoring of Linux Hosts on AlienVault USM/OSSIM
How to install and configure AlienVault OSSIM 5.5 on VirtualBox


Basically a good tutorial, however there are some showstoppers:
1. grant all on icinga2db.* to [email protected] identified by ‘[email protected]’;
It is not clear if [emal protected] is a placeholder or not. You should clearly specify if one has to replace the tokens by other strings. I had to invest some time until I found a viable solution.
2. apt install -y install apt-transport-https wget gnupg
The second “install” must be dropped to avoid errors
3. grant all on icingaweb2db.* to [email protected] identified by ‘PassWORD’;
Similar to 1.
Thank you for the feedback Dieter. Correction has been made.
THANK YOU !!!!!!!!
All the other tutorials around don’t work at all … I spent 1 day to die (around 20 hours of suffuring)
Yours is really beautifull … I just finished (writing my own tuto on the side) in a couple of hours.
We appreciate your feedback, thank you. Enjoy
Thanks for the great tutorial!