So Fedora 30 has just been released and you would like to try out the desktop version on your VirtualBox? Well, in this guide, you are going to learn how to install Fedora 30 Workstation on VirtualBox.
Install Fedora 30 Workstation on VirtualBox
Download Fedora 30 Workstation ISO
To download Fedora 30 workstation ISO installation file, navigate to the downloads page and grab the ISO. You can simply fire up your terminal and execute the command below to download it.
wget https://download.fedoraproject.org/pub/fedora/linux/releases/30/Workstation/x86_64/iso/Fedora-Workstation-Live-x86_64-30-1.2.isoCreate New Virtual Machine
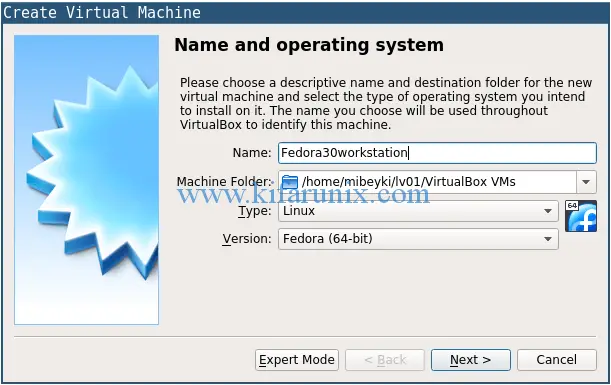
Once you have the ISO file downloaded, launch VirtualBox and create new Virtual Machine. Press Ctrl + N to launch the Virtual Machine creation wizard. Enter the name of your Fedora 30 workstation, choose the install location and the OS type, in this case, Fedora 64 bit version.
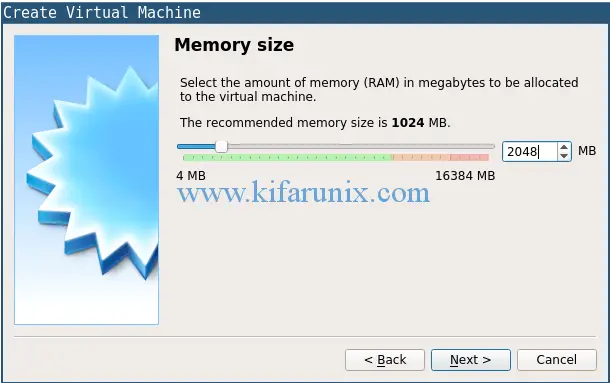
Click Next to set the RAM size of your system. We have allocated 2GB in this example.
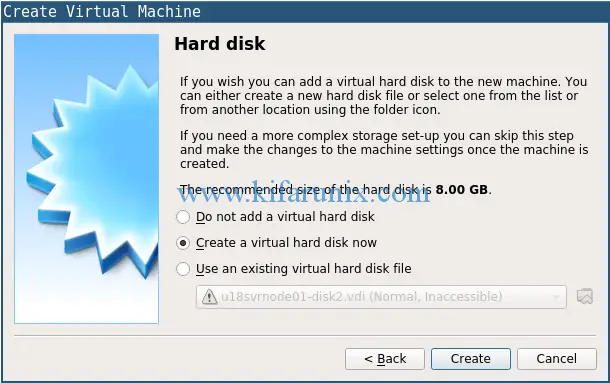
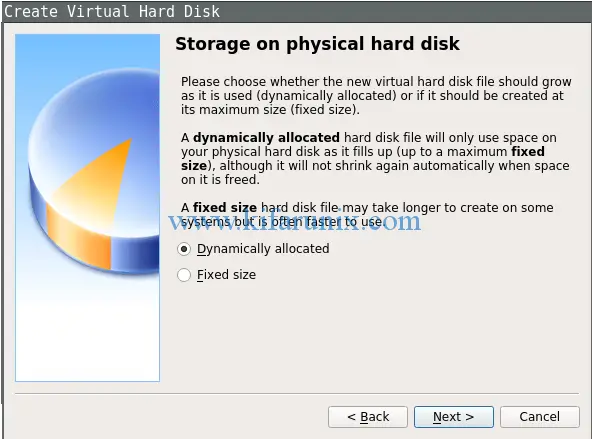
Next, create a new storage for your Fedora 30 workstation.
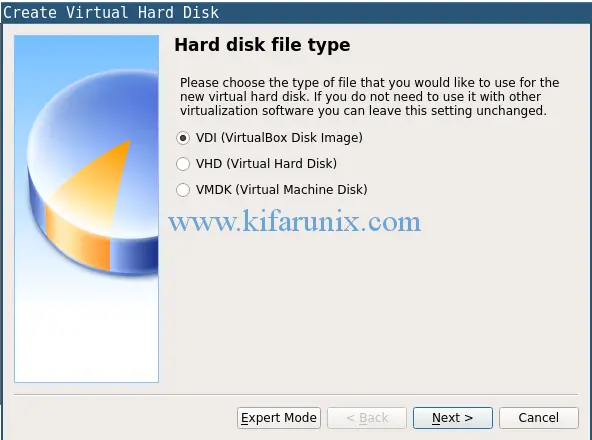
Choose the format of virtual machine hard drive file. VDI is used in this guide.
Select the type of virtual machine hard disk for your VM.
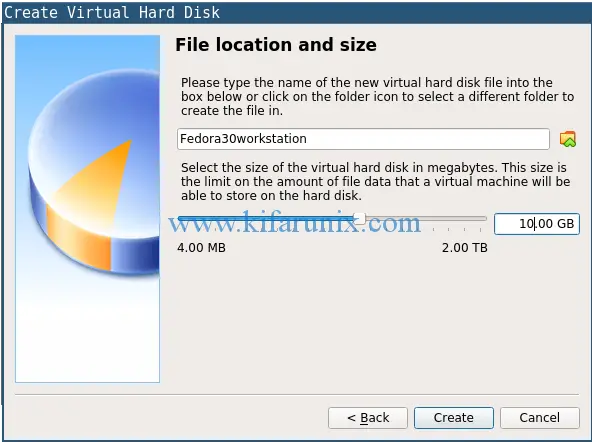
Set the size and create the virtual machine hard drive.
Configure New Virtual Machine
Next, you need to configure your virtual machine. To begin with, select your Fedora 30 workstation virtual machine and press Ctrl + S to launch settings wizard.
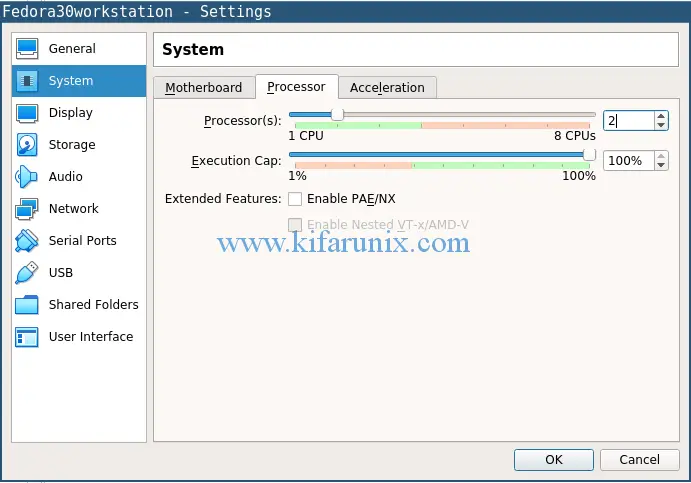
Increase the number of VM CPU cores by clicking on System > Processor.
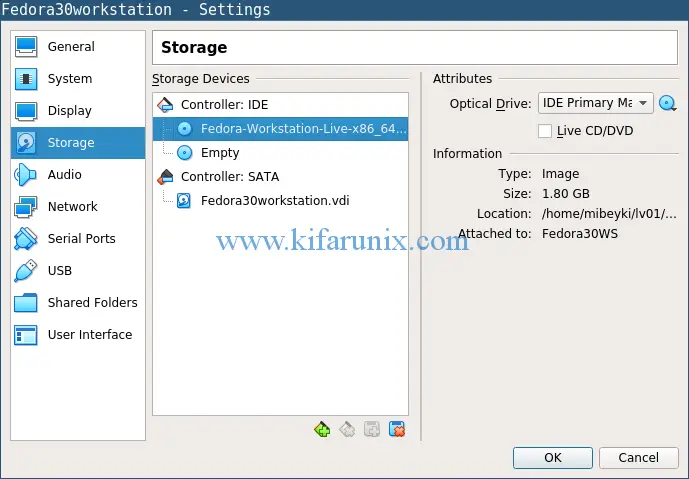
Add the optical disk boot medium, which in this case the Fedora 30 workstation ISO file you downloaded above. Click storage and add the ISO as IDE controller.
Under the network tab, you might want to attach another Interface. NAT interface is attached by default. Host WiFi is bridged in this guide.

Install Fedora 30 Workstation on VirtualBox
Once you are done setting up your virtual machine, close the settings wizard and start the VM to launch the installation.
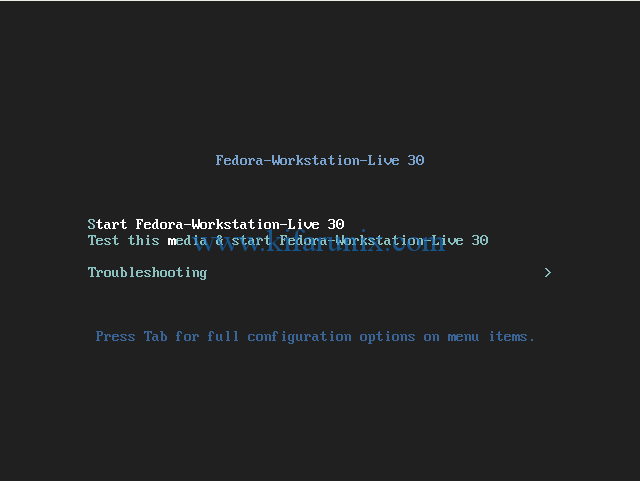
Select Start Fedora-Workstation-Live 30 and press Enter.
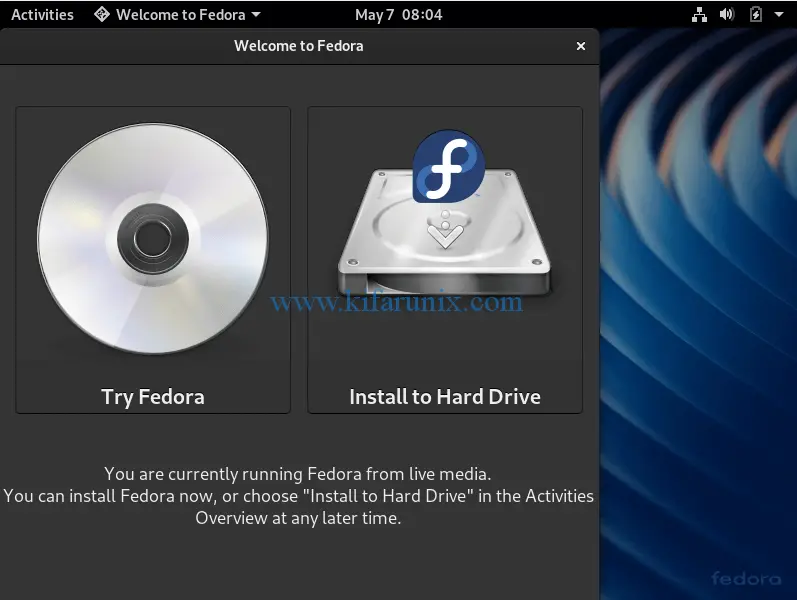
To install Fedora 30, select install to hard drive.
Choose the installation language and proceed to select the install destination drive. After that, hit Begin installation.
Once the installation is done, power off the VM, detach the installation ISO and power on the VM.
Once the VM boots, create your username and set the password.
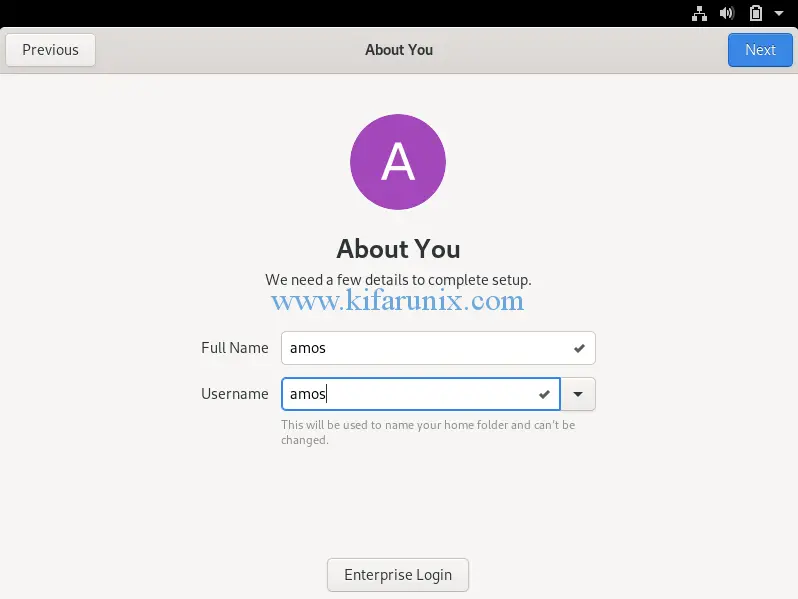
And you are ready to go.

That is all on how to install Fedora 30 workstation on VirtualBox. Start using Fedora 30. Enjoy.


Hallo!
I like to know:
What is with the Display Setting (VMSVGA?)
and the Installation of Guest-Additions (from Virtualbox Menu)?
Thank you.