In this tutorial, we are going to learn how to install IBM QRadar Community Edition SIEM on VirtualBox. We will be installing Qradar CE version 7.3.3, which is the current stable release as of this writing. IBM QRadar CE is a fully-featured and free version of QRadar that is low memory, low EPS intended for individual use like testing and familiarizing oneself with functionalities of IBM QRadar SIEM.
Table of Contents
Installing IBM QRadar CE SIEM on VirtualBox
Prerequisites
To install QRadar CE on VirtualBox, ensure that the following prerequisites are met.
- Memory minimum requirements: 8 GB RAM or 10 GB w/applications
- Disk space minimum: 250 GB
- CPU: 2 cores (minimum) or 6 cores (recommended)
- One network adapter with access to the Internet is required
- A static public and private IP addresses is required for QRadar Community Edition (I am running a local instance, hence got no public IP)
- The assigned hostname must be a fully qualified domain name (e.g qradar.kifarunix-demo.com)
Install IBM QRadar CE
Download Qradar CE OVA File
Navigate to IBM Qradar CE page, login and grub the OVA file. Qradar 7.3.3 is the current stable CE release.
ls -alh QRadarCE733GA_v1_0.ova-rwxrwxrwx 1 kifarunix kifarunix 4.1G Jan 28 2020 QRadarCE733GA_v1_0.ovaCreate Qradar Virtual Machine on VirtualBox
Since you already have an OVA file for Qradar CE 7.3.3, just launch VirtualBox manager and press Ctrl+i to import the virtual machine into VirtualBox.
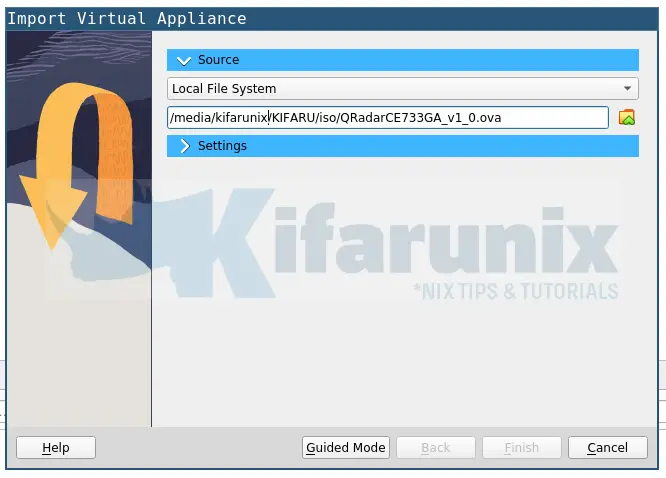
This will launch the import virtual appliance wizard.
Select the source OVA file you just downloaded;
Update Qradar VM Settings
Click the setting drop down and update the Qradar VM settings.
- Update the name of the VM;
- Update the RAM size appropriately.
- Set the base image folder
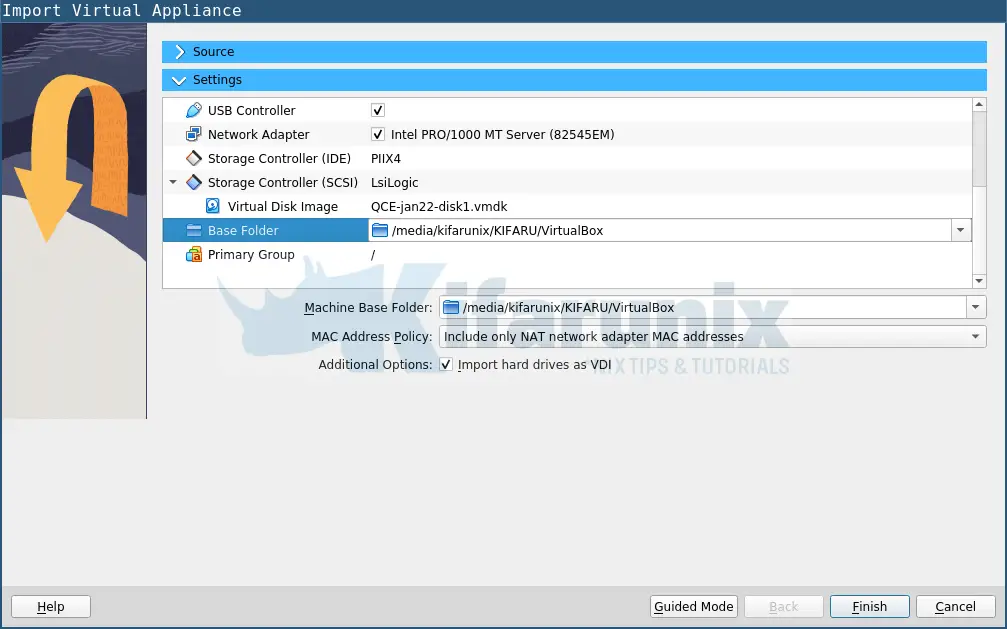
- Click finish to import the Qradar VM with updated settings
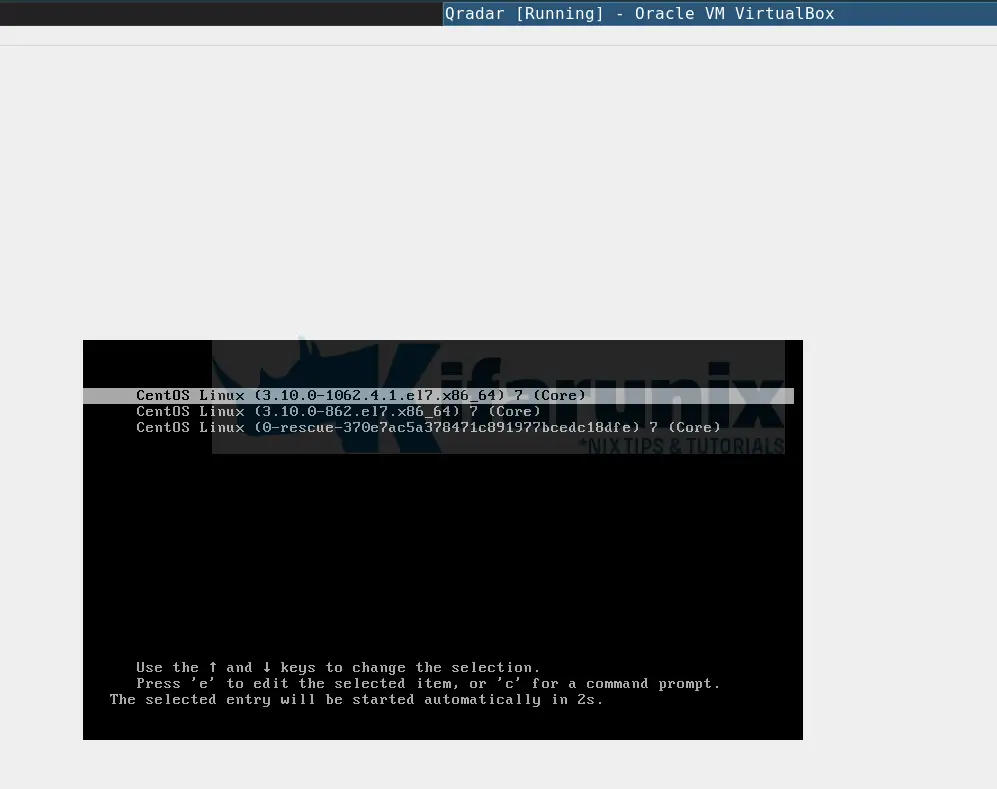
Start Qradar CE VM on VirtualBox
Once you have updated the settings, you can proceed to start the Qradar VM;
Change Qradar CE Root Password
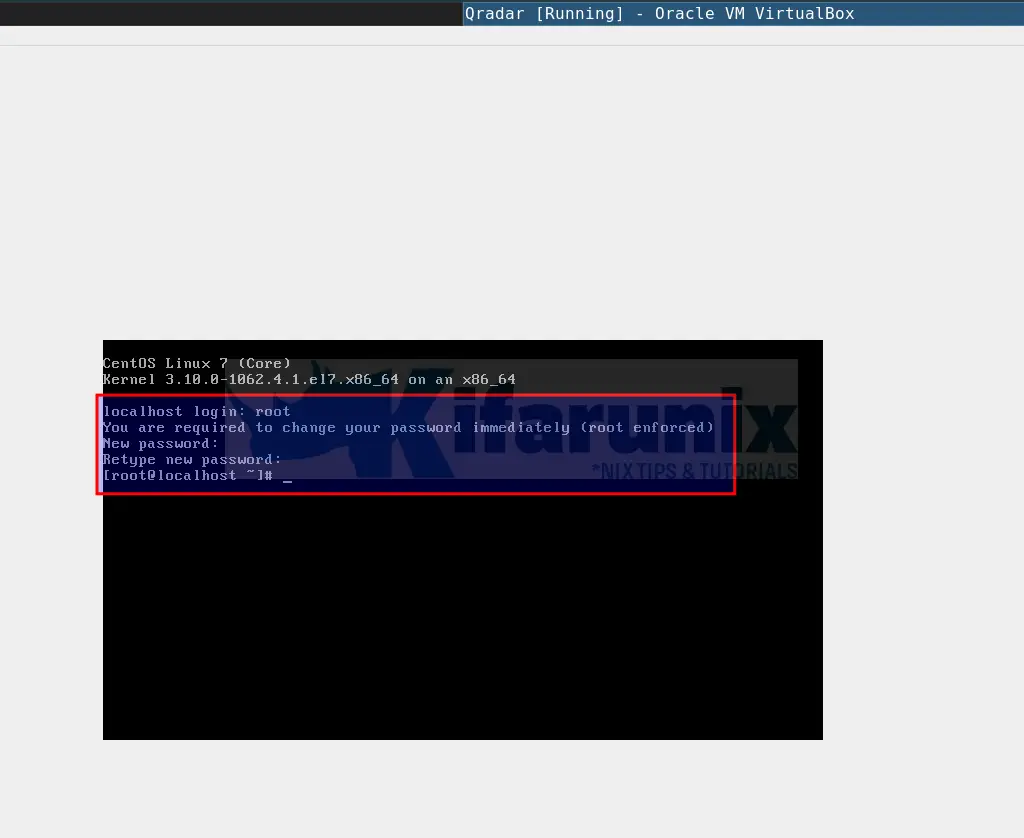
Once the Qradar VM boots fully, enter login as root user and set the new root password.
Install and Setup IBM QRadar CE SIEM on VirtualBox
Now it is time to finalize the installation and setup of IBM Qradar CE.
First, confirm that SELinux is disabled;
sestatusOutput should be disabled. Otherwise, run the command below to disable it;
sed -i 's/=enforcing/=disabled/g' /etc/selinux/config && systemctl reboot Once the VM boots, run the Qradar setup script.
./setupOnce the installation process starts, accept the EULA by pressing enter.
You will then be prompted on whether to proceed with installation. Confirm the same to install Qradar CE 7.3.3 on VirtualBox
Installation will take some time to complete. So please be patient until you see such information;
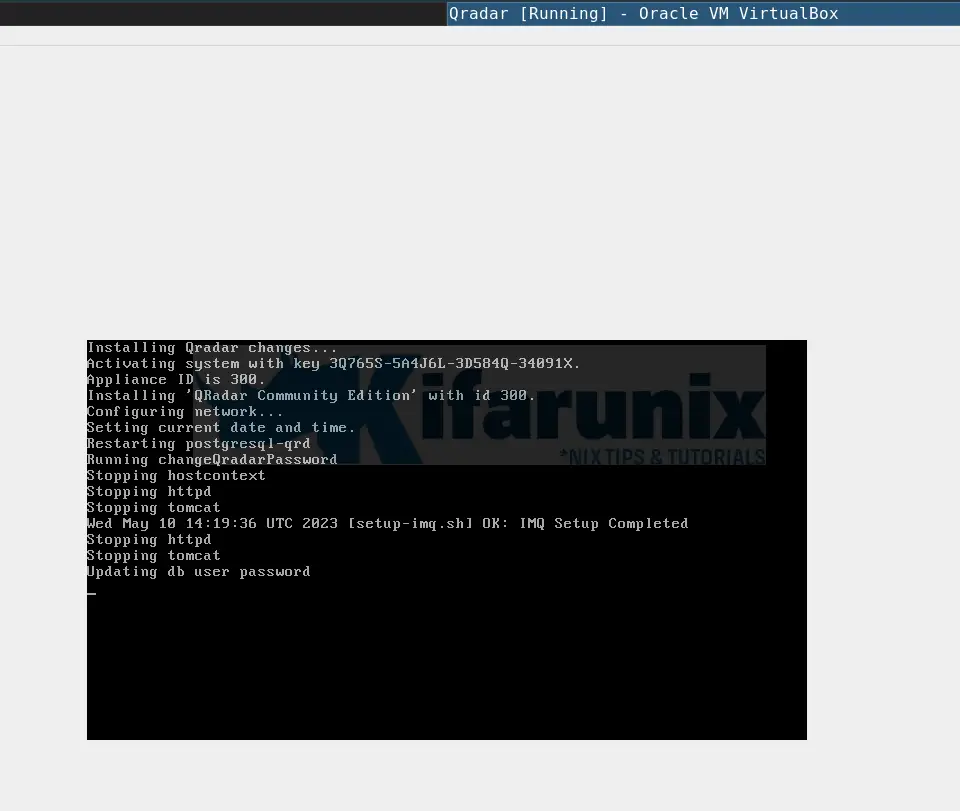
At this point, just a little bit of house cleaning and you are done.
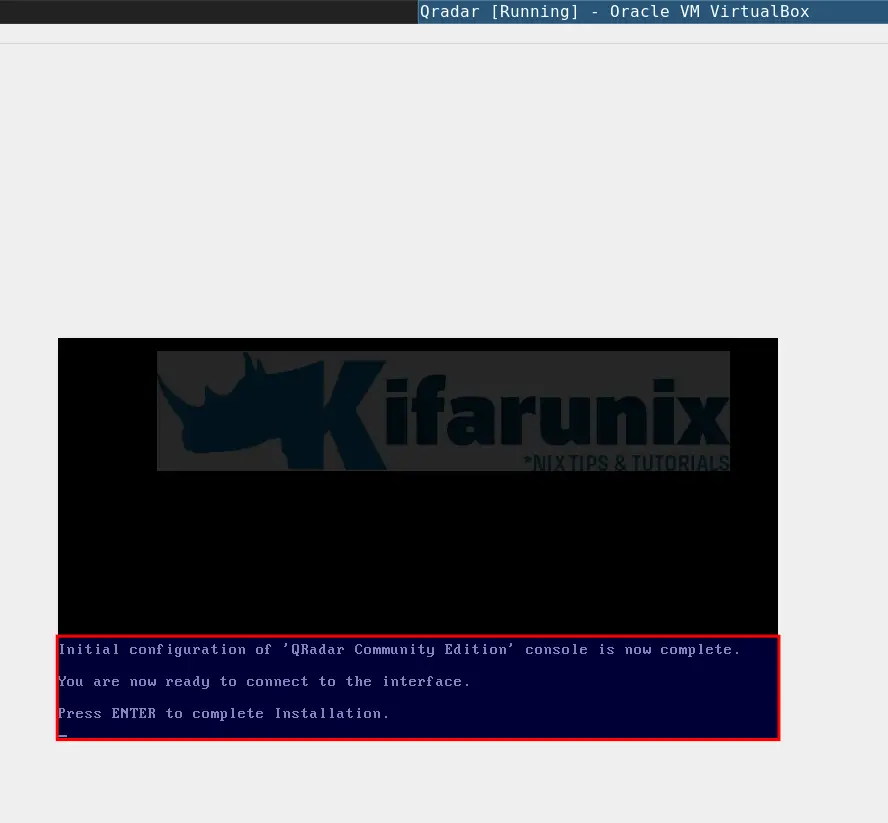
Press ENTER to complete the setup of Qradar on VirtualBox.
Set the Qradar web Interface admin password.
Note that you can also reset the Qradar Admin UI password from command line using the following script;
/opt/qradar/support/changePasswd.sh -aAccessing Qradar User Interface
Login to Qradar Web User Interface
You can now access QRadar Community Edition in a web browser at https://qradar-vm-ip-address.
Login as admin with the password you just set.

Qradar Dashboard
After that, you are prompted to reset your password. Reset your password, accept EULA and proceed to QRadar Dashboard.
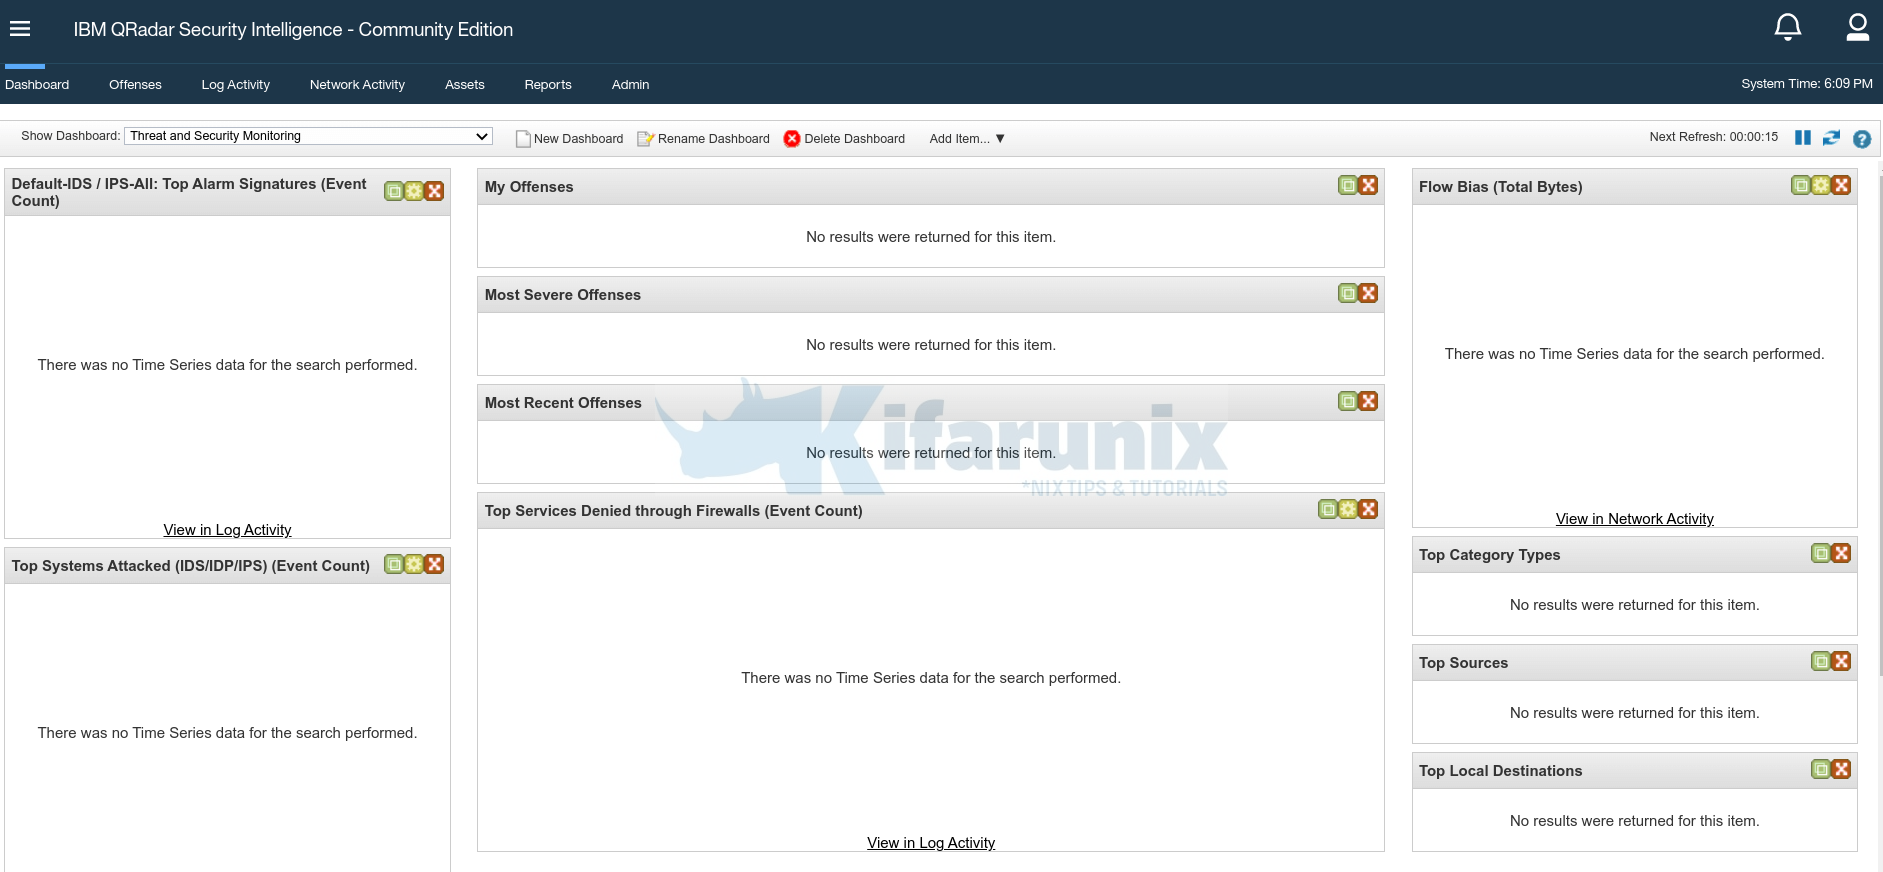
Now that your QRadar is ready, you can configure your devices to sent logs and traffic to QRadar for analysis.


Hello,
I am getting the below error when i try to install the Qrdar CE 7.3.1. Please help me with this:
Initializing…
Starting setup session in screen
cat: .: ls a directory
cat: .: ls a directory
EULA accepted on Mon Jan 27 01:41:25 IST 2020
About to install QRadar Community Edition version 7.3.1 20180723171558
Install started on Mon Jan 27 01:41:27 IST 2020 but was not completed.
Attempting to continue…
done.
Checking that SELinux is disabled…
OK:SELinux is disabled.
Checking that system language is set yo en_US.UTF-8…
OK: System language is set to en_US.UTF-8
Checking for minimum disk size…
ERROR: Boot disk sda is only 20480 MiB but must be at least 78125 MiB
ERROR: This version does not support small drives. You must replace the drive before trying again
Please enter to close screen
==================================================
Please sort the disk space and you are good to run QRadar CE.