In this tutorial, we are going to learn how to install RainLoop Webmail on Ubuntu 18.04. RainLoop Webmail is a simple, modern and fast web-based email client. It provides an easy and hustle free way to easily access your mails on any mail provider be it your own email servers, Gmail, Outlook, Yahoo, name them. RainLoop Webmail client offers quite a number of features;
- Complete support of IMAP and SMTP protocols including SSL and STARTTLS.
- Sieve scripts (Filters and vacation message).
- Integration with Facebook, Google, Twitter and Dropbox.
- Managing folders list.
- Configurable multi-level caching system.
- Extending functionality with plugins installed through admin panel.
- Perfect rendering of complex HTML mails.
- Drag’n’drop for mails and attachments
You can check more features of RainLoop Webmail here.
You may also want to check our previous article on how to setup Thunderbird mail client on Ubuntu 18.04.
Pre-requisites
As a pre-requisite;
- RainLoop requires LAMP/LEMP stack in order to operate efficiently. Generally, ensure that the following items are set before you can install and setup RainLoop Webmail.
- Web server: Apache, NGINX, lighttpd or other with PHP support
- PHP: 5.4 and above
- PHP extensions: cURL, iconv, json, libxml, dom, openssl, DateTime, PCRE, SPL
- Browser: Google Chrome, Firefox, Opera 10+, Safari 3+, Internet Explorer 11 or EDGE
- Optional: PDO (MySQL/PostgreSQL/SQLite) PHP extension (for contacts).
You may want to check our previous articles on setting up LAMP or LEMP Stack on Ubuntu 18.04.
Once you are done setting up LEMP Stack, install the following extra PHP extensions required by RainLoop;
# apt install php7.2-{curl,xml}
2. Set Static IP address for your server and set the hostname in hosts file in case you are not using DNS server. You can check our previous article on how to set up static IP address on Ubuntu 18.04. In our case, the Server IP address is 192.168.43.17 and the hostname is webmail.example.com and thus my hosts file would contain the following line;
...
192.168.43.17  webmail.example.com
Installing RainLoop
In order to install RainLoop, download its archive and extract the files to the RainLoop web root directory.
Create RainLoop web root directory
# mkdir /var/www/html/rainloop
Download RainLoop Webmail archive
# wget http://www.rainloop.net/repository/webmail/rainloop-community-latest.zip
Install RainLoop Application
To install RainLoop, extract the files from the archive and upload them to the RainLoop web root directory.
# unzip rainloop-community-latest.zip -d /var/www/html/rainloop/
Configure proper permission for files and directories of the RainLoop
- Set the read/write permissions for all RainLoop application directories to 755 (
drwxr-xr-x);
# find /var/www/html/rainloop/ -type d -exec chmod 755 {} \;
- Set the read/write permissions for all RainLoop application files to 644 (
-rw-r--r--);
# find /var/www/html/rainloop/ -type f -exec chmod 644 {} \;
- Change the ownership of the RainLoop Web root directory to
www-data.
# chown -R www-data.www-data /var/www/html/rainloop/
Configure a Server Block for RainLoop
After the installation, you need to create a server block configuration for RainLoop as shown below.
# vim /etc/nginx/sites-available/rainloop.confserver {
listen 80;
server_name webmail.example.com;
root /var/www/html/rainloop;
access_log /var/log/rainloop/access.log;
error_log /var/log/rainloop/error.log;
index index.php;
location / {
try_files $uri $uri/ /index.php?$query_string;
}
location ~ \.php$ {
fastcgi_index index.php;
fastcgi_split_path_info ^(.+\.php)(.*)$;
fastcgi_keep_conn on;
fastcgi_pass unix:/var/run/php/php7.2-fpm.sock;
include /etc/nginx/fastcgi_params;
fastcgi_param SCRIPT_FILENAME $document_root$fastcgi_script_name;
}
location ~ /\.ht {
deny all;
}
location ^~ /data {
deny all;
}
}
Create the RainLoop log directory as defined in the configuration file above.
# mkdir /var/log/rainloop
Once you are done with configuration, save the file and test for syntax errors;
# nginx -t
nginx: the configuration file /etc/nginx/nginx.conf syntax is ok
nginx: configuration file /etc/nginx/nginx.conf test is successful
Since all is well, activate the RainLoop site configuration as shown below;
# ln -s /etc/nginx/sites-available/rainloop.conf /etc/nginx/sites-enabled/
Reload Nginx Service to effect the changes above;
# systemctl reload nginx
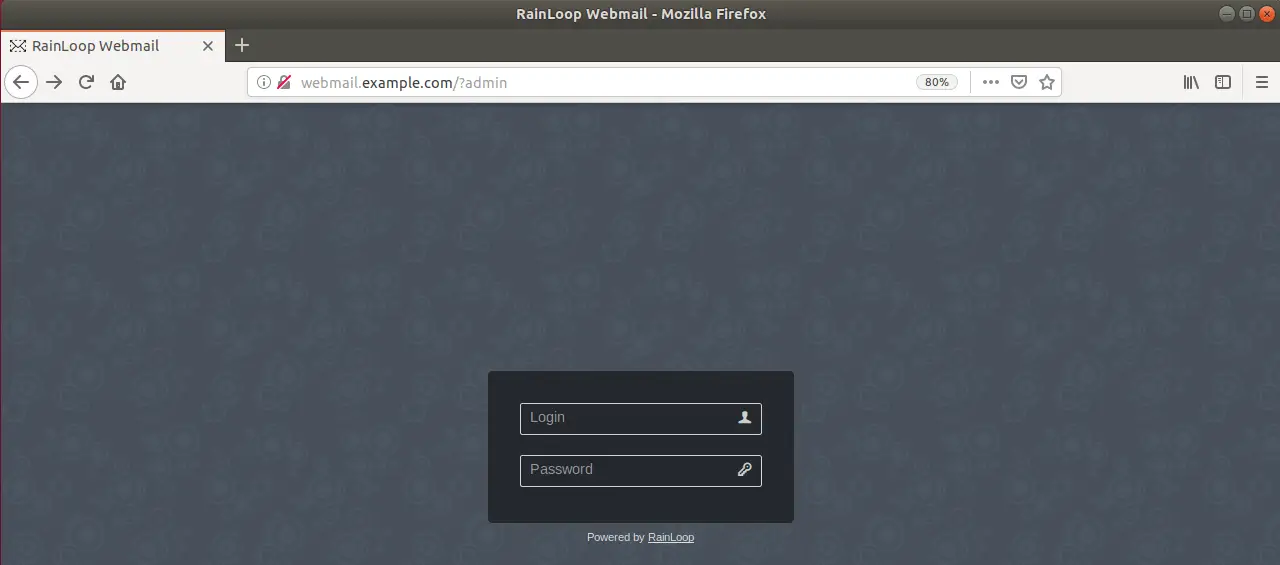
To verify that the RainLoop installation is fine, navigate to the browser and enter the URL http://webmail.example.com/?admin. Where webmail.example.com is the server’s hostname as configured on Nginx server name;
If all is well, you should see RainLoop admin panel login page as shown below;
Congratulations !! You have successfully installed RainLoop Webmail client on Ubuntu 18.04. In our next tutorial, we will discuss how to configure RainLoop webmail client. Welcome around.


