In this guide, we are going to learn how to install Zabbix server on Rocky Linux. Zabbix is an enterprise class monitoring solution for any kind of IT infrastructure, services, applications, cloud resources.
Install Zabbix Server on Rocky Linux
Zabbix can be built from the source code or can be installed from Zabbix repository.
In this guide, we will install Zabbix server via the Zabbix Rocky Linux repositories.
Thus, run the command below to install Zabbix Rocky Linux repositories;
dnf install https://repo.zabbix.com/zabbix/6.0/rhel/8/x86_64/zabbix-release-6.0-1.el8.noarch.rpmZabbix is a PHP based app. Thus, we will use PHP 7.4 in this guide.
To be able to install Zabbix with PHP 7.4 on Rocky Linux, enable PHP 7.4 modules;
dnf module -y reset phpdnf module -y enable php:7.4Next, install Zabbix Server and other required Zabbix packages on Rocky Linux;
dnf install zabbix-server-mysql zabbix-web-mysql zabbix-apache-conf zabbix-sql-scripts zabbix-selinux-policy zabbix-agentSample command output;
============================================================================================================================================================================
 Package                                        Architecture               Version                                                      Repository                     Size
============================================================================================================================================================================
Installing:
 zabbix-agent                                   x86_64                     6.0.4-1.el8                                                  zabbix                        528 k
 zabbix-apache-conf                             noarch                     6.0.4-1.el8                                                  zabbix                         22 k
 zabbix-selinux-policy                          x86_64                     6.0.4-1.el8                                                  zabbix                        280 k
 zabbix-server-mysql                            x86_64                     6.0.4-1.el8                                                  zabbix                        1.6 M
 zabbix-sql-scripts                             noarch                     6.0.4-1.el8                                                  zabbix                        6.5 M
 zabbix-web-mysql                               noarch                     6.0.4-1.el8                                                  zabbix                         21 k
Installing dependencies:
 OpenIPMI-libs                                  x86_64                     2.0.31-3.el8                                                 baseos                        508 k
 apr                                            x86_64                     1.6.3-12.el8                                                 appstream                     128 k
 apr-util                                       x86_64                     1.6.1-6.el8.1                                                appstream                     104 k
 fping                                          x86_64                     4.2-2.el8                                                    epel                           43 k
 httpd                                          x86_64                     2.4.37-43.module+el8.5.0+747+83fae388.3                      appstream                     1.4 M
 httpd-filesystem                               noarch                     2.4.37-43.module+el8.5.0+747+83fae388.3                      appstream                      39 k
 httpd-tools                                    x86_64                     2.4.37-43.module+el8.5.0+747+83fae388.3                      appstream                     106 k
 mariadb-connector-c                            x86_64                     3.1.11-2.el8_3                                               appstream                     199 k
 mariadb-connector-c-config                     noarch                     3.1.11-2.el8_3                                               appstream                      14 k
 mod_http2                                      x86_64                     1.15.7-3.module+el8.5.0+695+1fa8055e                         appstream                     153 k
 nginx-filesystem                               noarch                     1:1.14.1-9.module+el8.4.0+542+81547229                       appstream                      23 k
 php-bcmath                                     x86_64                     7.4.19-1.module+el8.5.0+696+61e7c9ba                         appstream                      79 k
 php-common                                     x86_64                     7.4.19-1.module+el8.5.0+696+61e7c9ba                         appstream                     701 k
 php-fpm                                        x86_64                     7.4.19-1.module+el8.5.0+696+61e7c9ba                         appstream                     1.6 M
 php-gd                                         x86_64                     7.4.19-1.module+el8.5.0+696+61e7c9ba                         appstream                      84 k
 php-json                                       x86_64                     7.4.19-1.module+el8.5.0+696+61e7c9ba                         appstream                      73 k
 php-ldap                                       x86_64                     7.4.19-1.module+el8.5.0+696+61e7c9ba                         appstream                      85 k
 php-mbstring                                   x86_64                     7.4.19-1.module+el8.5.0+696+61e7c9ba                         appstream                     483 k
 php-mysqlnd                                    x86_64                     7.4.19-1.module+el8.5.0+696+61e7c9ba                         appstream                     192 k
 php-pdo                                        x86_64                     7.4.19-1.module+el8.5.0+696+61e7c9ba                         appstream                     122 k
 php-xml                                        x86_64                     7.4.19-1.module+el8.5.0+696+61e7c9ba                         appstream                     173 k
 rocky-logos-httpd                              noarch                     85.0-3.el8                                                   baseos                         22 k
 unixODBC                                       x86_64                     2.3.7-1.el8                                                  appstream                     453 k
 zabbix-web                                     noarch                     6.0.4-1.el8                                                  zabbix                        7.9 M
 zabbix-web-deps                                noarch                     6.0.4-1.el8                                                  zabbix                         22 k
Installing weak dependencies:
 apr-util-bdb                                   x86_64                     1.6.1-6.el8.1                                                appstream                      23 k
 apr-util-openssl                               x86_64                     1.6.1-6.el8.1                                                appstream                      26 k

Transaction Summary
============================================================================================================================================================================
Install  33 Packages

Total download size: 24 M
Installed size: 77 M
Is this ok [y/N]: y
Install MySQL and Create Zabbix Database and Database User
Install MySQL 8 on Rocky Linux;
dnf install mysql-serverStart MySQL service;
systemctl enable --now mysqldRun MySQL secure install script;
mysql_secure_installationLogin to MariaDB server and create a database and a database user for Zabbix. The database user should have all the privileges on the zabbix database.
mysql -u root -pcreate database zabbixdb character set utf8 collate utf8_bin;create user zabbixadmin@localhost identified by 'P@SSw0RD';grant all on zabbixdb.* to zabbixadmin@localhost;flush privileges;
quitConfiguring Zabbix on Rocky Linux
To begin with, configure Zabbix database connection details.
Open the configuration file, /etc/zabbix/zabbix_server.conf, and replace the values for DBName, DBUser, DBPassword with what you set while creating database. Uncomment the line # DBHost=localhost.
vim /etc/zabbix/zabbix_server.conf...
DBHost=localhost
...
DBName=zabbixdb
...
DBUser=zabbixadmin
...
DBPassword=P@SSw0RD
...
Import Zabbix Default Database and Initial Data
Import initial Zabbix database schema and data to the newly create database.
zcat /usr/share/doc/zabbix-sql-scripts/mysql/server.sql.gz | mysql -u zabbixadmin -p zabbixdbRunning Zabbix Server and Agent
Restart and enable Zabbix server, agent deamon to run on system start.
systemctl restart zabbix-server zabbix-agent httpd php-fpmIf firewall is running, open TCP port 10051 and HTTP/HTTPS for remote connection.
firewall-cmd --add-port={10051,80,443}/tcp --permanent
firewall-cmd --reload
Finalize Zabbix Setup on Web User Interface
To complete Zabbix installation, navigate to the browser and access your Zabbix server via the address http://<server-IP>/zabbix.
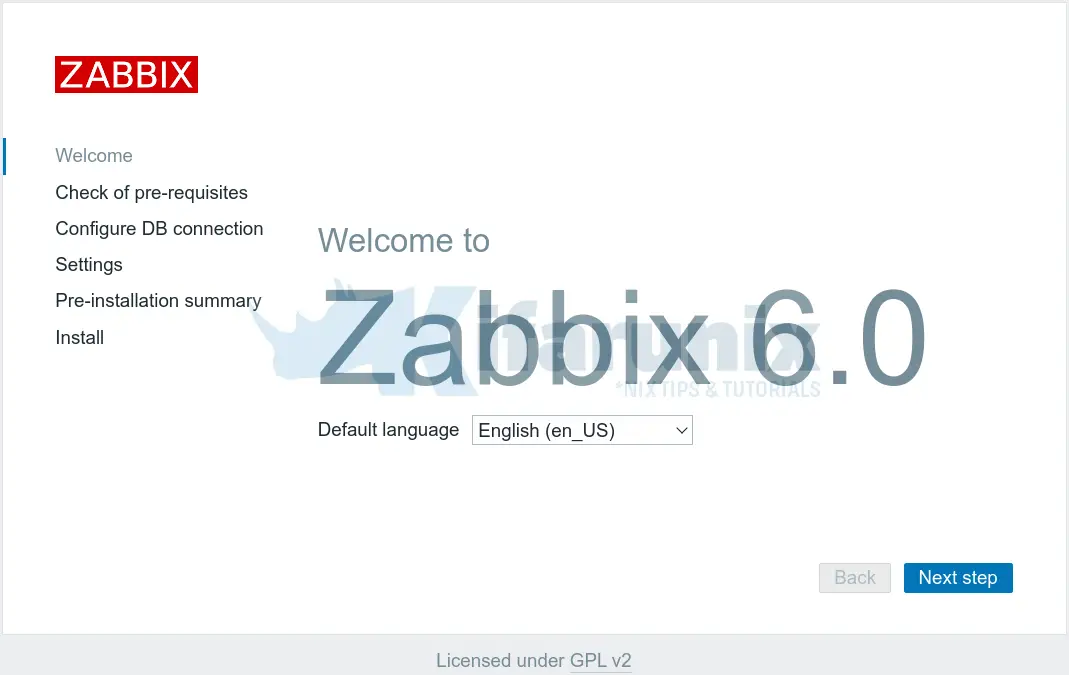
When access the address above, the first page you land on is Zabbix welcome page.
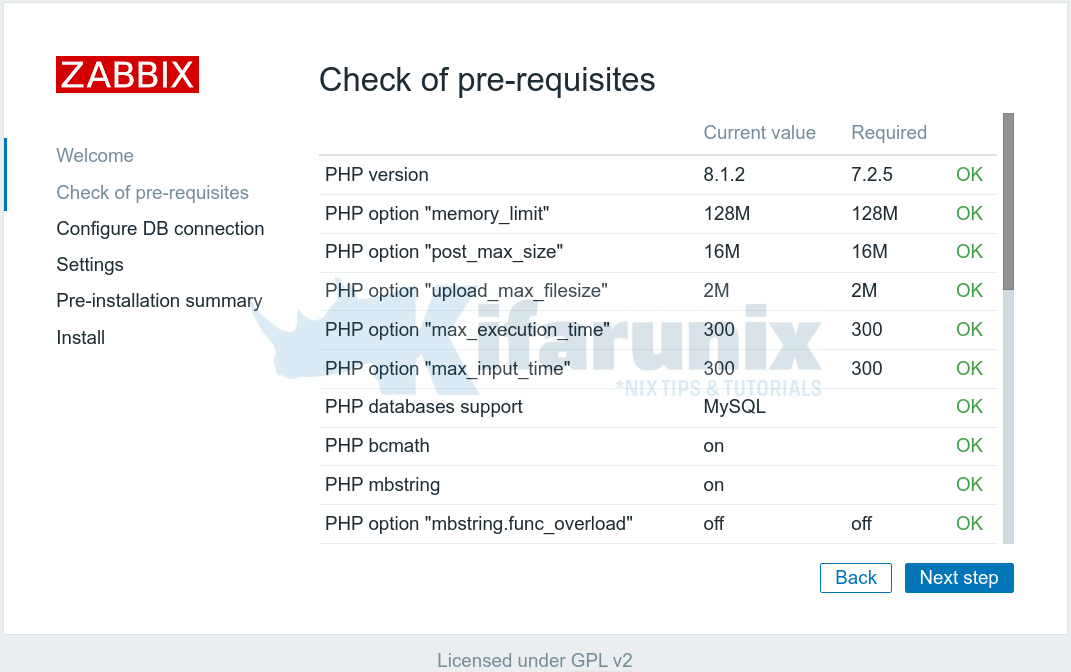
Click Next Step to verify if all the Zabbix requirements have been met.
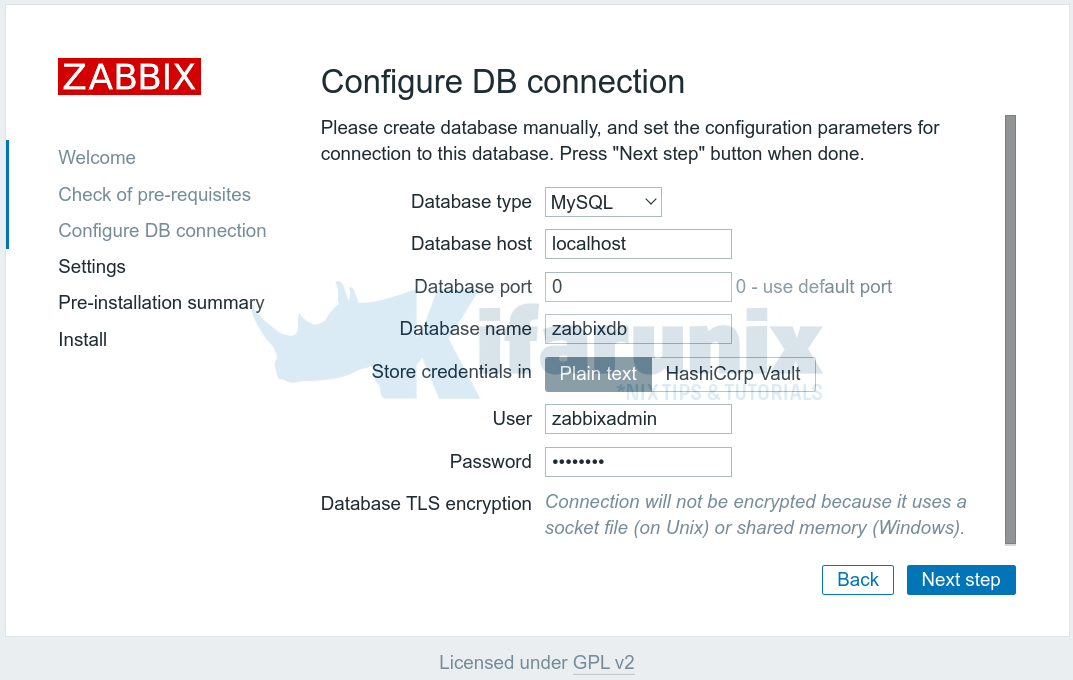
Configure Zabbix database connection using the connection details set before.
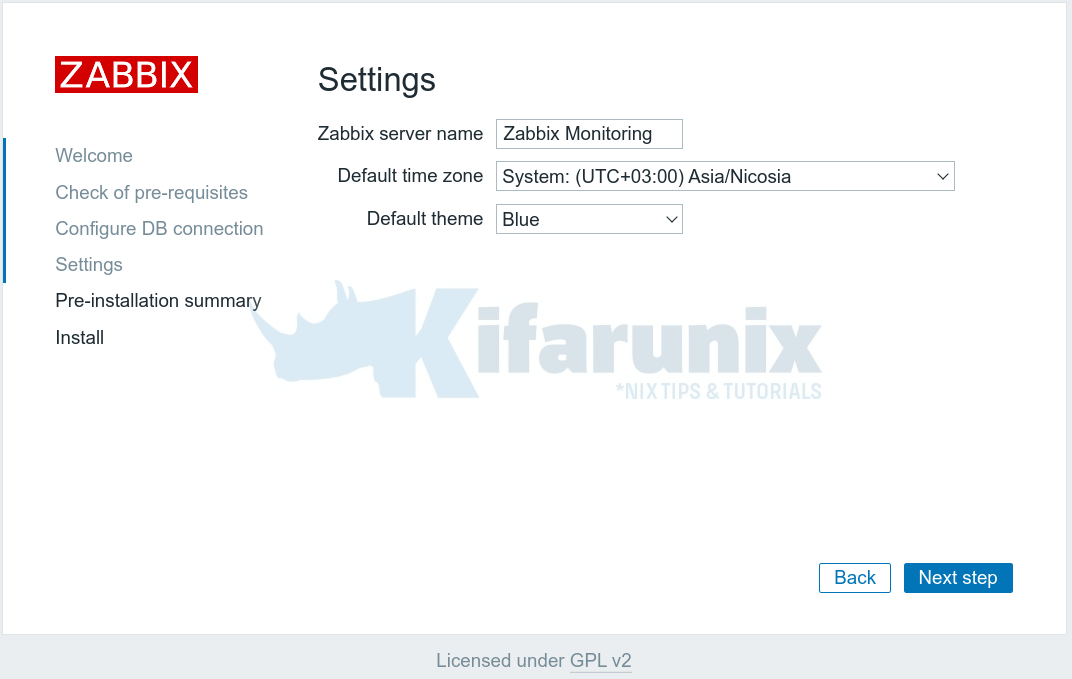
Setup the Zabbix server details.
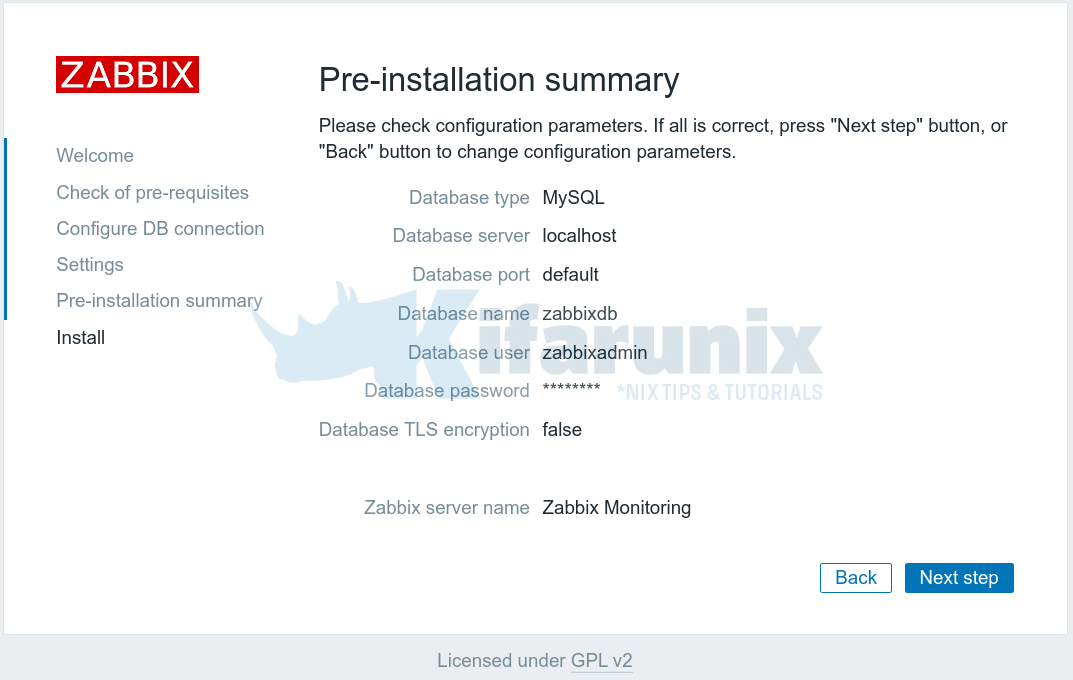
On the Pre-installation summary, verify if all the configurations are fine.
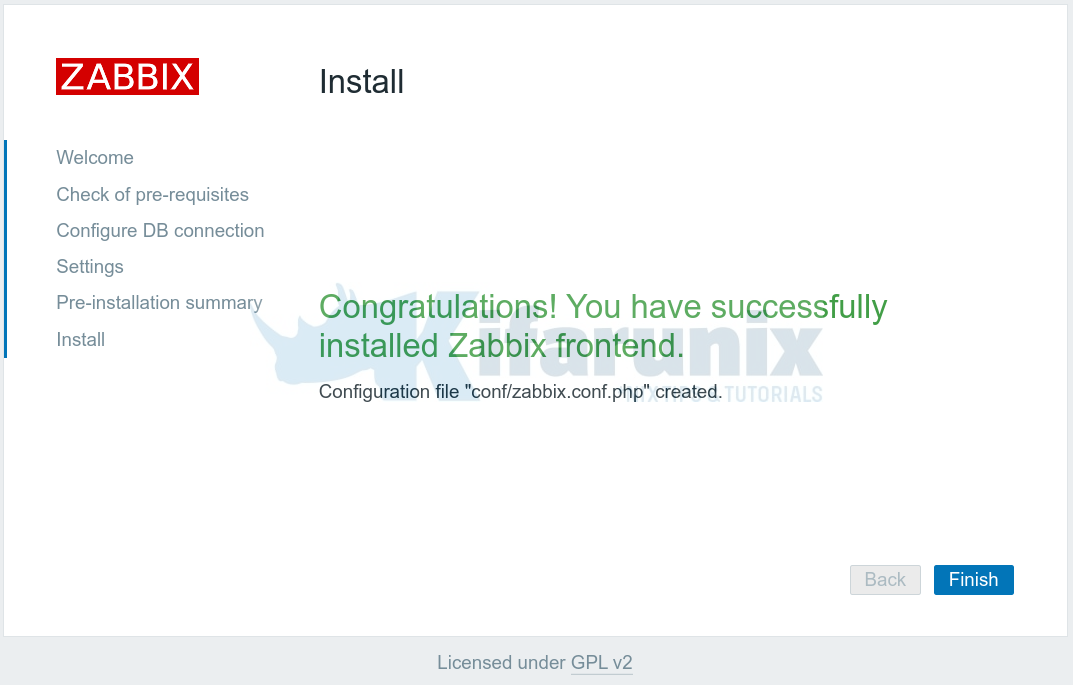
If all is well, click Next step to finish the installation. If all is well, you should see Zabbix installation congratulatory message.
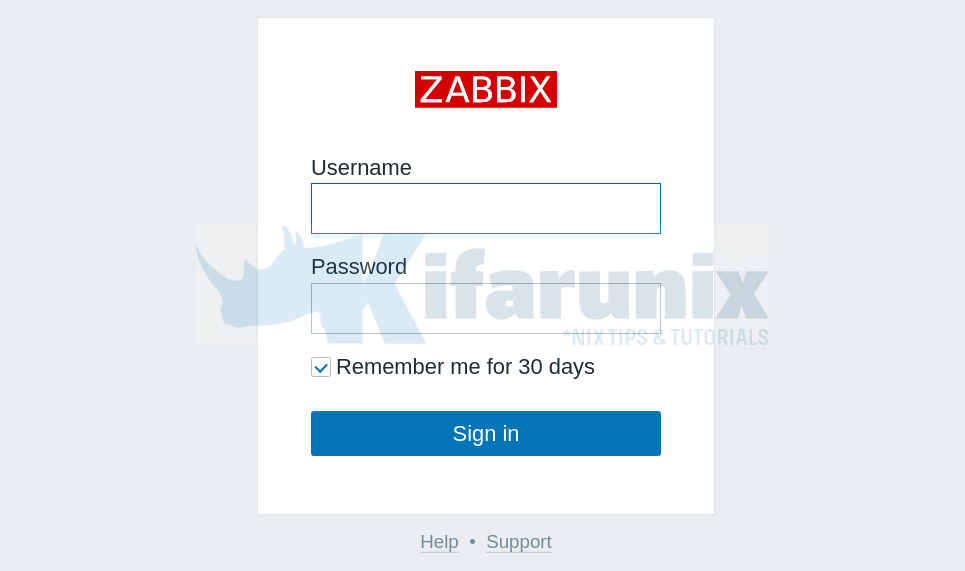
You have successfully setup Zabbix Frontend. Click Finish to get to Zabbix login interface.
The default login credentials are:
- Username (Note the Upper case A): Admin
- Password: zabbix
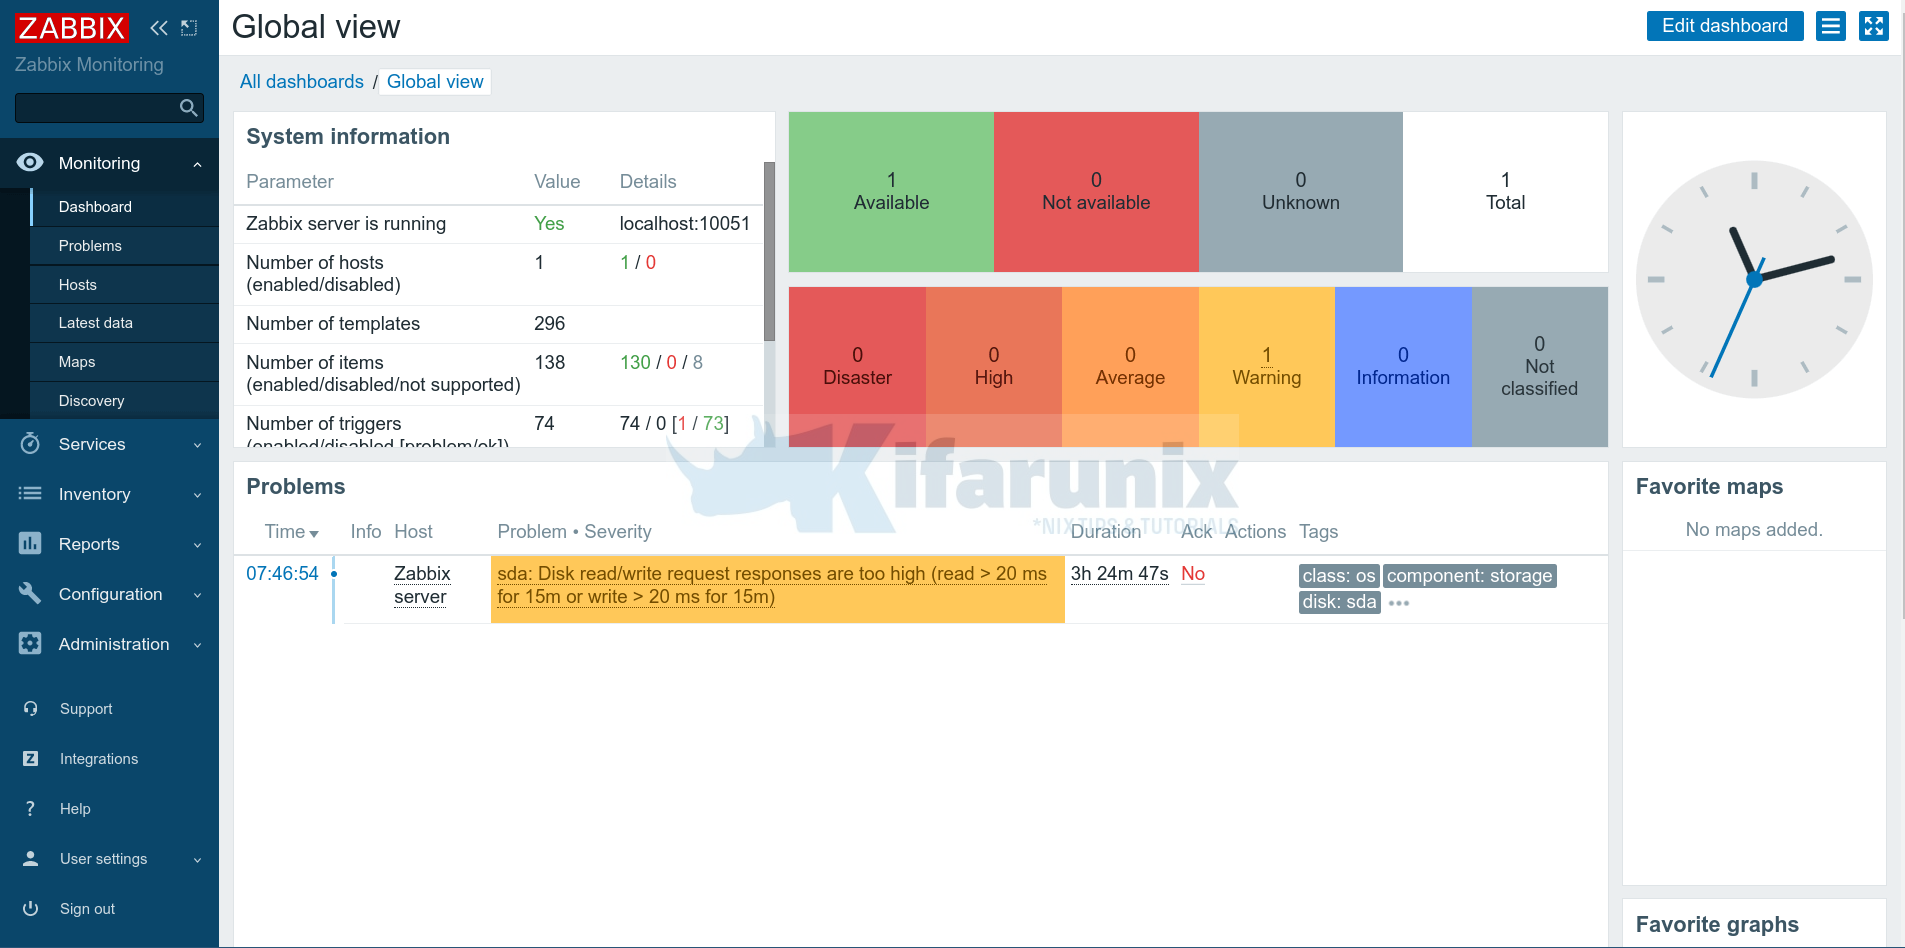
When you successfully login to Zabbix, you should land on the default dashboard.
Well, there you go.
That concludes our guide on how to install Zabbix server.
Read More on Documentation page.
Other Tutorials;

