In this guide, you are going to learn how to install phpMyAdmin with Apache on Fedora 30. phpMyAdmin is an open-source tool that is used to administer MySQL or MariaDB over the web. phpMyAdmin provides quite a number of features including but not limited to;
- Intuitive web interface
- Support for most MySQL features:
- browse and drop databases, tables, views, fields and indexes
- create, copy, drop, rename and alter databases, tables, fields and indexes
- maintenance server, databases and tables, with proposals on server configuration
- execute, edit and bookmark any SQL-statement, even batch-queries
- manage MySQL user accounts and privileges
- manage stored procedures and triggers
- Import data from CSV and SQL
- Export data to various formats: CSV, SQL, XML, PDF, ISO/IEC 26300 – OpenDocument Text and Spreadsheet, Word, LATEX and others
- Administering multiple servers
- Creating graphics of your database layout in various formats
- Creating complex queries using Query-by-example (QBE)
- Searching globally in a database or a subset of it
- Transforming stored data into any format using a set of predefined functions, like displaying BLOB-data as image or download-link
Install phpMyAdmin with Apache on Fedora 30
Prerequisites
To install phpMyAdmin with Apache on Fedora 30, you need to have LAMP stack configured. To install LAMP stack on Fedora 30, follow the link below;
Install LAMP Stack on Fedora 30
Once you have the LAMP stack installed, proceed to install phpMyAdmin on Fedora 30. The good news is that phpMyAdmin is available on the default Fedora repositories and thus can simply be installed using the DNF package manager. The latest staple release of phpMyAdmin is v4.8.5. To verify if this version is available on the default Fedora repos;
dnf provides phpmyadminphpMyAdmin-4.8.5-2.fc30.noarch : Handle the administration of MySQL over the World Wide Web
Repo : fedora
Matched from:
Provide : phpmyadmin = 4.8.5-2.fc30Hence, install phpMyAdmin by running the command below;
dnf install phpmyadminConfigure phpMyAdmin to Allow Remote Access
Once the installation is done, proceed to configure phpMyAdmin to allow remote access. By default, phpMyAdmin only allows access from the localhost. When installation is done, default Apache phpMyAdmin configuration file is created under, /etc/httpd/conf.d/phpMyAdmin.conf.
To configure phpMyAdmin to allow external access, edit the configuration file and make the adjustments below;
vim /etc/httpd/conf.d/phpMyAdmin.confReplace the loopback IP, 127.0.0.1 under the directives Require ip and allow from with the IP address of the server you want to access phpMyAdmin from.
...
   <IfModule mod_authz_core.c>
     # Apache 2.4
     <RequireAny>
       Require ip 192.168.0.102
       Require ip ::1
     </RequireAny>
   </IfModule>
   <IfModule !mod_authz_core.c>
     # Apache 2.2
     Order Deny,Allow
     Deny from All
     Allow from 192.168.0.102
     Allow from ::1
   </IfModule>
</Directory>

<Directory /usr/share/phpMyAdmin/setup/>
   <IfModule mod_authz_core.c>
     # Apache 2.4
     <RequireAny>
       Require ip 192.168.0.102
       Require ip ::1
     </RequireAny>
   </IfModule>
   <IfModule !mod_authz_core.c>
     # Apache 2.2
     Order Deny,Allow
     Deny from All
     Allow from 192.168.0.102
     Allow from ::1
   </IfModule>
</Directory>
...
Restart Apache
Once you done making the changes above, restart Apache.
systemctl restart httpdAccess phpMyAdmin from Browser
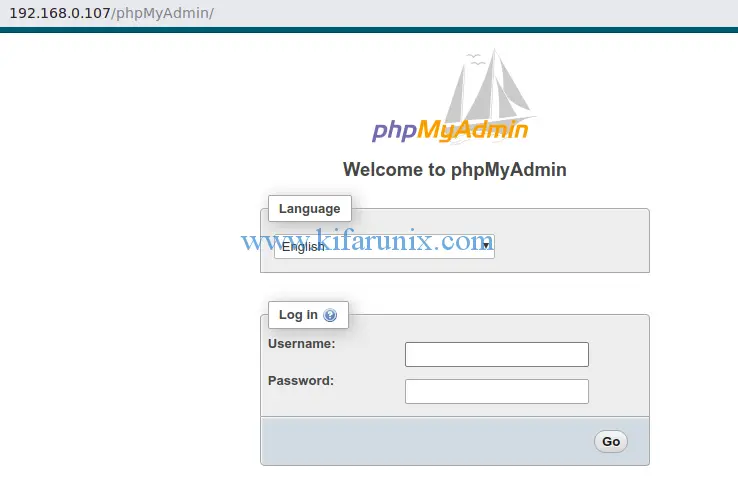
phpMyAdmin in its basic configuration is now ready for access from web. Use the link, http://server-IP/phpMyAdmin.

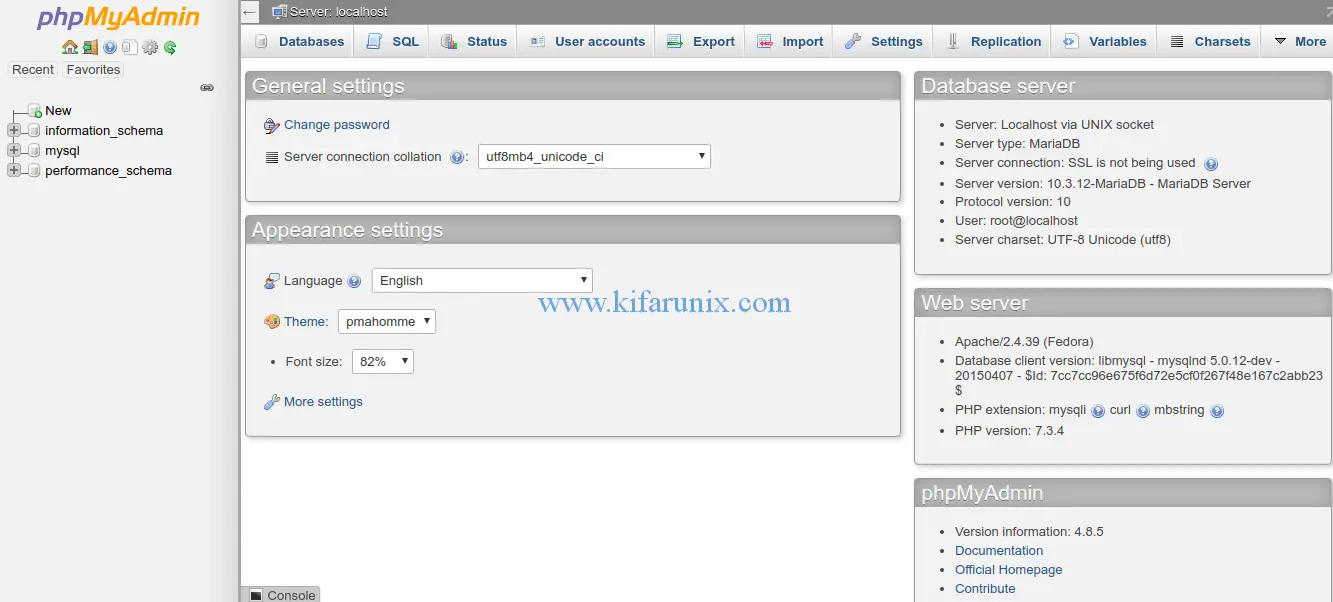
You can login to phpMyAdmin using MaraiDB/MySQL the root user credentials. If connection is successful, you will land on the phpMyAdmin dashboard.

Well, you have successfully installed phpMyAdmin with Apache on Fedora 30. You can now perform any database administration task as you would from the backend. Enjoy.
Want to run phpMyAdmin with Nginx? check the link below;

