Follow through this tutorial to learn how to install Debian 11 on VirtualBox. The Debian project is proud to present its new stable version 11 (code name bullseye
).
Installing Debian 11 on VirtualBox
Download Debian 11 ISO
Navigate to Debian CD/DVD images page and grab a stable release version ISO file for your specific system arch.
We are using the amd version in this guide.
You can simply get the ISO link and pull it down using wget command.
wget https://cdimage.debian.org/debian-cd/current/amd64/iso-cd/debian-11.0.0-amd64-netinst.iso -P ~/DownloadsCreate New Virtual Machine
Once you have the Focal Fossa ISO file in place, launch VirtualBox and create a new Virtual Machine.
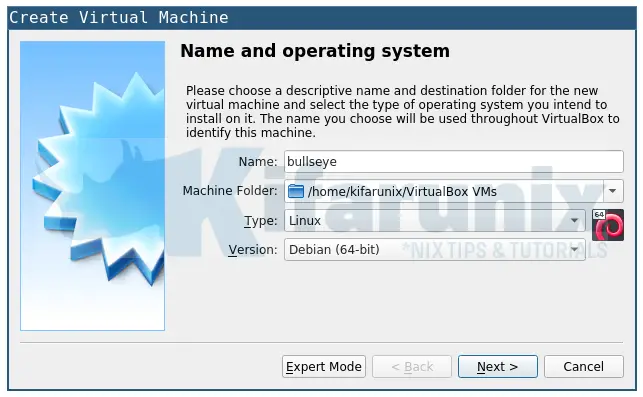
Assign the virtual Machine a memory of at least 1024 MB.

Create a virtual hard disk for the virtual machine.
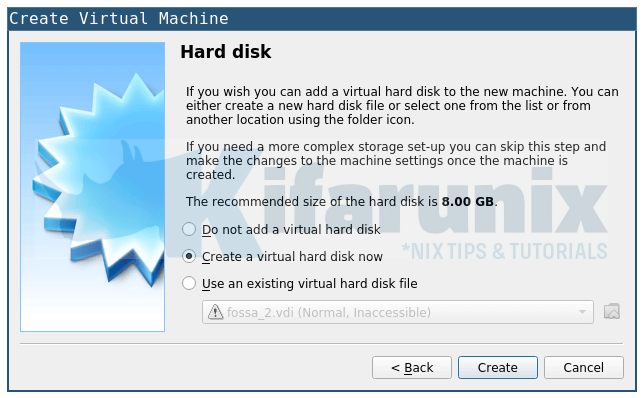
Choose the type of virtual hard disk to create. In this demo, we choose the default VDI.
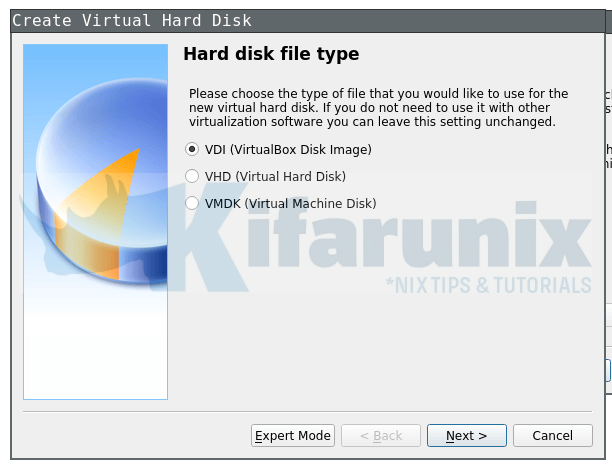
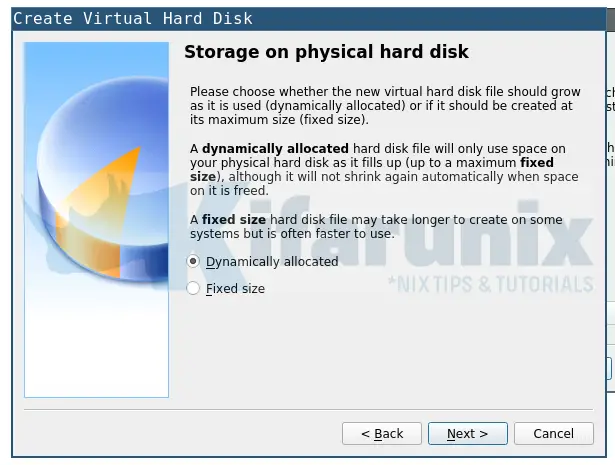
Next, choose how the disk should be allocated. Dynamic allocation is selected in this demo.
Set the size and location of the disk image.
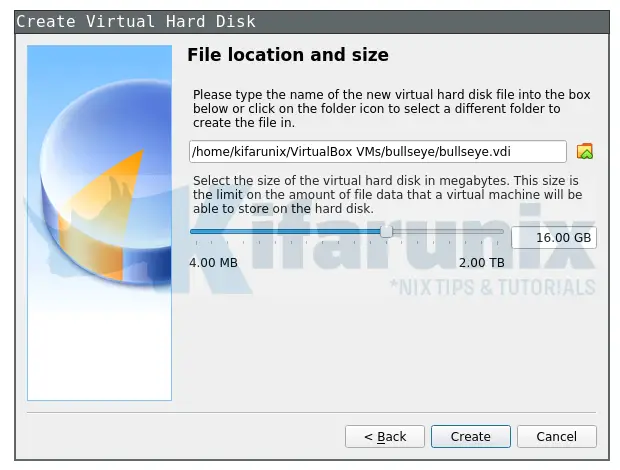
Click create to create the Virtual Machine.
Attach Installation ISO File
Once the virtual machine is created, select it and press Ctrl+s to launch the VM settings wizard.
Click storage settings and attach the ISO file as IDE controller.
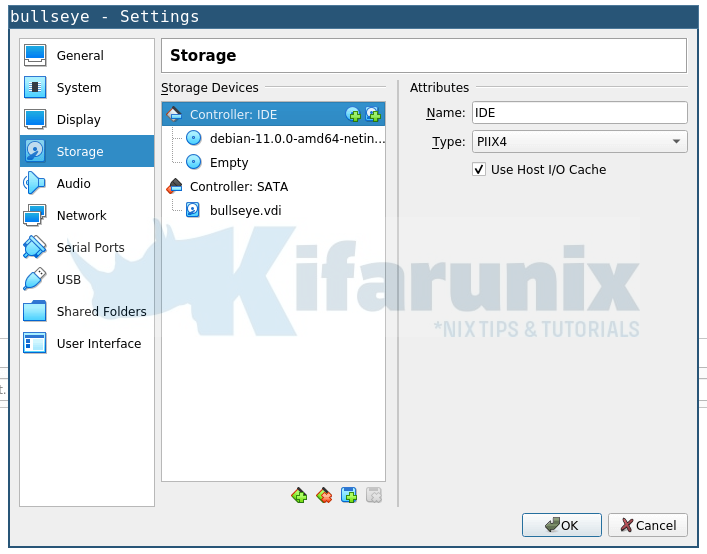
You might also want to attach more Network interfaces. Click on Network settings.
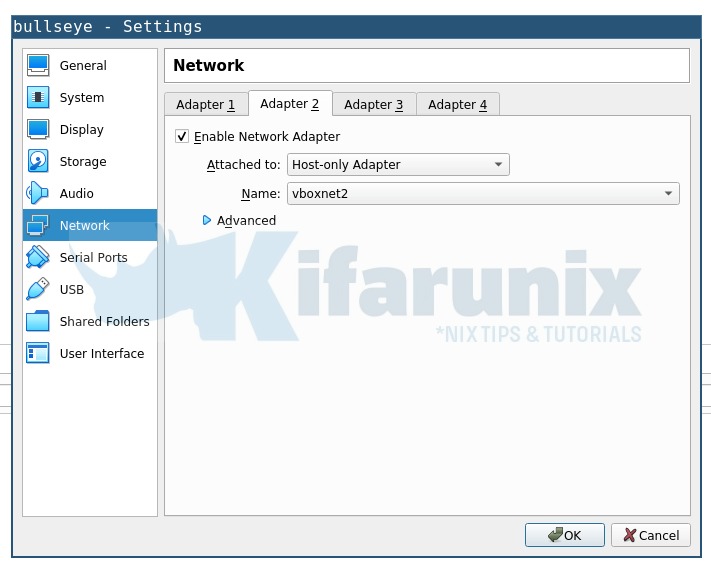
Feel free to configure any other setting to your preference, like adjusting the size of memory and number of CPU cores to assign to the VM etc.
Installing Debian 11 on VirtualBox
Click on the VM and hit the Start button to launch the installation.
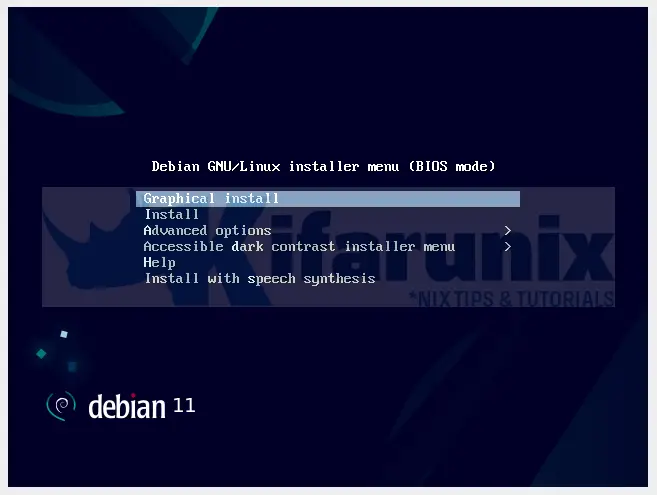
Let’s install Debian 11 by hitting ENTER, to launch the installation Wizard.
Set the Language and System Locae
- Choose your installation Language and click Continue.
- Select your Location. This will be used to update your timezone and set system locale.
- If your country is not listed, click Other to see more listings.
- Once done, click Continue to proceed with installation of Debian 11 on VirtualBox.
Configure the networking
In my setup, I attached two interfaces to my Debian 11 vm.
- Select Primary Network interface
- NAT interface to provide the VM with Internet access (enp0s3).
- Host-Only Interface to allow the VM to be access from the host (enp0s8).
- Thus, at this point, I select the first interface as the primary Networking interface.
- Set the system hostname
Create Users and Passwords
Next, create user accounts and passwords.
- Begin by setting the root user account password.
- Next, add the standard user accounts.
- Click Continue when done setting up the user accounts/passwords.
Disk Partitioning
- Select the disk partitioning scheme. We use the entire disk in this setup.
- Create a single partition (All files in one partition recommended for new users)
- Finish partitioning and write changes to disk.
- Confirm that you want to write disk partitioning changes.
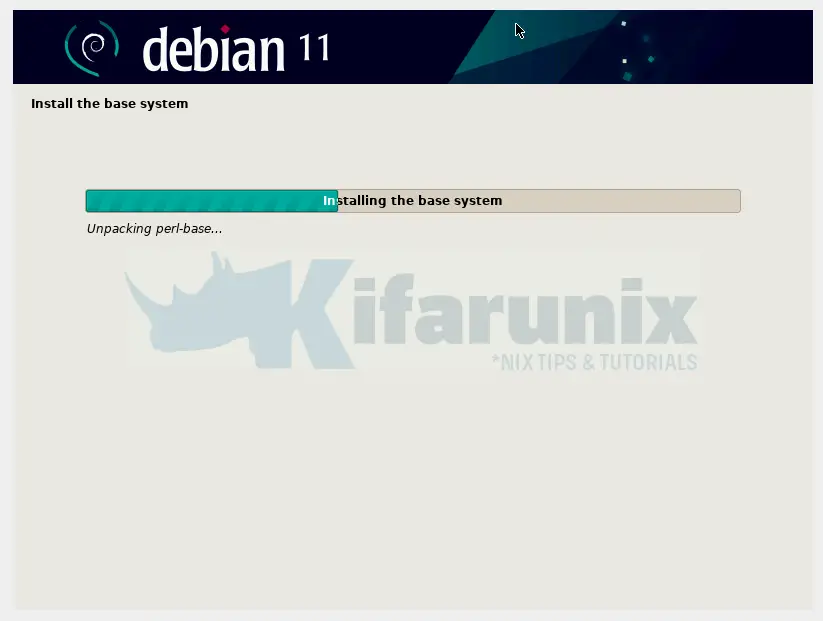
The system the begins the installation.
Configure the Package Manager
- Scan extra installation media? Select No and continue.
- Select the Debian Archive Mirror country that is close to you on the network.
- Choose the mirror from the list
- If you go through proxy, set the proxy server details. Otherwise, leave blank for none.
Popularity contest, select No and proceed.
Software Selection
At this point, you can select the kind of software to install.
Whether to install the desktop version or the headless version.
Since we are installing headless Debian 11, we only select the SSH server and standard system utilities.
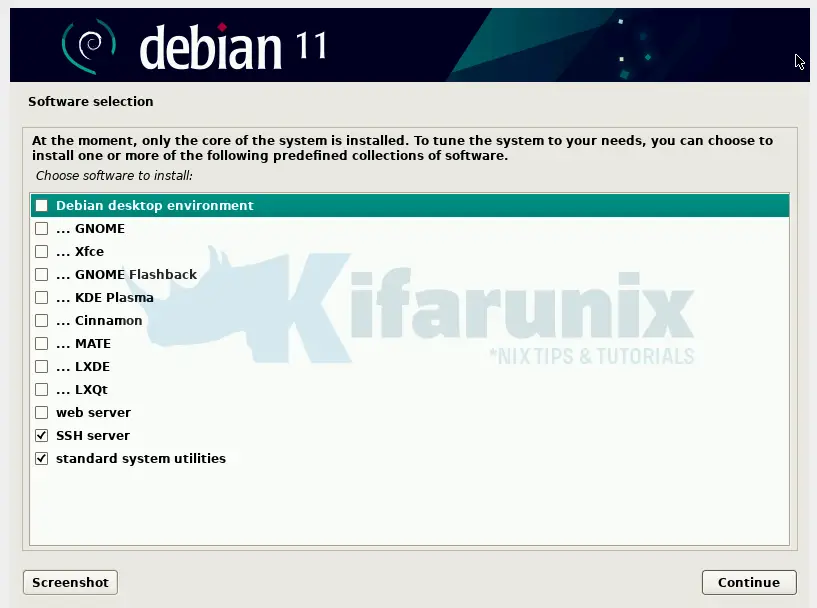
Otherwise, to install Debian GUI based, select the desktop environment of your choice from the list and click continue to proceed.
Install Grub Bootloader
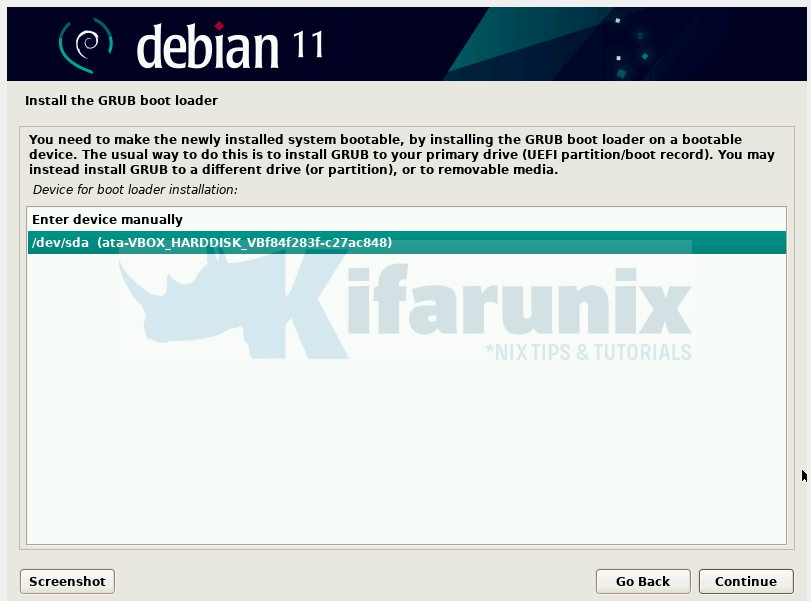
- Select Yes to install Grub bootloader on to your primary vm disk. Click continue.
- Select the device, usually /dev/sdx, where x can be a, b …
Installation Complete
Let the installation run. When done, you see such screen.
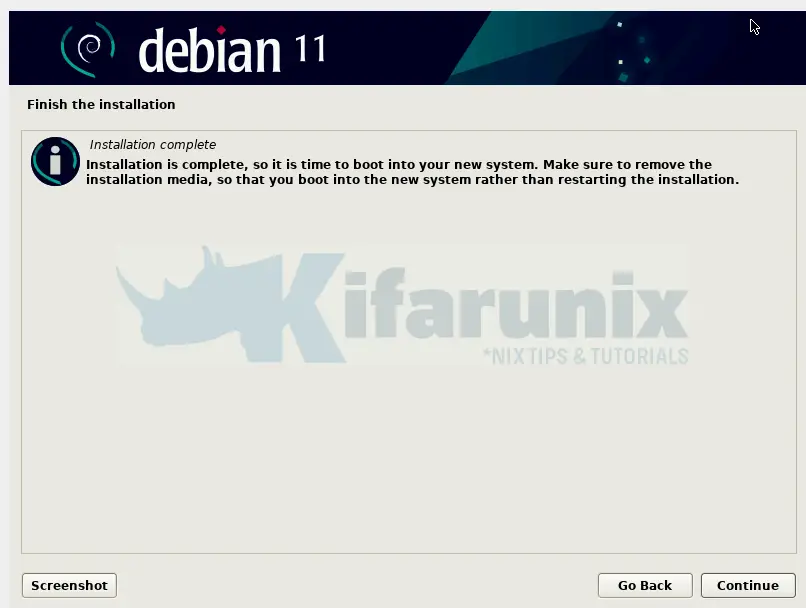
Next, click continue finish the installation.
Once the installation completes, click restart now.
The VM is then rebooted. And you are welcomed by server login prompt.
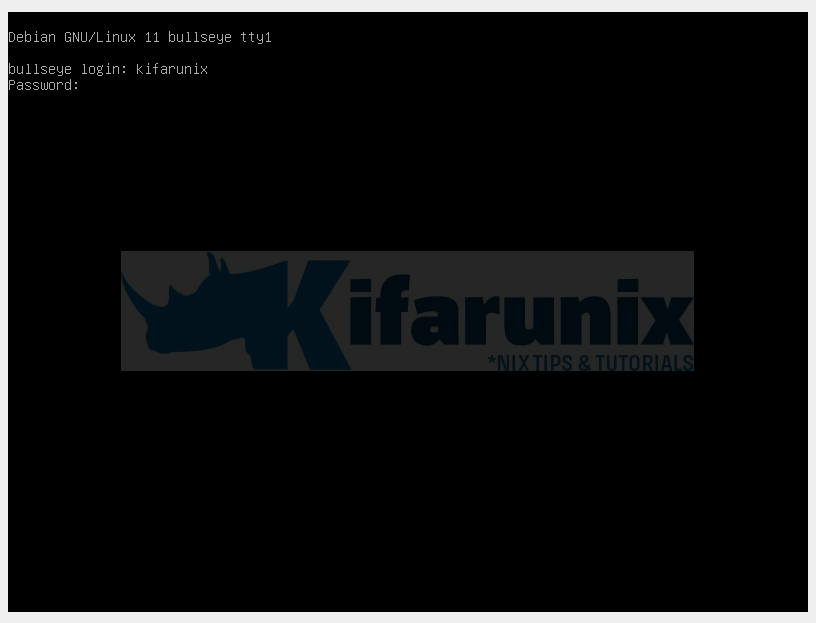
Login to your Debian 11 vm using the credentials set before.
And there you go.
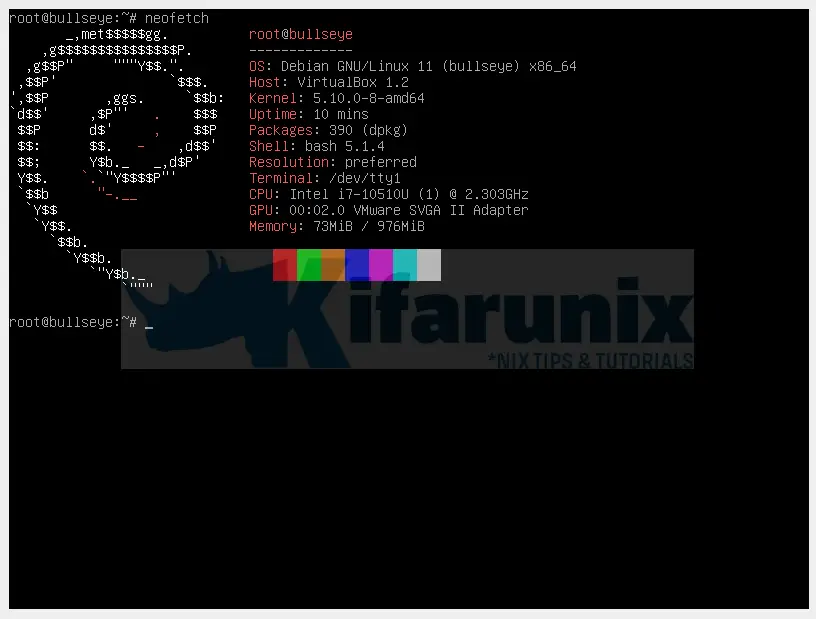
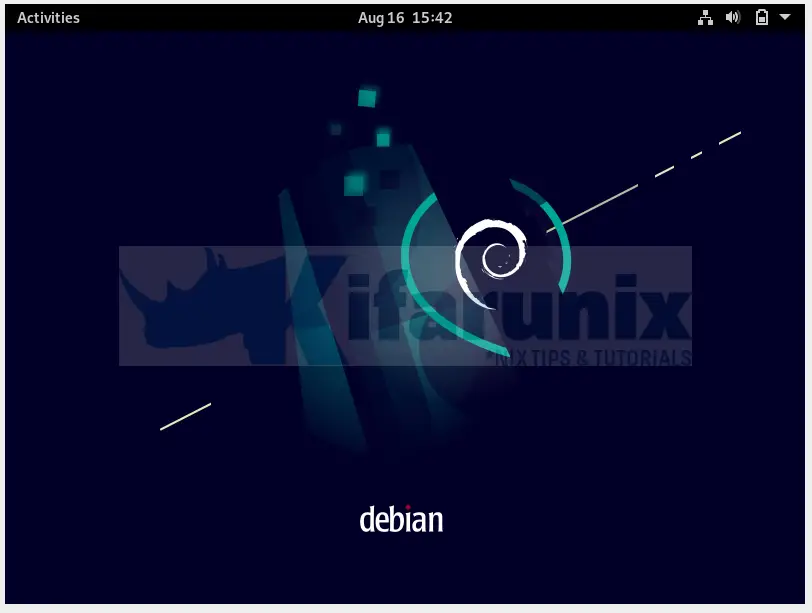
You have successfully installed Debian 11 on VirtualBox. Enjoy your testing of this awesome OS. Sample Gnome desktop.
Other Tutorials


Excellent article! I could install Debian according to your instructions perfectly. Thanks a lot!
We are glad you found the tutorial useful! Enjoy