In this tutorial, you will learn how to install Passbolt on Debian 12. Passbolt is is a free, open source, self-hosted, extensible, OpenPGP based password manager that enables teams to securely store their personal as well as share their common credentials. It is available both a subscription based and community edition. This tutorial focuses on the setup of community edition.
Table of Contents
Installing Passbolt on Debian 12
Prerequisites
- Install a fresh Vanilla Debian 12 server.
- Allocate the server at least 2 GB RAM and 2 vCPUs
- A resolvable hostname or IP address of your server.
- Install LEMP/LAMP stack on Debian 12
Install LAMP/LEMP Stack on Debian 12
Assuming that the first three prerequisites mentioned above have been met, proceed to install LEMP/LAMP stack on Debian 12 server.
Note that Passbolt is written in PHP and hence, it requires either a LEMP or a LAMP stack to run.
In this tutorial, we are using LEMP stack to run Passbolt.
Install Nginx HTTP Server
Nginx will be installed and configured by the Passbolt package installer.
Install PHP on Debian 12
Passbolt supports PHP 8, which is the default PHP version available on the default Debian repos.
Similarly, the Passbolt installer will install PHP and all required modules.
Install MariaDB/MySQL on Debian 12
Install MariaDB 10 on Debian 12
Ensure the database is running;
systemctl status mariadb
● mariadb.service - MariaDB 10.11.3 database server
     Loaded: loaded (/lib/systemd/system/mariadb.service; enabled; preset: enabled)
     Active: active (running) since Fri 2023-06-23 19:54:58 EAT; 41s ago
       Docs: man:mariadbd(8)
             https://mariadb.com/kb/en/library/systemd/
   Main PID: 5695 (mariadbd)
     Status: "Taking your SQL requests now..."
      Tasks: 14 (limit: 2285)
     Memory: 82.6M
        CPU: 452ms
     CGroup: /system.slice/mariadb.service
             └─5695 /usr/sbin/mariadbd

Jun 23 19:54:58 bookworm mariadbd[5695]: 2023-06-23 19:54:58 0 [Note] Plugin 'FEEDBACK' is disabled.
Jun 23 19:54:58 bookworm mariadbd[5695]: 2023-06-23 19:54:58 0 [Note] InnoDB: Loading buffer pool(s) from /var/lib/mysql/ib_buffer_pool
Jun 23 19:54:58 bookworm mariadbd[5695]: 2023-06-23 19:54:58 0 [Warning] You need to use --log-bin to make --expire-logs-days or --binlog-expire-logs-seconds work.
Jun 23 19:54:58 bookworm mariadbd[5695]: 2023-06-23 19:54:58 0 [Note] Server socket created on IP: '127.0.0.1'.
Jun 23 19:54:58 bookworm mariadbd[5695]: 2023-06-23 19:54:58 0 [Note] InnoDB: Buffer pool(s) load completed at 230623 19:54:58
Jun 23 19:54:58 bookworm mariadbd[5695]: 2023-06-23 19:54:58 0 [Note] /usr/sbin/mariadbd: ready for connections.
Jun 23 19:54:58 bookworm mariadbd[5695]: Version: '10.11.3-MariaDB-1'  socket: '/run/mysqld/mysqld.sock'  port: 3306  Debian 12
Jun 23 19:54:58 bookworm systemd[1]: Started mariadb.service - MariaDB 10.11.3 database server.
Jun 23 19:54:58 bookworm /etc/mysql/debian-start[5720]: Upgrading MySQL tables if necessary.
Jun 23 19:54:58 bookworm /etc/mysql/debian-start[5735]: Triggering myisam-recover for all MyISAM tables and aria-recover for all Aria tables
Installing Passbolt on Debian 12
Passbolt can be installed on Debian 12 directly from their official APT repos.
Install Passbolt Offical Repos on Debian 12
Execute the commands below to install Passbolt official APT repos on Debian 12;
The command will also install some other required packages;
wget https://download.passbolt.com/ce/installer/passbolt-repo-setup.ce.shOnce the download is complete, execute the script to install repos and other packages;
chmod +x passbolt-repo-setup.ce.sh./passbolt-repo-setup.ce.sh
     ____                  __          ____
    / __ \____  _____ ____/ /_  ____  / / /_
   / /_/ / __ `/ ___/ ___/ __ \/ __ \/ / __/
  / ____/ /_/ (__  |__  ) /_/ / /_/ / / /
 /_/    \__,_/____/____/_.___/\____/_/\__/
Open source password manager for teams
-------------------------------------------------------------------------------

passbolt repository setup is finished. You can now install passbolt CE edition with this command:

sudo apt install passbolt-ce-server
Install Passbolt
Run system update and install Passbolt;
apt install passbolt-ce-serverCreate Database and Database user for Passbolt
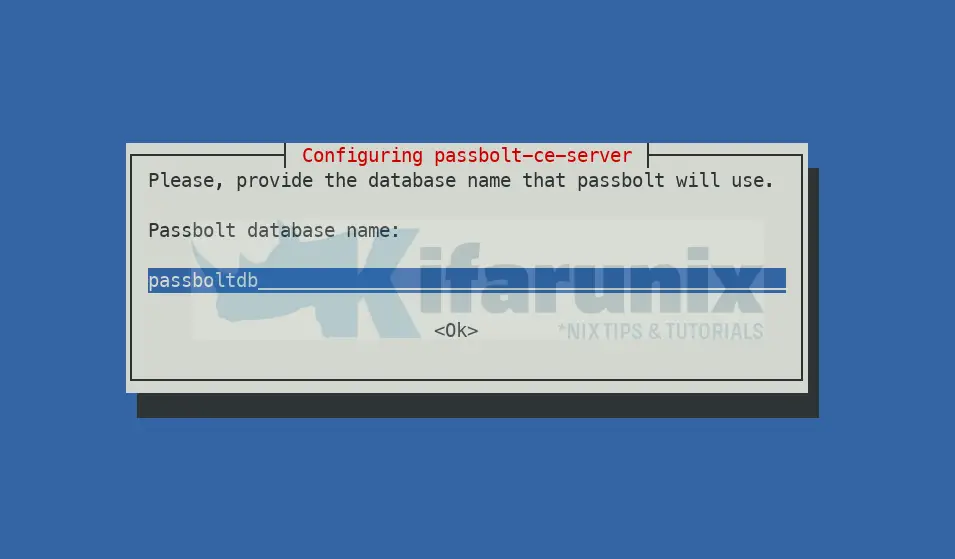
During the installation, the installer will prompt you to create database and database user for Passbolt.

You will be required to provide administrator logins to be able to create the database. If using default root account, press enter for the password to leave it empty.
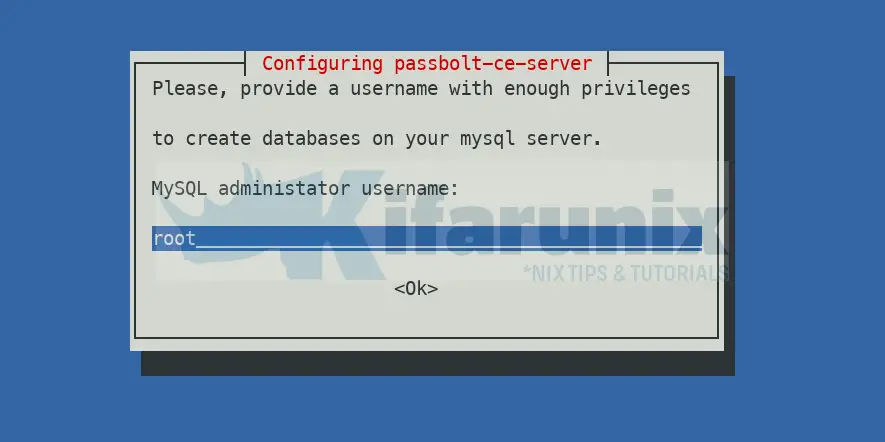
Passbolt database user
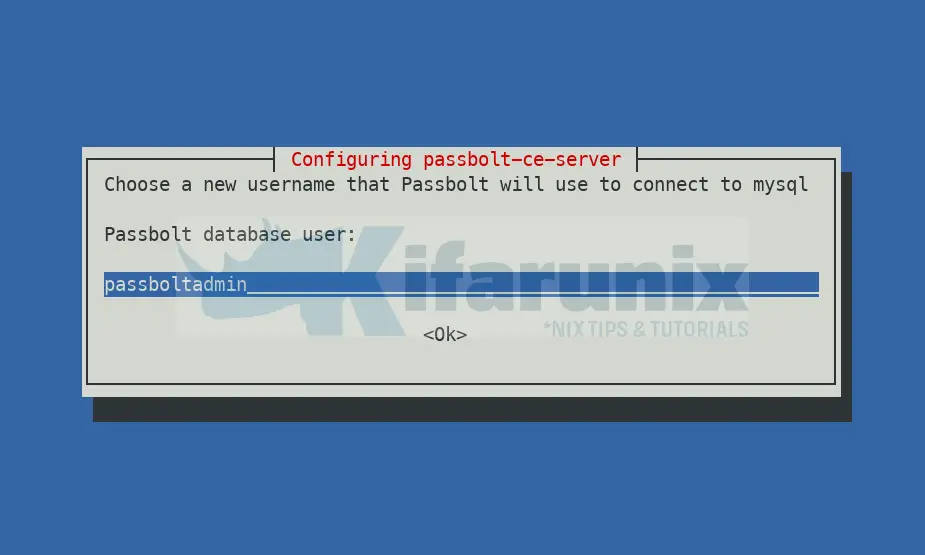
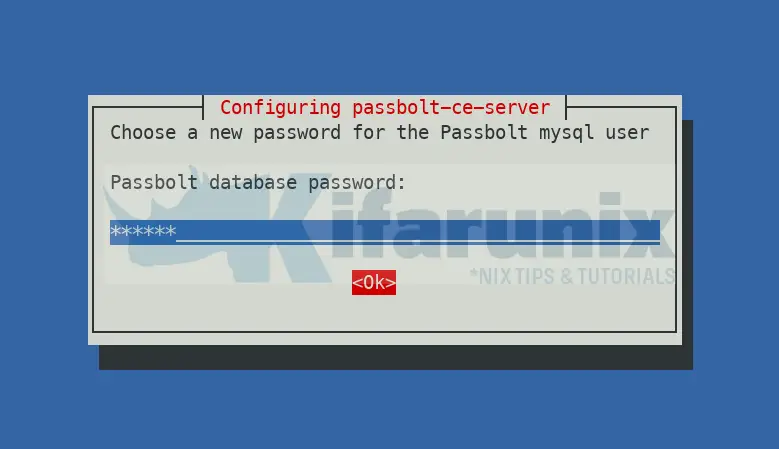
Create database itself;
Choose Passbolt Web Server
We use Nginx installed and configured by script itself.
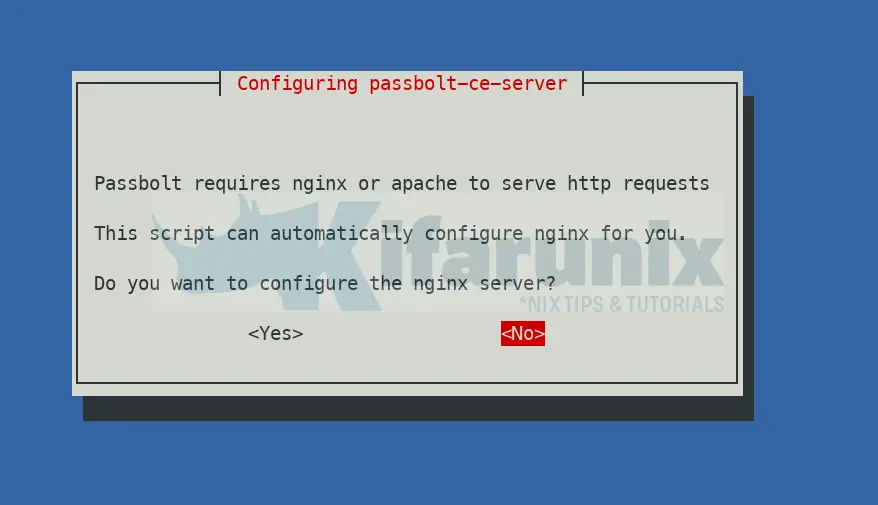
The setup will now complete;
Setting up passbolt-ce-server (4.0.2-2) ...

     ____                  __          ____
    / __ \____  _____ ____/ /_  ____  / / /_
   / /_/ / __ `/ ___/ ___/ __ \/ __ \/ / __/
  / ____/ /_/ (__  |__  ) /_/ / /_/ / / /
 /_/    \__,_/____/____/_.___/\____/_/\__/

 Open source password manager for teams
-------------------------------------------------------------------------------
A JWT key pair was successfully created.
Public key path: /etc/passbolt/jwt/jwt.pem
Secret key path: /etc/passbolt/jwt/jwt.key
 =====================================================================

   Well done! Visit http://_ to finish installation

 =====================================================================
Processing triggers for nginx (1.22.1-9) ...
Passbolt Nginx Configuration
Sample Passbolt Nginx config file;
cat /etc/nginx/sites-available/nginx-passbolt.conf
#
#  Passbolt.conf - Nginx configuration file to run the Passbolt software.
#

server {

  listen 80;
  listen [::]:80;

  # Managed by Passbolt
  # server_name

  client_body_buffer_size     100K;
  client_header_buffer_size   1K;
  client_max_body_size        5M;

  client_body_timeout   10;
  client_header_timeout 10;
  keepalive_timeout     5 5;
  send_timeout          10;

  root /usr/share/php/passbolt/webroot;
  index index.php;
  error_log /var/log/nginx/passbolt-error.log info;
  access_log /var/log/nginx/passbolt-access.log;

  # Managed by Passbolt
  # include __PASSBOLT_SSL__

  location / {
    try_files $uri $uri/ /index.php?$args;
  }

  location ~ \.php$ {
    try_files                $uri =404;
    include                  fastcgi_params;
    fastcgi_pass             unix:/run/php/__PHP_SOCK__;
    fastcgi_index            index.php;
    fastcgi_intercept_errors on;
    fastcgi_split_path_info  ^(.+\.php)(.+)$;
    fastcgi_param            SCRIPT_FILENAME $document_root$fastcgi_script_name;
    fastcgi_param            SERVER_NAME $http_host;
    fastcgi_param PHP_VALUE  "upload_max_filesize=5M \n post_max_size=5M";
  }

}
Note, update the value of the line;
fastcgi_pass unix:/run/php/__PHP_SOCK__;To the value of the listen option in the /etc/php/8.2/fpm/pool.d/www.conf.
grep ^listen /etc/php/8.2/fpm/pool.d/www.conflisten = /run/php/php8.2-fpm.sockReplace the value;
sed -i 's/__PHP_SOCK__/php8.2-fpm.sock/' /etc/nginx/sites-available/nginx-passbolt.confRemove default configs;
rm -rf /etc/nginx/sites-available/default /etc/nginx/sites-enabled/defaultCheck if there is any config issue with Nginx;
nginx -tOutput should be like;
nginx: the configuration file /etc/nginx/nginx.conf syntax is ok
nginx: configuration file /etc/nginx/nginx.conf test is successful
Restart and enable Nginx to run on system boot;
systemctl enable --now nginx php8.2-fpmConfigure Nginx with TLS: Generate TLS certificates
If you want to use HTTPS, then you need to get your SSL/TLS certs.
Obtain your commercially trusted CA certificates and install them on the directories specified on the Apache configuration.
If you want to use self-signed SSL certs then, generate using the command below;
openssl req -x509 -nodes -newkey rsa:4096 \
-keyout /etc/ssl/private/ssl-cert-passbolt.key \
-out /etc/ssl/certs/ssl-cert-passbolt.pem -sha256 -days 3650 \
-subj "/C=US/ST=Oregon/L=Porland/O=Company Name/OU=Org/CN=*.kifarunix-demo.com"
Replace locality, company and domain details accordingly.
Then see our updated config with HTTP to HTTPS redirection;
vim /etc/nginx/sites-available/nginx-passbolt.conf
#
#  Passbolt.conf - Nginx configuration file to run the Passbolt software.
#
server {
  listen 80;
  server_name passman.kifarunix-demo.com;

  return 301 https://$host$request_uri;
}

server {

  listen 443 ssl;

  # Managed by Passbolt
  server_name passman.kifarunix-demo.com;

  client_body_buffer_size     100K;
  client_header_buffer_size   1K;
  client_max_body_size        5M;

  client_body_timeout   10;
  client_header_timeout 10;
  keepalive_timeout     5 5;
  send_timeout          10;

  root /usr/share/php/passbolt/webroot;
  index index.php;
  error_log /var/log/nginx/passbolt-error.log info;
  access_log /var/log/nginx/passbolt-access.log;

  # Managed by Passbolt
  # include __PASSBOLT_SSL__
  ssl_certificate /etc/ssl/certs/ssl-cert-passbolt.pem;
  ssl_certificate_key /etc/ssl/private/ssl-cert-passbolt.key;
  ssl_protocols TLSv1.2 TLSv1.3;
  ssl_prefer_server_ciphers on;
  ssl_ciphers "EECDH+AESGCM:EDH+AESGCM";

  location / {
    try_files $uri $uri/ /index.php?$args;
  }

  location ~ \.php$ {
    try_files                $uri =404;
    include                  fastcgi_params;
    fastcgi_pass             unix:/run/php/php8.2-fpm.sock;
    fastcgi_index            index.php;
    fastcgi_intercept_errors on;
    fastcgi_split_path_info  ^(.+\.php)(.+)$;
    fastcgi_param            SCRIPT_FILENAME $document_root$fastcgi_script_name;
    fastcgi_param            SERVER_NAME $http_host;
    fastcgi_param PHP_VALUE  "upload_max_filesize=5M \n post_max_size=5M";
  }

}
rm -rf /etc/nginx/sites-enabled/nginx-passbolt.confln -s /etc/nginx/sites-available/nginx-passbolt.conf /etc/nginx/sites-enabled/nginx-passbolt.confCheck Nginx for errors and restart;
systemctl restart nginx php8.2-fpmFinalize Passbolt Configuration on Browser
Next, access Passbolt server from the browser either using IP or domain name based on your configuration to finalize the setup.

Passbolt is not configured yet! Yes, click Get started to start the setup and configuration.
System health check;

Database connections;

GPG Keys setup. create new if you dont have one, otherwise import it if you already have it.
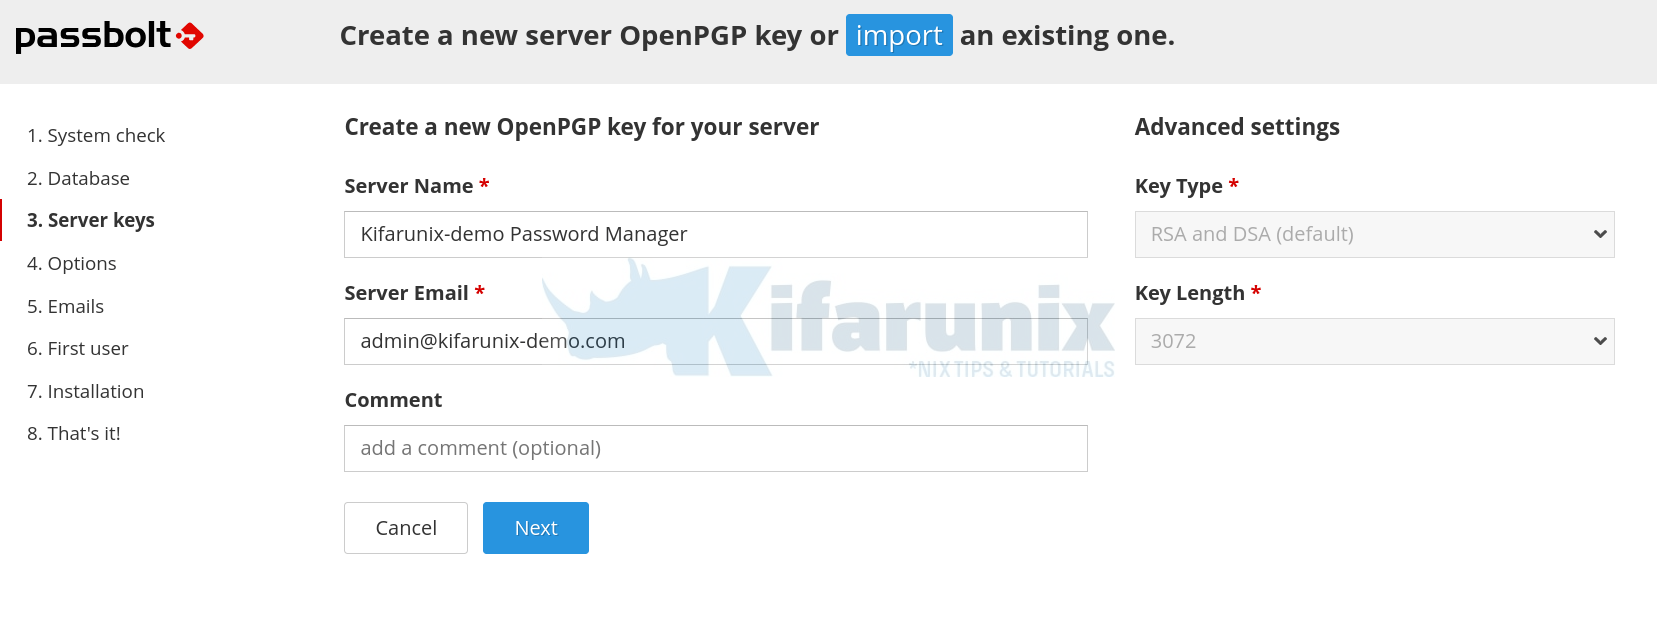
Configure Email Settings: Enter the details of your SMTP server.

You can test the settings by sending a test mail.
The password required if using Gmail SMTP relay should be the app password. See how to create app password in this guide;
Next Create Admin user account and proceed to complete the installation.
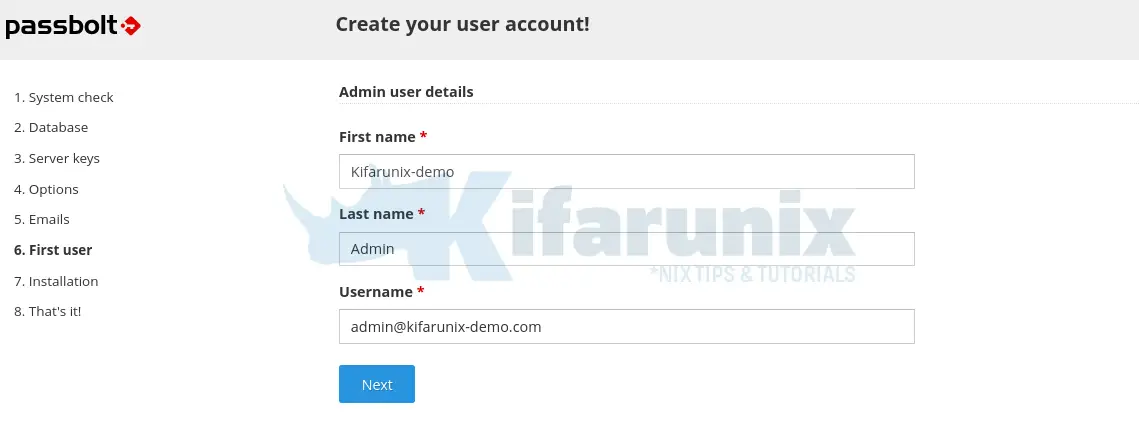
You will then be redirected to user setup page after the installation is done.
To complete the account setup, proceed as follows;
Install Passbolt Browser Extension
When the page loads, you are required to download and install plugin for your specific browser, in this demo, we using Firefox.
Therefore, click on Download extension to download to install the Firefox Passbolt add-on extension.
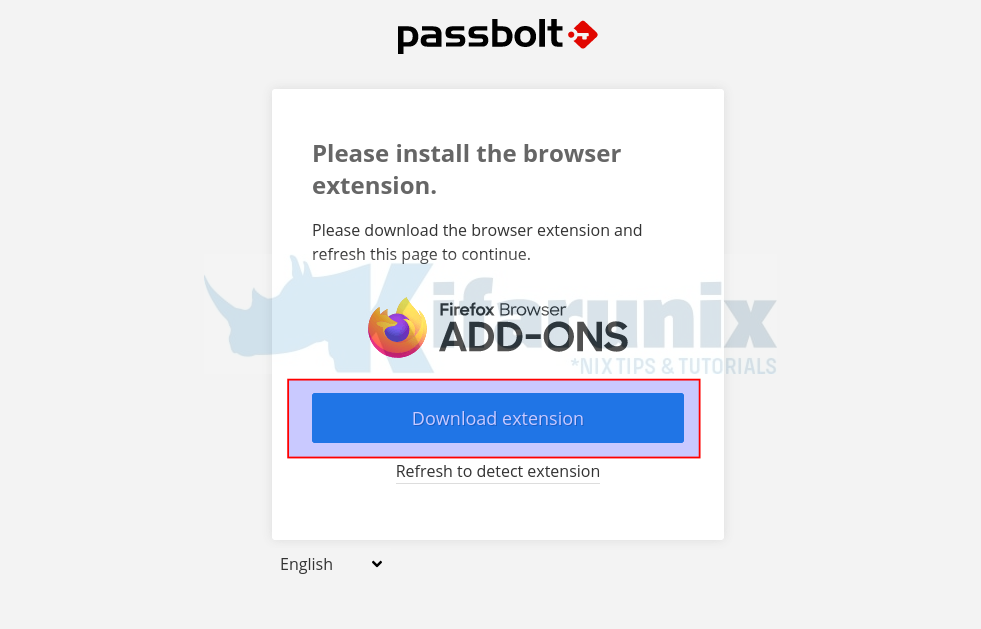
You can also choose to allow the plugin to run on incognito.
Next, click Refresh to detect the extension.
Setup Passbolt Passphrase
Next, create Passbolt passphrase. Note that this passphrase is the only passphrase you will need to remember from now on, choose wisely!. Set a complex passphrase that you can easily remember for protecting you secret keys.
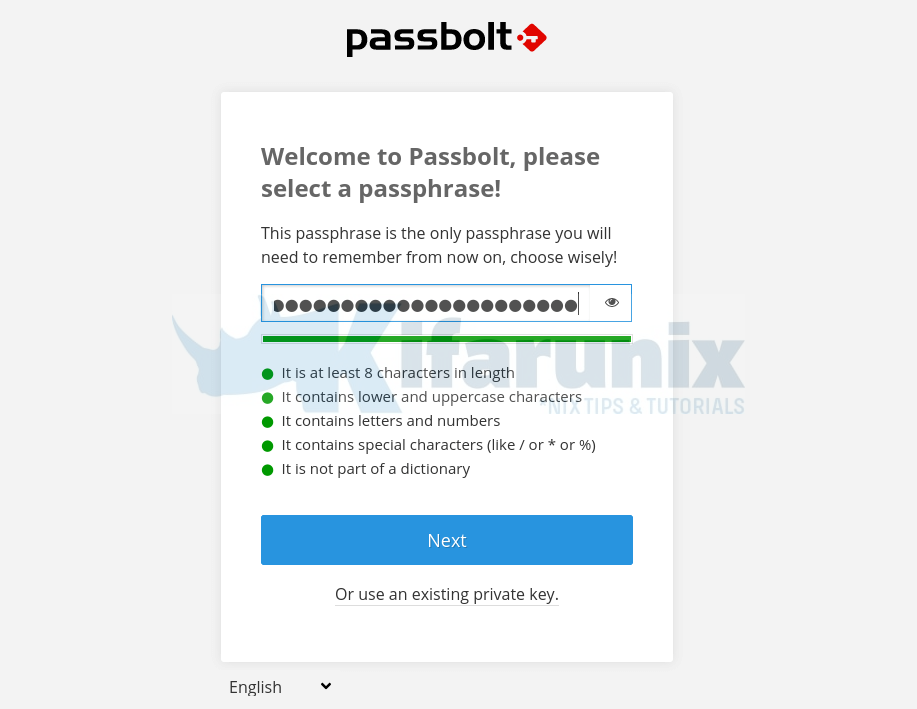
If you had an account before, you can re-use existing private key.
Your password maybe stuck as “it is not part of an exposed data breach“, refresh the page and re-enter the password.
Download and Save Passbolt Passphrase private Key
Your secret key is now generated and encrypted with your passphrase and it is stored in your Passbolt add-on. Ensure that you make a copy of this key by downloading it and storing it in a different location.
Thus download and save it securely.
Choose a Color to Identify your Secret Token with
Next, choose a color to associate your security token with. Security token will be displayed when your passphrase is requested, so you can quickly verify the form is coming from passbolt. This will help protect you from phishing attacks.

Passbolt Dashboard
Click Next to go to Passbolt dashboard.
And there you go.
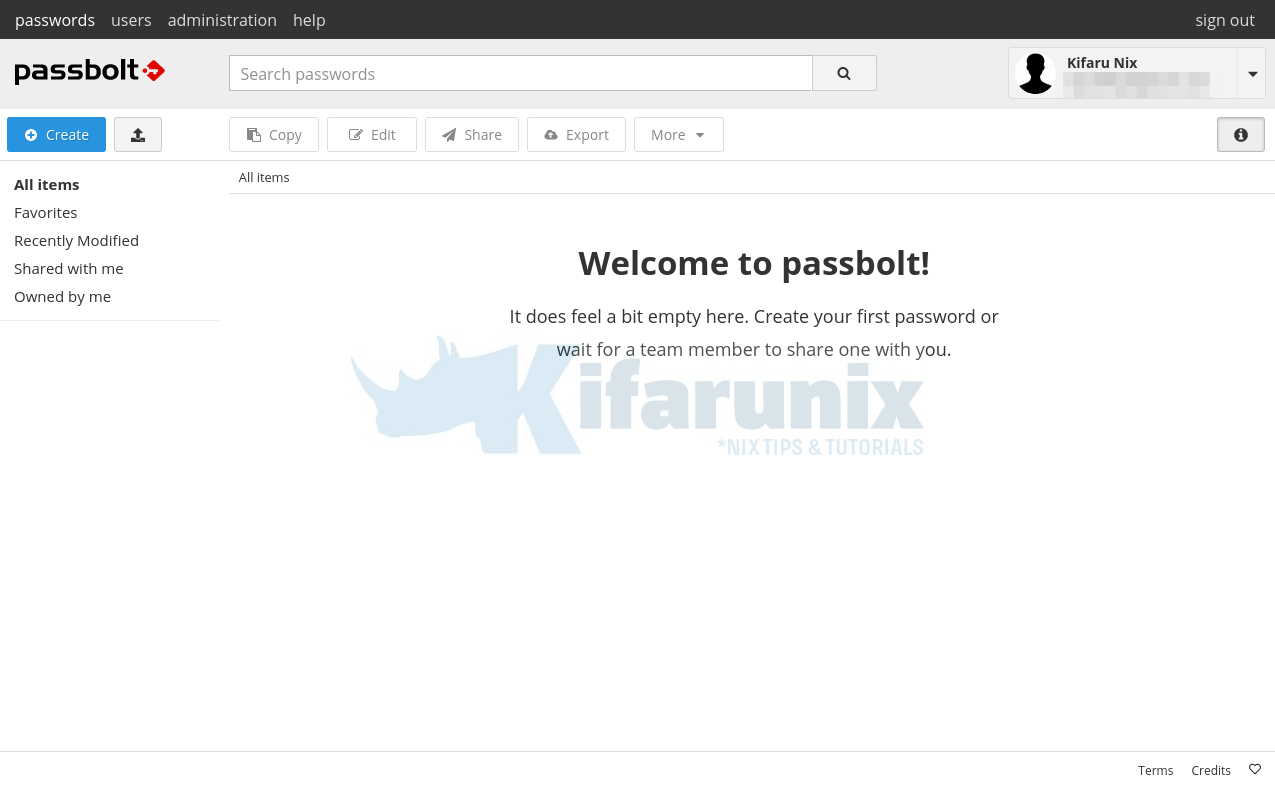
You can now start using Passbolt to store passwords/share them as you wish.
Your Passbolt password manager is now ready. That marks the end of our guide.
Reference
Related Tutorials
Install and Setup Passbolt Password Manager on Ubuntu 20.04
Install sysPass Password Manager on Ubuntu 18.04
Install TeamPass Password Manager on Ubuntu 18.04

