Having trouble with cloning a virtual machine in VMware ESXi? Worry no more. This guide will take you through how to clone a virtual machine on VMware ESXi.
How to Clone a Virtual Machine on VMware ESXi
To clone a virtual machine on VMware ESXi host, all you need to do is to copy all the *.vmdk and *.vmx files.
Therefore, login to your ESXi host and open the datastore where your virtual machines are stored. To open the datastore, click on the hostname/IP address of the VMware ESXi host and navigate to Configuration > Storage. Right click on datastore and click browse datastore.

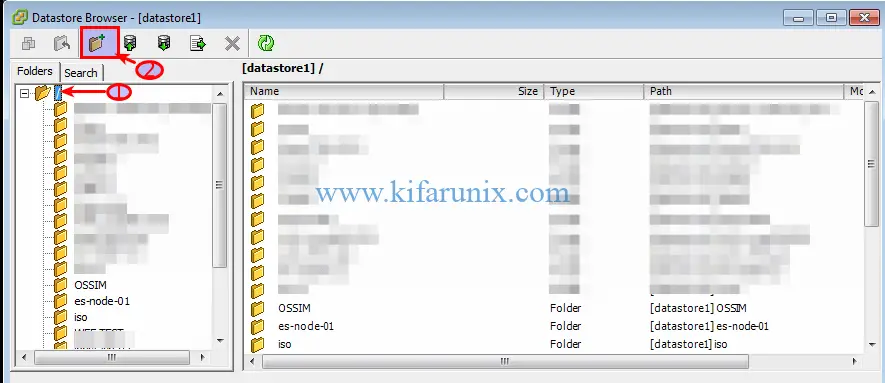
Next, create the directory for the new virtual machine clone. To create a directory, click on the datastore root directory and click the create new directory icon. In this demo, the clone VM directory is named, es-node-01-clone.
Poweroff the virtual machine that you want to clone.
Select the Virtual machine you want to clone to open its directory storage. After that select and copy the *.vmdk and *.vmx files.
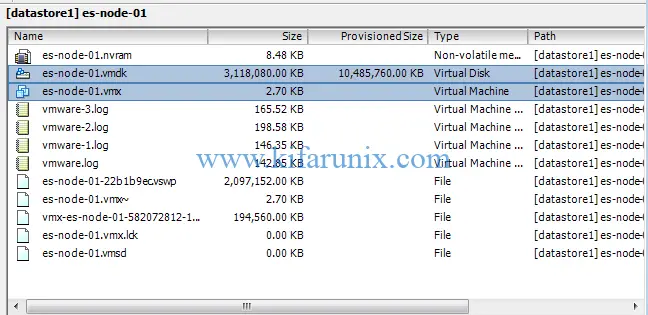
Open the new virtual machine directory (es-node-01-clone) and paste the file copied above.
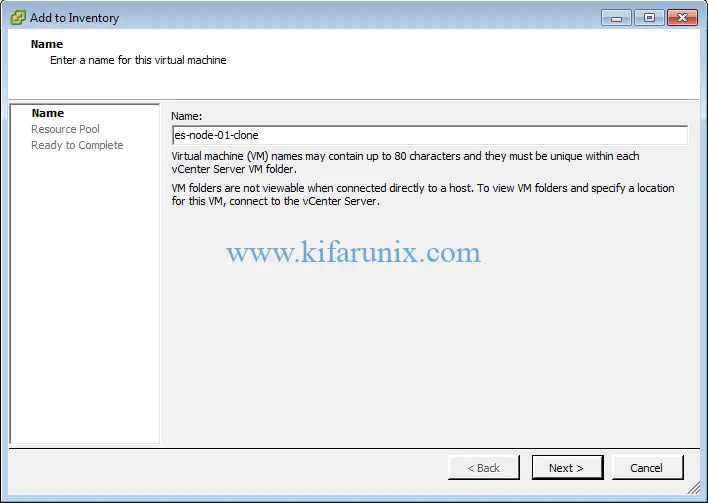
Once the copying is done, you need to register the cloned virtual machine. Hence, right on the .vmx file and click Add to Inventory.

Set the name of the Cloned virtual machine.
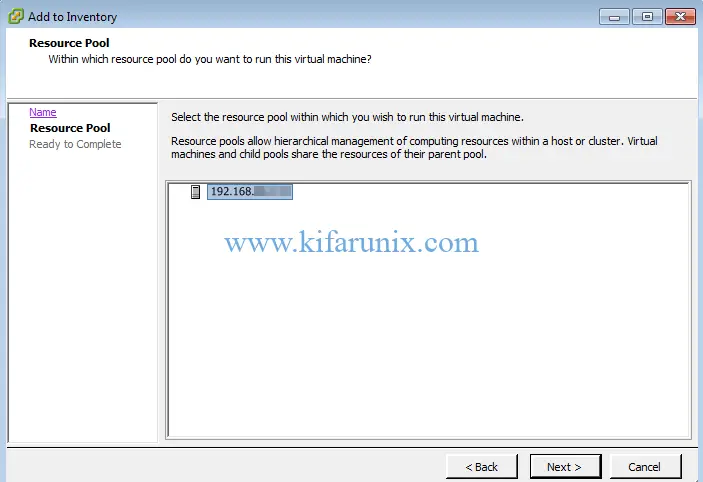
On the next step, select the resource pool on which you wish to run the virtual machine.
On the next step, click finish to finalize the creation of a cloned virtual machine. You can now power on your cloned VM.
When you power it on, the VMware ESXi needs to know whether the VM was moved or copied in order to configure management and networking features.
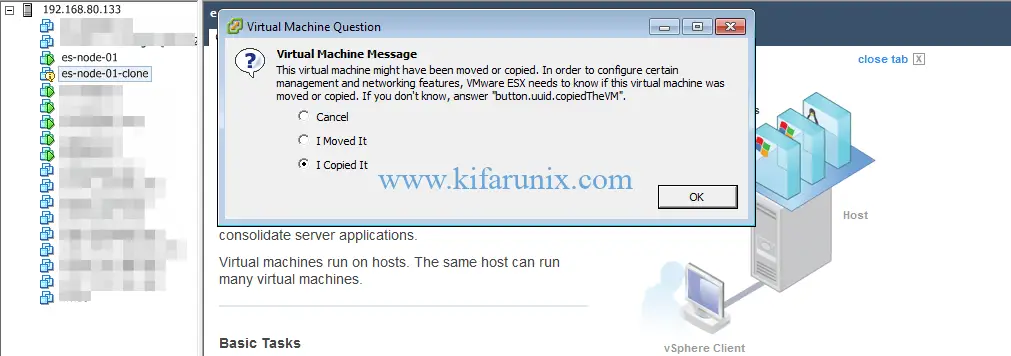
Since we did copy, select I Copied It. Press Ok to power on your cloned virtual machine.
And there you go. That is all on how to clone a virtual machine on VMware ESXi. Enjoy.
Related Tutorials;
How to Upload ISO File to VMware ESXi Datastore using vSphere Client

