This is the part 3 of our guide on how to integrate OpenStack with Ceph Storage Cluster. In cloud computing, OpenStack and Ceph stand as two prominent pillars, each offering distinct yet complementary capabilities. While OpenStack provides a comprehensive cloud computing platform, Ceph delivers distributed and scalable storage services.
Part 1: Integrating OpenStack with Ceph Storage Cluster
Part 2: Integrating OpenStack with Ceph Storage Cluster
Table of Contents
Part 3: Integrating OpenStack with Ceph Storage Cluster
Install Ansible Galaxy requirements
The Kolla Ansible Galaxy requirements are a set of Ansible roles and collections that are required to deploy OpenStack using Kolla Ansible.
To install them, run the command below;
kolla-ansible install-depsBoostrap OpenStack Nodes with Kolla Deploy Dependencies
You can now start to deploy Multinode OpenStack using Kolla-ansible playbooks.
Again, ensure that your virtual environment is activated.
source $HOME/kolla-ansible/bin/activateBootstrap your OpenStack nodes with kolla deploy dependencies using bootstrap-servers subcommand.
kolla-ansible -i multinode bootstrap-serversThis is what the bootstrap command do;
- Customisation of
/etc/hosts - Creation of user and group
- Kolla configuration directory
- Package installation and removal
- Docker engine installation and configuration
- Disabling firewalls
- Creation of Python virtual environment
- Configuration of Apparmor
- Configuration of SELinux
- Configuration of NTP daemon
Run pre-deployment checks on the nodes
Execute the command below to run the pre-deployment checks for hosts.
kolla-ansible -i multinode prechecksSample output;
...
PLAY RECAP ******************************************************************************************************************************************************************************************
compute01                  : ok=52   changed=0    unreachable=0    failed=0    skipped=46   rescued=0    ignored=0
compute02                  : ok=50   changed=0    unreachable=0    failed=0    skipped=44   rescued=0    ignored=0
controller01               : ok=132  changed=0    unreachable=0    failed=0    skipped=162  rescued=0    ignored=0
controller02               : ok=132  changed=0    unreachable=0    failed=0    skipped=154  rescued=0    ignored=0
controller03               : ok=132  changed=0    unreachable=0    failed=0    skipped=154  rescued=0    ignored=0
Deploy Multinode OpenStack and Integrate with Ceph Storage using Kolla-Ansible
If everything is fine, proceed to deploy multinode OpenStack and integrate with Ceph Cluster using Kolla-ansible;
kolla-ansible -i multinode deployThe process might take a while as it involves building containers for different OpenStack services.
Sample recap output after deployment is done;
PLAY [Apply role skyline] ***************************************************************************************************************************************************************************
skipping: no hosts matched

PLAY RECAP ******************************************************************************************************************************************************************************************
compute01                  : ok=128  changed=78   unreachable=0    failed=0    skipped=107  rescued=0    ignored=0
compute02                  : ok=117  changed=76   unreachable=0    failed=0    skipped=102  rescued=0    ignored=0
controller01               : ok=468  changed=317  unreachable=0    failed=0    skipped=303  rescued=0    ignored=1
controller02               : ok=324  changed=224  unreachable=0    failed=0    skipped=286  rescued=0    ignored=1
controller03               : ok=324  changed=224  unreachable=0    failed=0    skipped=286  rescued=0    ignored=1
Generate OpenStack Admin Credentials
Generate OpenStack admin user credentials file (openrc) using the command below;
kolla-ansible post-deployThis command generates the admin credentials file, /etc/kolla/admin-openrc.sh.
To be able to use OpenStack command line tools, you need to activate the credentials using the command below;
source /etc/kolla/admin-openrc.shInstall OpenStack command line administration tools
You can now install OpenStack command line administration tools. You need to do this from the virtual environment on the control node.source $HOME/kolla-ansible/bin/activate
pip install python-openstackclient -c https://releases.openstack.org/constraints/upper/2023.1pip install python-neutronclient -c https://releases.openstack.org/constraints/upper/2023.1pip install python-glanceclient -c https://releases.openstack.org/constraints/upper/2023.1pip install python-heatclient -c https://releases.openstack.org/constraints/upper/2023.1Confirm OpenStack Glance and Cinder Backend Stores
You can use glance stores-info and cinder get-pools to check the backend storage;
glance stores-info+----------+----------------------------------------------------------------------------------+
| Property | Value |
+----------+----------------------------------------------------------------------------------+
| stores | [{"id": "http", "read-only": "true"}, {"id": "rbd", "default": "true"}, {"id": |
| | "cinder"}] |
+----------+----------------------------------------------------------------------------------+
There are three storage backends configured in Glance: “http,” “rbd,” and “cinder.”
- The “http” backend is configured as read-only.
- The “rbd” backend is set as the default.
- The “cinder” backend is also part of the configured stores.
cinder get-pools+----------+-----------------------+
| Property | Value |
+----------+-----------------------+
| name | controller02@ceph#RBD |
+----------+-----------------------+
+----------+-----------------------+
| Property | Value |
+----------+-----------------------+
| name | controller01@ceph#RBD |
+----------+-----------------------+
+----------+-----------------------+
| Property | Value |
+----------+-----------------------+
| name | controller03@ceph#RBD |
+----------+-----------------------+
+----------+--------------------+
| Property | Value |
+----------+--------------------+
| name | compute01@ceph#RBD |
+----------+--------------------+
+----------+--------------------+
| Property | Value |
+----------+--------------------+
| name | compute02@ceph#RBD |
+----------+--------------------+
Administering OpenStack
You should now be able to administer your OpenStack deployment from the command line or from horizon.
Administering OpenStack from Command Line
To administer OpenStack deployed using Kolla-ansible from the command line, you need to activate the Kolla virtual environment and load the OpenStack admin credentials;
source $HOME/kolla-ansible/bin/activatesource /etc/kolla/admin-openrc.shAfter that, you should now be able to run OpenStack commands on command line;
openstack service list+----------------------------------+-----------+----------------+
| ID | Name | Type |
+----------------------------------+-----------+----------------+
| 4a8f6c5a6f944ff282663f1ad82030ca | gnocchi | metric |
| 6b4ed221605d4f999deb3e1dc6644f09 | heat | orchestration |
| 7108889781794680892d234a4564fd73 | placement | placement |
| 78d6e8ff7b754afa8c5eb2fb578dc5c3 | zun | container |
| 82ce1b389781410f8d382dfd3942f4e4 | glance | image |
| 8e96e4beb0f840cb9a3006a92684a568 | keystone | identity |
| a5856133a89a41569f85ddcc7e79a069 | cinderv3 | volumev3 |
| ae8d61d1c3af482fb577400c6028096e | aodh | alarming |
| c507ec607730473b9bb2d7010a305c4f | nova | compute |
| d88782831c0d47949b58e75358387bd9 | neutron | network |
| f4a68da3fadb4d2fb1c280ac44461b1b | heat-cfn | cloudformation |
+----------------------------------+-----------+----------------+
e.tc
Administering OpenStack from Horizon
You can access OpenStack horizon and administer it from there. As per our guide, we are accessing horizon via the VIP;
http://192.168.200.254.
Credentials can be obtained from the passwords file;
grep keystone_admin /etc/kolla/passwords.ymlkeystone_admin_password: 7S9UQjyeOzx1yVpVpluoZ4Y6CrfvCMIbdvYjKlp9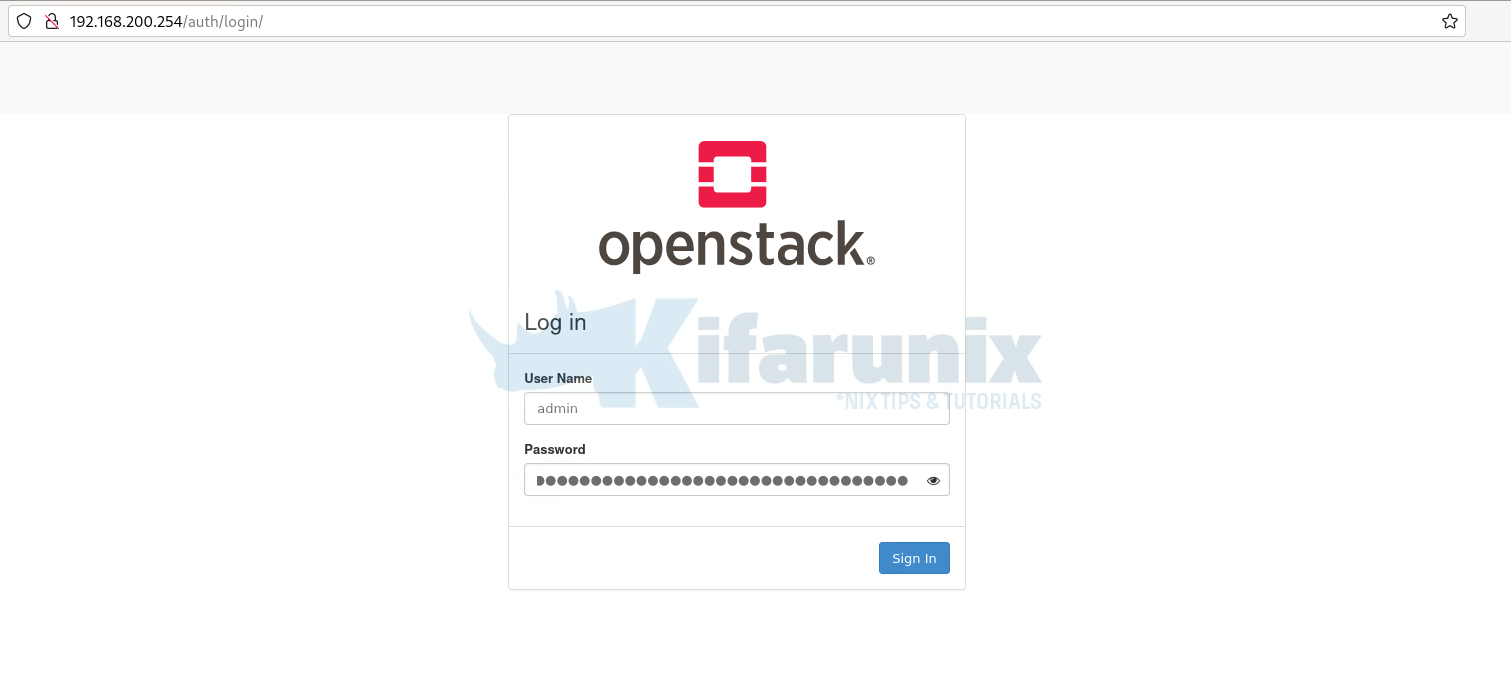
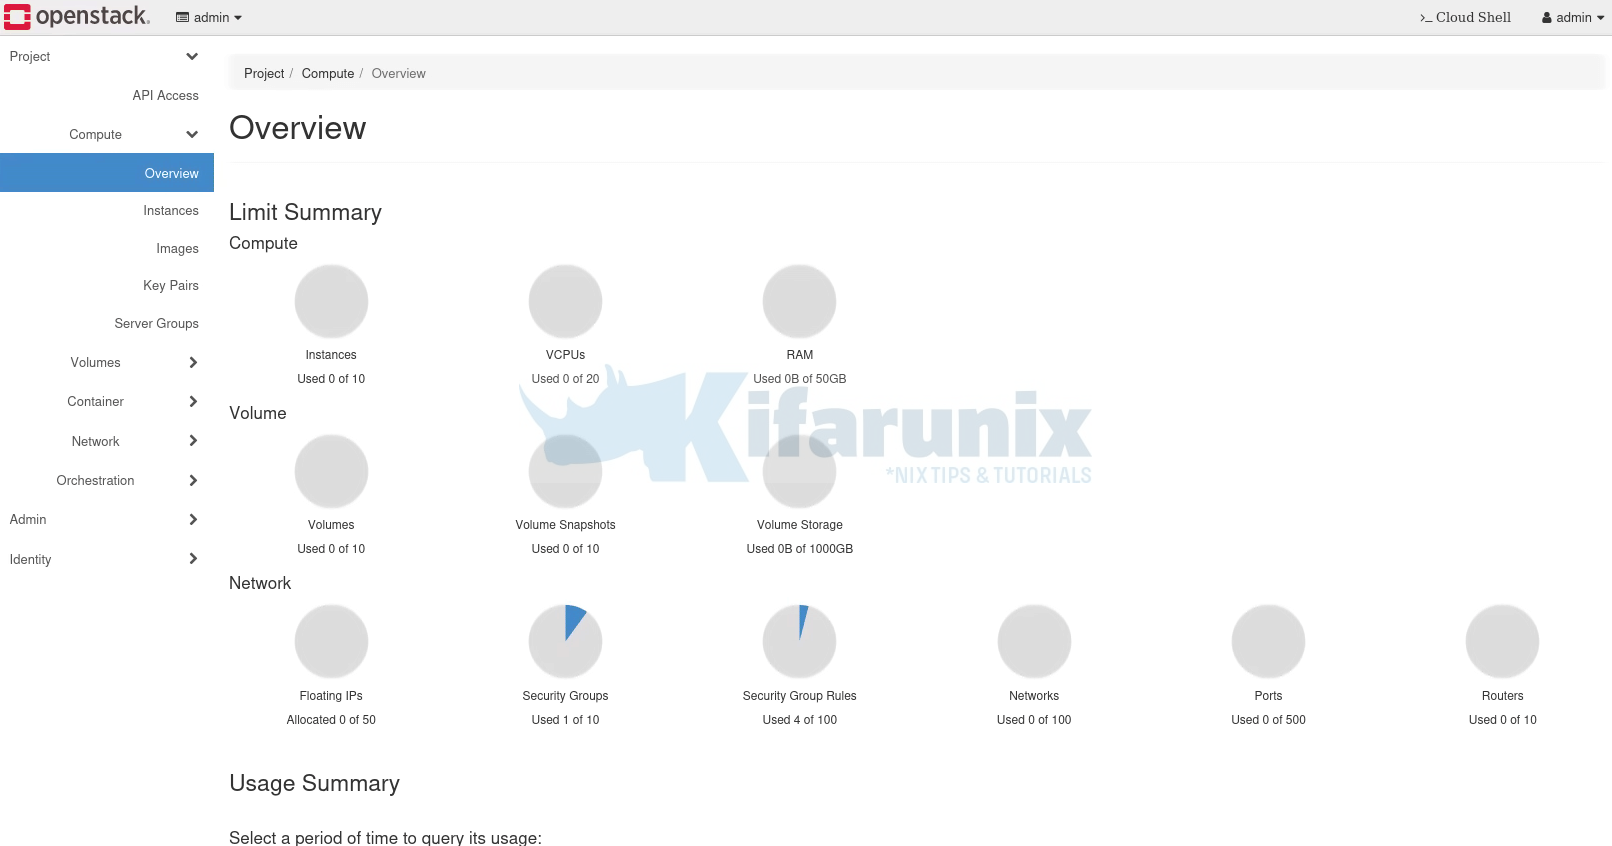
Dashboard;
Create OpenStack Image and Confirm Storage Location
You can choose to create OpenStack image and confirm if it is saved successfully on Ceph glance-image pool created before.
You can create an image from command line or from horizon.
Let’s use command to create a cirros image;
glance image-create --name cirros \
	--file ~/cirros-0.6.2-x86_64-disk.img \
	--disk-format qcow2 \
	--container-format bare \
	--progress
Sample output;
[=============================>] 100%
+------------------+----------------------------------------------------------------------------------+
| Property         | Value                                                                            |
+------------------+----------------------------------------------------------------------------------+
| checksum         | c8fc807773e5354afe61636071771906                                                 |
| container_format | bare                                                                             |
| created_at       | 2023-12-12T10:57:12Z                                                             |
| direct_url       | rbd://1e266088-9480-11ee-a7e1-738d8527cddc/glance-                               |
|                  | images/3f449c9f-d96d-4034-84ca-fb895233ad38/snap                                 |
| disk_format      | qcow2                                                                            |
| id               | 3f449c9f-d96d-4034-84ca-fb895233ad38                                             |
| min_disk         | 0                                                                                |
| min_ram          | 0                                                                                |
| name             | cirros                                                                           |
| os_hash_algo     | sha512                                                                           |
| os_hash_value    | 1103b92ce8ad966e41235a4de260deb791ff571670c0342666c8582fbb9caefe6af07ebb11d34f44 |
|                  | f8414b609b29c1bdf1d72ffa6faa39c88e8721d09847952b                                 |
| os_hidden        | False                                                                            |
| owner            | 1530dcf3d38e444b93081a243a2f9ff3                                                 |
| protected        | False                                                                            |
| size             | 21430272                                                                         |
| status           | active                                                                           |
| stores           | rbd                                                                              |
| tags             | []                                                                               |
| updated_at       | 2023-12-12T10:57:14Z                                                             |
| virtual_size     | 117440512                                                                        |
| visibility       | shared                                                                           |
+------------------+----------------------------------------------------------------------------------+
Check direct URL. It points to the underlying storage location of the image. In the provided example, the direct_url is specified as a Ceph RBD (RADOS Block Device) URL.
List images on OpenStack;
glance image-listLogin to Ceph either dashboard or command line and verify;
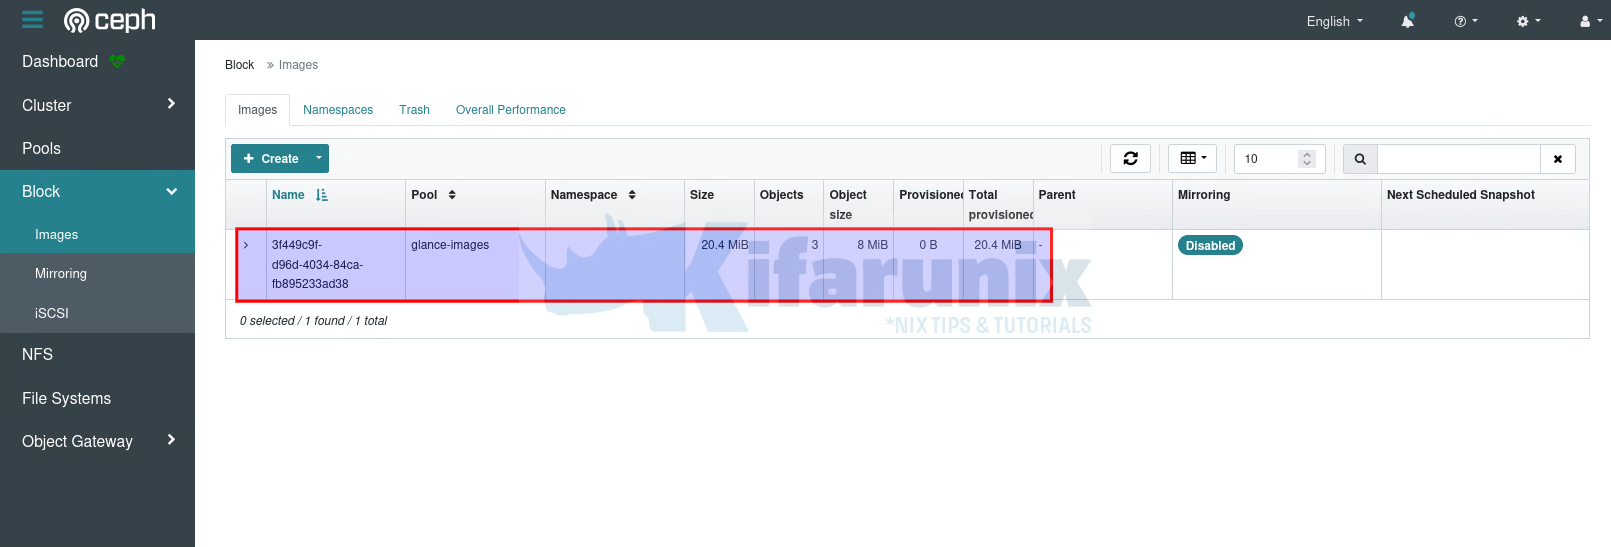
Dashboard: As you can see under Block > Images, glance-image pool, we have an image whose ID, 3f449c9f-d96d-4034-84ca-fb895233ad38, matches the one we created above!
From command line;
sudo rbd ls -p glance-imagessudo rbd disk-usage -p glance-imagesNAME PROVISIONED USED
3f449c9f-d96d-4034-84ca-fb895233ad38@snap 20 MiB 20 MiB
3f449c9f-d96d-4034-84ca-fb895233ad38 20 MiB 0 B
<TOTAL> 20 MiB 20 MiB
Create an Instance with a Volume on OpenStack and Verify on Ceph
Launch an instance and attach a volume on OpenStack;
You of course need to have created networks, images are imported, flavors are created before you can launch an instance.
Other useful post;
How to Configure OpenStack Networks for Internet Access
openstack volume create --size 1 --image cirrosGet volume ID;
openstack volume listCreate instance and attach volume;
openstack server create --flavor mini --availability-zone nova --nic net-id=DEMO_NET --volume 1f4c09f7-e63b-46e3-8e6e-ea71a49cc863 cirrosCheck instances;
openstack server listShould be booted from volume;
+--------------------------------------+--------+--------+-------------------------+--------------------------+--------+
| ID                                   | Name   | Status | Networks                | Image                    | Flavor |
+--------------------------------------+--------+--------+-------------------------+--------------------------+--------+
| c849174f-38d5-428a-bb71-3f0e86936fee | cirros | ACTIVE | DEMO_NET=192.168.50.183 | N/A (booted from volume) | mini   |
+--------------------------------------+--------+--------+-------------------------+--------------------------+--------+
List the volumes;
cinder list+--------------------------------------+--------+------+------+----------------+-------------+----------+--------------------------------------+
| ID | Status | Name | Size | Consumes Quota | Volume Type | Bootable | Attached to |
+--------------------------------------+--------+------+------+----------------+-------------+----------+--------------------------------------+
| 1f4c09f7-e63b-46e3-8e6e-ea71a49cc863 | in-use | - | 1 | True | __DEFAULT__ | true | c849174f-38d5-428a-bb71-3f0e86936fee |
+--------------------------------------+--------+------+------+----------------+-------------+----------+--------------------------------------+
Confirm on Ceph cluster;
sudo rbd ls -p cinder-volumevolume-1f4c09f7-e63b-46e3-8e6e-ea71a49cc863sudo rbd disk-usage -p cinder-volumeNAME PROVISIONED USED
volume-1f4c09f7-e63b-46e3-8e6e-ea71a49cc863 1 GiB 108 MiB
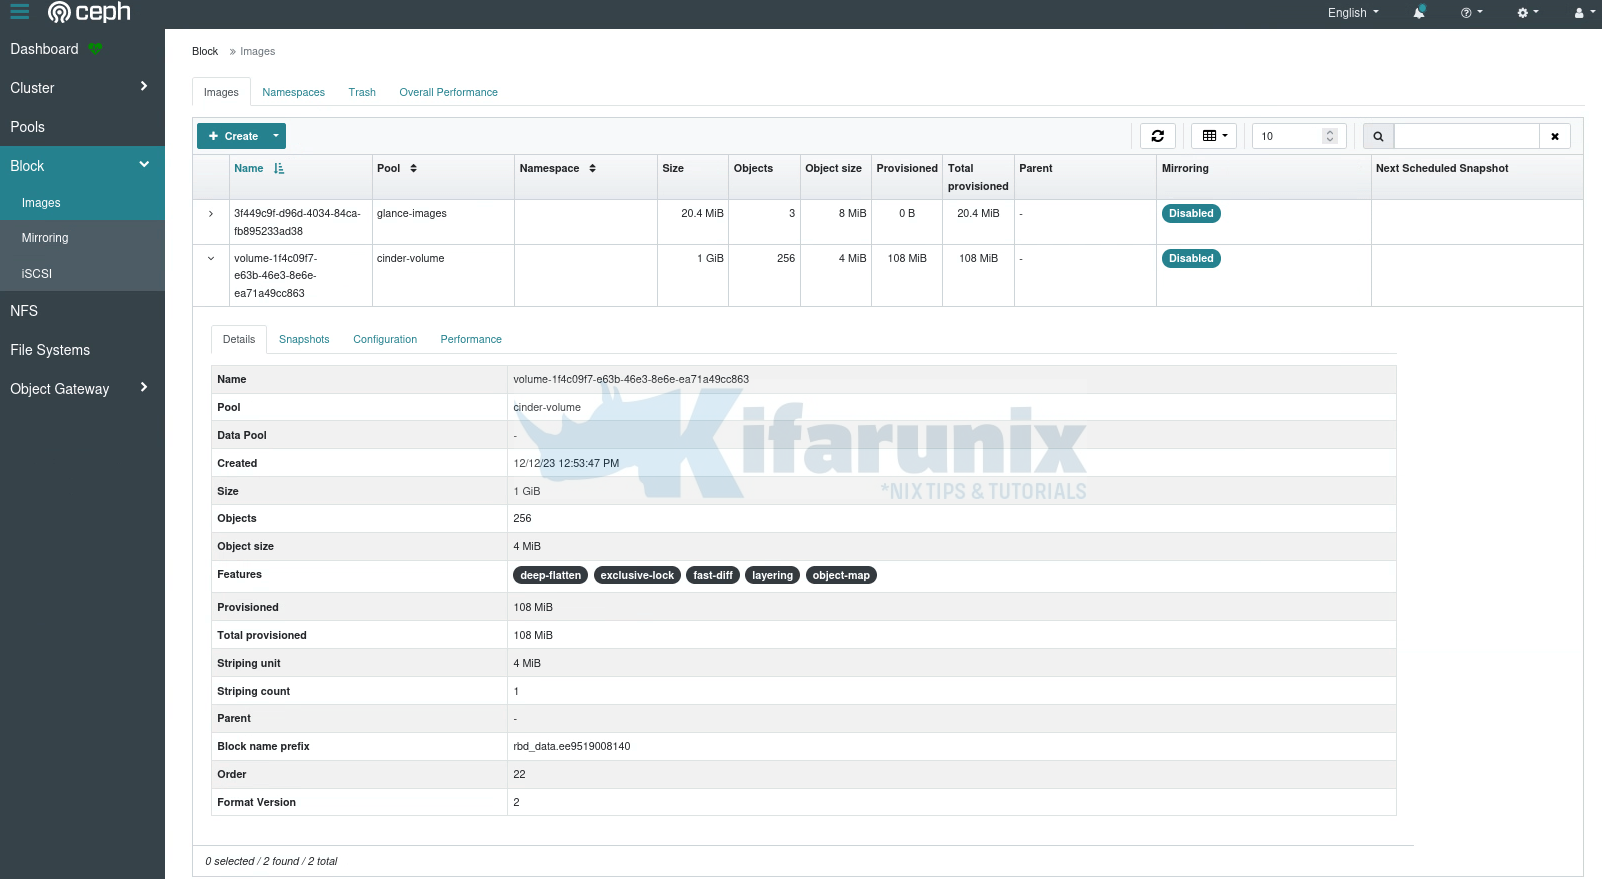
And that is it!
You have successfully integrated OpenStack with Ceph storage cluster.
That marks the end of our tutorial on how to integrating OpenStack with Ceph storage cluster.

