Welcome to our guide on how to install LAMP Stack on Ubuntu 24.04. As you already know, LAMP is a group of opensource web development softwares; Linux OS, Apache HTTP server, MariaDB/MySQL relational database management systems and PHP web scripting language.
Table of Contents
Installing LAMP Stack on Ubuntu 24.04
As per the acronym, Linux system is the first component of LAMP stack. And since you are here, Ubuntu 24.04 is our first component of LAMP stack.
We have already installed an Ubuntu 24.04 system as a virtual machine on VirtualBox.
Install Ubuntu 24.04 on VirtualBox
Run System Update
To begin with, update and upgrade your system packages;
sudo apt update
sudo apt upgrade
Install Apache Web Server on Ubuntu 24.04
Apache web server can be installed by running the command below;
sudo apt install apache2
Once the installation is done, start and enable Apache to run on system boot.
sudo systemctl enable --now apache2
You can check the status of the service;
systemctl status apache2● apache2.service - The Apache HTTP Server
Loaded: loaded (/usr/lib/systemd/system/apache2.service; enabled; preset: enabled)
Active: active (running) since Sun 2024-05-12 19:00:40 UTC; 2s ago
Docs: https://httpd.apache.org/docs/2.4/
Process: 27470 ExecStart=/usr/sbin/apachectl start (code=exited, status=0/SUCCESS)
Main PID: 27474 (apache2)
Tasks: 6 (limit: 4614)
Memory: 11.5M (peak: 12.0M)
CPU: 36ms
CGroup: /system.slice/apache2.service
├─27474 /usr/sbin/apache2 -k start
├─27476 /usr/sbin/apache2 -k start
├─27477 /usr/sbin/apache2 -k start
├─27478 /usr/sbin/apache2 -k start
├─27479 /usr/sbin/apache2 -k start
└─27480 /usr/sbin/apache2 -k start
May 12 19:00:40 noble systemd[1]: Starting apache2.service - The Apache HTTP Server...
May 12 19:00:40 noble apachectl[27473]: AH00558: apache2: Could not reliably determine the server's fully qualified domain name, using 127.0.1.1. Set the 'ServerNam>
May 12 19:00:40 noble systemd[1]: Started apache2.service - The Apache HTTP Server.
If you going to be accessing Apache from your external system, then you need to allow it on firewall, that is, in case UFW is running;
sudo ufw allow Apache
or simply run ufw allow 80/tcp to allow HTTP traffic or ufw allow 443/tcp for HTTPS traffic.
You can also use IPtables if you want.
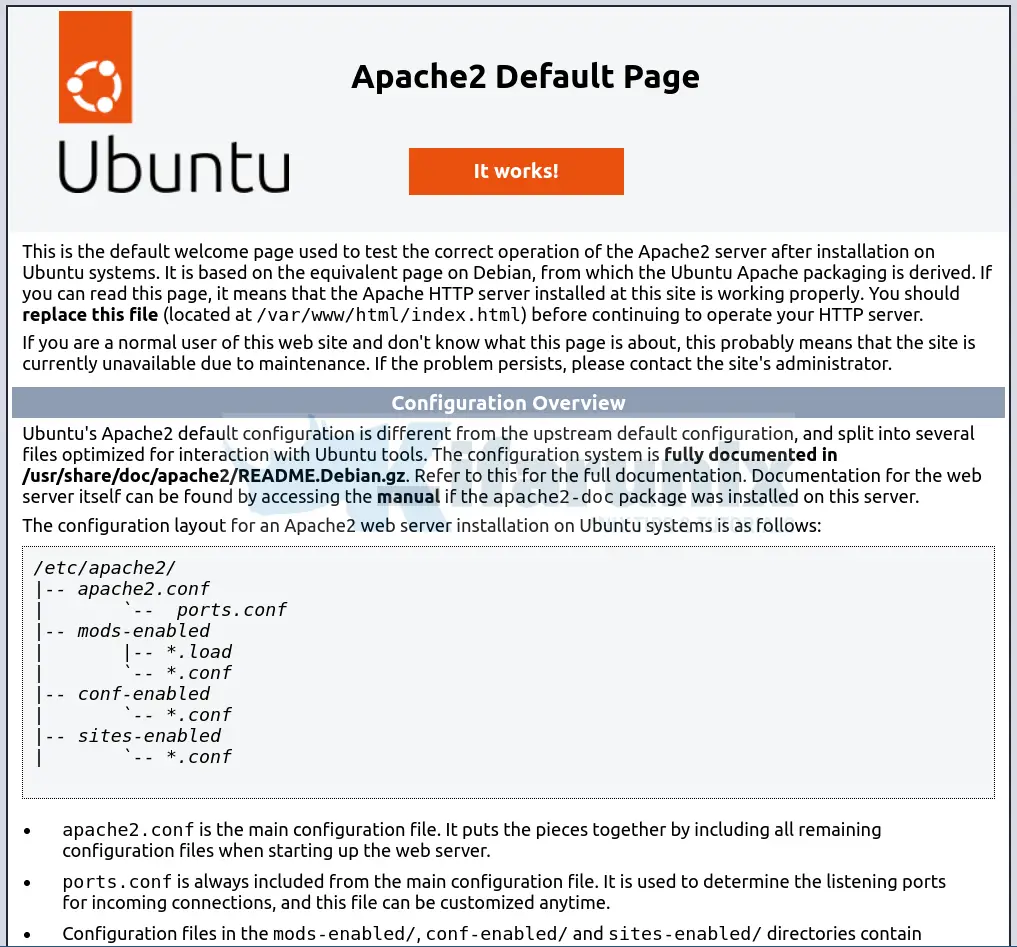
Verify external access to Apache by navigating to your browser and entering the server IP address or hostname as http://Server.IP_or_hostname. You should land on Apache HTTP server test page.

Apache is confirmed to be working as expected. Proceed to install MySQL/MariaDB on Ubuntu 24.04.
Install MySQL Database Server on Ubuntu 24.04
In this demo, we are running LAMP stack on Ubuntu 24.04 with MariaDB.
Therefore, follow the link below to install MariaDB 11.3 on Ubuntu 24.04;
How to Install MariaDB 11 on Ubuntu 24.04
Install PHP on Ubuntu 24.04
PHP is the last but not least component in LAMP Stack. In this demo, we are going to use PHP 8.3 for our LAMP stack. PHP 8.3 is the version currently available on the default Ubuntu 24.04 default repositories as of this writing.
sudo apt install phpInstalling PHP Modules on Ubuntu 24.04
Installation of PHP installs with itself other PHP modules such as, libapache2-mod-php, php-common, php-cli, php-common, php-json, php-opcache, php-readline
Install MySQL module for PHP and any other module you may need for your web application.
sudo apt install php-mysqlCurrent installed version of PHP;
php -vPHP 8.3.6 (cli) (built: Apr 15 2024 19:21:47) (NTS)
Copyright (c) The PHP Group
Zend Engine v4.3.6, Copyright (c) Zend Technologies
with Zend OPcache v8.3.6, Copyright (c), by Zend Technologies
Loaded modules;
php -m[PHP Modules]
calendar
Core
ctype
date
exif
FFI
fileinfo
filter
ftp
gd
gettext
hash
iconv
json
libxml
mysqli
mysqlnd
openssl
pcntl
pcre
PDO
pdo_mysql
Phar
posix
random
readline
Reflection
session
shmop
sockets
sodium
SPL
standard
sysvmsg
sysvsem
sysvshm
tokenizer
Zend OPcache
zlib
[Zend Modules]
Zend OPcache
Testing PHP Processing on Ubuntu 24.04
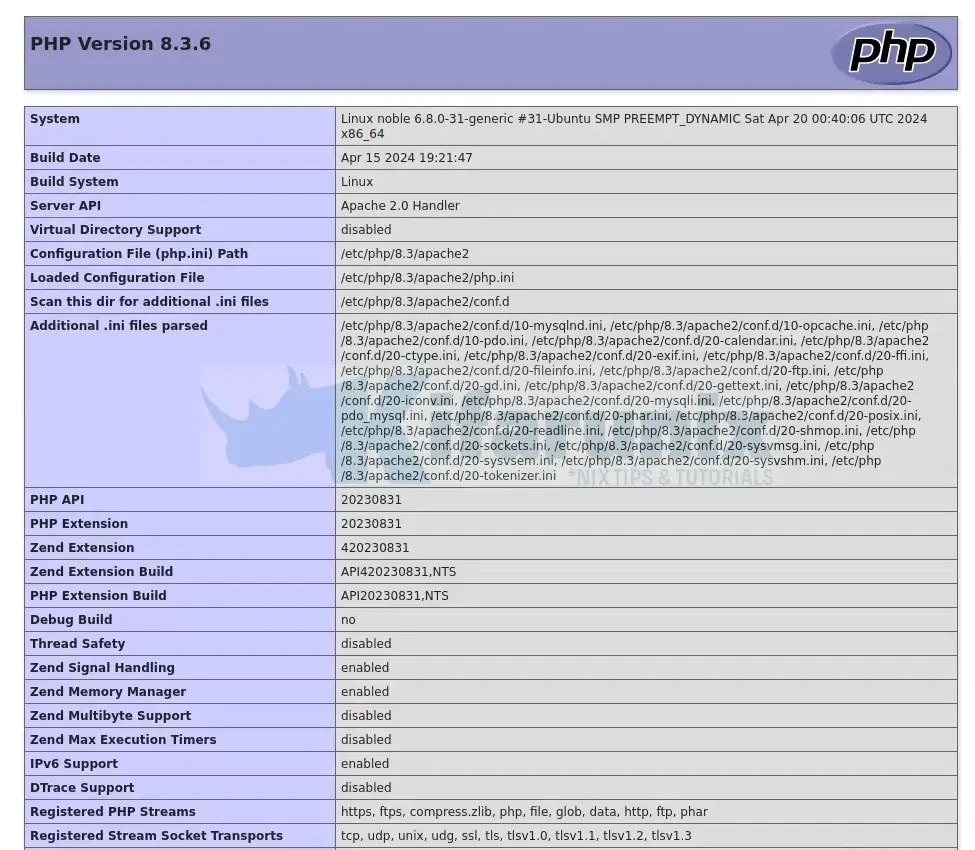
You can test PHP to confirm that is working as required as well check the version and installed modules using the simple PHP info script.
echo "<?php phpinfo(); ?>" | sudo tee /var/www/html/info.php
Restart Apache
sudo systemctl restart apache2
Next, navigate to the browser and enter the address, http://<server-IP>/info.php

If you see this page, then PHP installation is working pretty well.
That marks the end of our guide on how to Install LAMP Stack.

