ownCloud desktop client enables you to synchronize files and directories, among other functions, between your desktop and your ownCloud server. Therefore, follow through this guide to learn how to install ownCloud Desktop Client on CentOS 8 desktop system.
Installing ownCloud Desktop Client on CentOS 8
Install ownCloud Desktop Client Repository
ownCloud Desktop client is not available on the default CentOS 8 repos. Therefore, to install it, you need to create the ownCloud Desktop client repos.
dnf config-manager --add-repo https://download.opensuse.org/repositories/isv:/ownCloud:/desktop/CentOS_8/isv:ownCloud:desktop.repoInstall the Repository Signing Key
To verify the validity and integrity of ownCloud packages, you need to install the repository GPG signing key.
rpm --import http://download.opensuse.org/repositories/isv:/ownCloud:/desktop/CentOS_8/repodata/repomd.xml.keyRun System Package Update
Update your system packages.
dnf updateInstall ownCloud Desktop Client
Now that you got the repositories in place, run the command below to install ownCloud desktop client.
dnf install owncloud-clientConnecting to ownCloud Server
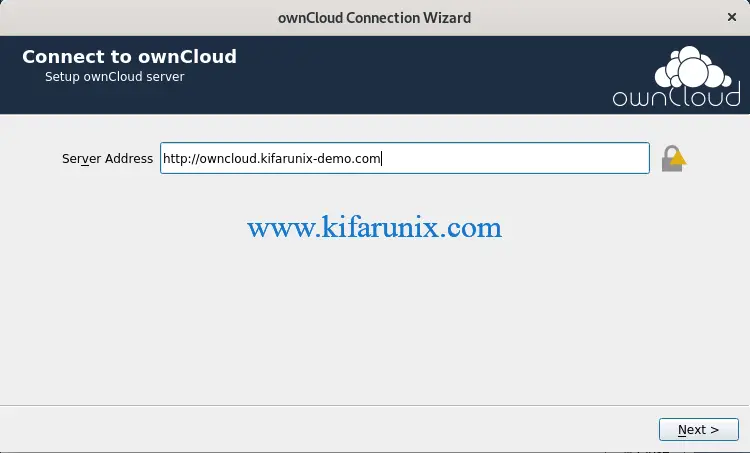
Once the client installation completes successfully, you can launch it and initiate the connection to the ownCloud server for file and directory synchronization.
Enter the ownCloud server connection address.

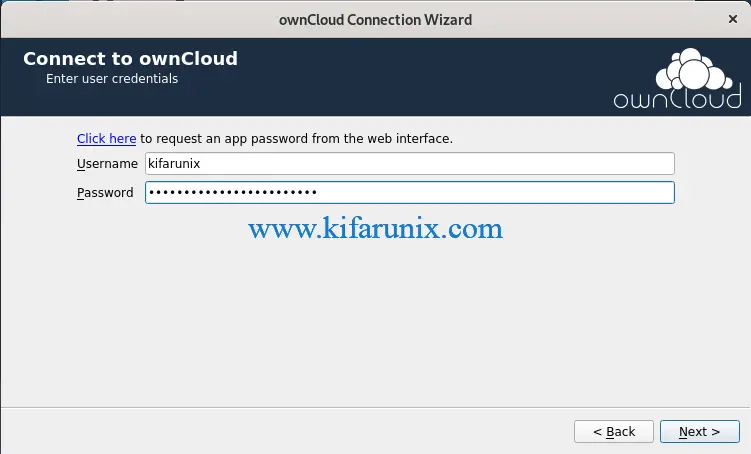
Set the user login credentials.

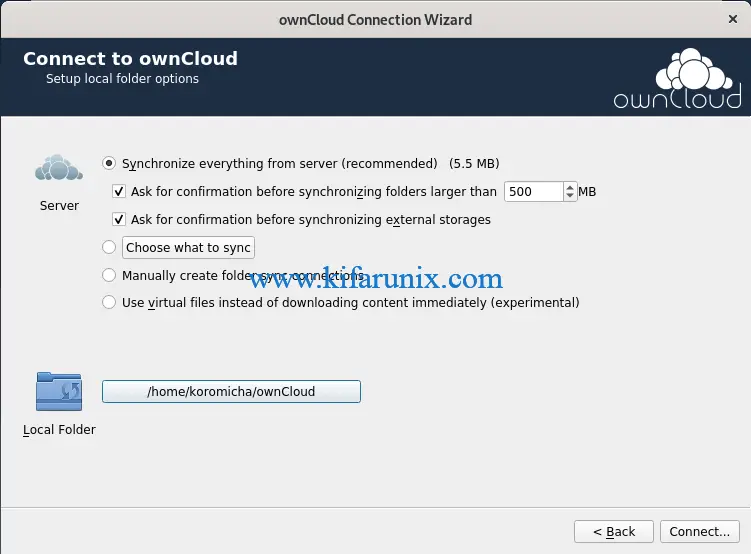
Configure local folder settings.

Start synchronizing files. That marks the end of installation and setup of ownCloud Desktop client on CentOS 8.
You can also check our other guides on;
Configure ownCloud OpenLDAP Authentication
Install ownCloud Desktop Client on Debian 10 Buster

