In this guide, you will learn how to install Gophish on Ubuntu 22.04. Gophish is a powerful open-source phishing framework that enables organizations to quickly and easily setup and execute phishing engagements and security awareness training.
When a phishing campaign is launched, Gophish updates the results automatically. Using the UI, you can view a timeline for each recipient, tracking email opens, link clicks, submitted credentials, etc.
Table of Contents
Installing Gophish on Ubuntu 22.04
Installing Gophish on Ubuntu 22.04 is one easy step. There are two approaches though that you can use in this case:
- Installing Gophish on Ubuntu 22.04 using OS-specific binary
- Building Gophish from source.
Install Gophish Using Linux Binary
Download Gophish
Download Gophish pre-built binary for Linux from the releases page.
The current release version as of this writing is v0.12.1. Thus, replace the value of the VER below with the current release version number.
VER=0.12.1wget https://github.com/gophish/gophish/releases/download/v${VER}/gophish-v${VER}-linux-64bit.zipInstall Gophish Using Linux Binary
Once you get Gophish zipped binary file, you need to unzip it to get the binary itself.
sudo apt updatesudo apt install zipYou can unzip the binary to /opt/gophish directory, which will act as the installation directory for Gophish.
sudo unzip gophish-v${VER}-linux-64bit.zip -d /opt/gophishThe Gophish installer is now located under /opt/gophish.
ls -1 /opt/gophishconfig.json
db
gophish
LICENSE
README.md
static
templates
VERSIONInstall Gophish from Source
If you want, you can also build Gophish on Ubuntu 22.04 from source.
Install go and C compiler on Ubuntu 22.04
To go this route, you need go installed.
Download go archive from downloads page.
wget https://go.dev/dl/go1.21.1.linux-amd64.tar.gzRemove previus Go installation and install current Go;
sudo rm -rf /usr/local/go && sudo tar -C /usr/local -xzf go1.21.1.linux-amd64.tar.gzAdd /usr/local/go/bin to the PATH environment variable;
sudo sed -i 's#"$#:/usr/local/go/bin"#' /etc/environmentsource /etc/environmentInstall C compiler;
sudo apt install gccSimilary, update sudoers file with Go path;
sudo su -visudo -f /etc/sudoersChange line below;
Defaults secure_path="/usr/local/sbin:/usr/local/bin:/usr/sbin:/usr/bin:/sbin:/bin:/snap/bin"to;
Defaults secure_path="/usr/local/sbin:/usr/local/bin:/usr/sbin:/usr/bin:/sbin:/bin:/snap/bin:/usr/local/go/bin"Save and exit the sudoers file.
Check if the sudeors syntax is okay.
visudo -c -f /etc/sudoersEnsure everything is Okay;
/etc/sudoers: parsed OK
/etc/sudoers.d/README: parsed OK
Exit from root!
exitInstalling Gophish from Source
Install git package;
sudo apt install gitNavigate to /opt directorym clone Gophish Github repo and install it;
cd /opt/sudo git clone https://github.com/gophish/gophish.gitcd gophishsudo go buildOnce the build is done, you will have a gophish binary in the /opt/gophish directory.
Run Gophish
Now that the installation of Gophish is done, we can run it and begin phishing campaigns.
Stop and disable Apache if it is installed and running;
sudo systemctl stop apache2sudo systemctl mask apache2Update the permissions of the Gophish configuration file;
sudo chmod 0640 /opt/gophish/config.jsonStart Gophish by navigating to the install directory and run the gophish binary as follows;
cd /opt/gophishsudo chmod +x gophishsudo ./gophishtime="2023-09-11T10:39:13Z" level=warning msg="No contact address has been configured."
time="2023-09-11T10:39:13Z" level=warning msg="Please consider adding a contact_address entry in your config.json"
goose: migrating db environment 'production', current version: 0, target: 20220321133237
OK 20160118194630_init.sql
OK 20160131153104_0.1.2_add_event_details.sql
OK 20160211211220_0.1.2_add_ignore_cert_errors.sql
OK 20160217211342_0.1.2_create_from_col_results.sql
OK 20160225173824_0.1.2_capture_credentials.sql
OK 20160227180335_0.1.2_store-smtp-settings.sql
OK 20160317214457_0.2_redirect_url.sql
OK 20160605210903_0.2_campaign_scheduling.sql
OK 20170104220731_0.2_result_statuses.sql
OK 20170219122503_0.2.1_email_headers.sql
OK 20170827141312_0.4_utc_dates.sql
OK 20171027213457_0.4.1_maillogs.sql
OK 20171208201932_0.4.1_next_send_date.sql
OK 20180223101813_0.5.1_user_reporting.sql
OK 20180524203752_0.7.0_result_last_modified.sql
OK 20180527213648_0.7.0_store_email_request.sql
OK 20180830215615_0.7.0_send_by_date.sql
OK 20190105192341_0.8.0_rbac.sql
OK 20191104103306_0.9.0_create_webhooks.sql
OK 20200116000000_0.9.0_imap.sql
OK 20200619000000_0.11.0_password_policy.sql
OK 20200730000000_0.11.0_imap_ignore_cert_errors.sql
OK 20200914000000_0.11.0_last_login.sql
OK 20201201000000_0.11.0_account_locked.sql
OK 20220321133237_0.4.1_envelope_sender.sql
time="2023-09-11T10:39:18Z" level=info msg="Please login with the username admin and the password 7b2d83385a318596"
time="2023-09-11T10:39:18Z" level=info msg="Creating new self-signed certificates for administration interface"
time="2023-09-11T10:39:18Z" level=info msg="Starting IMAP monitor manager"
time="2023-09-11T10:39:18Z" level=info msg="Starting new IMAP monitor for user admin"
time="2023-09-11T10:39:18Z" level=info msg="Starting phishing server at http://0.0.0.0:80"
time="2023-09-11T10:39:18Z" level=info msg="Background Worker Started Successfully - Waiting for Campaigns"
time="2023-09-11T10:39:18Z" level=info msg="TLS Certificate Generation complete"
time="2023-09-11T10:39:18Z" level=info msg="Starting admin server at https://127.0.0.1:3333"
If you need to free the terminal, send Gophish to the background
sudo ./gophish &If you want to bring the process to foreground, simply run the command below on the terminal;
fgAccessing Gophish Admin Server Web Interface
You can verify that Gophish admin server is listening on tcp port 3333 on localhost using netstat command.
netstat -al | grep 3333tcp 0 0 localhost:3333 0.0.0.0:* LISTEN
tcp 0 0 localhost:3333 localhost:55844 TIME_WAITGophish admin server is set to listen on localhost tcp port 3333 by default and hence can be accessed via https://localhost:3333.
If you are accessing Gophish admin from a remote system, then you can do SSH port forwarding if Gophis is running locally.
You can as well reconfigure Gophish admin server to listen on all interfaces or just a specific interface.
To perform a local SSH port forwarding, run the command below on your host machine.
In this example, 192.168.0.113 is the IP of the Gophish admin server.
ssh -N -L 3333:127.0.0.1:3333 [email protected]To explicitly configure Gophish admin server to listen on an interface IP, edit the config.json file on the installation folder, /opt/gophish, in this case and substitute the loopback IP, 127.0.0.1 with an interface IP as shown below.
sudo vim /opt/gophish/config.json "admin_server": {
"listen_url": "192.168.0.113:3333",
"use_tls": true,
"cert_path": "gophish_admin.crt",
"key_path": "gophish_admin.key"
},
Save the changes and run gophish binary;
cd /opt/gophishsudo ./gophishIf UFW is running, allow remote access to Gophish.
ufw allow 3333/tcpYou can then access Gophish web UI using the address, https://192.168.0.113:3333.
The login credentials for Gophish are printed out in the Gophish start command;
time="2023-09-11T10:50:08Z" level=info msg="Please login with the username admin and the password 8476fbfad08cd1cb"
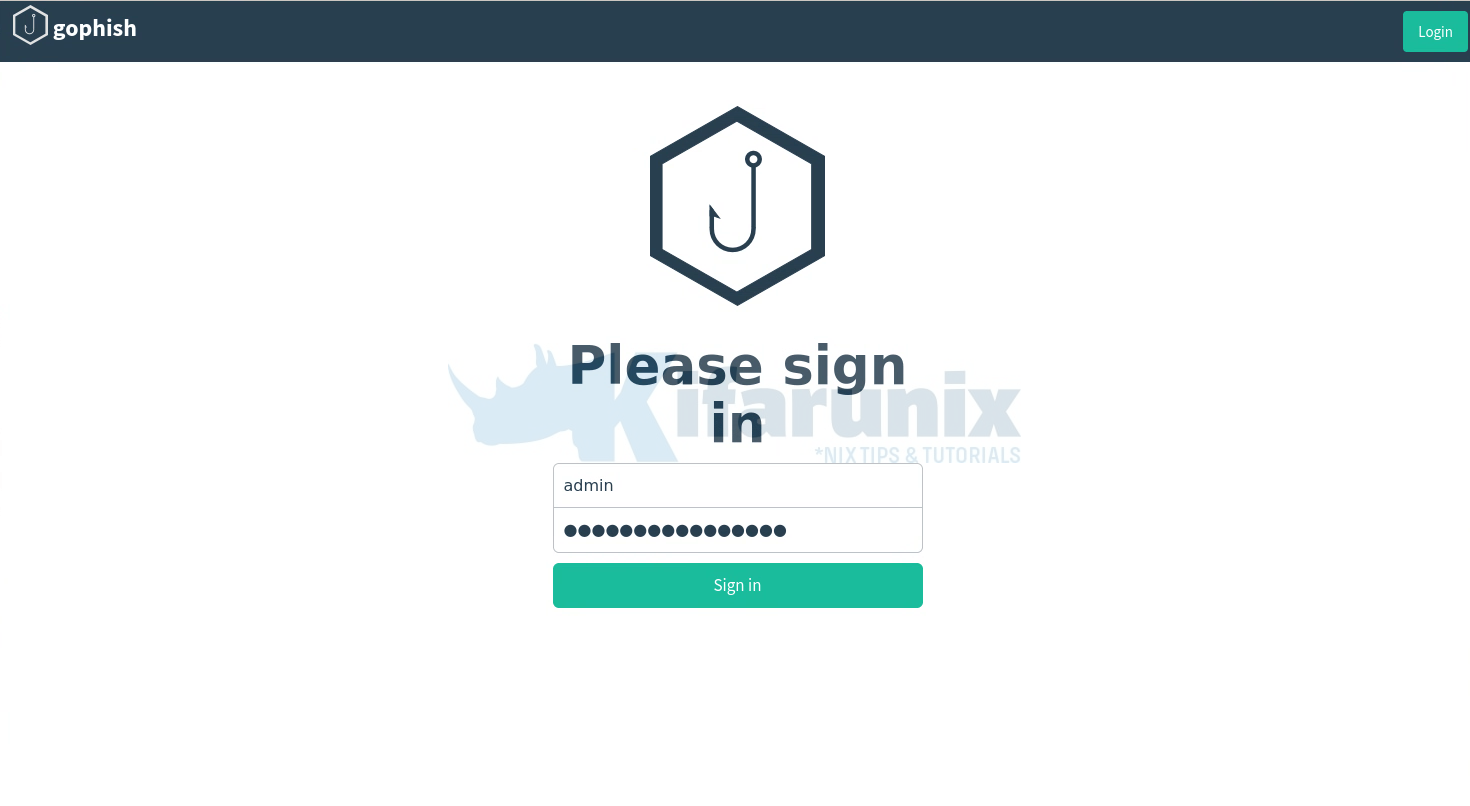
You will then be prompted to reset your password. Reset and proceed to login to Gophish dashboard.
Login to Gophish dashboard.

That is the default Gophish dashboard. In our next guide, we will learn how to create phishing campaigns.
Accessing Gophish Phish Server
You can check if you can access Gophish phish server using the address http[s]://server-IP-or-domain.
If you get “404 page not found“, it confirms Phish server is okay. If you have an active campaign. add RID to your address, http[s]://server-IP-or-domain/?rid=xxxxxxxx.
Run Gophish as Systemd service
To run Gophish as a systemd service, you need to create the service unit configuration file.
In this guide, we are going to create a systemd service configuration file.
To run Gophish as a service, you need to create a non-privileged user used to run the service.
sudo useradd -r gophish -M -d /opt/gophish/Next, create a Gophish systemd service configuration with the following content.
sudo vim /etc/systemd/system/gophish.service[Unit]
Description=Gophish, an open-source phishing toolkit
Documentation=https://getgophish.com/documentation/
After=network.target
[Service]
WorkingDirectory=/opt/gophish
User=gophish
Environment='STDOUT=/var/log/gophish/gophish.log'
Environment='STDERR=/var/log/gophish/gophish.log'
PIDFile=/var/run/gophish
ExecStart=/bin/sh -c "/opt/gophish/gophish >>${STDOUT} 2>>${STDERR}"
[Install]
WantedBy=multi-user.target
Next, create the log directory.
sudo mkdir /var/log/gophishSet the proper ownership for the Gophish installation as well as the log directory.
sudo chown -R gophish:gophish /opt/gophish/ /var/log/gophish/Give Gophish binary capabilities to open port 80
sudo setcap cap_net_bind_service=+ep /opt/gophish/gophishReload Systemd Configurations
sudo systemctl daemon-reloadStart and enable Gophish service to run on system boot.
sudo systemctl enable --now gophishCheck Gophish service status
sudo systemctl status gophish● gophish.service - Gophish, an open-source phishing toolkit
Loaded: loaded (/etc/systemd/system/gophish.service; enabled; vendor preset: enabled)
Active: active (running) since Mon 2023-09-11 11:13:36 UTC; 2s ago
Docs: https://getgophish.com/documentation/
Main PID: 3727 (sh)
Tasks: 6 (limit: 2219)
Memory: 5.1M
CPU: 15ms
CGroup: /system.slice/gophish.service
├─3727 /bin/sh -c "/opt/gophish/gophish >>/var/log/gophish/gophish.log 2>>/var/log/gophish/gophish.log"
└─3728 /opt/gophish/gophish
Sep 11 11:13:36 jammy systemd[1]: Started Gophish, an open-source phishing toolkit.
Configure Gophish with MariaDB/MySQL Database
Gophish uses SQLite database by default. While it is simple and lightweight, MariaDB/MySQL will give you more scalability and performance features as compared to SQLite. Hence, you might want to consider using MariaDB/MySQL database.
So, if you want to configure Gophish to use MariaDB instead, how can you go about it?
Install MariaDB/MySQL on Ubuntu 22.04
Install MariaDB/MySQL on Ubuntu 22.04;
We are using MariaDB in this guide. Steps should be same, either way!
Create Gophish Database and Database User
Login to the MariaDB/MySQL server using the command line or a database management tool such as phpMyAdmin. Once logged in, execute the following commands to create a new database and a user for Gophish:
CREATE DATABASE gophish;
CREATE USER 'gophishuser'@'localhost' IDENTIFIED BY 'password';
GRANT ALL PRIVILEGES ON gophish.* TO 'gophishuser'@'localhost';
Replace Database name, ‘gophish‘, the user, ‘gophishuser‘ and the password, ‘password‘ with a strong password for the Gophish user.
Configure Gophish with MariaDB/MySQL
To configure Gophish to use MariaDB/MySQL, open the configuration file located at /opt/gophish/config.json using a text editor.
sudo vim /opt/gophish/config.jsonFind the “db_name” and “db_path”;
        "db_name": "sqlite3",
        "db_path": "gophish.db",
And update with the appropriate values. The format for the db_path entry is username:password@(host:port)/database?charset=utf8&parseTime=True&loc=UTC.
        "db_name": "mysql",
        "db_path": "gophishuser:password@(localhost:3306)/gophish?charset=utf8&parseTime=True&loc=UTC",
Save the changes and exit the text editor.
Restart Gophish
Finally, restart the Gophish service for the changes to take effect:
sudo systemctl restart gophishGophish will now be configured to use the MariaDB/MySQL database.
● gophish.service - Gophish, an open-source phishing toolkit
     Loaded: loaded (/etc/systemd/system/gophish.service; enabled; vendor preset: enabled)
     Active: active (running) since Mon 2023-09-11 15:54:56 UTC; 14s ago
       Docs: https://getgophish.com/documentation/
   Main PID: 1548 (sh)
      Tasks: 5 (limit: 2219)
     Memory: 2.3M
        CPU: 10ms
     CGroup: /system.slice/gophish.service
             ├─1548 /bin/sh -c "/opt/gophish/gophish >>/var/log/gophish/gophish.log 2>>/var/log/gophish/gophish.log"
             └─1549 /opt/gophish/gophish

Sep 11 15:54:56 jammy systemd[1]: Started Gophish, an open-source phishing toolkit.
That’s it! You have successfully configured Gophish to use MariaDB/MySQL as the database backend.
Configure Gophish with HTTPS (SSL/TLS)
It is prudent to enable HTTPS connection for Gophish.
To proceed, ensure that you have SSL/TLS your certificates. We are using our Let’s Encrypt certificates in this guide.
sudo vim /opt/gophish/config.jsonI will update this configuration;
        "admin_server": {
                "listen_url": "127.0.0.1:3333",
                "use_tls": true,
                "cert_path": "gophish_admin.crt",
                "key_path": "gophish_admin.key",
                "trusted_origins": []
        },
        "phish_server": {
                "listen_url": "0.0.0.0:80",
                "use_tls": false,
                "cert_path": "example.crt",
                "key_path": "example.key"
        },
to;
        "admin_server": {
                "listen_url": "0.0.0.0:3333",
                "use_tls": true,
                "cert_path": "/opt/gophish/ssl/fullchain.pem",
                "key_path": "/opt/gophish/ssl/privkey.pem",
                "trusted_origins": []
        },
        "phish_server": {
                "listen_url": "0.0.0.0:443",
                "use_tls": true,
                "cert_path": "/opt/gophish/ssl/fullchain.pem",
                "key_path": "/opt/gophish/ssl/privkey.pem"
        },
We copied Let’s Encrypt ssl certs to /opt/gophish/ssl directory and set owner to gophish user;
ls -alh /opt/gophish/ssl/total 20K
drwxr-xr-x 2 gophish gophish 4.0K Sep 11 16:36 .
drwxr-xr-x 6 gophish gophish 4.0K Sep 11 16:40 ..
-rw-r--r-- 1 gophish gophish 5.2K Sep 11 16:34 fullchain.pem
-rw------- 1 gophish gophish 241 Sep 11 16:36 privkey.pem
Finally, restart the Gophish service for the changes to take effect:
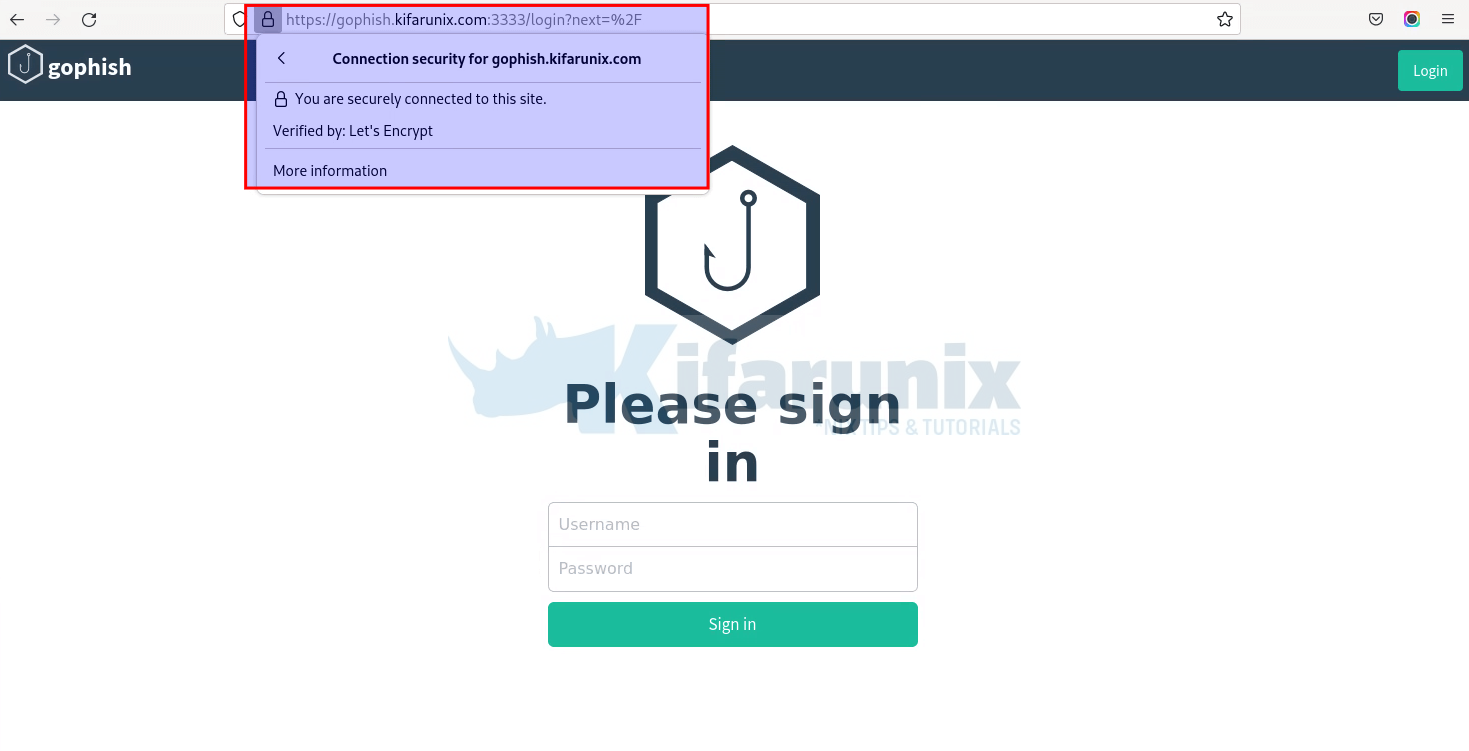
sudo systemctl restart gophishVerify Gophish Admin server HTTPS connection.

Similarly, the Phish server https connection;

That marks the end of our tutorial on installing Gophish on Ubuntu 22.04.

