In this tutorial, you will learn how to install Bitwarden password manager on Ubuntu 22.04. Bitwarden is an “open-source password manager which provides an easiest and safest way for individuals to store, share and secure sensitive data”. Follow through to learn how to install Bitwarden on Ubuntu 22.04.
Table of Contents
Install Bitwarden Password Manager on Ubuntu 22.04
Bitwarden is available for individual and organizational use in both free and paid plans.
In this tutorial, we will be learning how to install and setup free version of Bitwarden for individual use.
Minimum System Requirements
Below are the minimum recommended system requirements that your system should meet to run Bitwarden;
- Processor: x64, 2 GHz dual core
- Memory: 4 GB RAM (system memory)
- Storage: 25 GB
- Docker: Engine 19+ and Compose 1.24+
Run System Update
Ensure that your system package cache is up-to-date.
sudo apt updateSet System Domain Name
Bitwarden requires a system domain name while being installed. Therefore, set your system FQDN as follows. Be sure to replace the domain accordingly.
sudo hostnamectl set-hostname passman.kifarunix-demo.comInstall Docker and Docker Compose on Ubuntu 22.04
Bitwarden is deployed using Docker containers through the use of Docker compose.
Install Docker CE on Ubuntu 22.04
In this tutorial, we are using the community Docker edition. Thus, run the command below to install Docker CE on Ubuntu 22.04;
sudo apt install apt-transport-https ca-certificates curl gnupg-agent software-properties-common -ycurl -fsSL https://download.docker.com/linux/ubuntu/gpg | sudo gpg --dearmor -o /etc/apt/trusted.gpg.d/docker-ce.gpgUsing Focal Fossa repos at the moment;
echo "deb [arch=amd64] https://download.docker.com/linux/ubuntu focal stable" | sudo tee /etc/apt/sources.list.d/docker-ce.listsudo apt updatesudo apt install docker-ce docker-ce-cli containerd.io -ysudo systemctl enable --now dockerInstall Docker Compose on Ubuntu 22.04
Execute the command below to install the current (as of this writing) release of Docker compose;
sudo curl -sL "https://github.com/docker/compose/releases/download/1.29.2/docker-compose-$(uname -s)-$(uname -m)" -o /usr/local/bin/docker-composesudo chmod +x /usr/local/bin/docker-composeCreate Bitwarden Deployment User
As much as this is not necessary, it is recommended that you create a separate user that will be used for the deployment of Bitwarden on Ubuntu 22.04;
Hence;
sudo useradd -G docker,sudo -s /bin/bash -m -d /opt/bitwarden bitwardenCreate the users directory and set proper ownership;
[[ -d /opt/bitwarden ]] || sudo mkdir /opt/bitwarden
sudo chown -R bitwarden: /opt/bitwarden
Install Bitwarden Password Manager
Once the above procedures are done, you can now install Bitwarden password manager.
Obtain Bitwarden Hosting Installation ID and Key
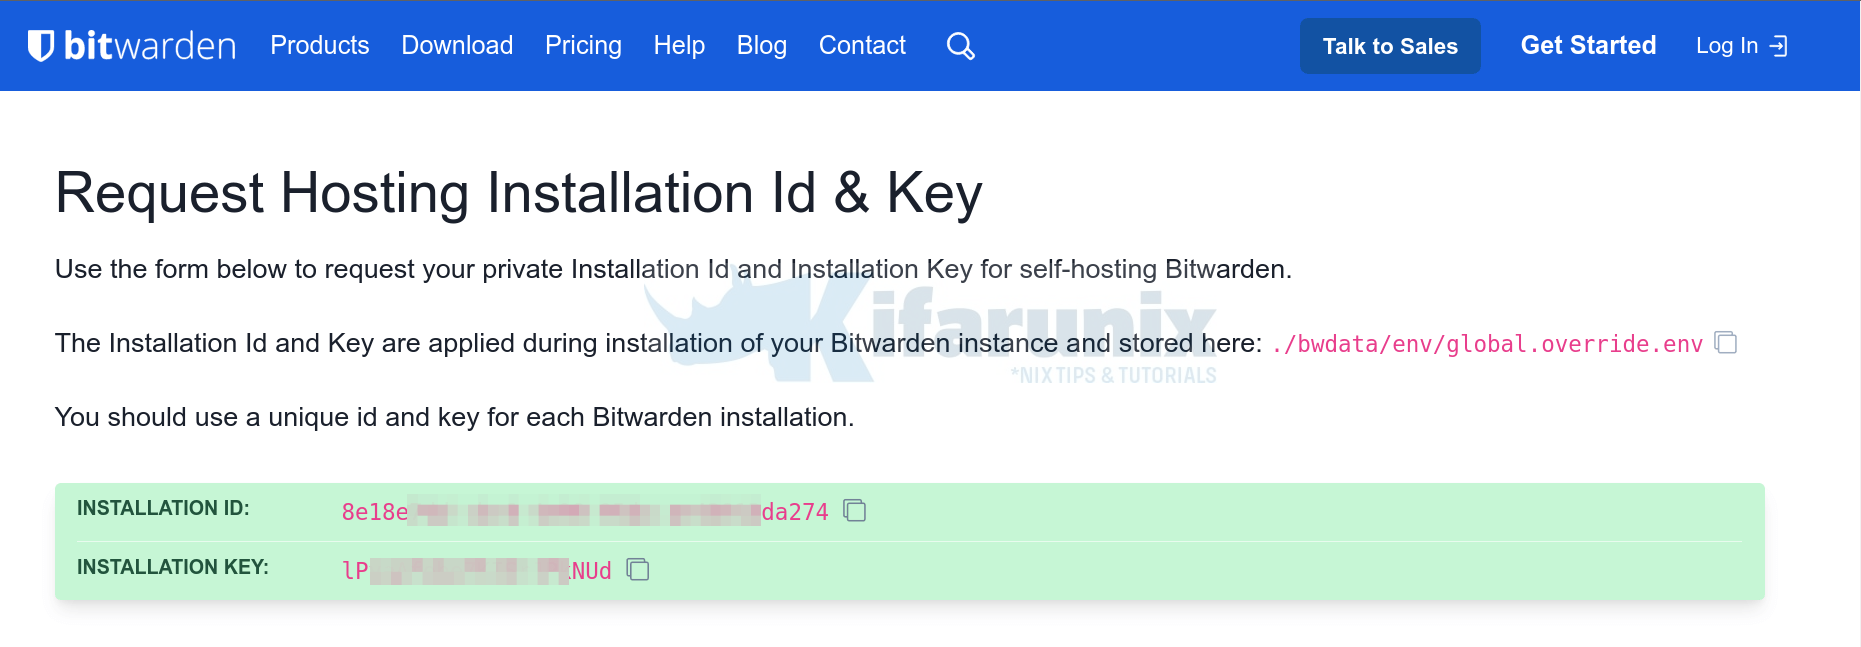
Navigate to Bitwarden hosting page and provide your email ID to get the hosting installation ID and key.
Once you enter your email ID, click submit. Such a page is loaded.
Keep the installation ID and Key as we will need it later in the installation.
Download Bitwarden Installation Script
Switch to Bitwarden user created above;
sudo su - bitwardenRun the command below to download the Bitwarden installation script.
sudo apt install curlcurl -Lso bitwarden.sh https://go.btwrdn.co/bw-shMake the script executable;
chmod +x bitwarden.shNext, install Bitwarden password manager;
sudo ./bitwarden.sh installWhen the script runs, you are prompted to;
- Set your system hostname.
- Choose whether to use Let’s Encrypt for SSL certificates if your domain is publicly registered
- Provide the database name for your Bitwarden instance.
- Provide installation ID generated above.
- Provide Bitwarden installation key generated above.
- Confirm if you have an SSL cert or not
- If you dont have an SSL cert, then use self-signed certs. Note the warning on using self-signed SSL certs.
 _     _ _                         _
| |__ (_) |___      ____ _ _ __ __| | ___ _ __
| '_ \| | __\ \ /\ / / _` | '__/ _` |/ _ \ '_ \
| |_) | | |_ \ V  V / (_| | | | (_| |  __/ | | |
|_.__/|_|\__| \_/\_/ \__,_|_|  \__,_|\___|_| |_|

Open source password management solutions
Copyright 2015-2022, 8bit Solutions LLC
https://bitwarden.com, https://github.com/bitwarden

===================================================

bitwarden.sh version 1.46.2
Docker version 20.10.12, build e91ed57
docker-compose version 1.29.2, build 5becea4c

(!) Enter the domain name for your Bitwarden instance (ex. bitwarden.example.com): passman.kifarunix-demo.com

(!) Do you want to use Let's Encrypt to generate a free SSL certificate? (y/n): n

(!) Enter the database name for your Bitwarden instance (ex. vault): bitpassdb

1.46.2: Pulling from bitwarden/setup
6552179c3509: Pull complete
21e1bc814f94: Pull complete
a66d6e2c6505: Pull complete
1468e0fc777d: Pull complete
52220ccf12d8: Pull complete
274037baa1dc: Pull complete
cd6708d3da5c: Pull complete
b96cf08d1413: Pull complete
12f9a402a6ab: Pull complete
beab38d582a0: Pull complete
Digest: sha256:47ab15e658ba482e31ed8d3c1ab6f7555d7be7a63de56cd74aa5920a01d8203c
Status: Downloaded newer image for bitwarden/setup:1.46.2
docker.io/bitwarden/setup:1.46.2

(!) Enter your installation id (get at https://bitwarden.com/host): 8e1...da274

(!) Enter your installation key: lP...kNUd

(!) Do you have a SSL certificate to use? (y/n): n

(!) Do you want to generate a self-signed SSL certificate? (y/n): y

Generating self signed SSL certificate.
Generating a RSA private key
.............++++
.........++++
writing new private key to '/bitwarden/ssl/self/passman.kifarunix-demo.com/private.key'
-----
Generating key for IdentityServer.
Generating a RSA private key
.......................................++++
.............................++++
writing new private key to 'identity.key'
-----

!!!!!!!!!! WARNING !!!!!!!!!!
You are using an untrusted SSL certificate. This certificate will not be
trusted by Bitwarden client applications. You must add this certificate to
the trusted store on each device or else you will receive errors when trying
to connect to your installation.

Building nginx config.
Building docker environment files.
Building docker environment override files.
Building FIDO U2F app id.
Building docker-compose.yml.

Installation complete

If you need to make additional configuration changes, you can modify
the settings in `./bwdata/config.yml` and then run:
`./bitwarden.sh rebuild` or `./bitwarden.sh update`

Next steps, run:
`./bitwarden.sh start`
Running Bitwarden on Ubuntu 22.04
You can now start Bitwarden Docker containers;
sudo ./bitwarden.sh start
...
Creating bitwarden-identity      ... done
Creating bitwarden-icons         ... done
Creating bitwarden-notifications ... done
Creating bitwarden-attachments   ... done
Creating bitwarden-mssql         ... done
Creating bitwarden-sso           ... done
Creating bitwarden-api           ... done
Creating bitwarden-web           ... done
Creating bitwarden-events        ... done
Creating bitwarden-admin         ... done
Creating bitwarden-nginx         ... done
1.46.2: Pulling from bitwarden/setup
Digest: sha256:47ab15e658ba482e31ed8d3c1ab6f7555d7be7a63de56cd74aa5920a01d8203c
Status: Image is up to date for bitwarden/setup:1.46.2
docker.io/bitwarden/setup:1.46.2


Bitwarden is up and running!
===================================================

visit https://passman.kifarunix-demo.com
to update, run `./bitwarden.sh updateself` and then `./bitwarden.sh update
To check Bitwarden containers;
sudo docker ps
CONTAINER ID   IMAGE                            COMMAND            CREATED         STATUS                     PORTS                                                                                    NAMES
6b2b7a18d417   bitwarden/nginx:1.46.2           "/entrypoint.sh"   8 minutes ago   Up 8 minutes (healthy)     80/tcp, 0.0.0.0:80->8080/tcp, :::80->8080/tcp, 0.0.0.0:443->8443/tcp, :::443->8443/tcp   bitwarden-nginx
bec9b762e4fe   bitwarden/admin:1.46.2           "/entrypoint.sh"   9 minutes ago   Up 8 minutes (unhealthy)   5000/tcp                                                                                 bitwarden-admin
f8e6dd8a1b4a   bitwarden/api:1.46.2             "/entrypoint.sh"   9 minutes ago   Up 8 minutes (healthy)     5000/tcp                                                                                 bitwarden-api
ea2b527ea0ef   bitwarden/web:2.26.1             "/entrypoint.sh"   9 minutes ago   Up 8 minutes (healthy)                                                                                              bitwarden-web
22ace70438f2   bitwarden/sso:1.46.2             "/entrypoint.sh"   9 minutes ago   Up 8 minutes (unhealthy)   5000/tcp                                                                                 bitwarden-sso
2b7c3b31500c   bitwarden/attachments:1.46.2     "/entrypoint.sh"   9 minutes ago   Up 8 minutes (healthy)                                                                                              bitwarden-attachments
a2e1fc239c42   bitwarden/events:1.46.2          "/entrypoint.sh"   9 minutes ago   Up 8 minutes (healthy)     5000/tcp                                                                                 bitwarden-events
c710843e8a3f   bitwarden/mssql:1.46.2           "/entrypoint.sh"   9 minutes ago   Up 8 minutes (unhealthy)                                                                                            bitwarden-mssql
58d523eff765   bitwarden/notifications:1.46.2   "/entrypoint.sh"   9 minutes ago   Up 8 minutes (healthy)     5000/tcp                                                                                 bitwarden-notifications
3457ed97d3f8   bitwarden/icons:1.46.2           "/entrypoint.sh"   9 minutes ago   Up 8 minutes (healthy)     5000/tcp                                                                                 bitwarden-icons
8d7ec7b820ab   bitwarden/identity:1.46.2        "/entrypoint.sh"   9 minutes ago   Up 8 minutes (healthy)     5000/tcp                                                                                 bitwarden-identity
Accessing Bitwarden Web Interface
The installation of Bitwarden is now complete. You can access the web interface using the https://bitwarden-server-fqdn. Replace the bitwarden-server-fqdn with your system fully qualified domain name provided during the setup process.
Ensure that from the workstation you are accessing Bitwarden from can resolve the Bitwarden hostname. Otherwise use the hosts file if you do not have DNS.
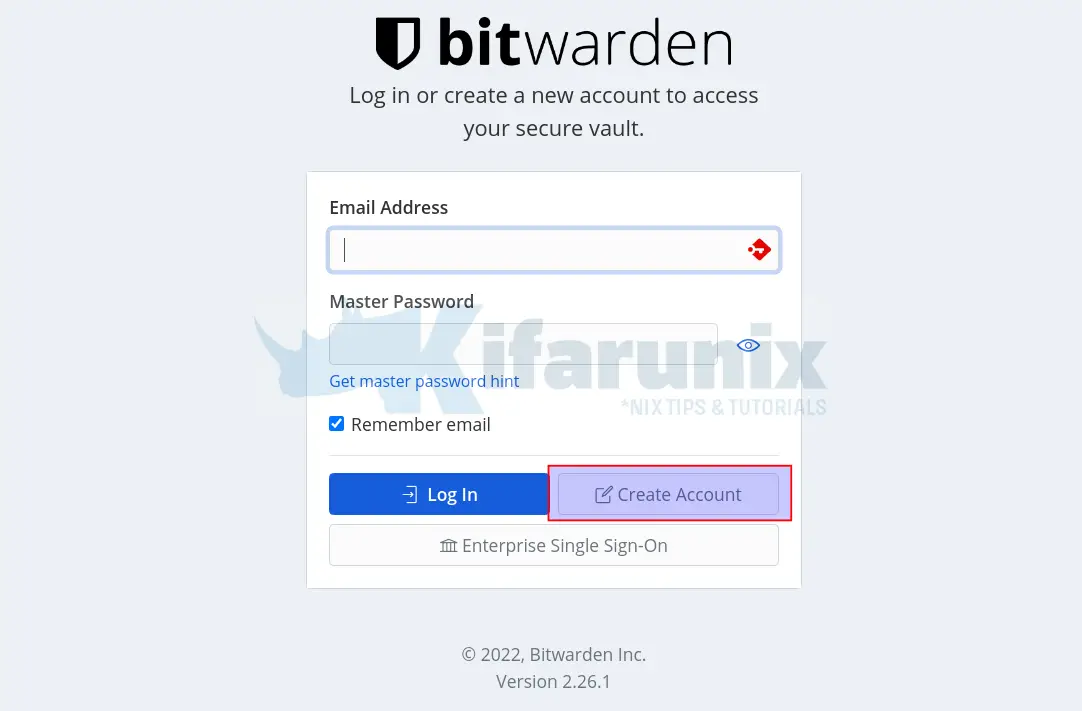
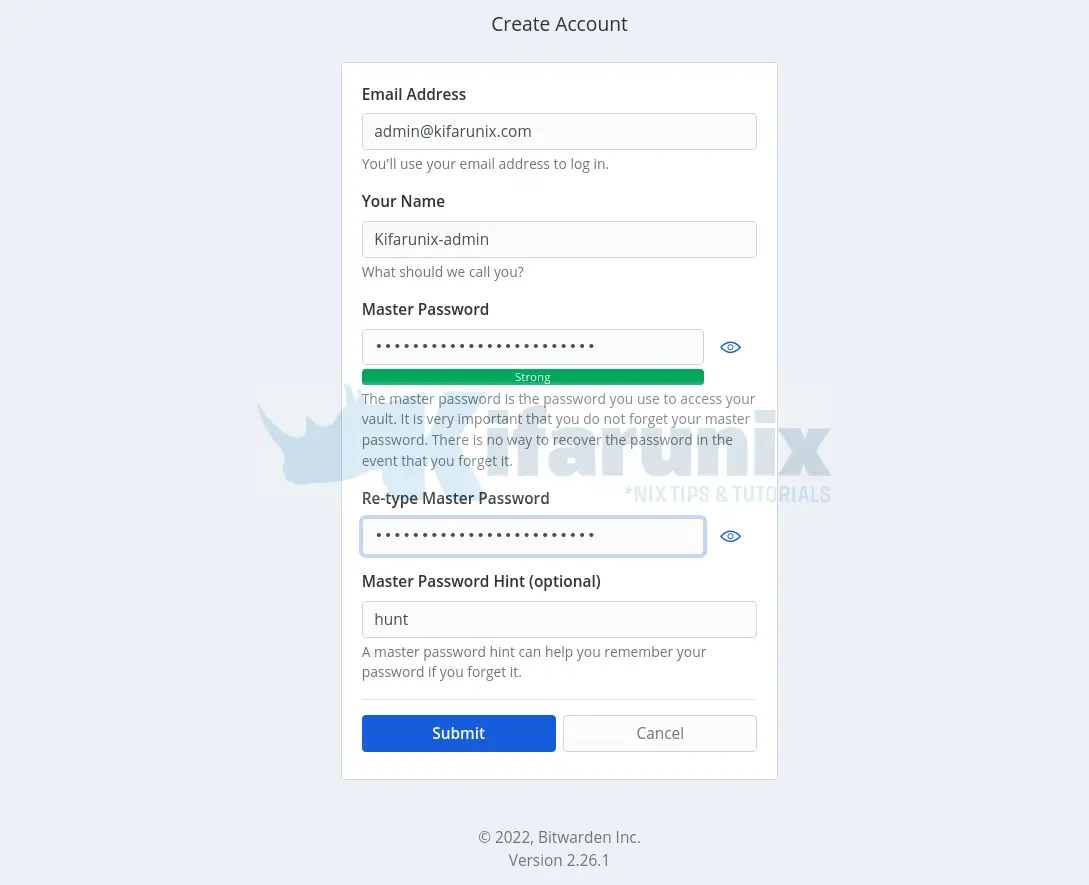
Create a new account to access your Bitwarden secure vault by clicking Create Account.
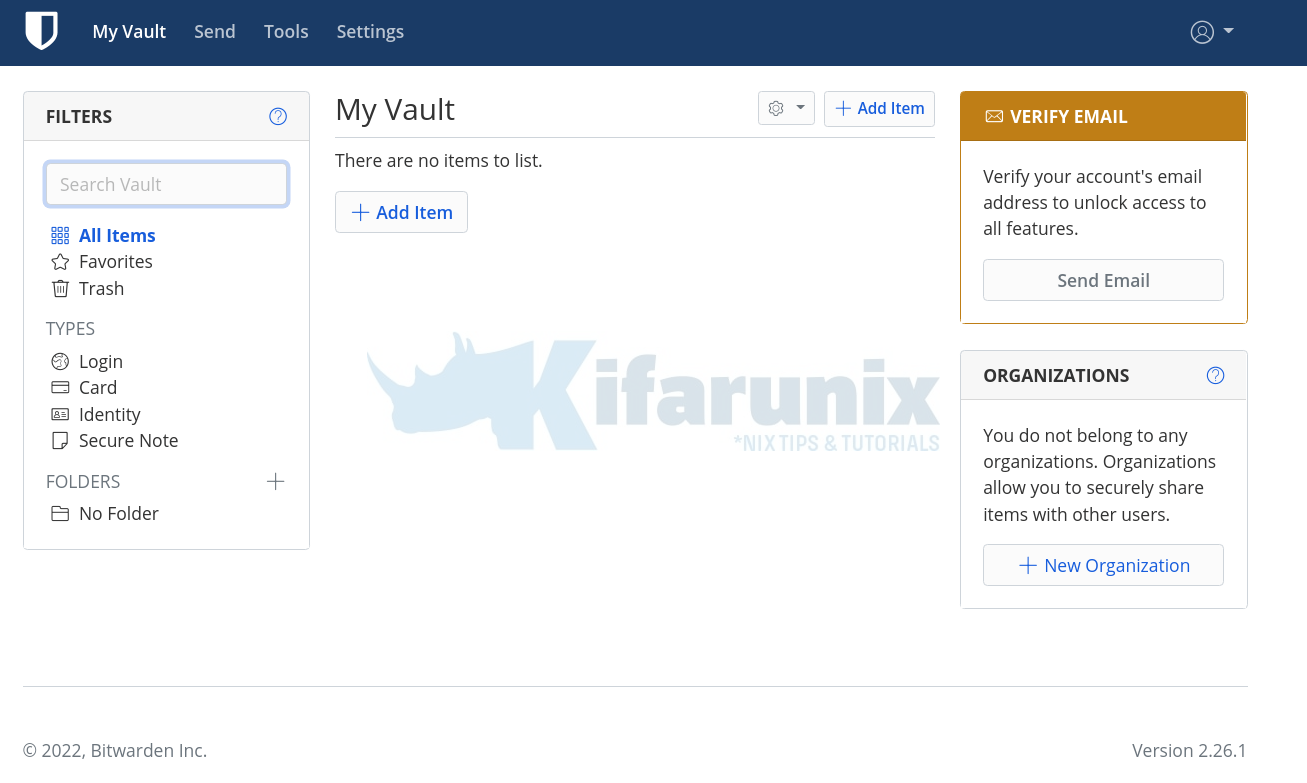
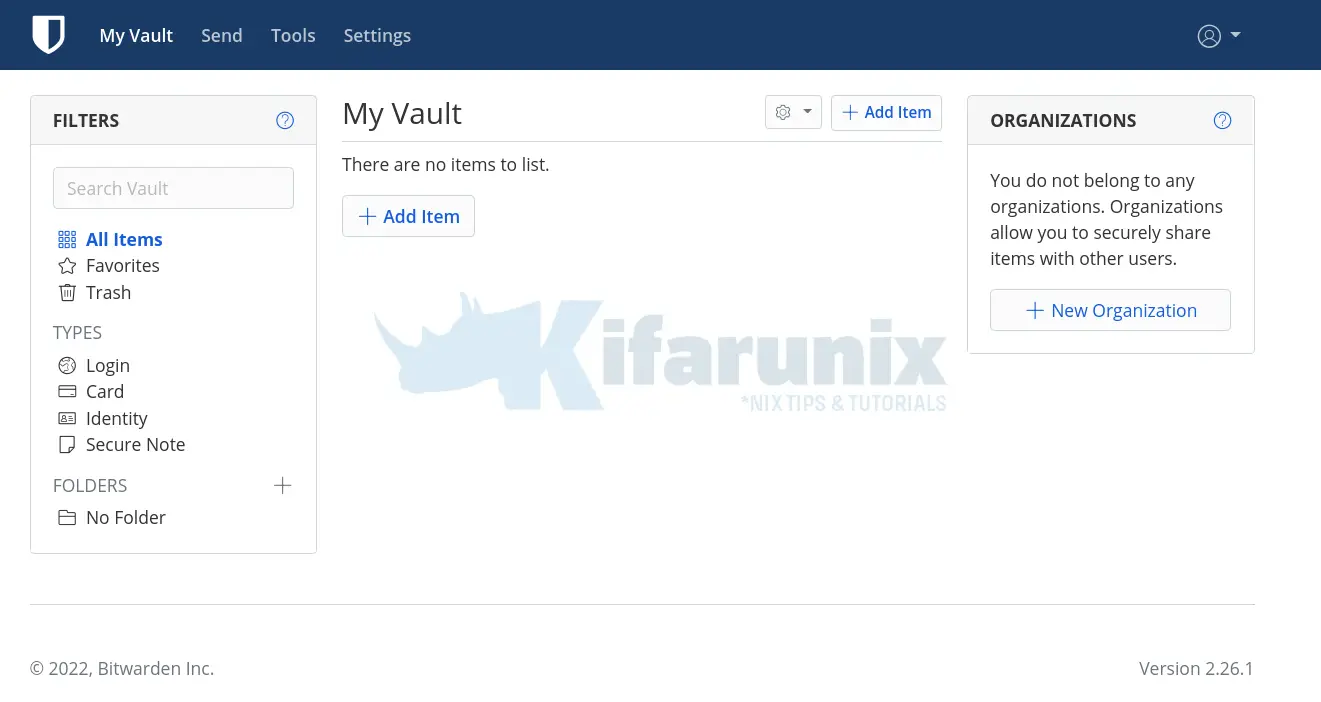
Once you have created an account, login to your Bitwarden vault.
Verifying Self-hosted Bitwarden Email
In order to verify Self-hosted Bitwarden email, we are going to use local Postfix relay via Gmail SMTP. Therefore, install and configure Postfix to use Gmail SMTP relay by following the guide below;
Configure Postfix to Use Gmail SMTP on Ubuntu 20.04
Next, configure Postfix to allow Bitwarden docker containers to sent emails through it. How I did this, i just greped the docker IP addresses;
ip add | grep 172. inet 172.17.0.1/16 brd 172.17.255.255 scope global docker0
inet 172.18.0.1/16 brd 172.18.255.255 scope global br-675f01731daf
inet 172.19.0.1/16 brd 172.19.255.255 scope global br-5a213c833ae2Then, edit postfix main conf and add the Bitwarden docker container networks to mynetworks parameter.
sudo vim /etc/postfix/main.cf...
mydestination = $myhostname, bitwarden.kifarunix-demo.com, localhost.kifarunix-demo.com, , localhost
relayhost = [smtp.gmail.com]:587
mynetworks = 127.0.0.0/8 172.17.0.0/16 172.18.0.0/16 172.19.0.0/16 [::ffff:127.0.0.0]/104 [::1]/128
mailbox_size_limit = 0
recipient_delimiter = +
...Save and exit the file.
Check Postfix Configuration
Run the postfix check command to check the Postfix configuration for any error. Any error should printed on the output.
sudo postfix checkRestart postfix;
sudo systemctl restart postfixNext, configure Postfix SMTP mail server IP address and Port settings by editing the environment settings file, ./bwdata/env/global.override.env. The file is on the home directory of the user with which you ran the installations, in this setup is bitwarden user created above.
sudo vim ./bwdata/env/global.override.envIn our setup, we are using Postfix on the localhost, hence only the lines, highlighted we used.
...
[email protected]
globalSettings__mail__smtp__host=192.168.57.43
globalSettings__mail__smtp__port=25
globalSettings__mail__smtp__ssl=false
globalSettings__mail__smtp__username=REPLACE
globalSettings__mail__smtp__password=REPLACE
....
Save and exit the file.
Restart Bitwarden Services;
sudo ./bitwarden.sh restartOnce the services start, go back to the web interface and sent the verification mail.
Once you have verified the email, the verify email notification on the dashboard should now be gone.
And that is how easy it is to install Bitwarden password manager on Ubuntu. You can now safely store your passwords in your safe vault. Enjoy.
Read more on Getting Started with Bitwarden.
Reference
Installing and Deploying Bitwarden
Other Tutorials

