In this guide, you are going to learn how to Install LAMP Stack (Apache,MariaDB, PHP 7.2) on Ubuntu 18.04 LTS. LAMP Stack is a bundle of open-source softwares that is used to provide web services. It derives its name from the initials of its major components; the GNU/Linux operating system, Apache HTTP Server, MySQL relational database management system and PHP programming language.
To kick off with, ensure that you have Ubuntu 18.04 server running so as to meet the first component of the LAMP stack.
Update Ubuntu 18.04
Before you can proceed, run the following commands to update and upgrade you Ubuntu 18.04 server.
apt update
apt upgrade
Once that is done, proceed as follows;
Install Apache HTTP Server
Apache HTTP server is a free and open-source cross-platform web server. To install Apache, you can search for and install in the Software Centre, or by run the following command.
apt install apache2 -y
Once the installation is done, enable Apache2 to run on system start up.
systemctl enable apache2
Allow Apache through firewall if at all UFW firewall is running on your Ubuntu 18.04 server.
Verify that UFW has an application profile for Apache;
ufw app list
Available applications:
  Apache
  Apache Full
  Apache Secure
  Bind9
  OpenSSH
If you intend to use both HTTP and HTTPS traffic, then allow Apache Full on UFW firewall.
ufw allow "Apache Full"
Reload UFW firewall for the changes to take effect.
ufw reload
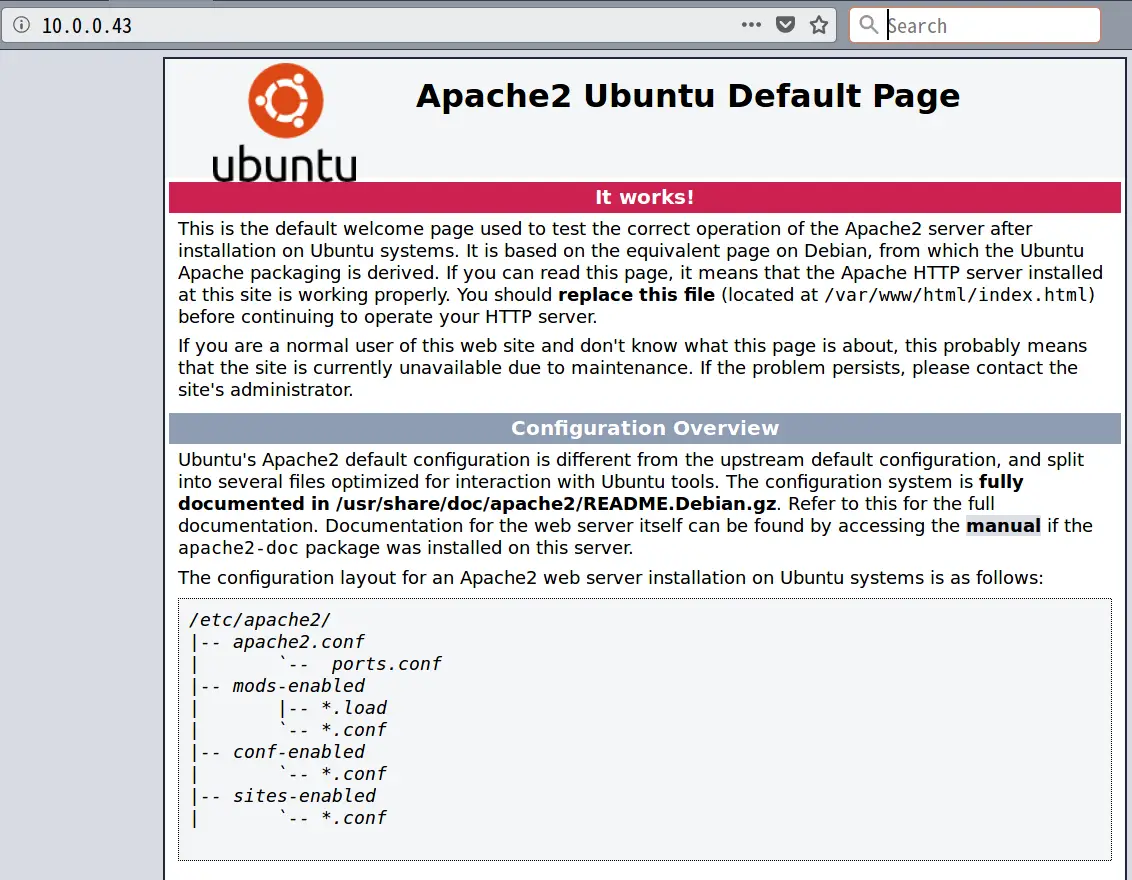
To verify that you can access you web server, navigate to browser and enter your server IP address as in http://IP-Address/.
If all is well, you should see Apache Default Page as shown below.

Install MySQL
MySQL is an open-source relational database management system. In this tutorial, we are going to install MariaDB, a drop-in replacement for MySQL. To install MariaDB, run the following command; on your Ubuntu 18.04 server.
apt install mariadb-server -y
If you would like to use MySQL instead, run the command below to install it.
apt install mysql-server -y
Once the installation is done, you need to secure your DB server. Therefore, run the security script, mysql_secure_installation, that comes pre-installed with MariaDB, set the root password and secure your DB.
mysql_secure_installation
...output snipped...
Enter current password for root (enter for none): ENTER
OK, successfully used password, moving on...

Setting the root password ensures that nobody can log into the MariaDB
root user without the proper authorisation.

Set root password? [Y/n] y
New password: ENTER YOUR PASSWORD
Re-enter new password: CONFIRM YOUR PASSWORD
Password updated successfully!
Reloading privilege tables..
 ... Success!


By default, a MariaDB installation has an anonymous user, allowing anyone
to log into MariaDB without having to have a user account created for
them.  This is intended only for testing, and to make the installation
go a bit smoother.  You should remove them before moving into a
production environment.

Remove anonymous users? [Y/n] y
 ... Success!

Normally, root should only be allowed to connect from 'localhost'.  This
ensures that someone cannot guess at the root password from the network.

Disallow root login remotely? [Y/n] y
 ... Success!

By default, MariaDB comes with a database named 'test' that anyone can
access.  This is also intended only for testing, and should be removed
before moving into a production environment.

Remove test database and access to it? [Y/n] y
 - Dropping test database...
 ... Success!
 - Removing privileges on test database...
 ... Success!

Reloading the privilege tables will ensure that all changes made so far
will take effect immediately.

Reload privilege tables now? [Y/n] y
 ... Success!

Cleaning up...

All done!  If you've completed all of the above steps, your MariaDB
installation should now be secure.

Thanks for using MariaDB!
Note, you can press Enter to accept the default the default Yes.
Install PHP
PHP, Hypertext Preprocessor, is a server-side scripting language designed for Web development, but also used as a general-purpose programming language. Run the following command to install PHP and PHP modules for Apache and MySQL.
apt install php libapache2-mod-php php-mysql -yIn case you want to install more PHP modules, you can just search the module you want from Ubuntu repos and install it as shown below.
apt-cache search php- | more
libnet-libidn-perl - Perl bindings for GNU Libidn
php-all-dev - package depending on all supported PHP development packages
php-cgi - server-side, HTML-embedded scripting language (CGI binary) (default)
php-cli - command-line interpreter for the PHP scripting language (default)
php-common - Common files for PHP packages
php-curl - CURL module for PHP [default]
php-dev - Files for PHP module development (default)
php-gd - GD module for PHP [default]
php-gmp - GMP module for PHP [default]
php-ldap - LDAP module for PHP [default]
--More--
So if you want to install GD module for example, run the command below;
apt install php-gd -y
Once the installation is done, you need to test that PHP is actually working. Therefore, create a test php file for example, test.php under Apache root document folder, /var/www/html and put the following content.
vim /var/www/html/test.php
<?php
phpinfo();
?>
After that, save the file and quit. Restart Apache service to effect the changes.
systemctl restart apache2
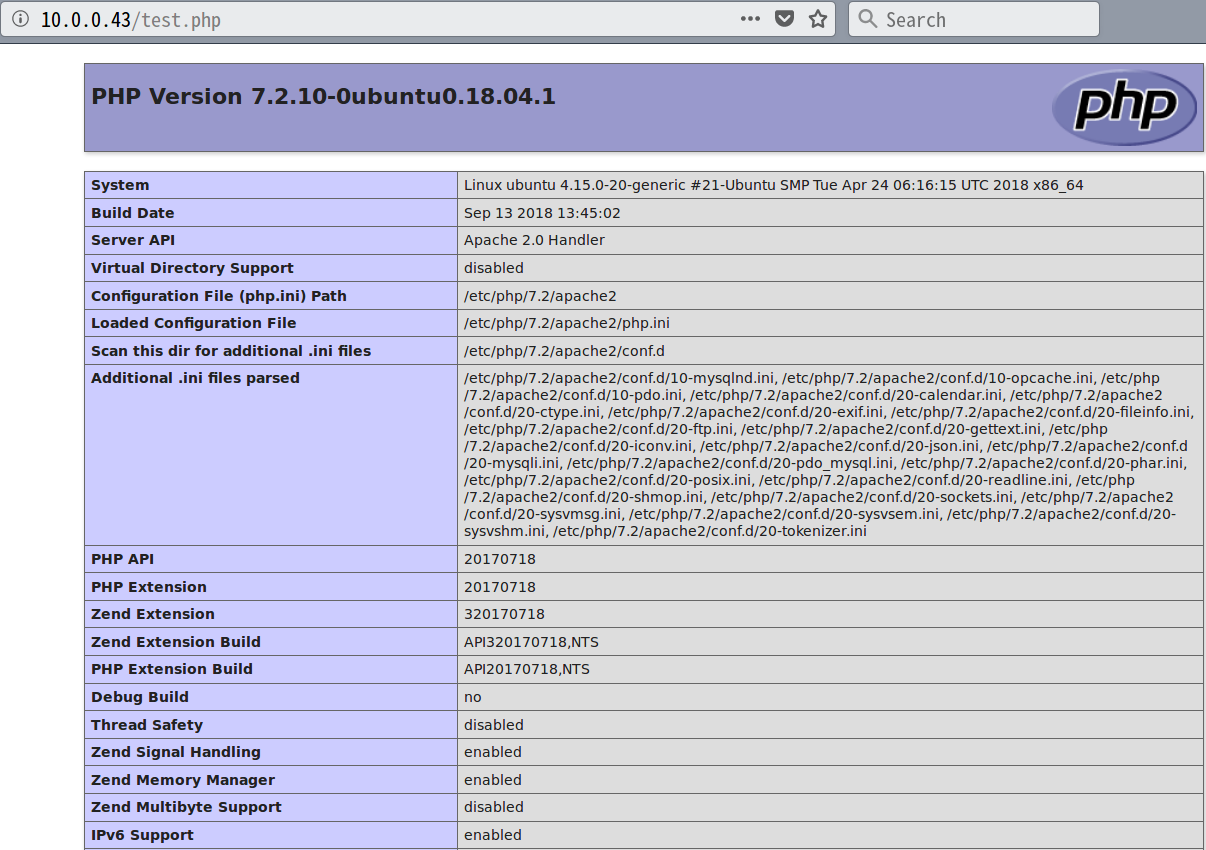
Now, to test PHP processing, navigate to your browser and enter the following URL in your address bar.
http://your-server-IP/test.php
You should be able to see a page similar to the one shown below.

You can check the version of the PHP installed with the following command;
php -v
PHP 7.2.10-0ubuntu0.18.04.1 (cli) (built: Sep 13 2018 13:45:02) ( NTS )
Copyright (c) 1997-2018 The PHP Group
Zend Engine v3.2.0, Copyright (c) 1998-2018 Zend Technologies
    with Zend OPcache v7.2.10-0ubuntu0.18.04.1, Copyright (c) 1999-2018, by Zend Technologies
Now that everything seems fine, remove the PHP test configuration file to avoid creating an attack surface.
rm -rf /var/www/html/test.php
Big up yourself! You have successfully installed and configured a LAMP stack on Ubuntu 18.04 (LTS).
Related Tutorials;
Install LAMP Stack with MariaDB 10 on Debian 10 Buster
Install LAMP Stack on Fedora 30
Install LAMP Stack on Debian 9
How To Install LAMP (Linux, Apache, MySQL, PHP) Stack on Fedora 28/29


Brilliant Tutorial thank you!
thank`s