Follow through this tutorial to learn how to install Debian 12 on VirtualBox. The Debian project is proud to present its new stable version 12 (code name b
ookworm).
According to Debian News, Debian 12 bullseye
includes numerous updated software packages (over 67% of all packages in the previous release).
Table of Contents
Installing Debian 12 on VirtualBox
Download Debian 12 ISO
Navigate to Debian CD/DVD images page and grab a stable release version ISO file for your specific system arch.
We are using the amd version in this guide.
You can choose to download a minimal installation ISO file;
wget https://cdimage.debian.org/debian-cd/current/amd64/iso-cd/debian-12.0.0-amd64-netinst.iso \
-P ~/Downloads
Or a full installation DVD iso file;
wget -c https://cdimage.debian.org/debian-cd/current/amd64/iso-dvd/debian-12.0.0-amd64-DVD-1.iso \
-P ~/Downloads
Create New Virtual Machine
Next, launch VirtualBox and create a new Virtual Machine with your preferred settings such as networking, disk size, system resources etc.
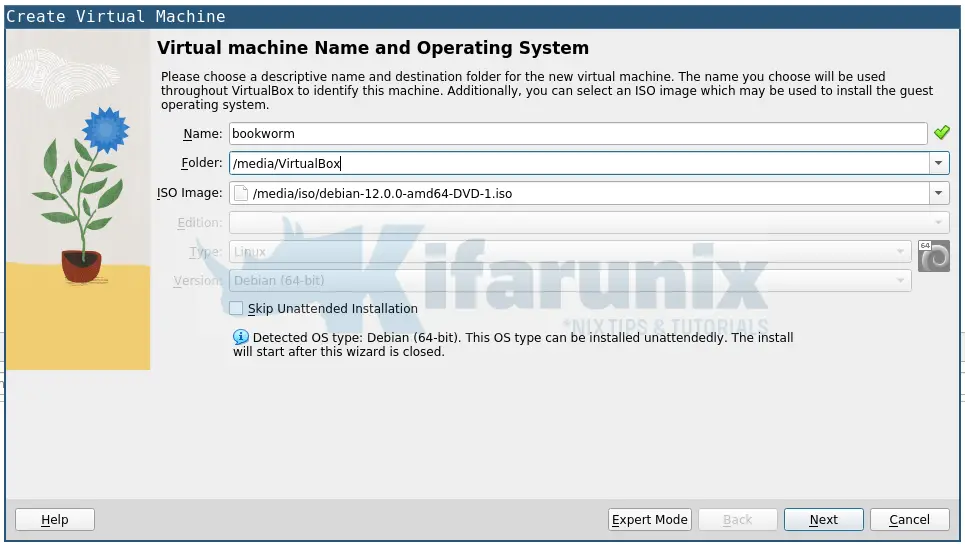
Name and Operating System of the VM
To begin with;
- define the name of the virtual machine and the Operating system.
- set the installation folder
- Select the ISO image that will be used to install your Debian 12 vm on VirtualBox.
Note that we will be using VirtualBox 7, which supports unattended guest VM installation. Luckily, Debian 12, both desktop and the server supports unattended installation.
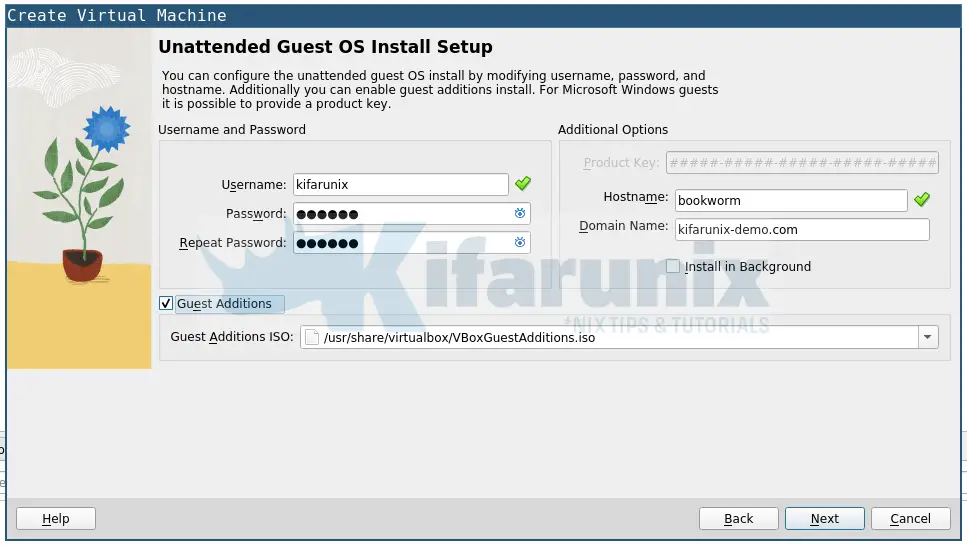
Unattended Guest OS Install Setup
(Note, if you want to be able to choose whether to install desktop or headless server, i suggest you skip unattended installation and go through the installation process manually)
To perform unattended guest OS installation, you need to provide;
- Username and password for account to be created
- Hostname and domain name of the vm
- Choose whether to install VirtualBox Guest Additions automatically
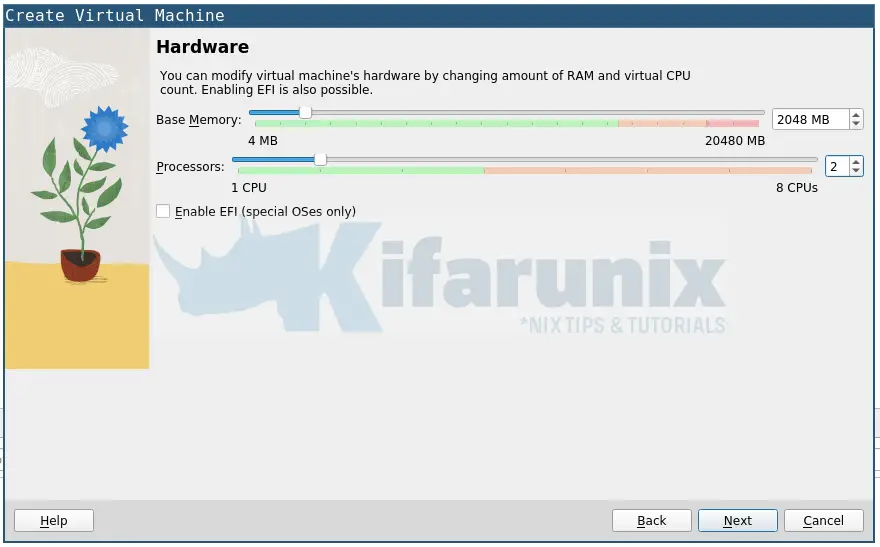
Set the VM Hardware
Next, assign the VM required RAM and vCPUs.
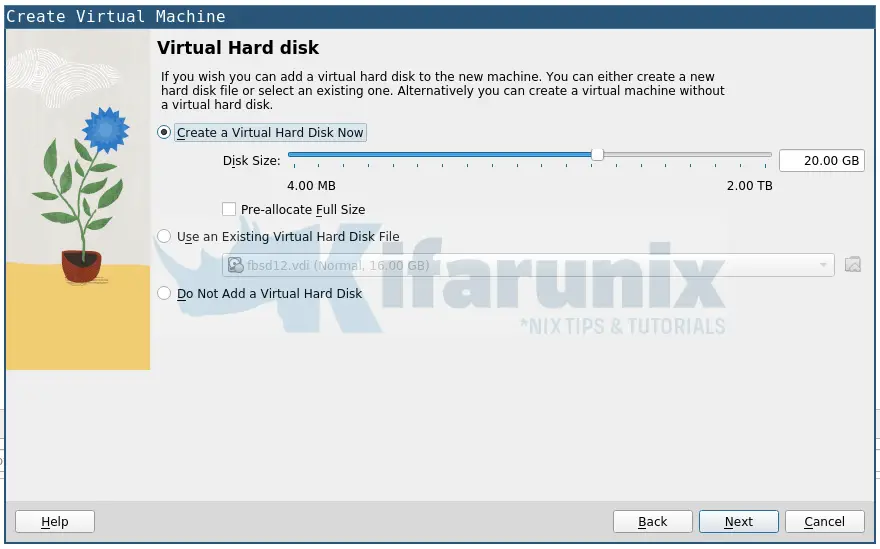
VM Virtual Hard Disk
Create a Virtual hard disk for your Debian 12 vm. Choose the disk size of your preference.
Virtual Machine Setup Summary
Go through the virtual machine setup summary and when you are happy with the configuration press Finish to create the virtual machine. Alternatively you can go back and modify the configuration.
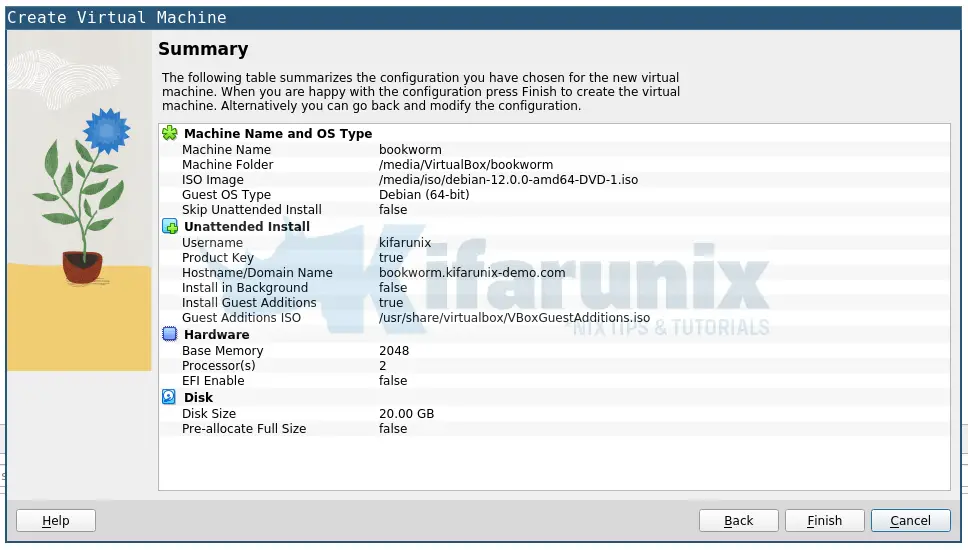
Install Debian 12 Virtual Machine on VirtualBox
Immediately you click Finish, installation of Debian 12 desktop on VirtualBox will start.
Just a seat back and wait for your VM to be installed.
Booting into Debian 12 on VirtualBox
After the installation, your VM will reboot.
The grub menu.
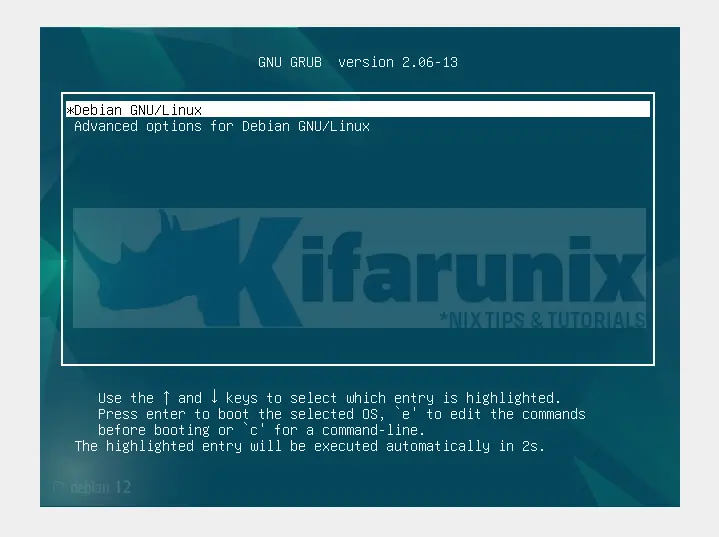
Login interface
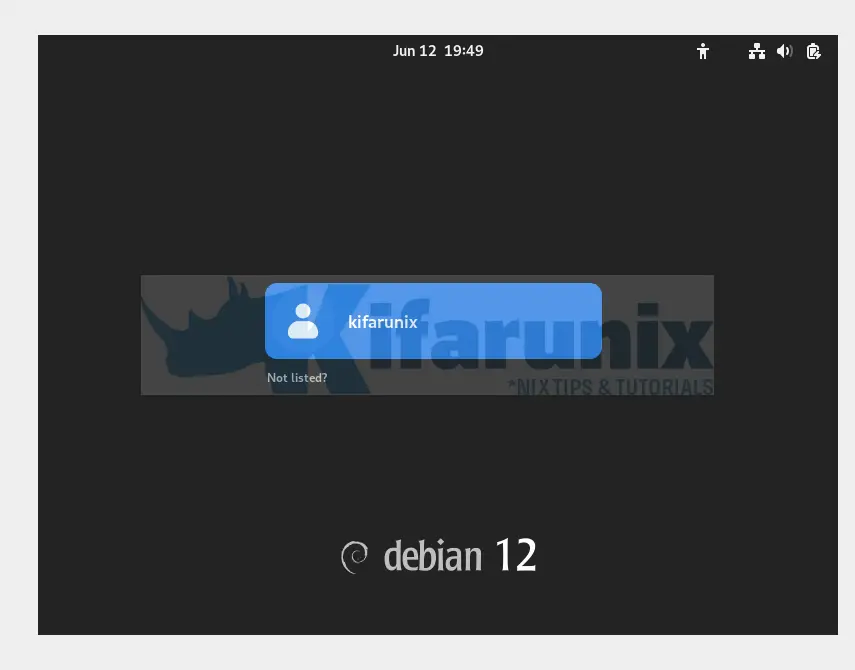
Login using the credentials set before.
Go through initial setup and start using Debian 12 on VirtualBox.
Similarly, your Debian 12 desktop should auto-resize if VirtualBox Guest Additions were installed successfully.
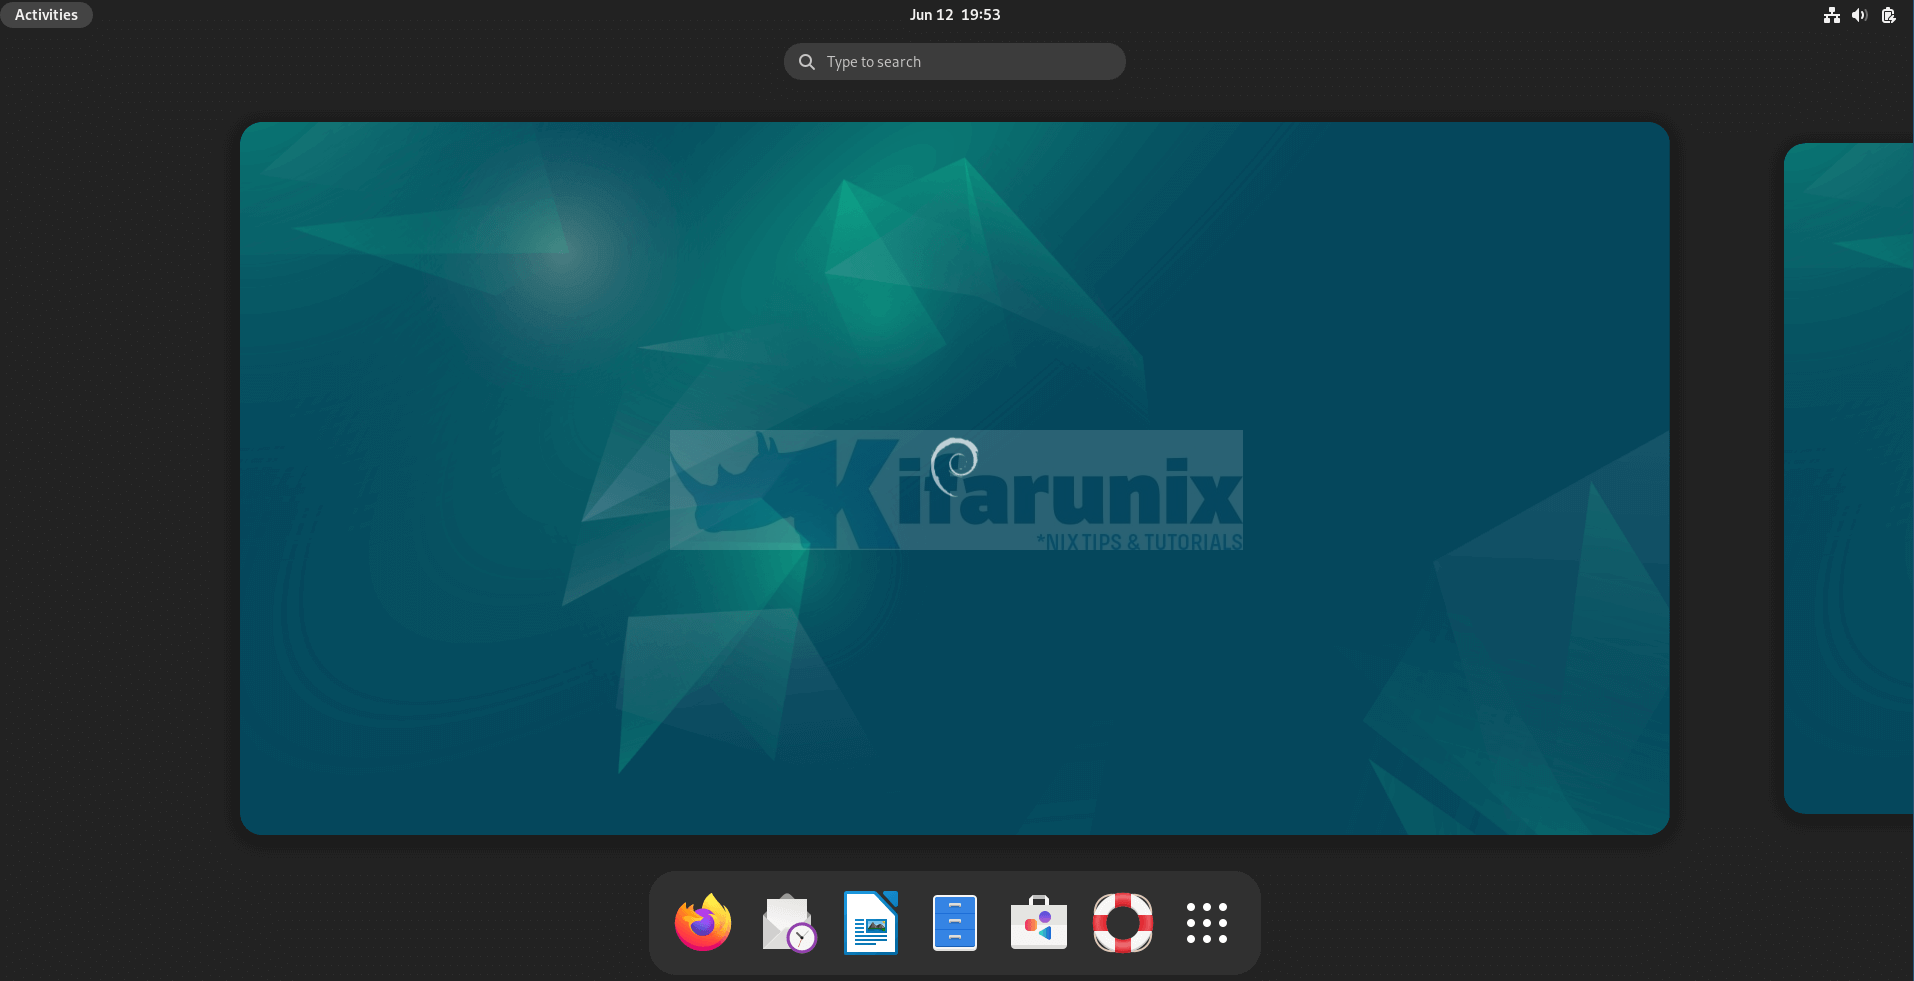
If the desktop doesnt auto-resize, then head over to view menu option on the vm and toggle “Auto-resize Guest Display“.
Additional Settings for the Virtual Machine
If you want to further customize your VM before installation, then select the vm and open the settings.
We will only update the network settings of the vm at this point.
Thus, under network settings;
- Adapter 1 set it to NAT to allow the VM to access Internet via the host system.
- Adapter 2 you can set it to host only just in case you want it to communicate with other vms on your host machine and even facilitate easy access from the host system.]
Note that you need to power off the machine to update the settings.


Hi there, after install what’s root password? I tried su root and passwd root it asks me for the password I don’t know
Hello Frank,
The root password is the same as the standard user password created during the installation.
Thanks